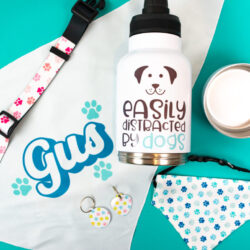
PET SUBLIMATION BLANKS FOR DOGS AND CATS
Make all sorts of fun gear for your favorite furry friend with these pet sublimation blanks! From collars to tags to water bottles, these fun projects are perfect for personalizing items for Fido or Fluffy!
Equipment
- J-Trans Sublimation Oven
Ingredients
Instructions
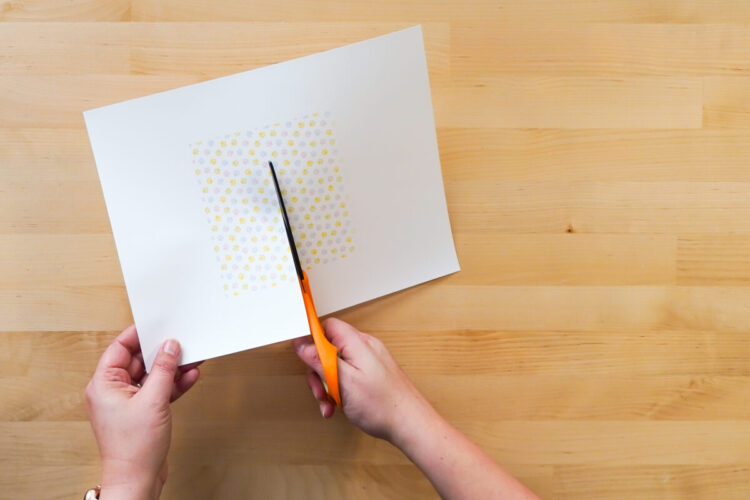
- Printing Your Sublimation TransfersAll of the sublimation transfers for these projects were pre-printed, and the images were sized to fit the projects. The images were printed using a Sawgrass SG1000. If you need more information about printing sublimation transfers, check out this post on Sublimation Software.

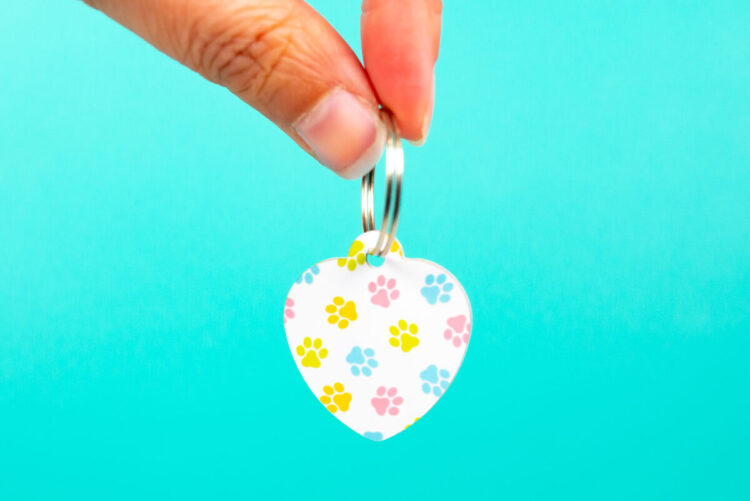
- Sublimation Pet TagsLet's start with a simple pet tag! These are double-sided so each side will be sublimated separately. On the back, you can put your pet's information if you'd like! Because this one is just for this tutorial and not for an actual dog, the pattern is being put on both sides to show you the process.Remove the plastic film from both sides of the tag.Flat press - 385° - 45 seconds
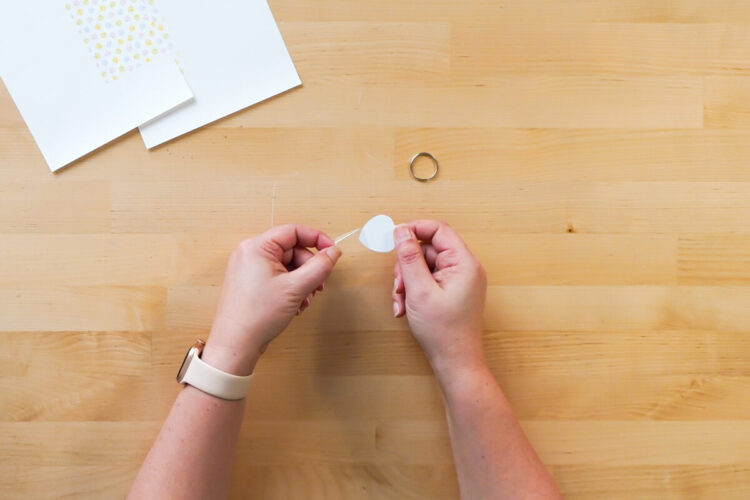
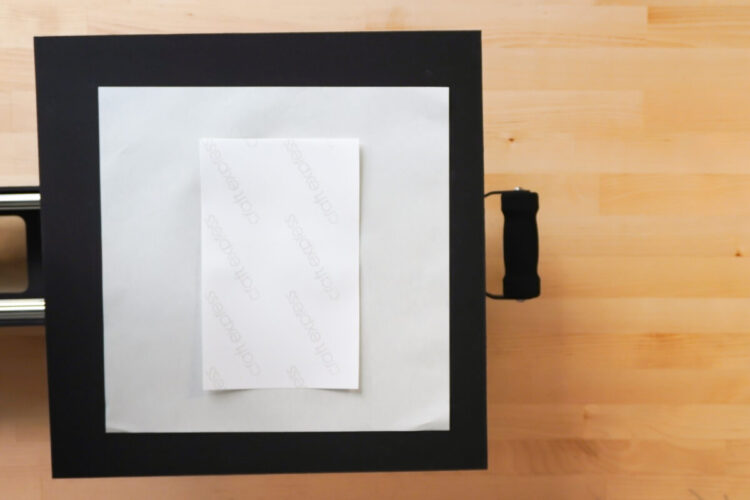
- Clean your blank using a lint roller or alcohol and a microfiber cloth.This design was printed small and cut in half to use it with both sides of the tag.
- Tape your blank to the sublimation print. This is being done one side at a time, so pick a side and do that one first.

- Place a piece of butcher paper on the bottom of your press. Then add the tag with the tag facing up and the print facing down on top.Add another piece of butcher paper on top.Press according to the time and temperature above. Repeat with the other side using the same process.
- Add the metal ring and attach to your pet's collar!
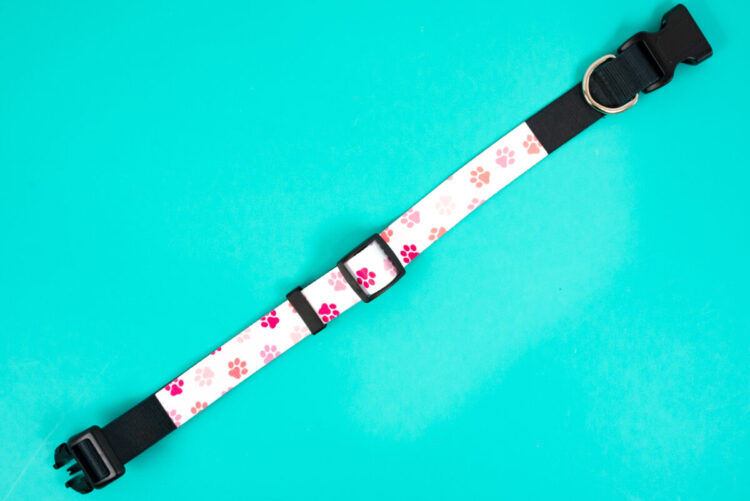
- Sublimation Pet CollarCollars go right along with pet tags and they are pretty easy to make once you figure out what you're doing.
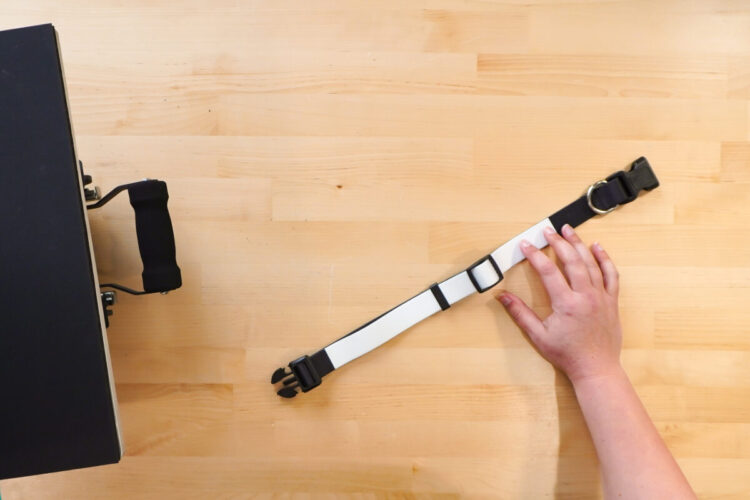
- To start, un-clasp the dog collar. Then you'll need to basically move the clasps until the long white piece is flat. It might take a bit to figure it out, but you need to slide one of the pieces all the way to one side for it to lie flat.Flat press - 365° - 45 seconds
- Clean your pet collar using a lint roller.
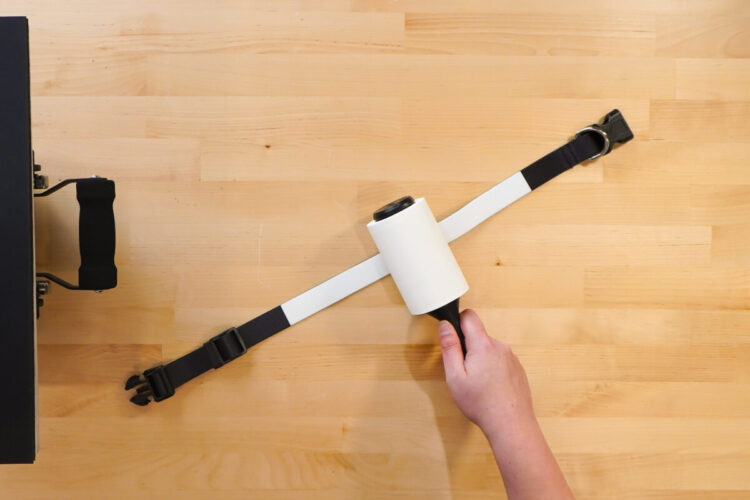
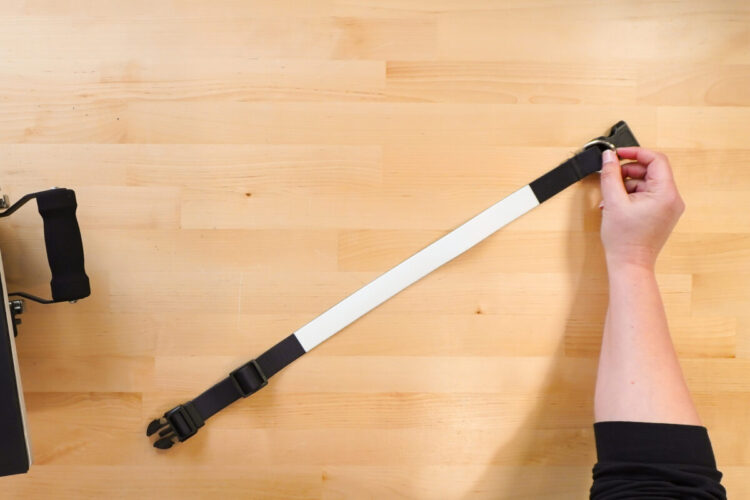
- Then tape your pet collar to your design. The length of this sublimation area was 11.5", but was able to put the collar on an 8.5" x 11" piece of paper (hooray, Pythagorean Theorem) and make it work for this project.

- Add a piece of butcher paper to the bottom of your press. When placing your pet collar in your press, you do NOT want any of the plastic or metal bits within the press. A 15" x 15" press was used for this project, so the collar had to be placed at a diagonal because it was too short going straight across. If you have a smaller heat press, you may not need to do it this way.
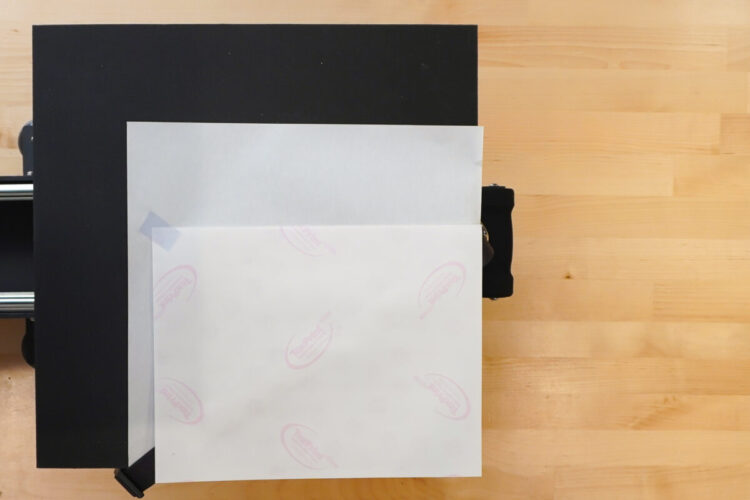
- Add another piece of butcher paper and press for the above time and temperature. Then remove the paper to reveal your sublimation pet collar!
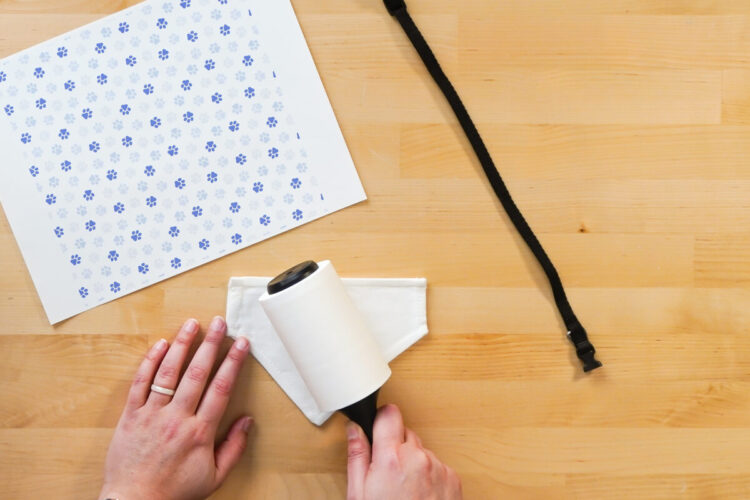
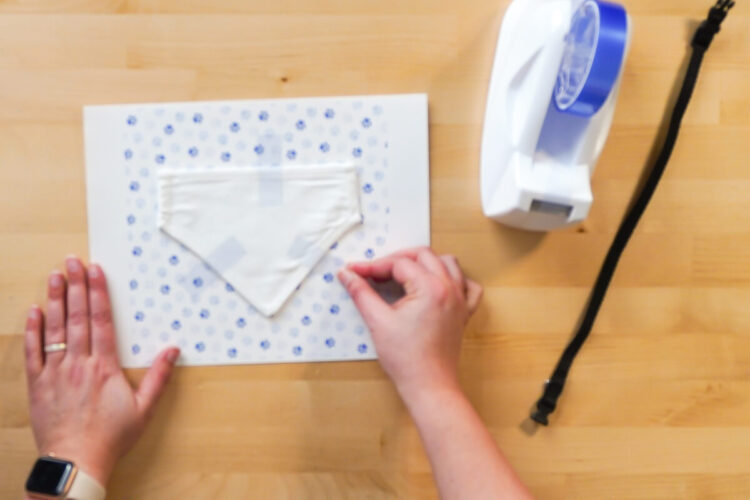
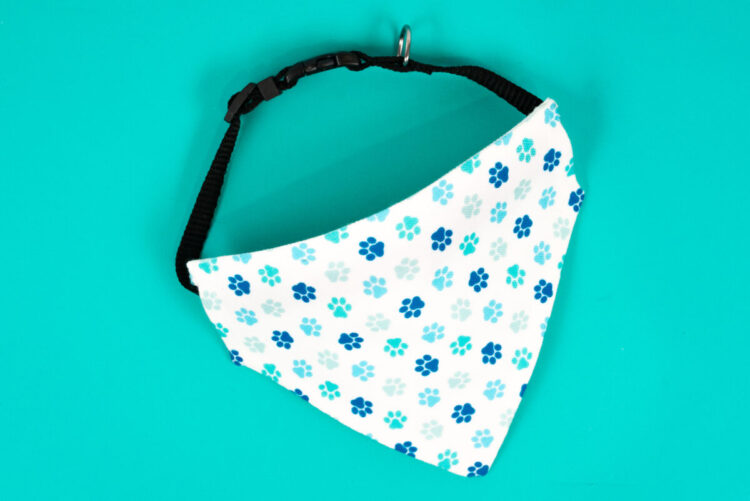
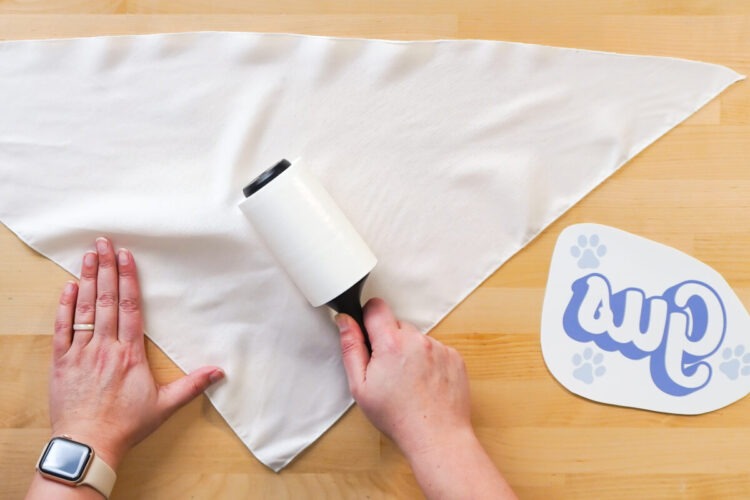
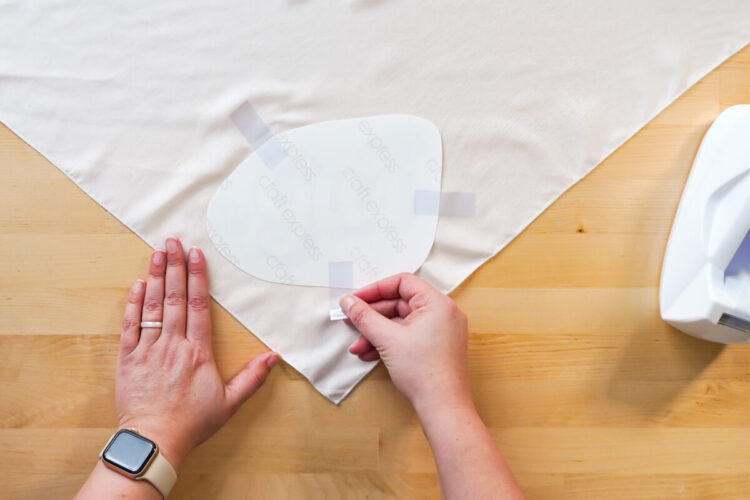
- Small Sublimation Pet BandanaLet's start with the easier, smaller pet bandana. This one presses flat and then uses a small collar attachment for your pet and is easier and tidier than knotting a bandana.Flat press - 375° - 60 secondsRemove the bandana piece from the collar piece. Clean your bandana using a lint roller.
- Then tape your pet bandana to your design.
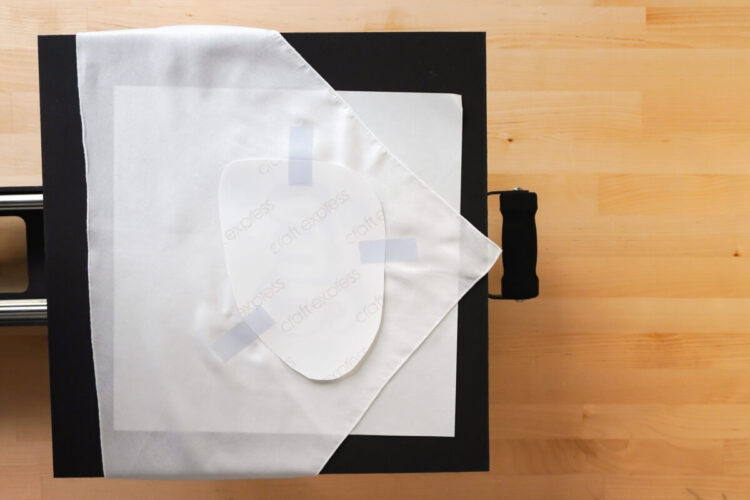
- Add a piece of butcher paper to the bottom of your press with the bandana facing up and the design facing down.
- Add another piece of butcher paper and press for the time temperature listed above. Then remove the paper to reveal your sublimation pet bandana!
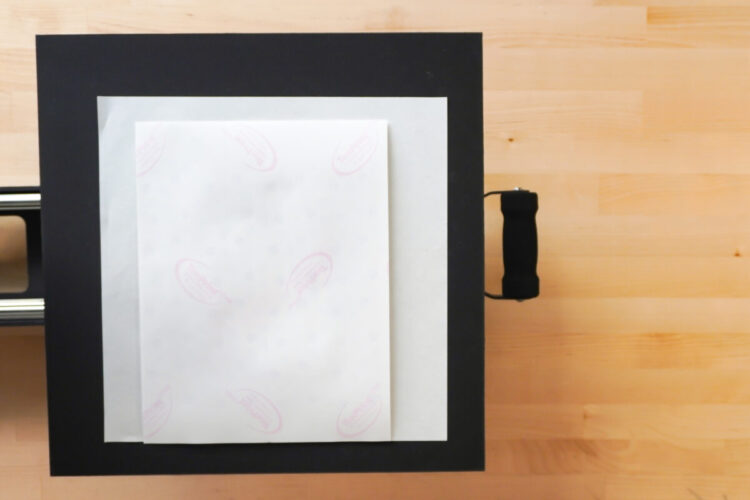
- Large Sublimation Pet BandanaThis one is a bit tougher because it's so large—it's bigger than both the printer paper and the press! So instead of using one of the patterns for this one, a dog's name was just printed out in a cute font. You could tape a pattern together and press it in sections if you want to use the pattern.Flat press - 375° - 60 secondsClean your bandana using a lint roller.
- Then tape your pet bandana to your design.
- Add a piece of butcher paper to the bottom of your press with the bandana facing up and the design facing down.
- Add another piece of butcher paper and press for the time temperature listed above. Then remove the paper to reveal your sublimation pet bandana!

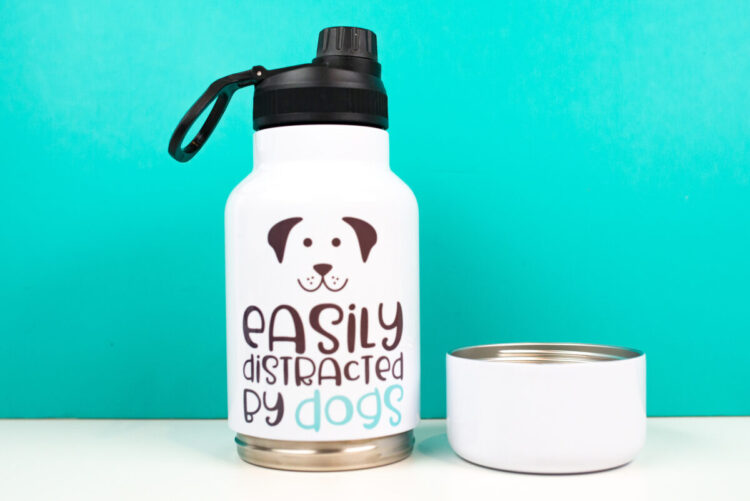
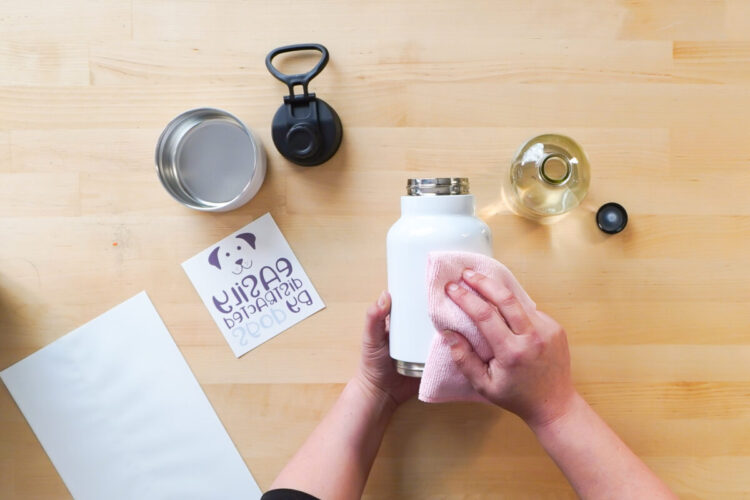
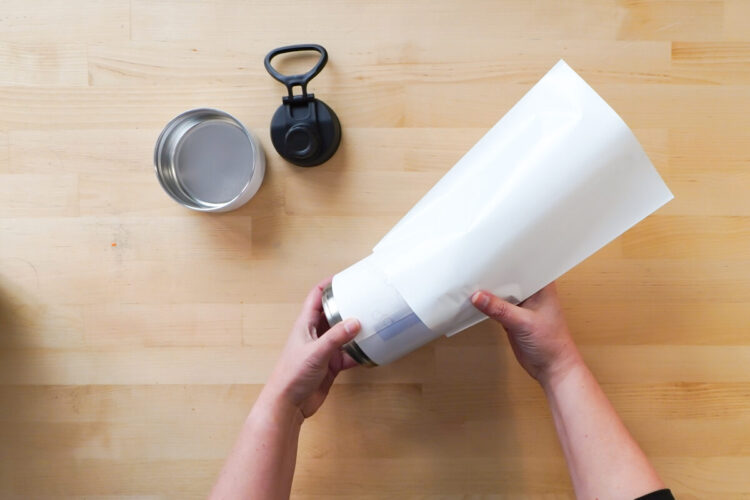
- Sublimation Water Bottle with Built In BowlThis is a great blank for going on a hike with your dog! The top part is like a regular water bottle and the bottom houses a bowl. You can either split the water bottle, with the top part for you and the bottom part for your pup, or you can use the water bottle to refill the bowl if your dog is particularly thirsty.A J-Trans Sublimation Oven was used for this particular blank, but if your tumbler press has an extra large attachment, you may be able to use that instead.360° / 375° - 120 seconds total, rotate once / 6 minutes total, rotate onceClean your blank using a lint roller or alcohol and a microfiber cloth.
- Tape your blank to the sublimation print. If you need tips and tricks, check out this post How to Tape a Tumbler to Minimize Seams and Uneven Edges.
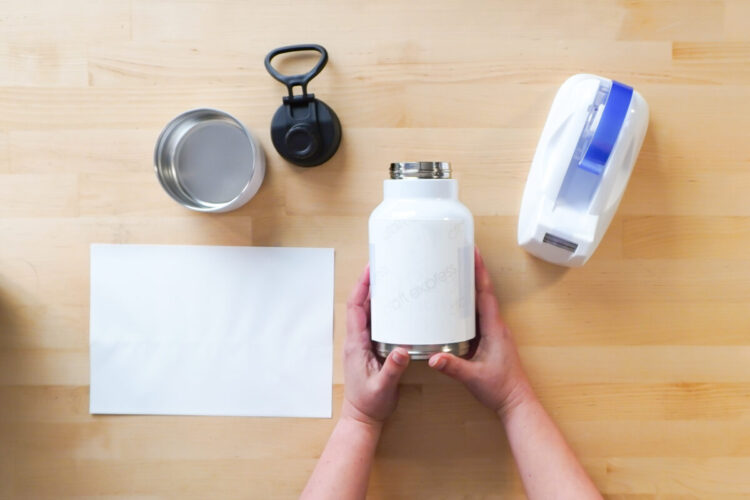
- Add your water bottle to the shrink wrap sleeve. Note that a heat gun was not used to pre-shrink the shrink wrap, since it shrinks so quickly in the oven. You can choose to if you'd like!
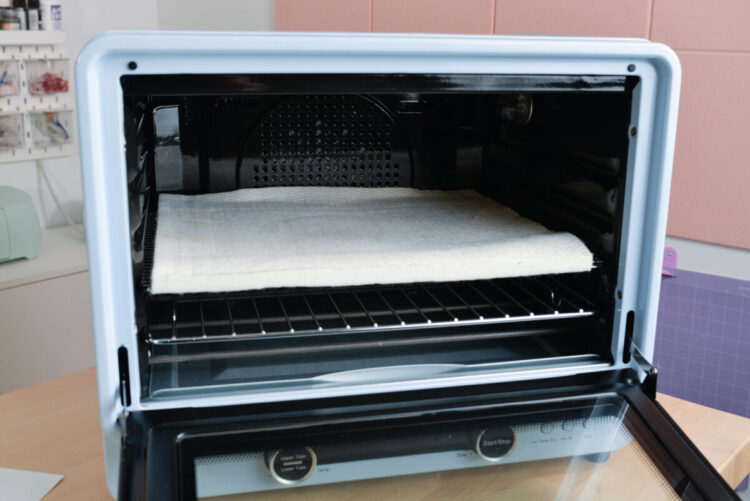
- Set your oven to the specified time and temperature. A Nomex pad was used to prevent grill lines on the project, but it's not necessary.
- Bake according to the time and temperature above, rotating once halfway through the time.Then remove the paper to reveal your water bottle!