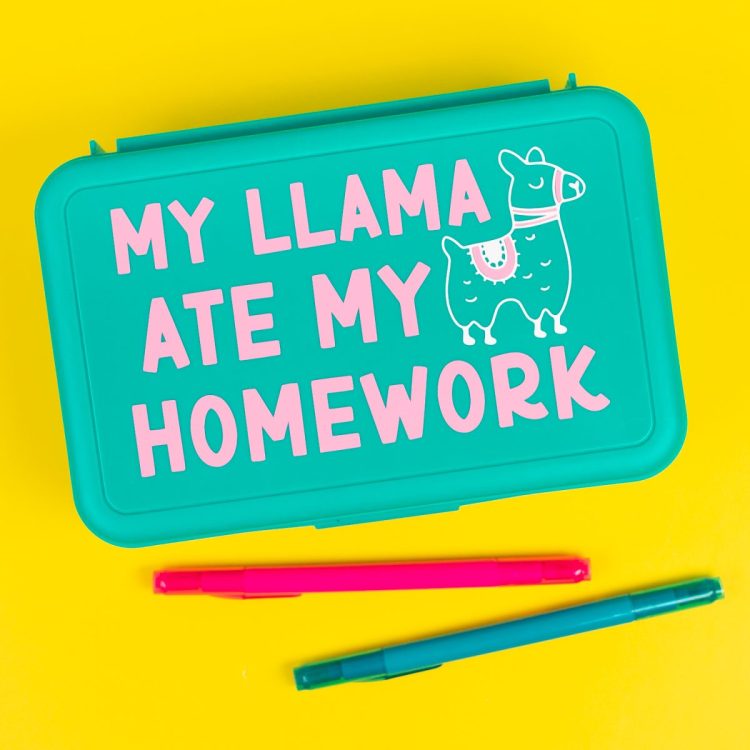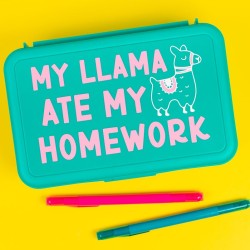
PENCIL BOX CRICUT DECAL PROJECT
Want to use your Cricut to make vinyl decals? Follow these instructions to make a cute pencil box.
Ingredients
Instructions
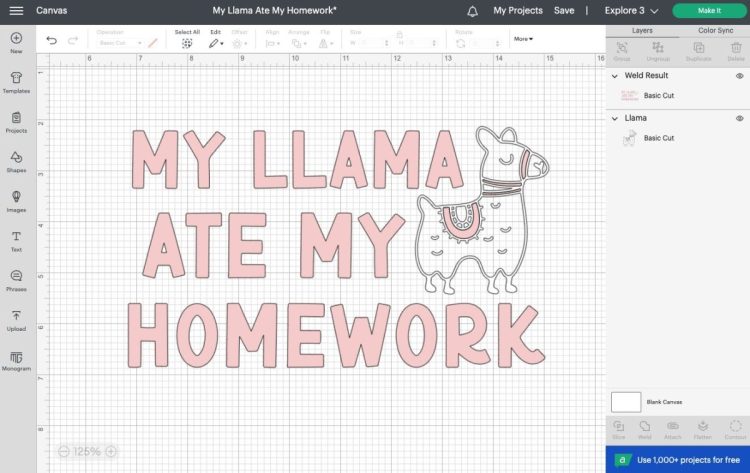
- Before you begin, make sure you have the correct machine selected in the upper right of Cricut Design Space. Cricut Explore 3 is being used for this project, so Cricut Explore Family was selected.Start by opening the Cricut Design Space file. You can edit this file if you'd like, changing the colors or even choosing a different animal in the Image Library. For this project the font BFC Birthday Party was used.
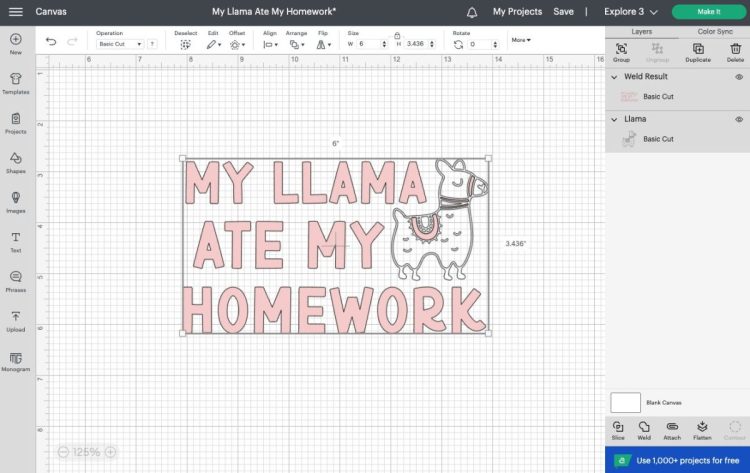
- From there, re-size your utensils to fit on your pencil case using the Size tool in the edit bar at the top. Mine ended up being 3″ tall.
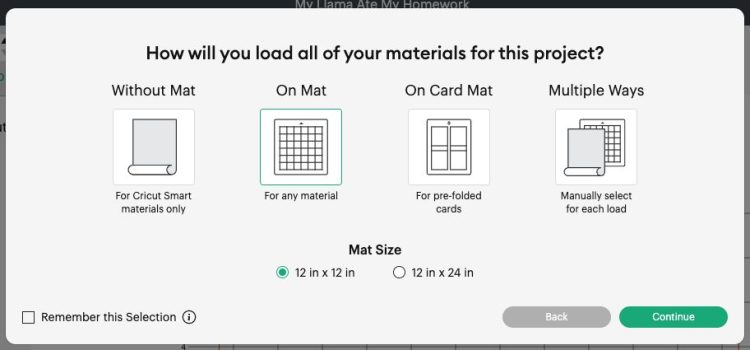
- You will see a pop-up screen that asks for your mat load type. You can cut regular vinyl on a mat, or you can use Smart Vinyl, which doesn’t require a mat. For this project regular vinyl is being used, so On Mat was chosen.
- In the Prepare screen you'll see all of your layers on the different Cricut mats.
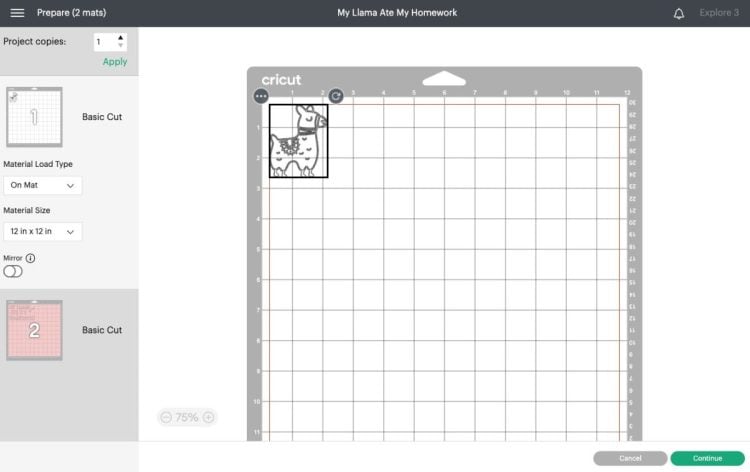
- Make sure everything looks good and click Continue to go to the Make screen. In the Make Screen, set your material to Premium Vinyl - Permanent Glossy (if you are using permanent vinyl. If you are using something else, set the material accordingly).
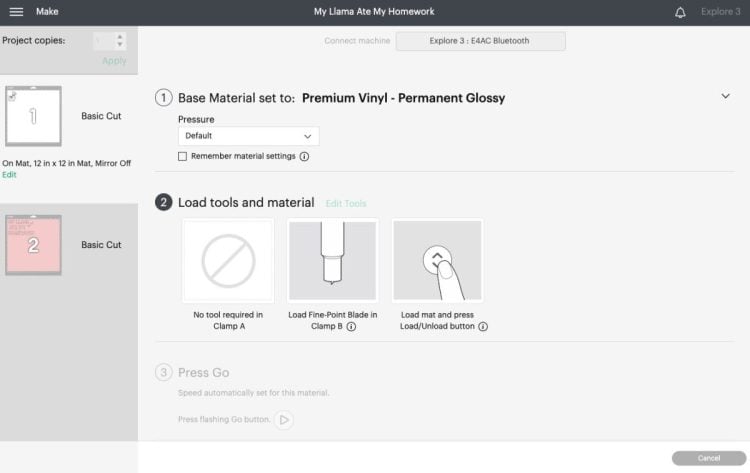
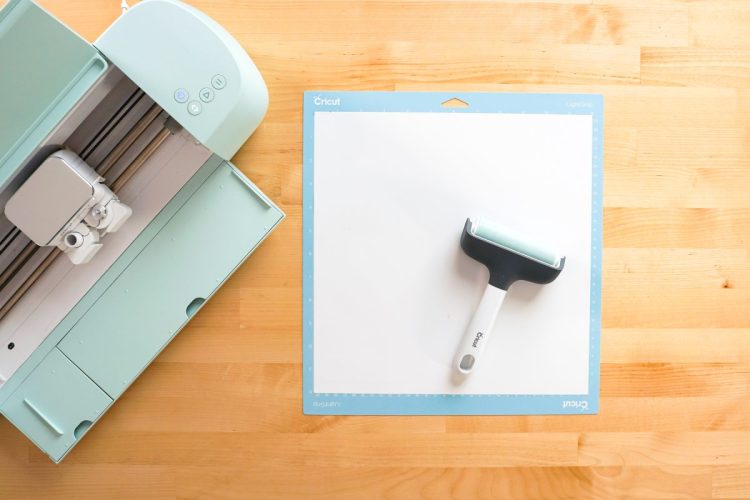
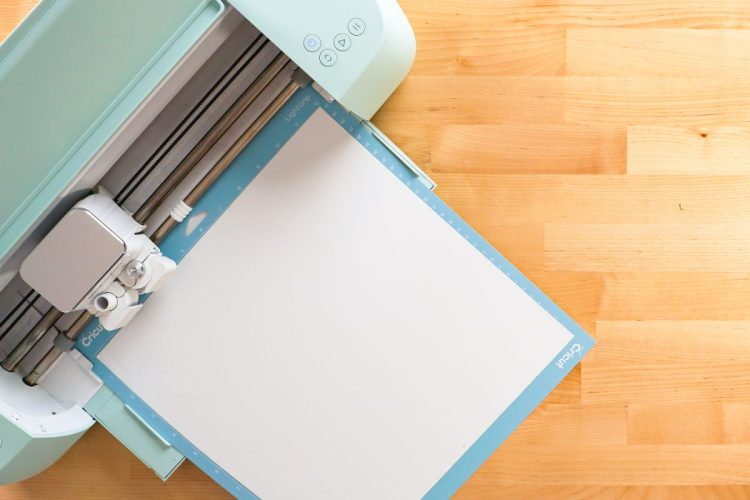
- Once you select your material, you will be prompted to insert your blade into your machine if it’s not there already.Place your vinyl on the mat, with the color side up. A brayer helps if you are having issues with the vinyl lying flat or having bubbles.
- Insert your mat into your Cricut, and press the blinking button to cut your material!
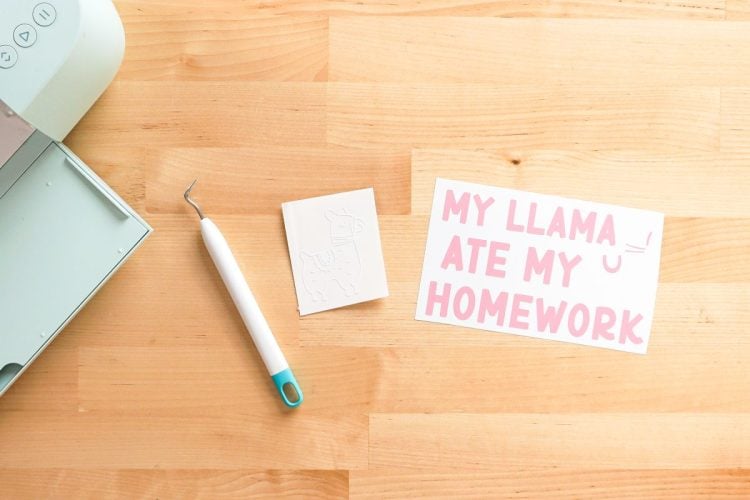
- Then either click Go in Cricut Design Space (Cricut Joy) or the blinking C (Explore or Maker). Your Cricut will quickly cut your material!Now it’s time to put this newly cut decal on your pencil case. First you will weed away the extra vinyl around your llama and words. Again, read Weeding Adhesive Vinyl for tips and tricks!
- Cut a piece of transfer tape slightly larger than your final decal and peel off the backing paper. Then place it sticky-side down on top of your larger decal.
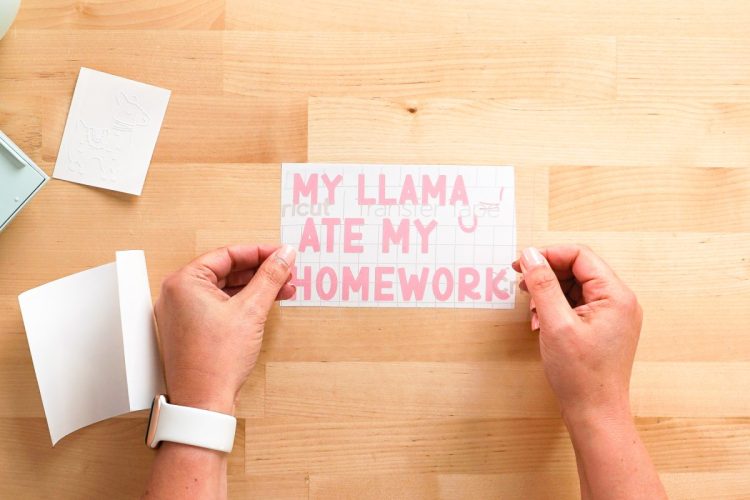
- Use a scraper to burnish the transfer tape to your decal, and then peel back the backing sheet so your vinyl sticks to the transfer tape.
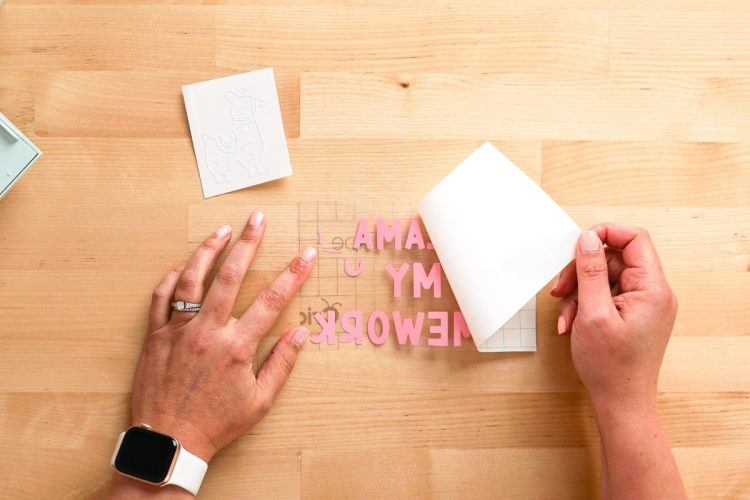
- Then carefully place your transfer tape on the second decal, lining up the pieces on the llama so they align perfectly.
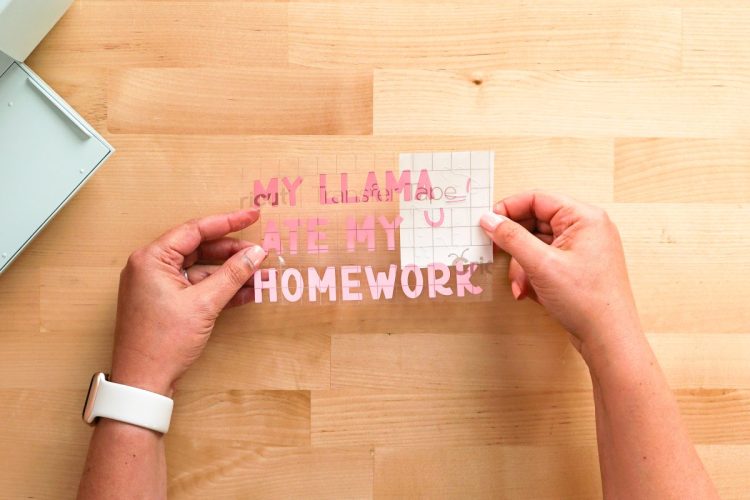
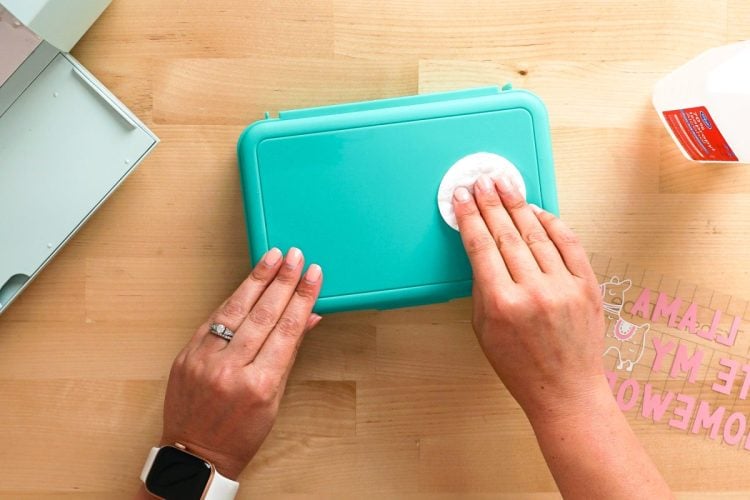
- Again, burnish using your scraper and peel the backing off the transfer tape. You should have both images on a single piece of transfer tape now.Clean your pencil case with rubbing alcohol. Make sure the case is completely dry before proceeding.
- Carefully center the image on your pencil case and press down.
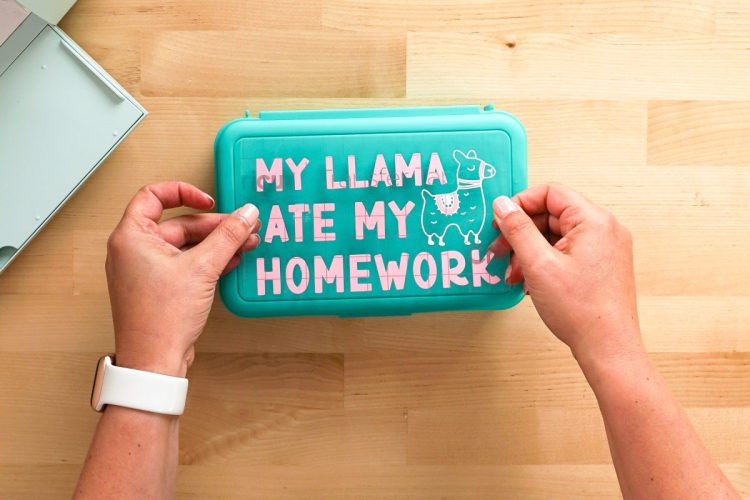
- Use the scraper to burnish your image to the pencil case.
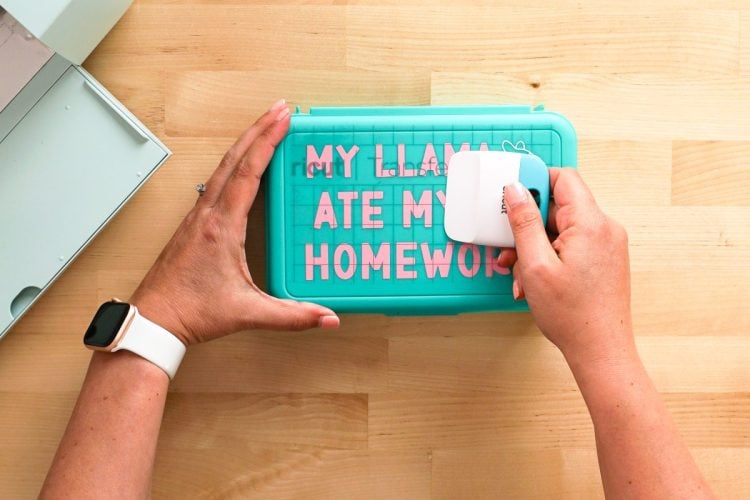
- Then peel back the transfer tape.
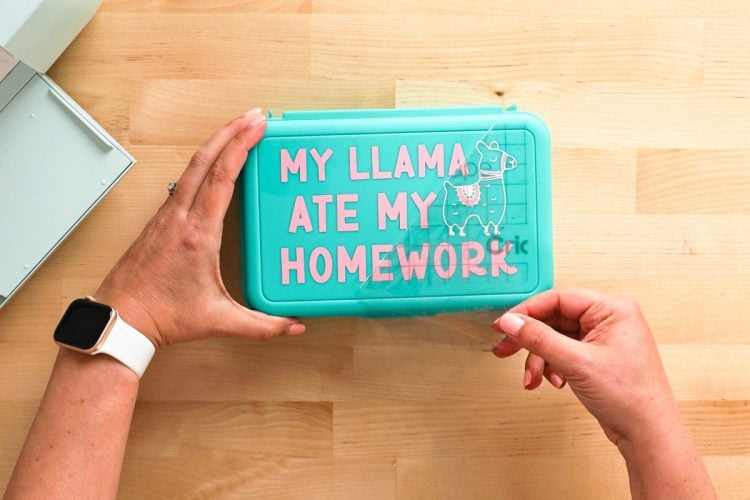
- Your decal should stick to the pencil case!