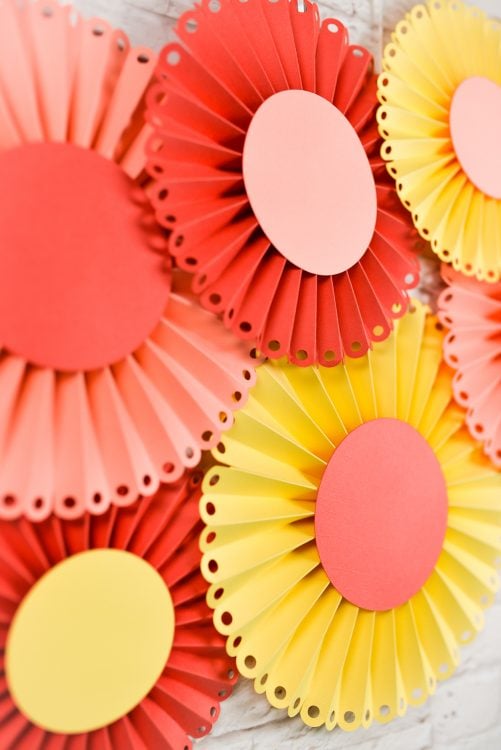
PAPER ROSETTES WITH THE CRICUT SCORING WHEEL
Create these gorgeous paper rosettes for a baby shower, bridal shower or wedding, using the Cricut Scoring Wheel.
Equipment
- Cricut Maker or
- Scoring Tool (Maker and Explore only)
Ingredients
Instructions
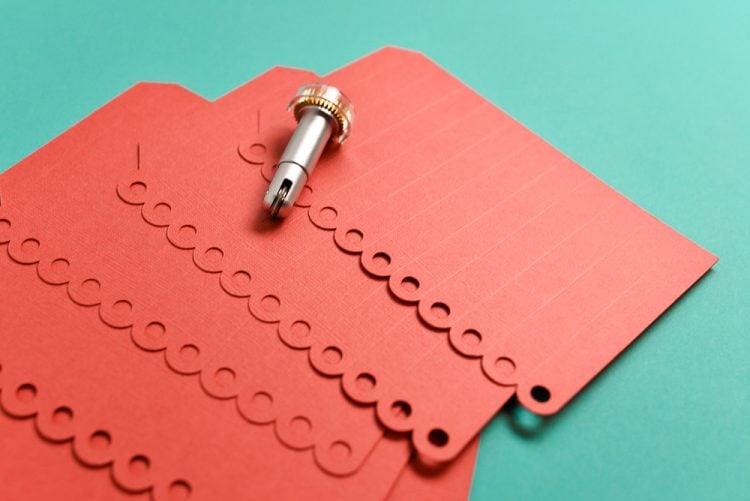
- For any rosettes made with the Maker, Cricut Design Space will prompt you to use your Cricut Scoring Wheel, which will give you amazing even, deep score lines on all your pieces. You can use your Scoring Stylus if you don't have the Scoring Wheel (or if you have a Cricut Explore, which doesn't use the Scoring Wheel).
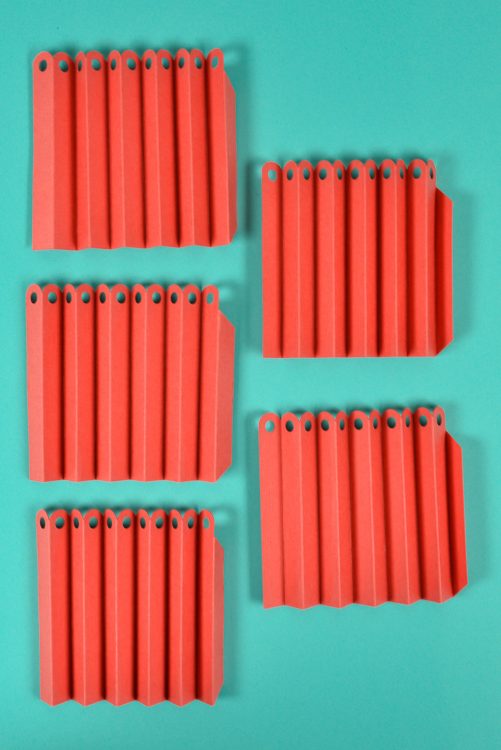
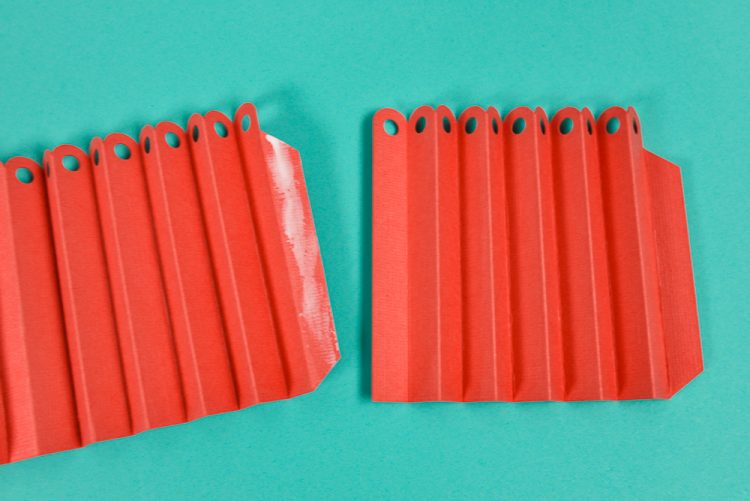
- Accordion fold each of the pieces. Each rosette has five identical pieces. Fold three of them starting with a "hill" and two of them starting with a "valley."
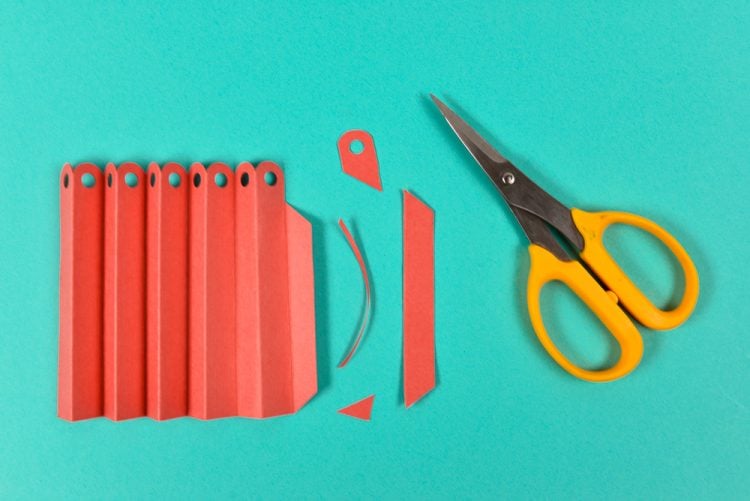
- There's one tricky part to this file. Pretty much all rosette files you will need to trim one segment off one of the "hill" pieces. Basically we need to make the "hill" piece end in a valley instead of another hill. That way there are an odd number of segments all around the rosette. You need this to make it work without having an awkward seam on your rosette.
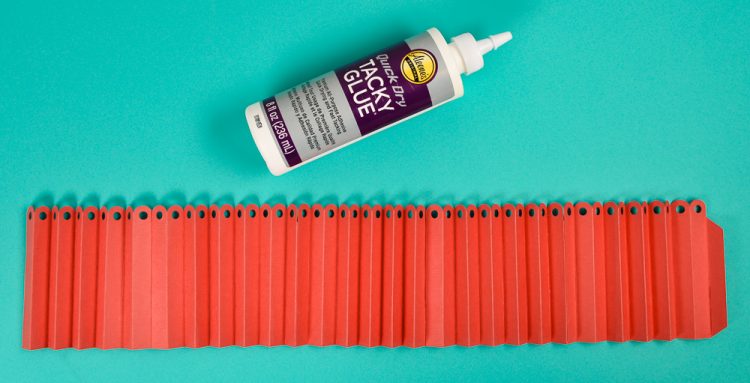
- Glue all the pieces together, attaching a "hill" piece to a "valley" piece.
- Once you have all five pieces attached, you'll notice you have a hill on one side and a valley on the other. Which makes it easy to glue together!
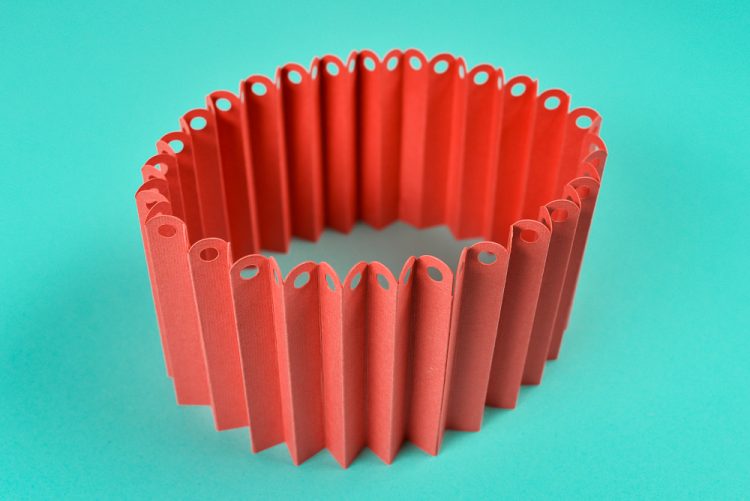
- The easiest way to make it into a rosette is to gather one end into a cone shape and press it down.
- Then use hot glue to put one circle piece on each side of your rosette.

- Let dry and hang your paper rosettes with ribbon or attach to the wall with Command Strips!