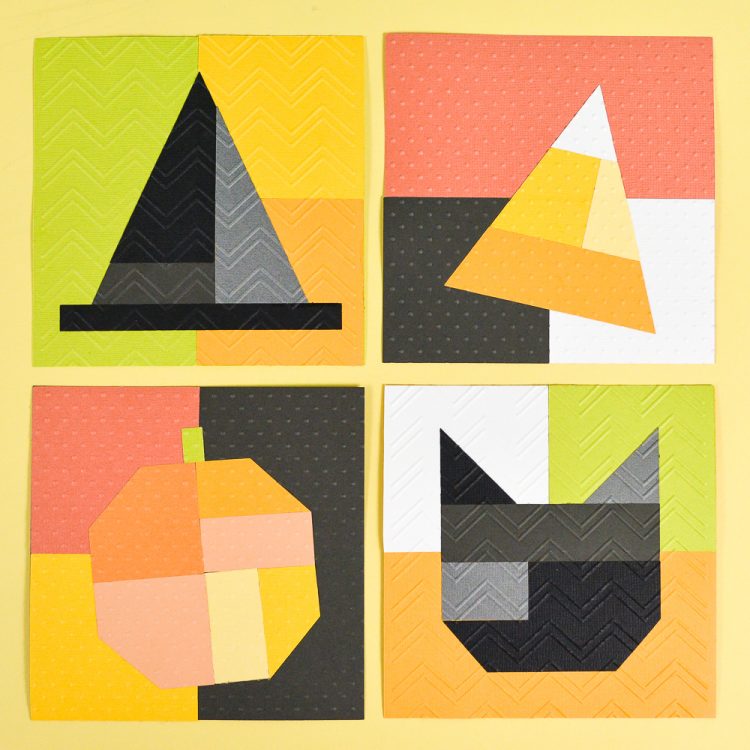
PAPER HALLOWEEN QUILT BLOCKS
No sewing skills are necessary to make these adorable paper Halloween quilt blocks! Use your Cricut Explore or Maker and Cricut Cuttlebug to make this festive Halloween decor.
Equipment
- Cricut Maker or
- Cricut Cuttlebug or
- other embossing machine + embossing folders
Ingredients
- Light cardstock in a variety of Halloween colors
- Free Halloween Quilt Blocks File #C145
Instructions
- Start by cutting out the SVG on your Cricut or other cutting machine. The file is sized so that the quilt blocks can fit within a 5"-wide embossing folder, but if you'd like to make them larger or smaller, just resize them in your cutting machine's software. You could always cut them quite large (up to 11.5" square on a Cricut) and just not emboss them, if you'd like!

- Once you have all your pieces cut out, you'll want to assemble them like a puzzle, using the above image as a reference. Use your Xyron Creative Station, if you have on, which basically makes any flat thing into a sticker. This is preferred so as to not having to mess around with spray adhesive, which can get messy. Just feed the paper pieces through the Xyron and they'll come out the other side with adhesive on the back!
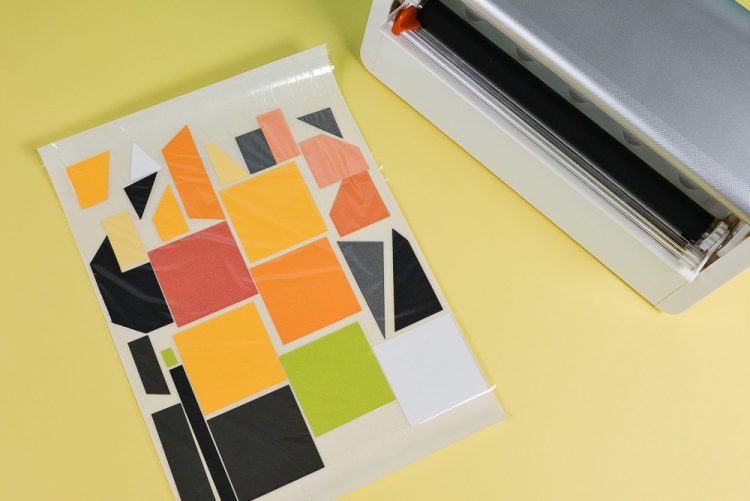
- Carefully peel up your adhesive-backed pieces and assemble your quilt blocks. Then you're going to run your quilt block through your embossing machine.

- The Cricut Cuttlebug and two embossing folders were used for this project—Cricut Swiss Dots and Park Lane Chevron. Place your quilt block inside the embossing folder. Then sandwich the folder between the two "B" plates and place that sandwich on top of the thicker "A" plate.
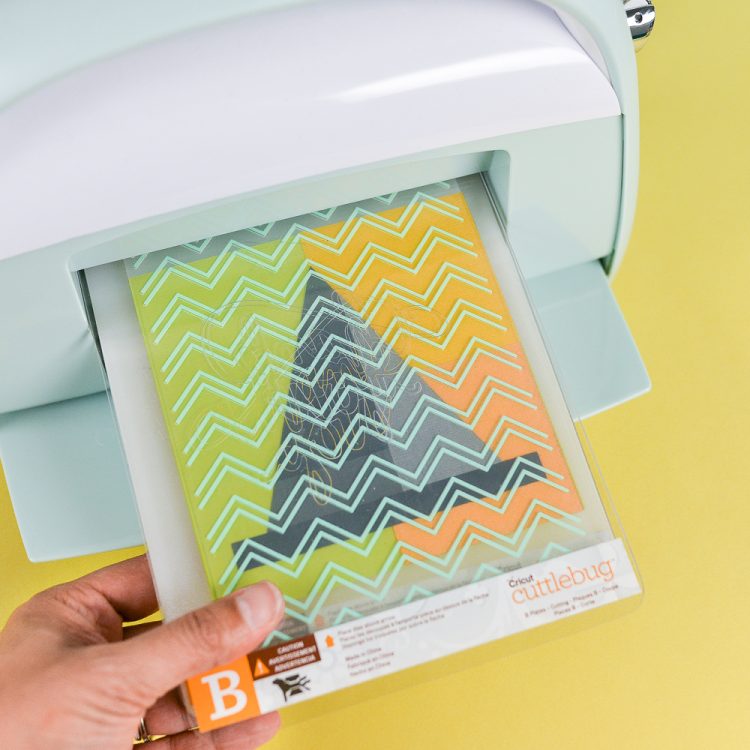
- Then run the whole thing through your Cuttlebug, using the crank on the side. It takes a little elbow grease, but it should go through the Cuttlebug and come out embossed on the other side!
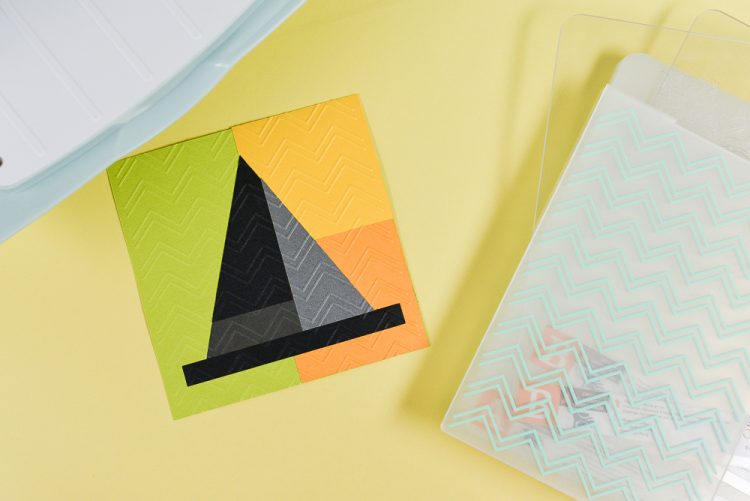
- Repeat with the other three blocks and your done! Hang them on ribbon to make a cute "quilted" banner to hang over your fireplace.