
LEMONADE STAND SIGN
Add a little sweetness to your summer decor with this DIY lemonade stand sign, made using your Cricut and iron on vinyl! Hang it as decor or use it to make a cute neighborhood lemonade stand!
Equipment
- Cricut Maker or
- Maker 3 or
- Explore 3 or
- Blue LightGrip Mat 12"x 24" for use with Adhesive Vinyl, if using
Instructions
- Material Note: You can cut this on your Cricut Maker 3 or Explore 3 using Smart Vinyl. For this project, regular vinyl was used because the colors wanted are not available in Smart Vinyl.Paint Your SignPaint your wooden sign and let it dry for at least 24 hours before adding vinyl. White paint was used for the backing board and yellow for the frame. Upload the Lemonade Sign File to Cricut Design SpaceWe will start by uploading the SVG file to Cricut Design Space (see Uploading SVG Files to Cricut Design Space if you need help).
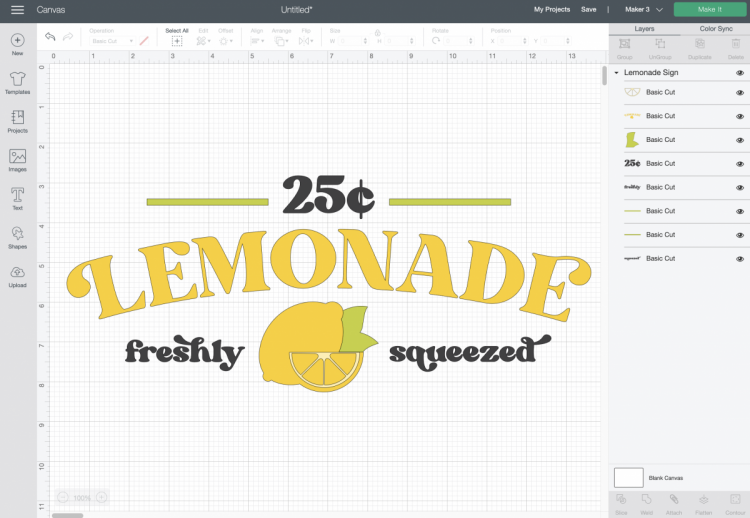
- Resize the decal to fit your sign.Note that if you don't have two colors of yellow vinyl, you can also cut that lemon wedge piece in white!That's it! You're ready to make your lemonade stand sign. Click Make It in the upper right.

- Cut Your Adhesive VinylIf you have a Cricut Maker 3 or Cricut Explore 3, you'll see a Mat Selection window. On Mat was chosen because this project is using regular adhesive vinyl, but choose Without Mat if you're using Smart Vinyl. If you do not have one of these newer machines, you won't see this screen.

- On the next Prepare Screen, you'll see your image laid out on the mat (or just on the vinyl if using Smart Vinyl).
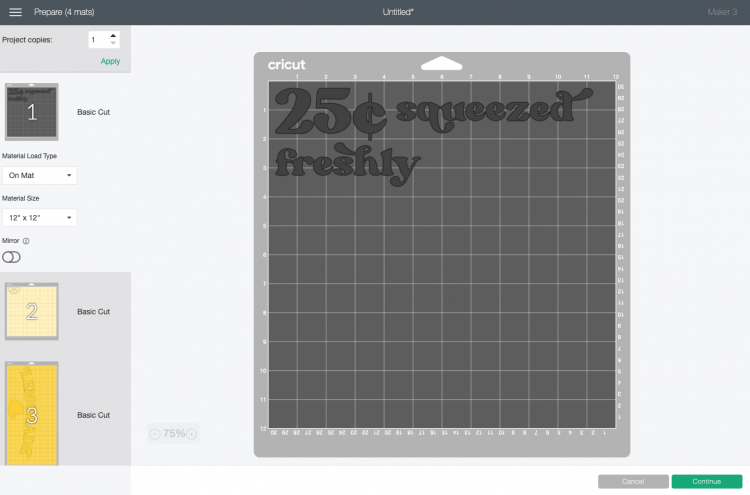
- On the Make Screen, you'll set your material to vinyl. Make sure you have your fine point blade in your machine, insert your mat, and your Cricut will cut your project!

- Weed Your Adhesive VinylNext we're going to "weed" the negative space from around each image. I have an extensive post about Weeding Adhesive Vinyl, which you'll want to read—tons of tips and tricks to making it easier.

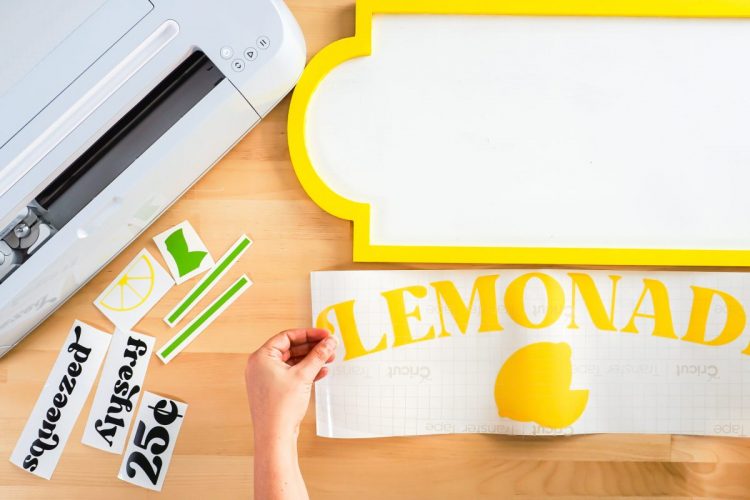
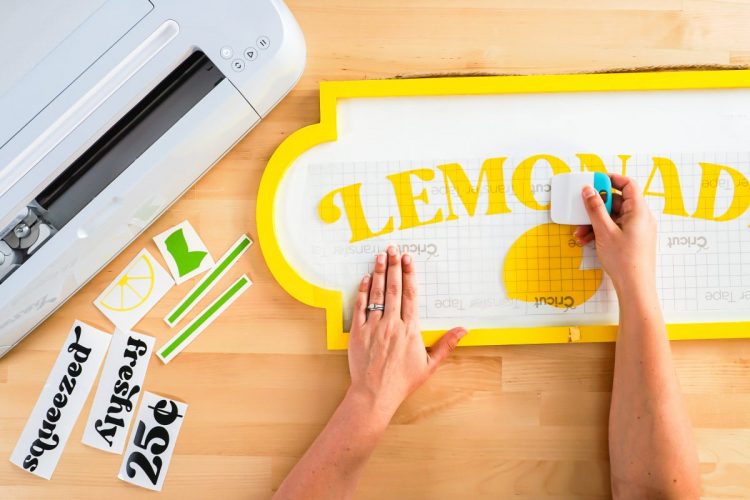
- Use Transfer Tape to Adhere Your VinylOnce all of your decals are weeded, it’s time to use transfer tape to adhere it to your sign. You can see an in-depth tutorial about Using Transfer Tape if you need it (plus troubleshooting tips if you’re struggling!).Cut a piece of transfer tape the same size as your decals, except for the green stripes and the lemon leaves—those you can place by hand.. Peel the backing sheet off the transfer tape and place the sticky side of the transfer tape down on your decal.
- You can use your hands or a scraper to burnish the transfer tape down on top of the vinyl.

- Then flip it over, and peel the backing sheet away from the transfer tape. Your decal should stick to the transfer tape—you can use your fingernail to catch anything that isn’t sticking cleanly.
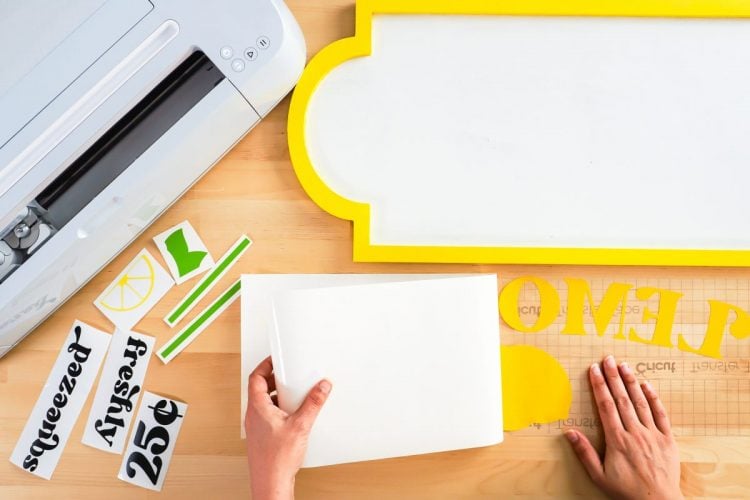
- Then flip it over and press it onto your sign! Using a little piece of tape on the frame helps to know where the center of the frame is. Use the scraper to burnish the vinyl into the frame.
- Then carefully peel back the transfer tape and the vinyl should stick to your sign! Repeat with the other layers—the black text and the lemon slice.

- Place the green stripes and lemon leaves by hand.
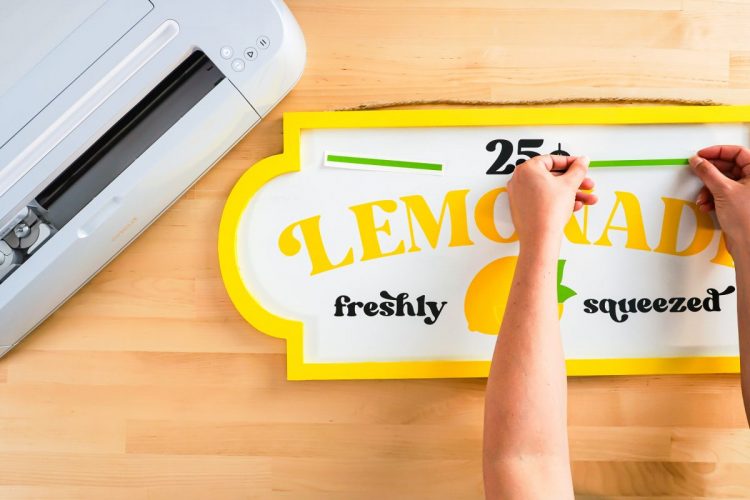
- You're done! Have a lemonade sale or just hang this in your home as part of your summer decor!