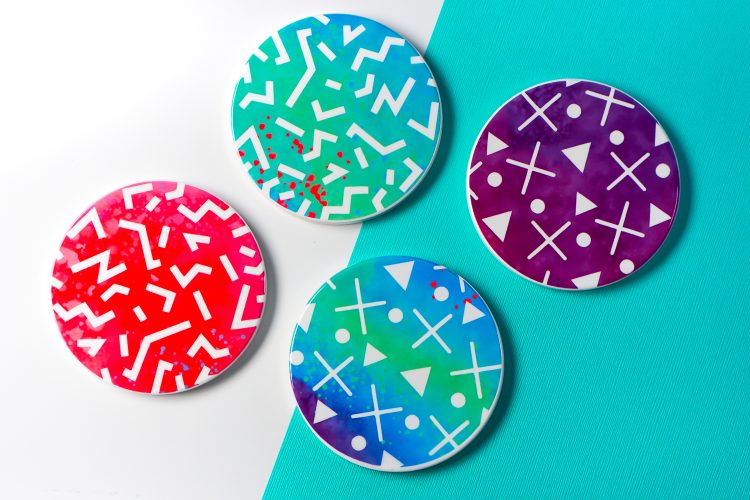
INFUSIBLE INK COASTERS
Ceramic coasters that look like they came from the store? Totally possible with Cricut Infusible Ink! Get the tutorial plus my tricks and tips for making Cricut Infusible Ink coasters.
Equipment
- Cricut Maker or
- Butcher paper (comes with your transfer sheet)
Instructions
- IMPORTANT: Cricut has two types of coasters—round coasters that are poly-coated ceramic, and square coasters that have a cork backing. The ceramic coasters are being used for this project. If you are using the square coasters, make sure to check Cricut's Heat Guide for the proper settings. The time is MUCH shorter for the cork-backed coasters than the ceramic coasters.Make sure to read these instructions carefully. Infusible Ink is different than other Cricut materials and has its own special process to get the best result. You don't want to ruin your project, your EasyPress mat, your EasyPress, or your window....when you throw everything through it.
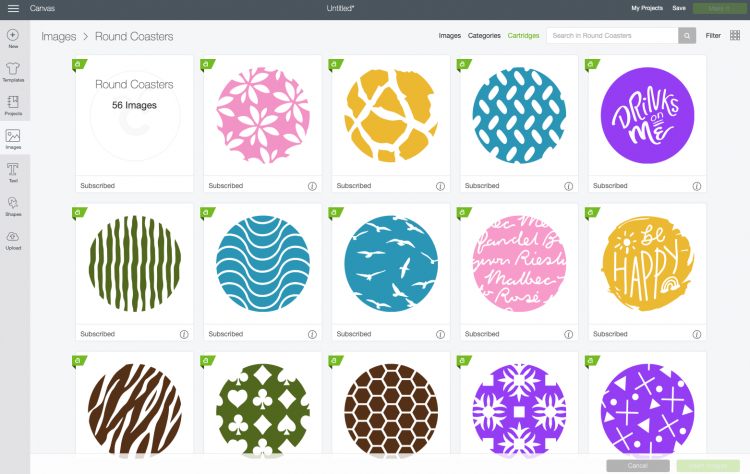
- Start by creating your design for your coasters in Cricut Design Space. If you are making your own design, the coasters are 3.5" x 3.5", so take that size into consideration. The coasters in the Cricut Image Library are sized properly.
- Duplicate the two designs you choose, and make them all the same color so they cut on the same sheet of Infusible Ink transfer paper

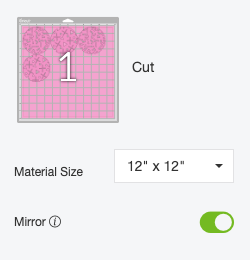
- Click Make It in the upper right corner. When you get to the Prepare screen, make sure to mirror your image if it needs to be on your coaster a certain way (like with text). My pattern didn't matter, but DO NOT skip this step if you have text or another image that only makes sense one way. Infusible Ink is like iron on vinyl in that you need to reverse your image for it to adhere correctly to the base surface. Then click Continue.
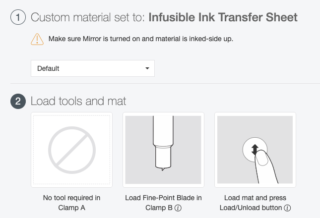
- In the Make screen, select Infusible Ink Transfer Sheet as your material (use the Custom Material setting on the Explore dial and then search for "ink"). Make sure you have the Fine Point blade inserted.
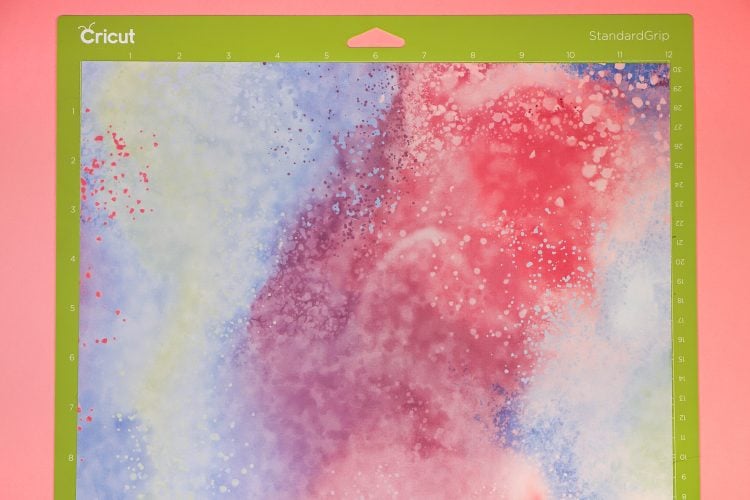
- Cut Your Design using Your Maker or ExplorePlace your Infusible Ink transfer sheet liner side down on a green cutting mat using your Cricut brayer to help smooth it out on the mat. You can see that the transfer sheet is dull compared to the final coasters.Then insert into your machine and cut!
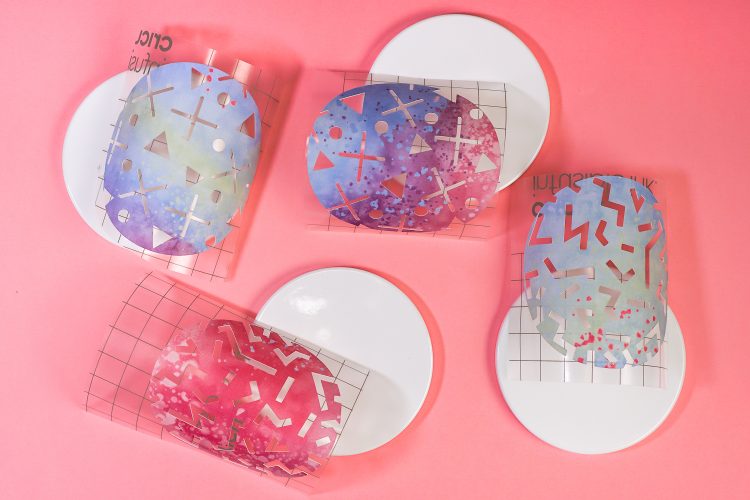
- Weeding Cricut Infusing InkUse the method recommended by Cricut—straight up use your hands. The Infusible Ink is more like a double layer of paper—there's a paper ink layer and then a thin paper liner. You can sort of just bend the paper and the negative space comes up easily off the backing plastic.
- Laying Out Your Coasters for Infusible InkAgain, read this section carefully! I'm going to have you make a stack. Bottom to top it goes:EasyPress MatWhite cardstock (this protects your mat)Weeded transfer image, colored-side UPCoaster, shiny side DOWN, centered on the transfer imageButcher paperEasyPress 2The EasyPress 2 will heat your image THROUGH the coaster.
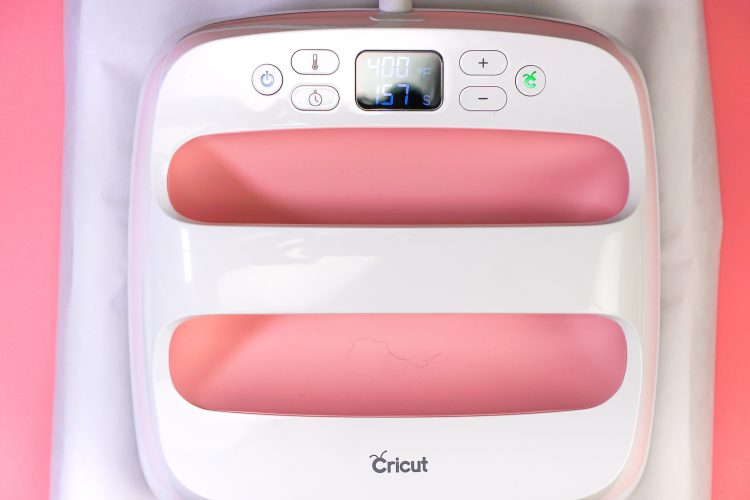
- Heat Time & Temperature SettingsThe EasyPress 2 is the easiest heating method for Infusible Ink. You can also use a heat press (see this heat source comparison post). The EasyPress 2 goes up to 400°, vs the original EasyPress, which only reaches 350°. Cricut has stated that you can try the original, but you may not get quite as vibrant an image.According to Cricut's Heat Settings Guide, the time and temperature for Infusible Ink on ceramic coasters is 400° for 240 seconds. <-- THAT IS NOT A TYPO. It's a full four minutes of time on your EasyPress. This allows the heat to penetrate through the coaster and into the transfer sheet, sublimating it onto the coaster.
- Use the EasyPress to Transfer Cricut Infusible InkOnce your EasyPress 2 is to temperature, place it carefully on top of the stack you made. Try not to let it move the coaster, or your image might shift (one of these aren't t perfectly centered because of this shift!). Then let the EasyPress just sit there for 240 seconds—do not press with your hands. Once the countdown is done, return the EasyPress to its base.
- Then WAIT. The coaster is, forgive this language, DAMN HOT. Not only is it hot, it stays hot for a lot longer than you would expect. If you do need to move your coaster to do another one on your mat, use an oven mitt or something similar.The color on the transfer sheet looks so dull but it's incredibly vibrant once sublimated. There's absolutely no "edge" on the transfer—it's as smooth as glass.