Infusible Ink Coasters
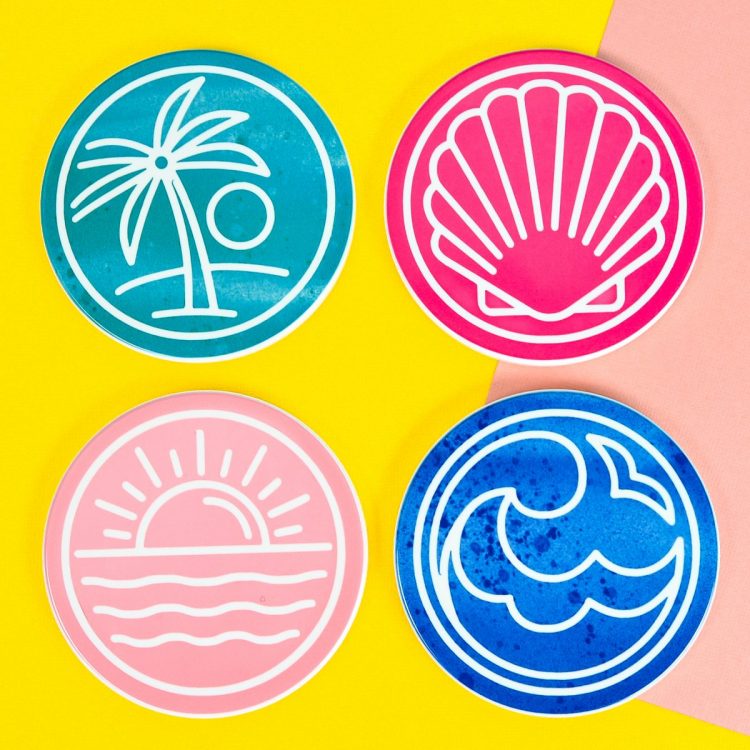
Need a place to set down that ice cold summer drink? Make these fun summer Cricut Infusible Ink coasters! Get the full tutorial plus tips and tricks for getting your coasters right the first time.
Equipment
- Cricut Maker or
- Maker 3 or
- Explore 3 or
- Pressing Mat or
Ingredients
- Cricut Infusible Ink Transfer Sheets + included butcher paper
- Cricut Infusible Ink coasters (see note below)
- White cardstock
- Summer Coaster SVG
Instructions
- IMPORTANT: Cricut has two types of coasters—round coasters that are poly-coated ceramic, and square coasters that have a cork backing. I’m using the ceramic coasters for this project. If you are using the square coasters for a project, make sure to check Cricut’s Heat Guide for the proper settings. The time is MUCH shorter for the cork-backed coasters than the ceramic coasters.Upload the Summer Coaster File to Cricut Design SpaceUpload the SVG file to Cricut Design Space (see Uploading SVG Files to Cricut Design Space if you need help).
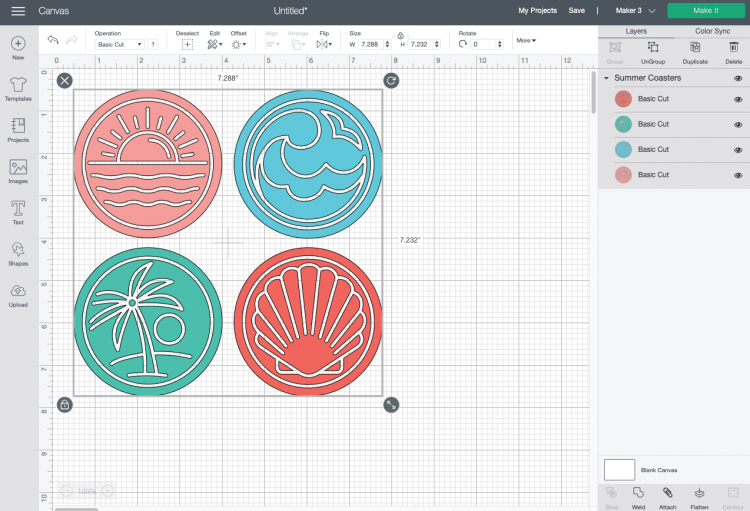
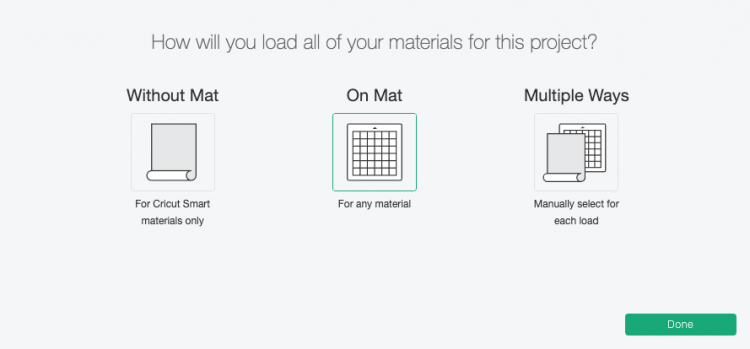
- This project was specifically designed for the Cricut Infusible Ink coasters, so there’s no additional modifying of the file that you will need to do. Click Make It in the upper right to cut the file.If you have a Cricut Maker 3 or Cricut Explore 3, you'll see a Mat Selection window. Because we are cutting Infusible Ink, choose On Mat. If you do not have one of these newer machines, you won't see this screen.
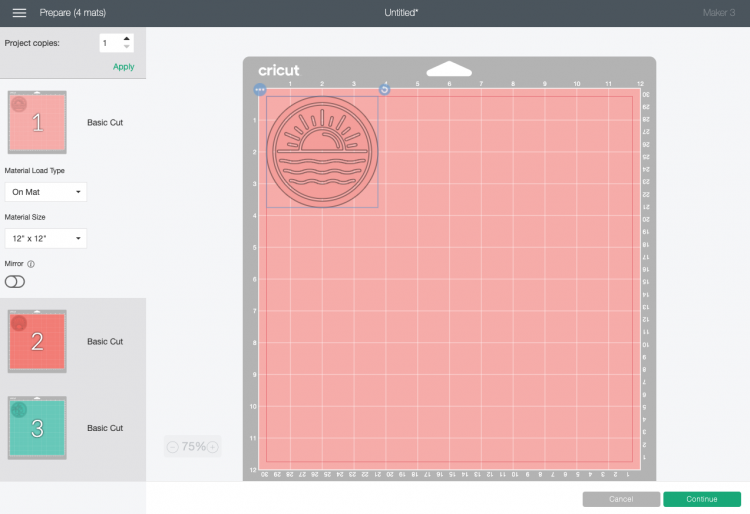
- In the Prepare Screen, you’ll see the four coasters on four different mats. Click the Mirror slider on each mat so that your image will be correct. It's not super important on this file (the palm tree works facing either way, for instance), but DO NOT skip this step if you are using a different file with text or another image that only makes sense one way.
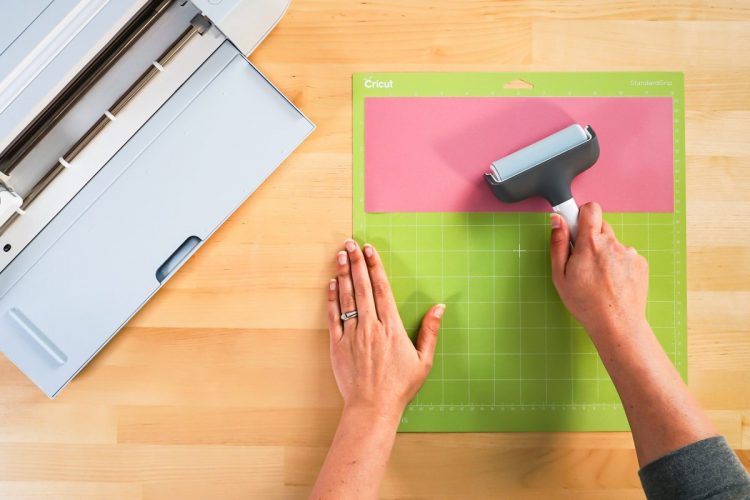
- Cut Your Infusible Ink for Your CoastersOn the Make Screen, you’ll set your material to Infusible Ink Transfer Sheets. Place your Infusible Ink transfer sheet liner side down on a green cutting mat (color side up). Use your Cricut brayer to help smooth it out on the mat. You’ll notice that it is MUCH lighter than the final transferred color—this is normal.
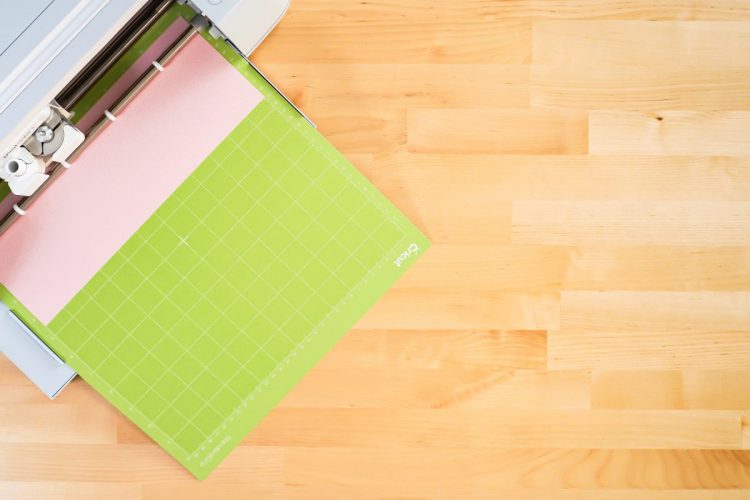
- Make sure you have your fine point blade in your machine, insert your mat, and your Cricut will cut your project!
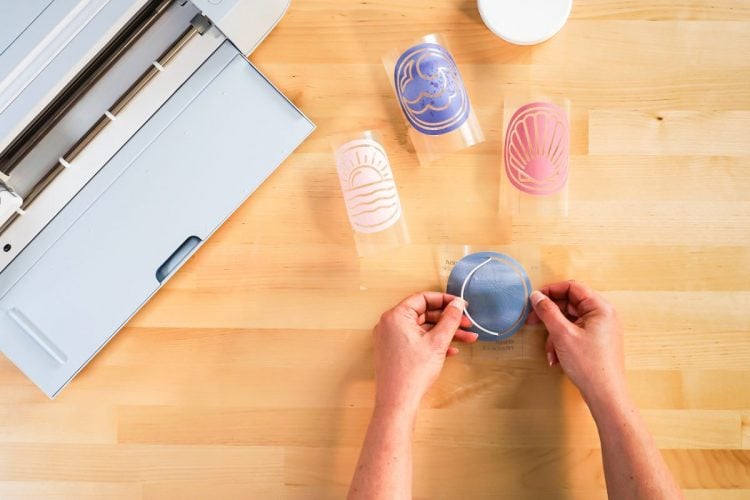
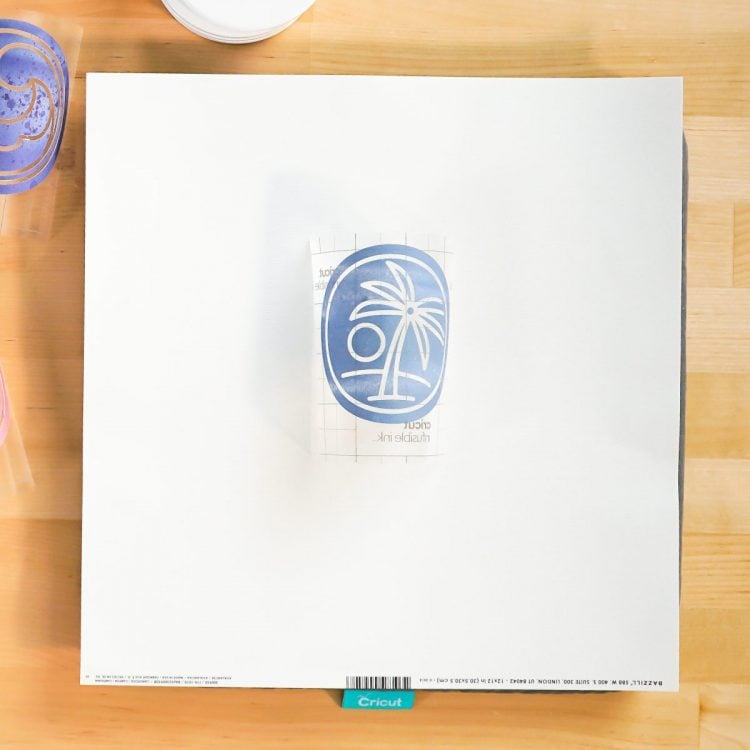
- Weed Your Infusible InkTo weed Infusible Ink, you aren’t going to use a weeding tool like you would with iron on or adhesive vinyl. Instead, you’re going to gently bend the project and use your fingers to pull up the negative material. In this case, that is actually the image itself—you’ll want to keep the outline of the summery scenes.Wash your hands right before weeding or wear gloves—the oils in your fingers can leave marks on the transfer sheet that you’ll see in your final project.
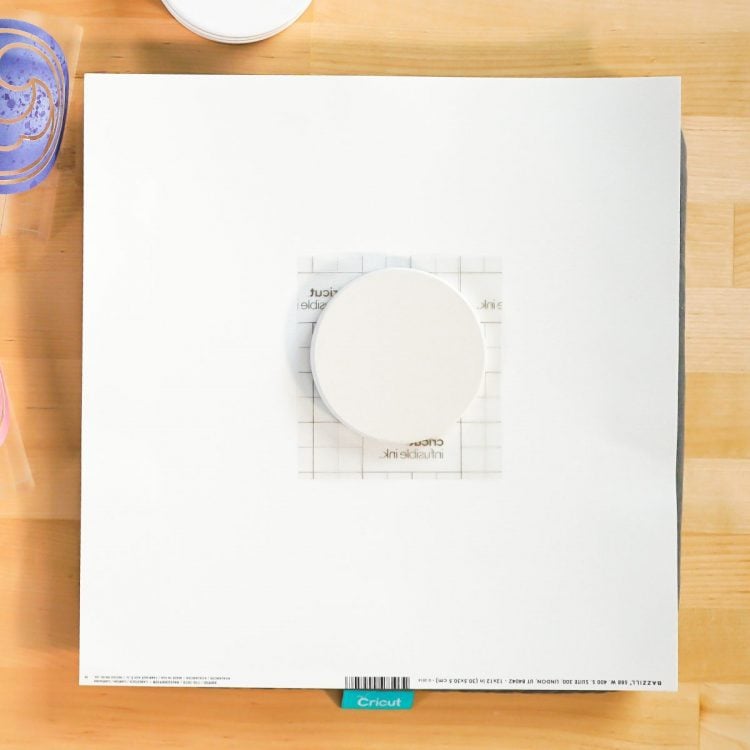
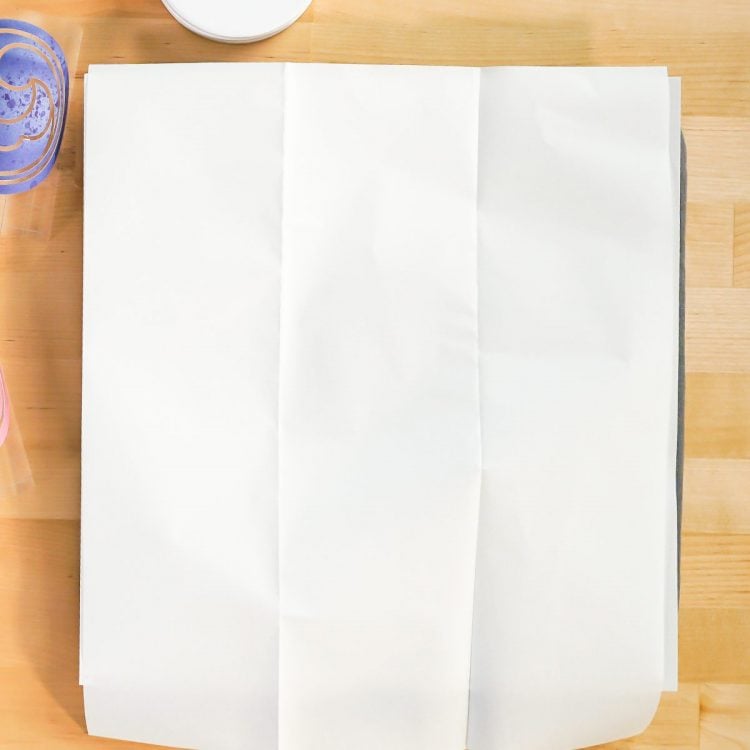
- Build Your Infusible Ink StackRead this section carefully! You are going to make a stack. Bottom to top it goes:EasyPress MatWhite cardstock (this protects your mat)Weeded transfer image, colored-side UPCoaster, shiny side DOWN, centered on the transfer imageButcher paperEasyPress 2
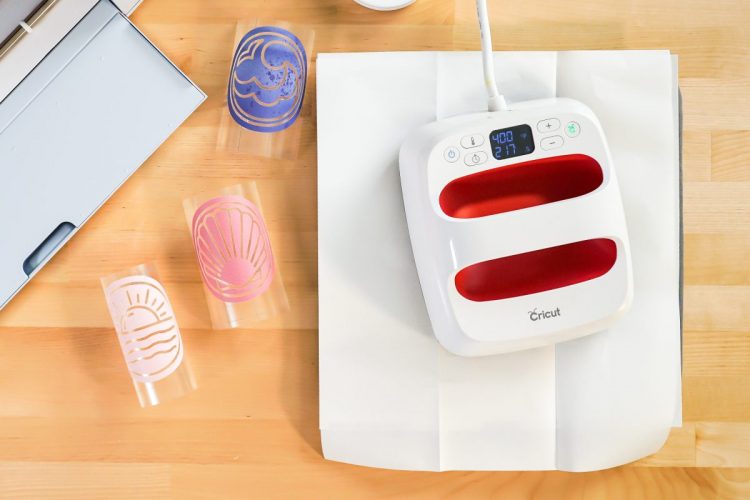
- The EasyPress 2 will heat your image THROUGH the coaster.Heat Time & Temperature SettingsAccording to Cricut’s Heat Settings Guide, the time and temperature for Infusible Ink on ceramic coasters is 400° for 240 seconds. <– THAT IS NOT A TYPO. It’s a full four minutes of time on your EasyPress 2. This allows the heat to penetrate through the coaster and into the transfer sheet, sublimating it onto the coaster.
- Use The EasyPress To Transfer The Cricut Infusible Ink To The CoasterOnce your EasyPress 2 is to temperature, place it carefully on top of the stack you made. Try not to let it move the coaster, or your image might shift. Then let the EasyPress just sit there for 240 seconds—do not press with your hands. Once the countdown is done, return the EasyPress to its base.
- Then WAIT. The coaster is INSANELY HOT. Not only is it hot, it stays hot for a lot longer than you would expect. If you want to keep your fingerprints, don’t touch it for a bit. If you do need to move your coaster to do another one on your mat, use an oven mitt or something similar.Repeat this process with the other three coasters and you have the cutest set of summer coasters!