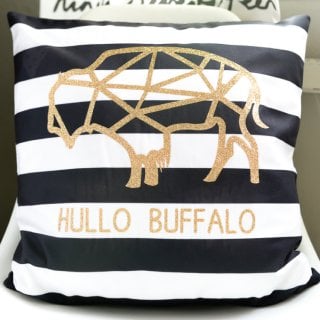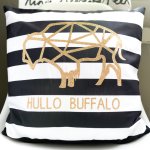
HULLO BUFFALO CRCIUT IRON-ON VINYL PILLOW
Use your Cricut to make this modern geometric buffalo pillow using glitter iron-on vinyl!
Equipment
- Cricut Maker or
Ingredients
Instructions
- Start by making your file in the Cricut Design Space. Search for "buffalo" and navigate to the geometric buffalo (or choose one of the other many buffalo options!). Insert it into the design space. Then, using the text tool, type "hullo buffalo" below the image. You can choose different fonts -- both those native to the Cricut Design Space or one off your own computer.
- Then use the "attach" tool to attach the buffalo and the words. Re-size the image to fit your pillow -- This pillow is 18" x 18" so the buffalo was made as big as the mat would allow: 11.5" x 11.5". Easy!It's time to cut! Click the green "go" in the upper right corner of the Cricut Design Space. First, and very important, mirror your image -- this means your text will read correctly when ironed on.
- Then select your cutting material. Set your Cricut's dial to "custom" and on your computer, use the dropdown to select "iron-on, glitter - 0.5mm."

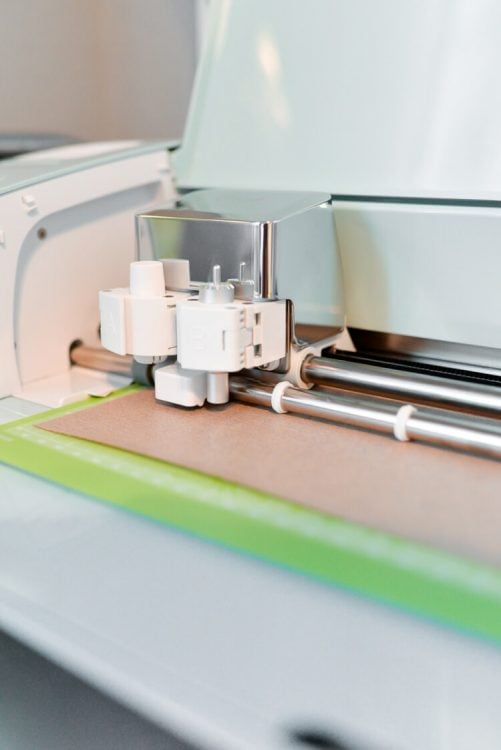
- Place the glitter iron-on vinyl shiny-side down on your cutting mat and load into your machine. Hit the blinking Cricut button on your machine and watch it get to work!
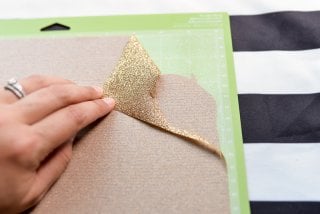
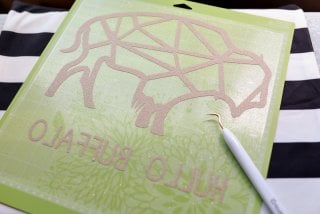
- Once it's done, unload the mat from the machine. You'll need to weed out everything that is not part of the buffalo image and words. Use your fingers and sometimes the Cricut Weeding Tool for small pieces. The buffalo and words will remain adhered to the plastic backing material.
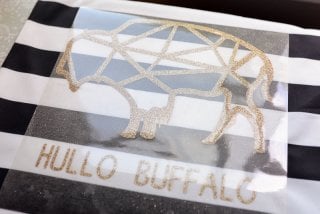
- Peel the backing material and your image off the mat and place right-side up on your pillow. Because this project is using a striped pillow, had to make sure the words were centered in one of the stripes for easy reading.
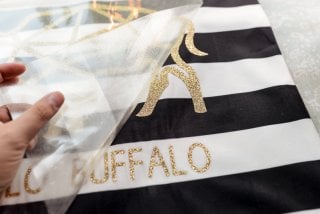
- Using a hot iron, press hard all over your image (don't run the iron back and forth). Soon you'll be able to peel off the backing material, leaving you with just the iron-on. If you find that it's not adhering to the pillow, press harder and longer with your iron until it sticks.
- That's it!