HOW TO USE THE FOIL QUILL
The Foil Quill is a revolutionary heating tool that works in all major cutting machines to beautifully foil projects on a variety of materials!
Equipment
- Cricut Maker or
Instructions
- Important: Cricut has stated that using the Foil Quill will void your machine's warranty. For this project an older machine is being used which is already out of warranty. If you have an issue with your Cricut related to the Foil Quill, We R Memory Keepers has asked for you to contact them at acinfo@americancrafts.com for resolution. Use at your own discretion.
- Creating Your Project in Cricut Design SpaceStart by creating your file in Cricut Design Space. Create a new document and click on Images, and then search in the upper right for "constellation." For this project the "Orion" draw file was chosen.
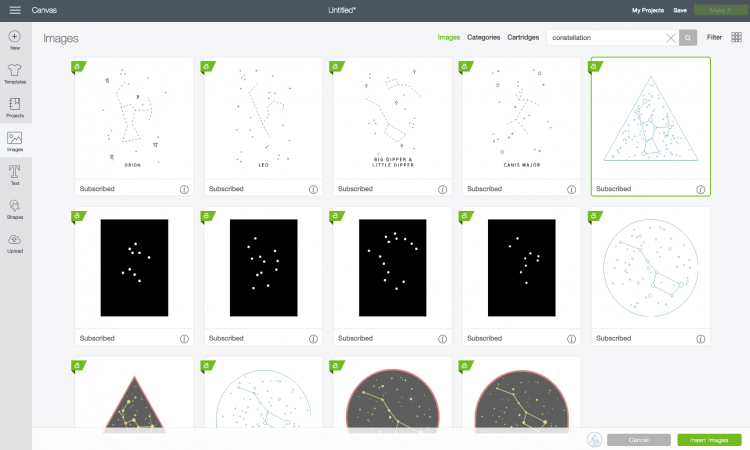
- Select the image you'd like and click Insert Images.
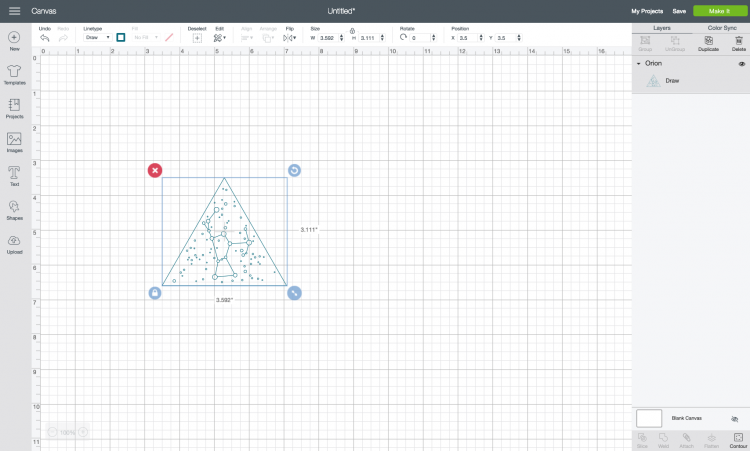
- Using the Size adjusted in the Edit Toolbar at the top, change the size of your constellation to your project size. For this project the design is 8" across.
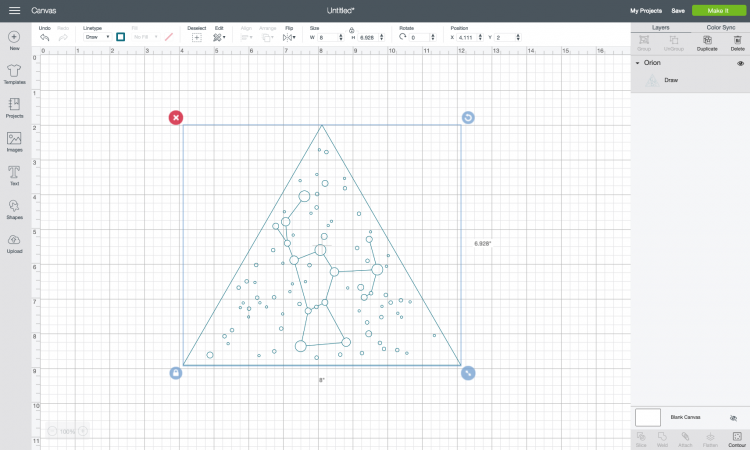
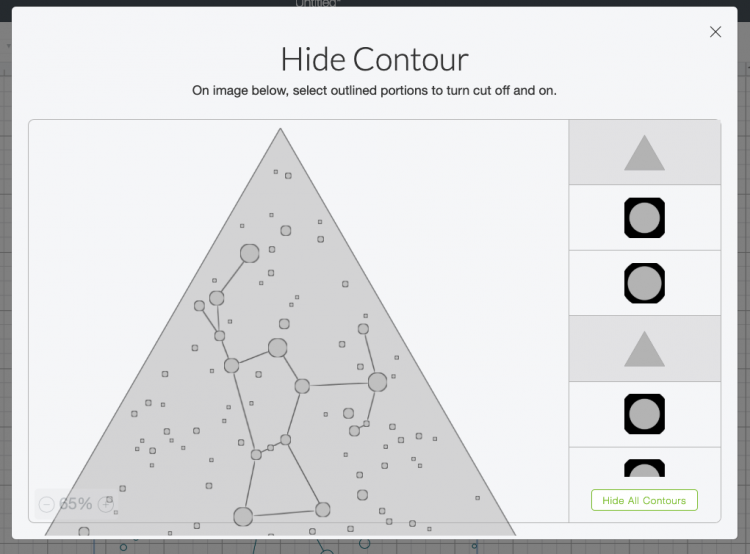
- This is a draw file, meaning it supposed to be drawn using the Cricut's pen. Instead, we are going to use the Foil Quill. We don't want that triangle shape around the outside to draw, so use Contour in the lower left to delete the triangle from around the shape. Found that there were actually two triangle shapes and had to click on both to get the triangle to disappear. Learn more about Contour here.
- Now you need an actual cut shape so that this will cut into a triangle. Thankfully it's an equilateral triangle, which is easy to make using the Shapes tool in the Design Panel on the left.
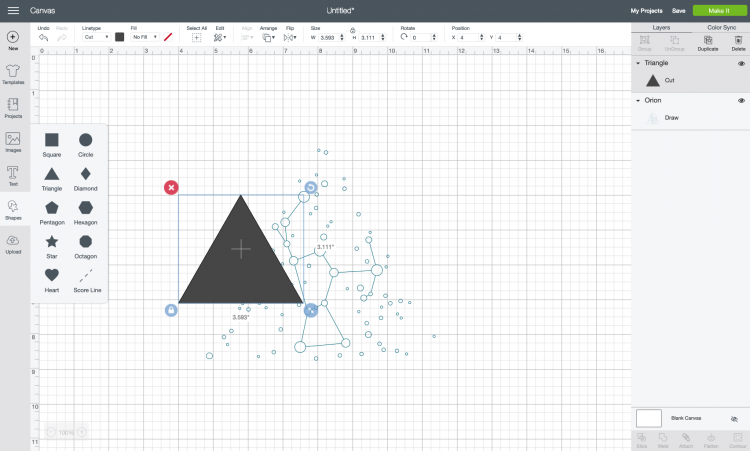
- Then resize the triangle to be just larger than your image. This one was made 8.5" wide, because the original drawn triangle was a little tighter than preferred for this project.
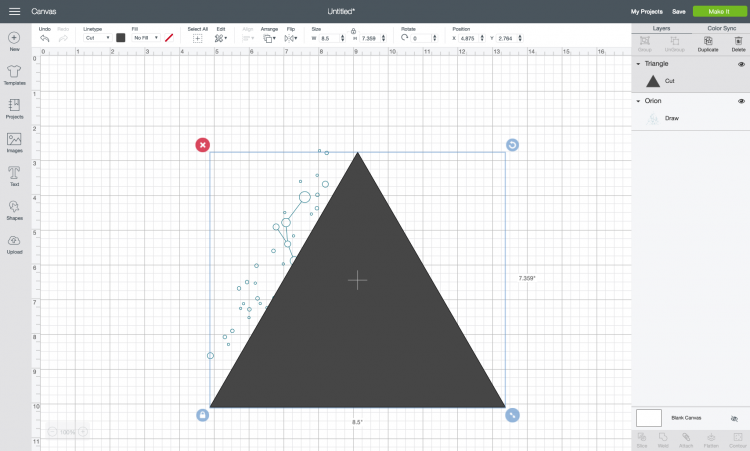
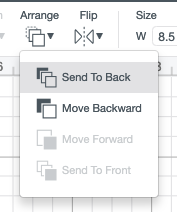
- Your triangle will be in the front of your project but we need it behind the draw image. Use the Arrange tool in the Edit Toolbar at the top to send the triangle to the back (make sure your triangle is selected when you use this tool).
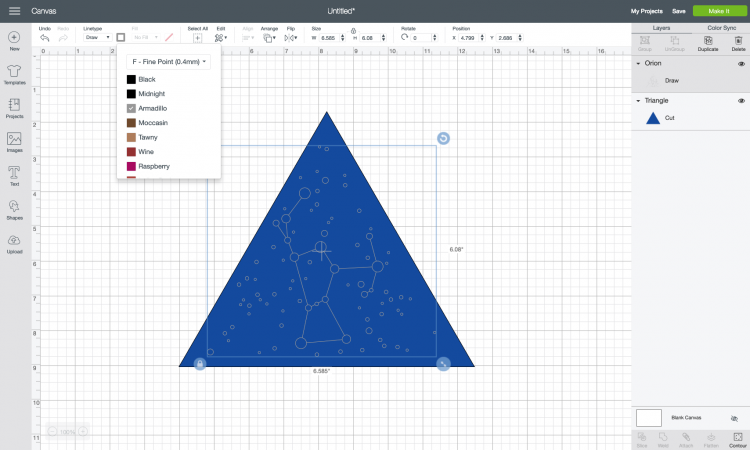
- Then center the triangle and the constellation shape. You can also change the colors using the color dropdown in the Edit Toolbar (this used to be in the Layers Panel on the left, but recently moved). For this design, the triangle was made navy and the writing gray to get a better idea what the final project will look like.
- Then select both the triangle and the constellation shape and click Attach at the bottom of the Layers Panel on the left. This will keep them together when you go to foil and cut.

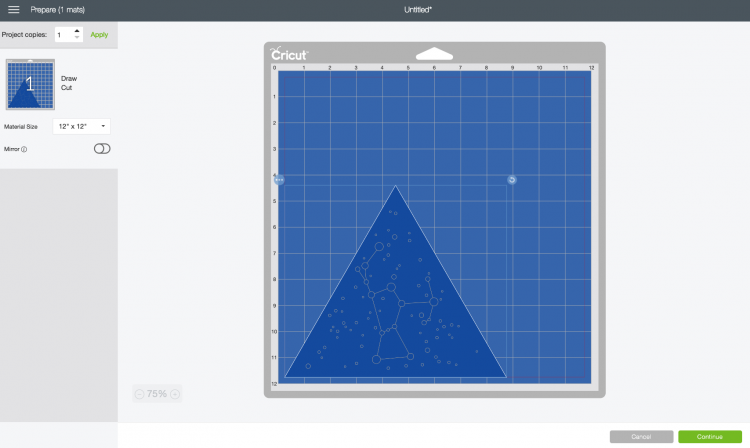
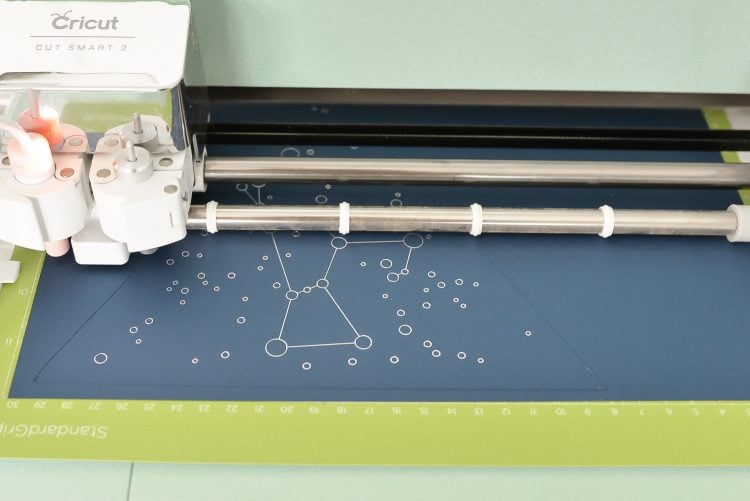
- You're ready to make your project! Click Make It in the upper corner. On the Prepare Screen, move your image to the bottom of your mat. Found that it is easier to remove the foil in between the foiling and cutting stage if the project is at the bottom of the mat (shoutout to Melissa at Silhouette School for that tip).
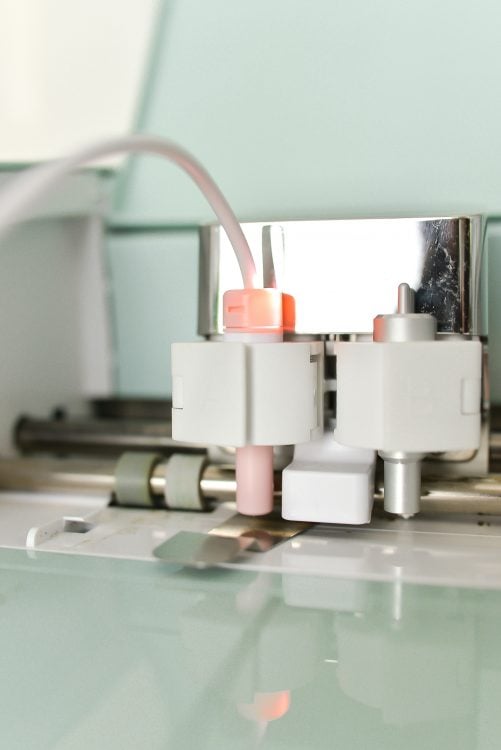
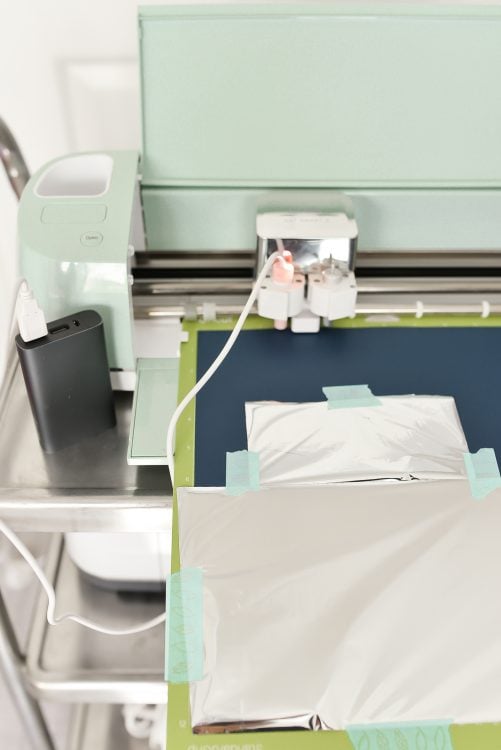
- Using the Foil Quill to Foil a Cricut ProjectInstead of loading a pen into your machine, you'll load the Foil Quill into the A tool holder. Screw the "C" adapter onto the Foil Quill. You'll need to pop out the pen adapter that sits inside the A tool holder—just push up from underneath and it pops right out. Then seat the Foil Quill into the holder and close the clamp.Plug the Foil Quill into a power source, like your laptop, an external battery, or the wall if there's an outlet close enough to your machine. Let it heat up for five minutes, with the heat shield underneath to protect your machine.
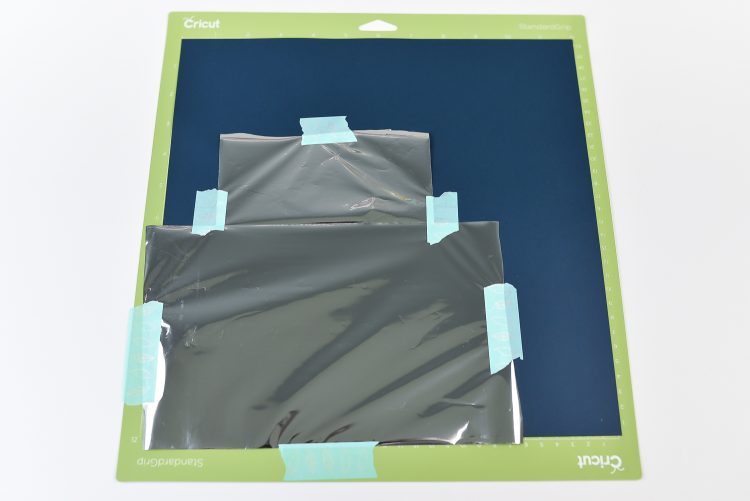
- While the Foil Quill is heating up, place your cardstock on your mat and tape the foil over the foiling area using the placement tape. Don't necessarily recommend doing the patchwork method used here (the sample foil is only 6", whereas the full rolls are 12"). But it actually worked pretty well so if you need to, go for it. Don't overlap but get the two pieces as close as you can.
- Then remove the heat shield and insert your mat into your machine.
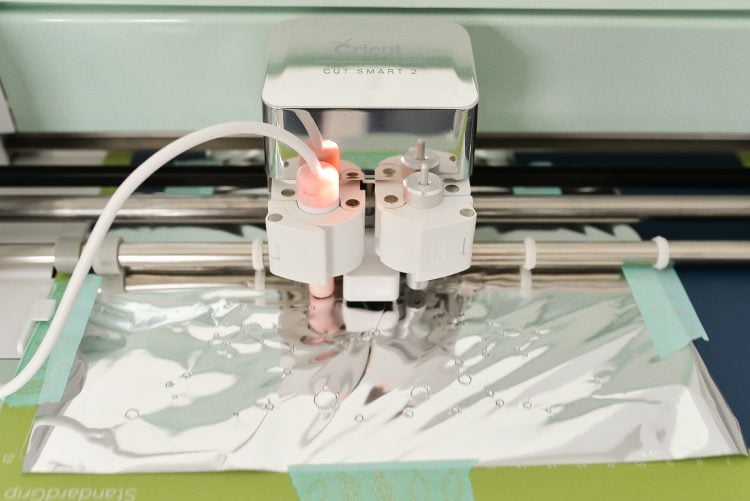
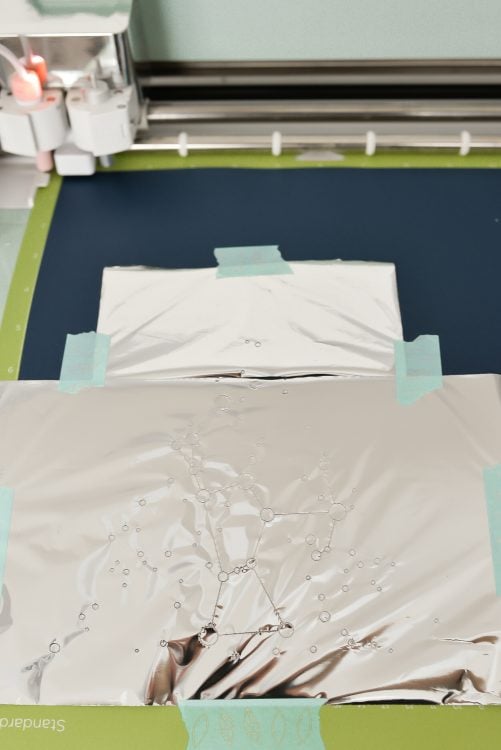
- Hit the blinking C on your machine to start the foiling process!
- Once the foiling is done, your Cricut will nearly eject the mat. Wait for this moment and hit the pause button on your machine. This will give you a chance to remove the foil and tape from your project so the cutting process goes smoothly.
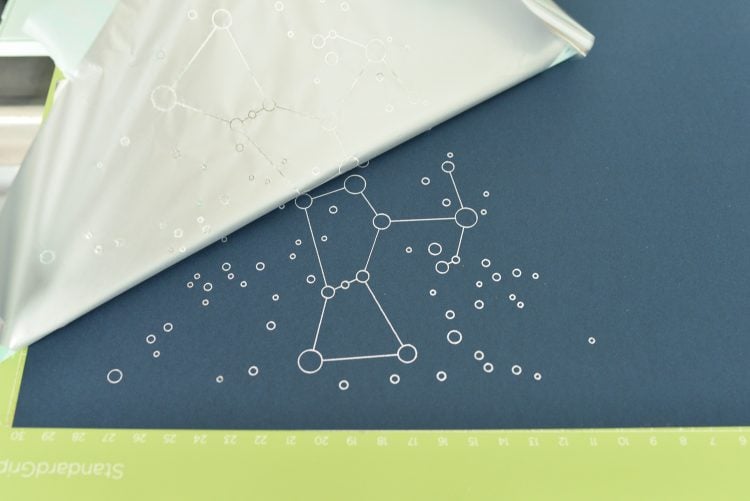
- The "reveal" moment!! Peel back the foil!
- Once you've removed the foil and the tape, hit the C button again to finish cutting out your project.
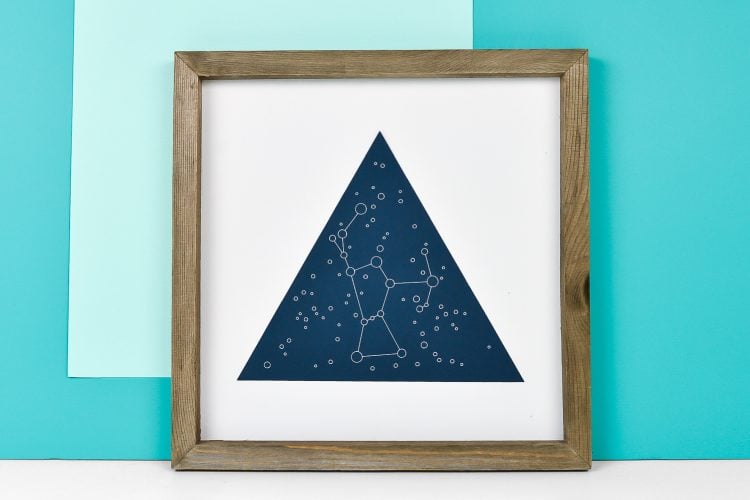
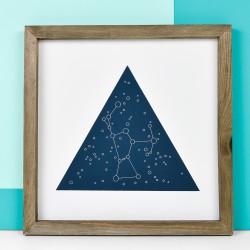
- Once your project is finished, don't forget to unplug the foil quill!Perfect for a starry nursery, celestial wedding, or beautiful home decor piece!