
HOW TO USE PUFF HTV
Puff HTV is a unique iron-on product that creates a 3D effect reminiscent of the puff paint of the 90s! Puff HTV adds dimension to a plain shirt or other garment by creating a raised "puffy" surface. Try it on your next heat transfer project!
Equipment
- Cricut Maker or
- Explore or
- Joy (you can use any vinyl cutter)
Ingredients
- Puff HTV
- Baby tee or other garment
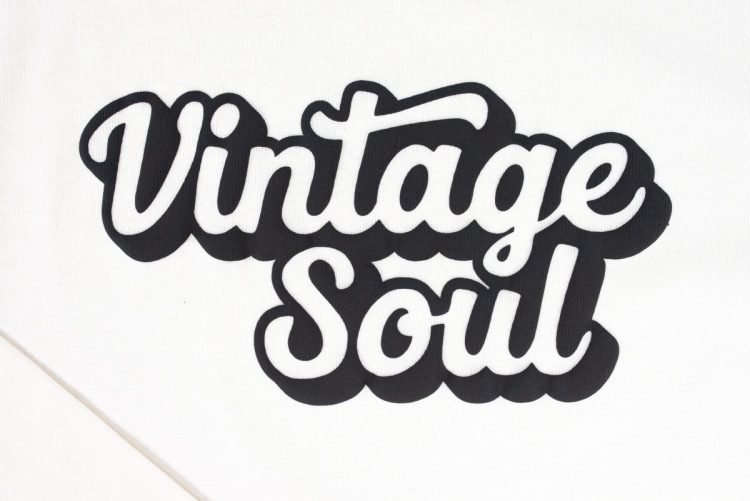
- Free Vintage Soul File #C467
Instructions
- Using Puff HTV is similar to using a basic heat-transfer vinyl, just with more pressure.Note: Puff HTV should only be pressed ONCE, so make sure if your design has more than one color that you trim your layers so they can all be pressed at the same time. If you press Puff HTV a second time, it will flatten and not be puffy.
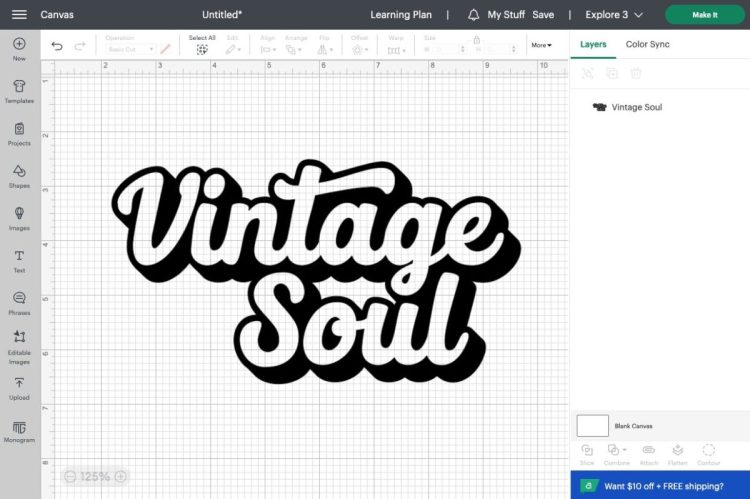
- Setting up the file in Cricut Design SpaceOpen Cricut Design Space and create a new file. Click Upload and upload the free SVG you downloaded earlier in this post. You can, of course, use any image you'd like! Resize your image to fit your tee. For this project the file was made 7.5" across. But make sure to measure your own garment and size your file accordingly.
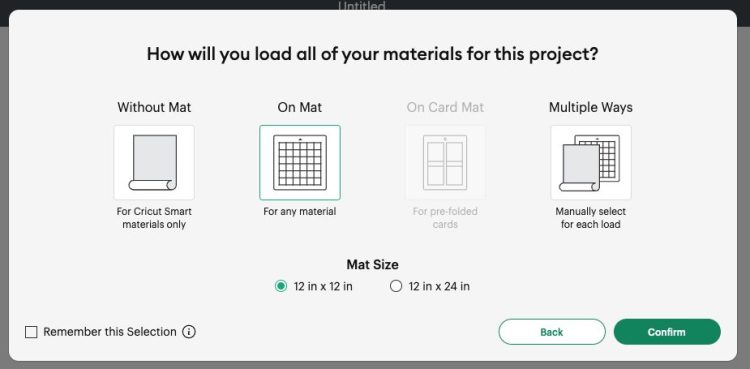
- Then hit Make It in the upper right! Choose "On Mat" as your load type.
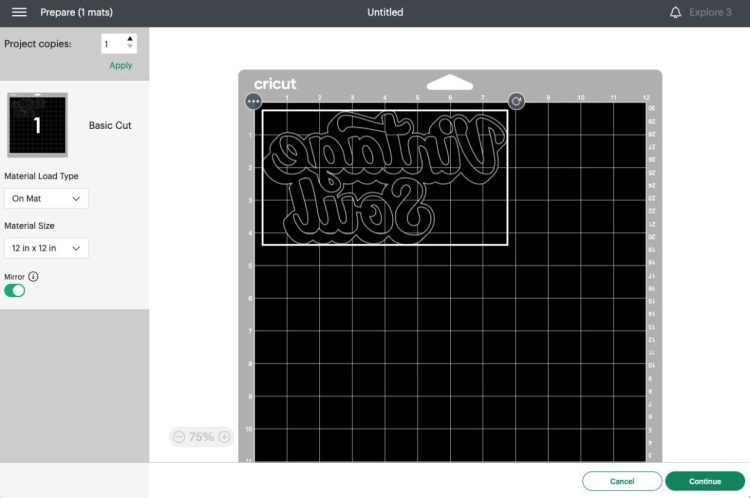
- In the Prepare Screen, make sure to mirror your project so it will adhere to your garment facing the correct direction. Click Continue.
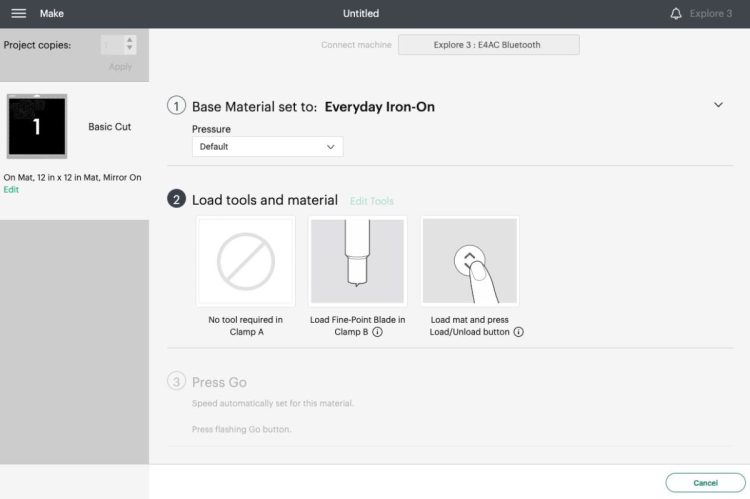
- In the Make Screen, set your material to regular iron-on vinyl.
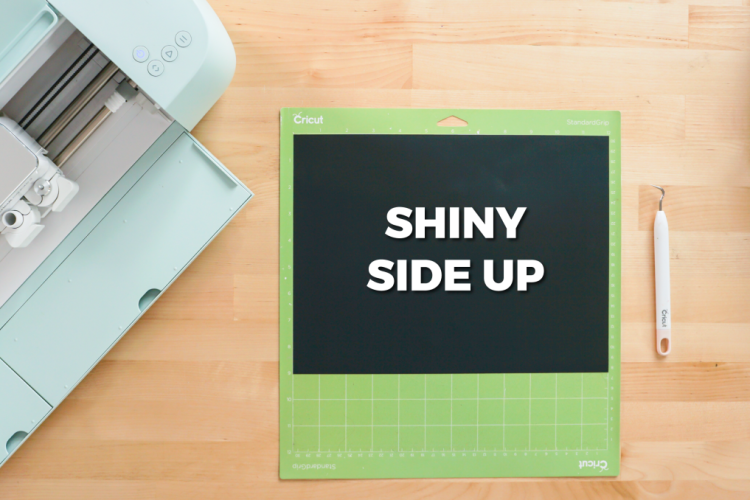
- Cutting the Puff HTVPlace your puff HTV with the matte side down on the mat, with the shiny side facing up. This is backward from regular iron-on—so if you're used to putting the shiny side down on the mat, make sure you flip it for this project! Use a brayer to adhere the puff vinyl to the mat, since the shinier side doesn't like to adhere as well as some other materials. If you need, you can tape down the edges, use a newer mat, or bump up to a purple StrongGrip mat.Then insert your mat into your Cricut and press the blinking "go" button! Your Cricut will cut your Puff HTV.
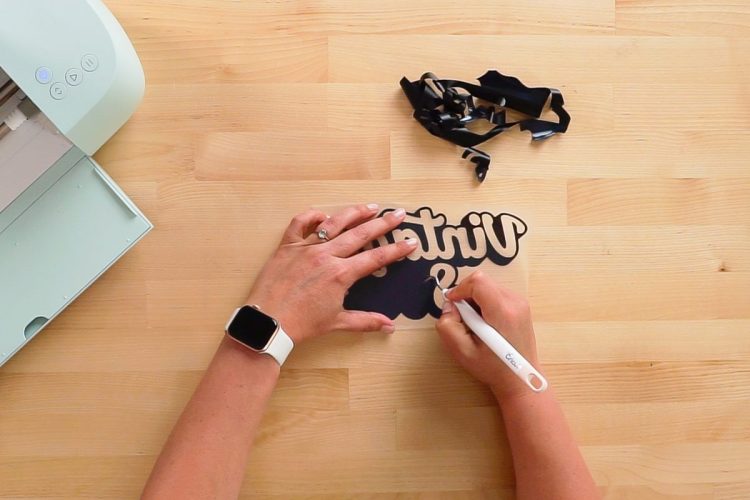
- Weeding Puff HTVWeeding puff HTV is just like weeding any other sort of regular heat-transfer vinyl, but remember you are pulling up your excess material from the shiny side. Remove all of the negative material from your design. Need help? Check out my post Weeding Iron On Vinyl: Tips and Tricks for Making it Easy. Hold your weeded transfer up to the light to make sure you didn't miss any small pieces, like those inside the letters.
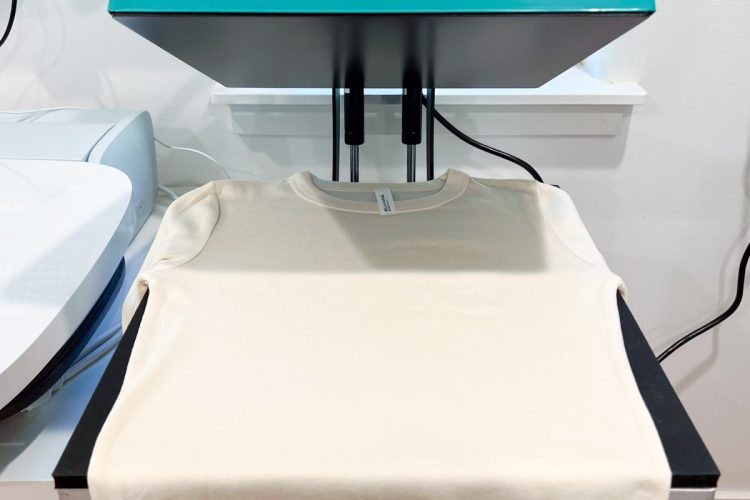
- Adhering Puff HTVThe time, temperature, and press time for my particular puff HTV is:280° F (notice this is lower than a lot of other HTV)10 to 15 secondsFirm pressureA WalaPress was used for the heat application part of this project. An EasyPress might work but you need a lot of firm, even pressure. Suggest that you avoid using a household iron or a Cricut EasyPress mini for this project. You really want the large plate to cover your entire design. Set your press to the correct temperature and time.Then preheat your tee for 15 seconds to remove any moisture and to prepare your pressing surface.
- Then place your cut image onto your shirt, centering it.
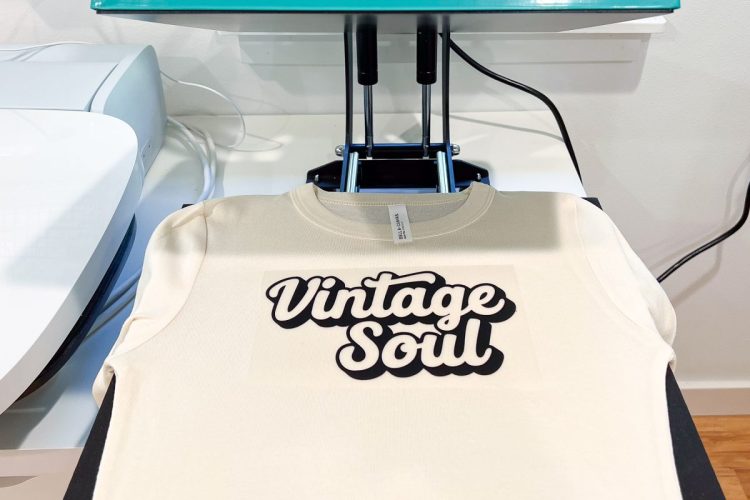
- Then press your project!This particular HTV is hot peel (well, warm peel—don't burn yourself!). Once you've pressed your project, peel off the carrier sheet while it's pretty hot. The HTV will already be puffy so removing the lining sheet should be pretty easy.Look how puffy it is! It's so fun, especially on these cute baby tees!
- Frequently Asked Questions about Puff HTVCan I Layer Puff HTV?You can put puff HTV on top of other types of HTV, but it should be the top layer. Don't put anything on top of it.How do I Care for Puff HTV?Hand wash, or wash your shirt inside out with mild detergent. Line dry or dry on low in the dryer.Which Side Goes Down on the Mat?Puff HTV seems a bit backward from other HTV. The color side goes down on the mat, while the shinier side goes up.