
HOW TO USE PATTERN FILL / PATTERNS IN DESIGN SPACE
Upload patterns to use in your Cricut Print then Cut Designs! Here's a deep dive into using patterns in Cricut Design Space to make stickers, printable HTV projects, and more!
Instructions
- How to Upload Patterns in Cricut Design SpaceOpen Design Space and click the Upload icon in the Design Panel on the left. Click the button that says Upload Pattern. Note that you can upload a JPG, GIF, PNG, or BMP as a pattern—but not SVG files or DXF files. Patterns are their own thing!
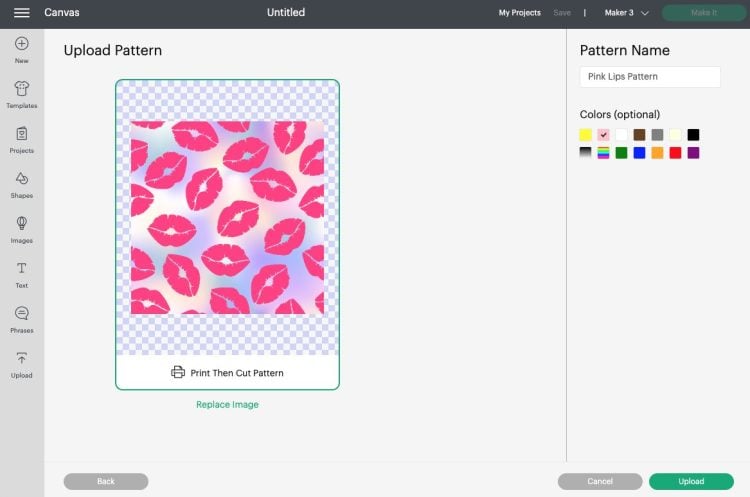
- Browse and upload your pattern. Once you have your pattern uploaded (this is part of a pattern bundle from Design Bundles), you can give it a name and choose which colors it has if you’d like to make it easier to search for in the future. Then click Upload.
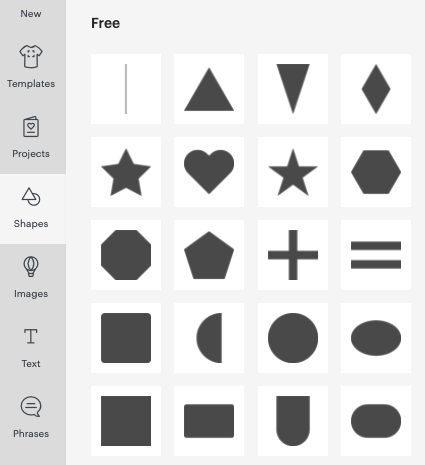
- At the top of your Canvas you will see a Pattern Uploaded confirmation. Go back to your canvas. You can create a shape, use a Cricut Design Space image, or or type text that you want to use with your pattern. To keep it simple, I am using a heart from the Cricut Shapes menu.
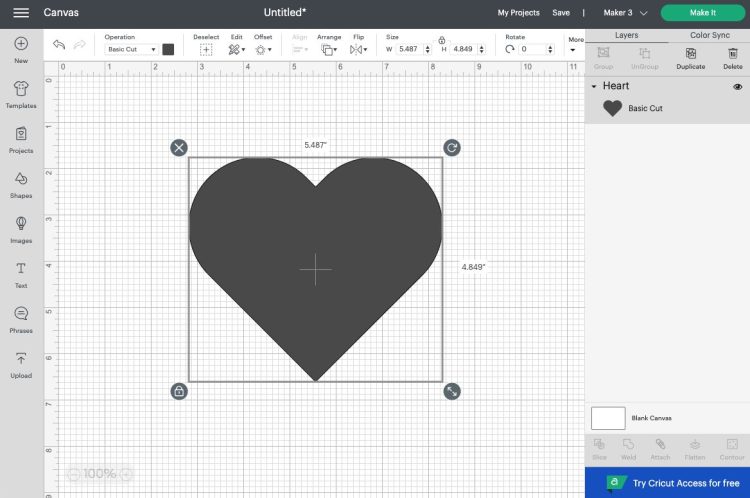
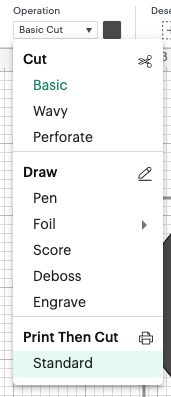
- To apply a pattern, change your image to Print then Cut. Select the heart and click the Operation dropdown to select Print then Cut > Standard.
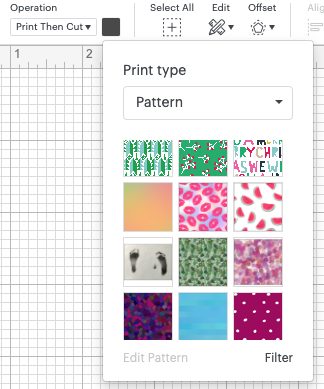
- Once you’ve changed your file to Print then Cut, click the little color box next to the Operation dropdown and change the Print Type to Pattern. Your uploaded pattern will show up here.
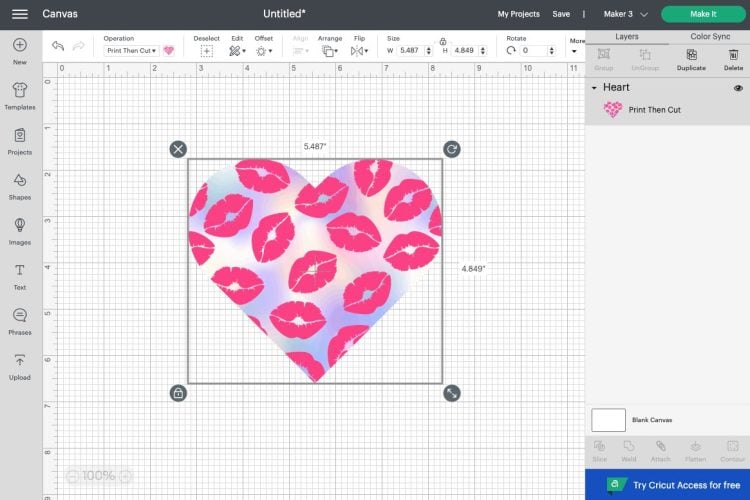
- Once you click your pattern, Design Space will fill your image with the pattern!
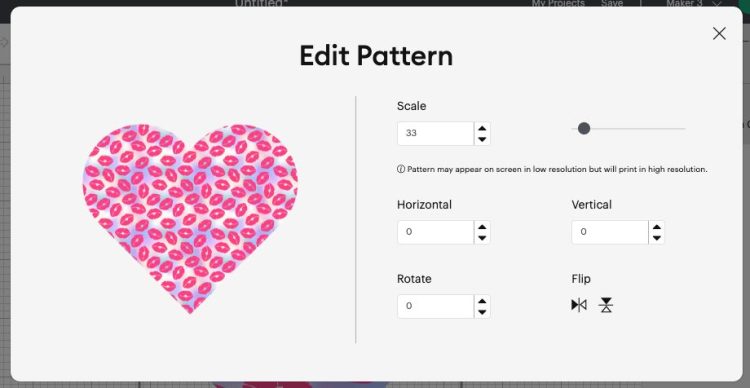
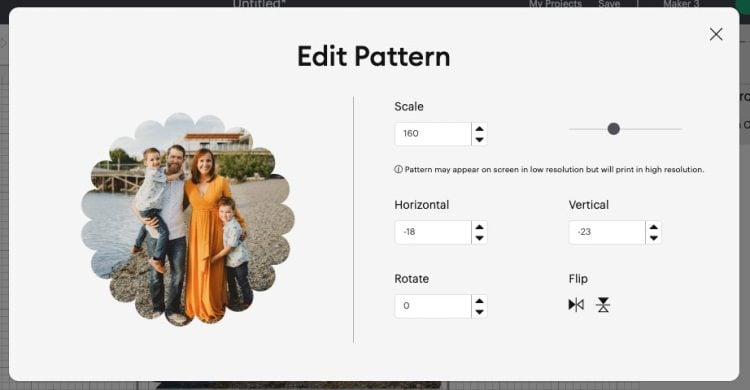
- You can also edit the pattern. With the image selected, go back to the pattern dropdown and click Edit Pattern. Here you’ll see that you can change all sorts of elements in your pattern.
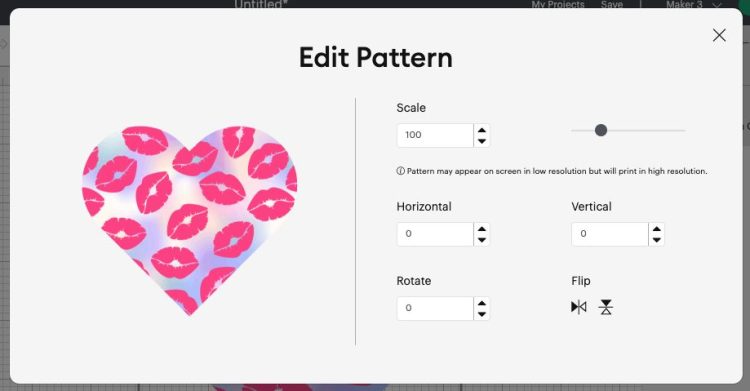
- You can make the pattern smaller or larger.
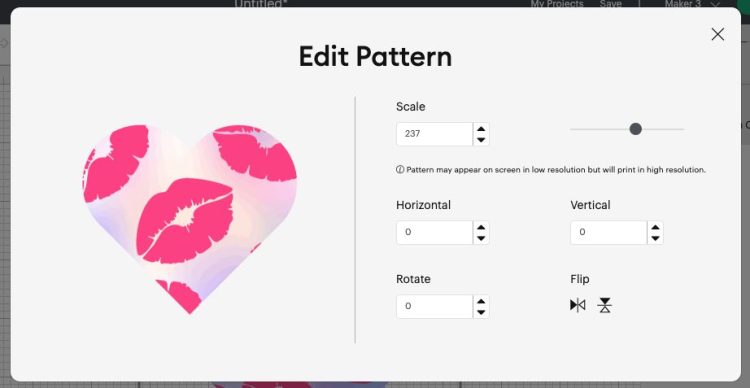
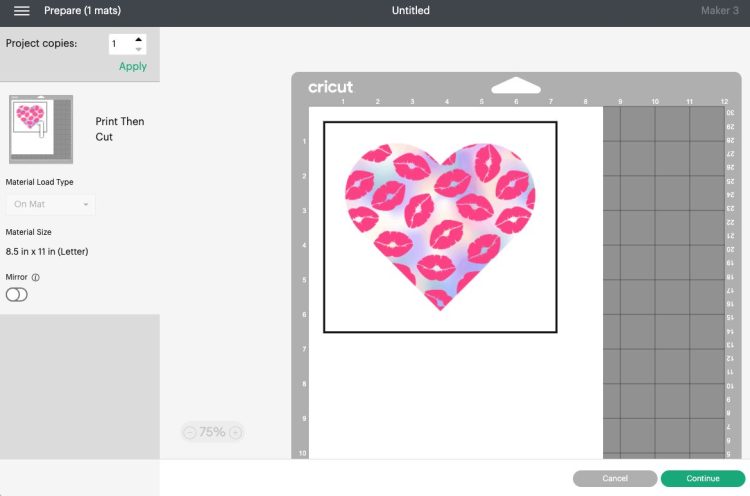
- You can also shift the pattern left or right, rotate it, or flip it. These last few are extra helpful if you are working with a more intricate shape and want certain parts of the pattern to show in the shape.That's how you add a pattern to a shape! A white offset layer was added to the heart, then flatten was sued to make it a single layer with the heart, and then used the Cricut Maker 3 to print then cut it out of cardstock.

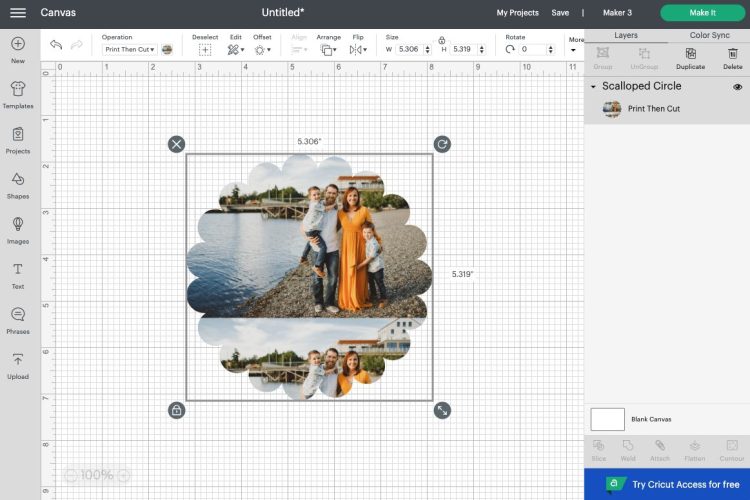
- Using a Photo as a Pattern in Cricut Design SpaceLet's look at one more way to use Pattern Fill. Let's say you want to cut a photo in a specific shape. You can actually use the photo as a "pattern" in the same way as above.
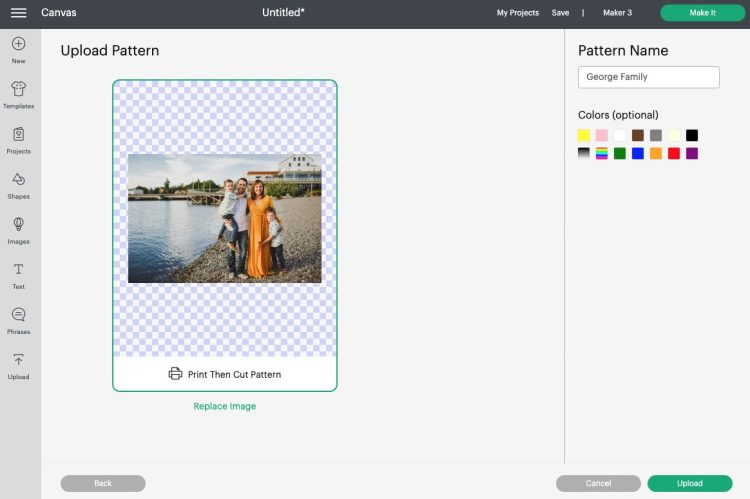
- Then use the same tutorial to add your photo to a shape (you can use big chunky fonts, too—a lot of folks like to use photos to spell out words like FAMILY or VACATION). You'll notice that Cricut Design Space automatically tiles the photo if it doesn't fit in the scalloped circle well.
- This is where those Edit Pattern tools come in handy. You can see here where the size of the photo was increased and the Horizontal and Vertical tools were used to center this family in the scalloped circle.
- Then you can print this out on photo paper and your Cricut will cut around the scallop. This is so fun for scrapbooking! You can use photo paper, but sometimes the Cricut sensors struggle with the shiny surface. Try re-angling your Cricut so light shines in at different angles to try and combat this.You can also use regular cardstock, printable vinyl, printable iron on, sublimation paper, and more.