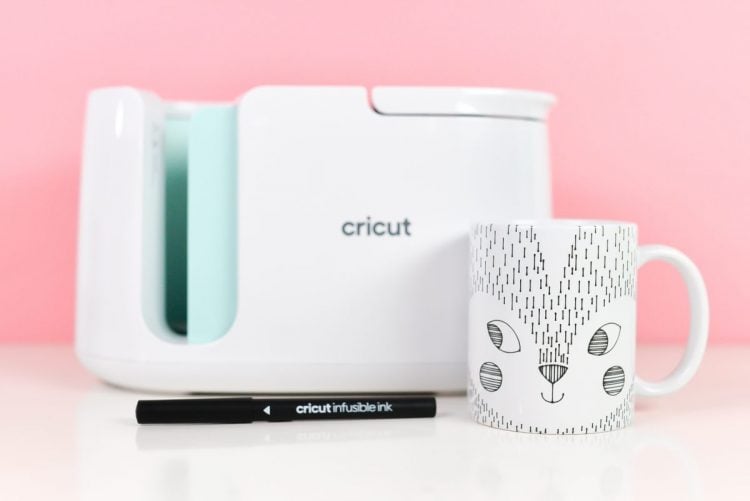
HOW TO USE INFUSIBLE INK PENS ON A MUG
Looking for another way to make mugs? Here's the step-by-step process for how to draw on a mug using Infusible Ink pens and the Cricut Mug Press to create custom, long-lasting mug designs.
Equipment
- Pens or other
- Cricut EasyPress Mat or other heat-resistant surface
Ingredients
- Cricut Mug or other
- sublimation mug
Instructions
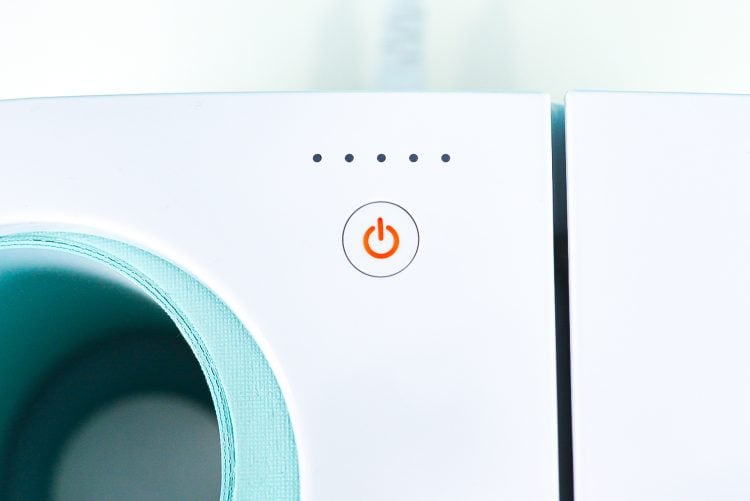
- Start by turning on your Mug Press so it has time to heat up. The light will be orange and when it's ready it will beep and glow green.
- For this mug, one of Cricut's mug wrap designs is being used. Using the filters on the left, you can narrow down the type of project to your mug size and "Cut + Draw" if you'd like.
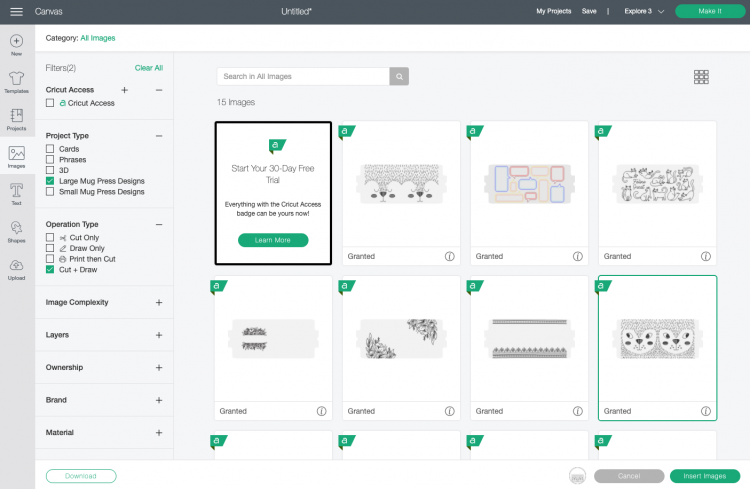
- You can also choose any other draw image you want, as long as you can resize it to fit on your mug—it doesn't have to be one of the mug wrap images.This cute skunk face was chosen from Design Space. This is a simple design just using the black pen.
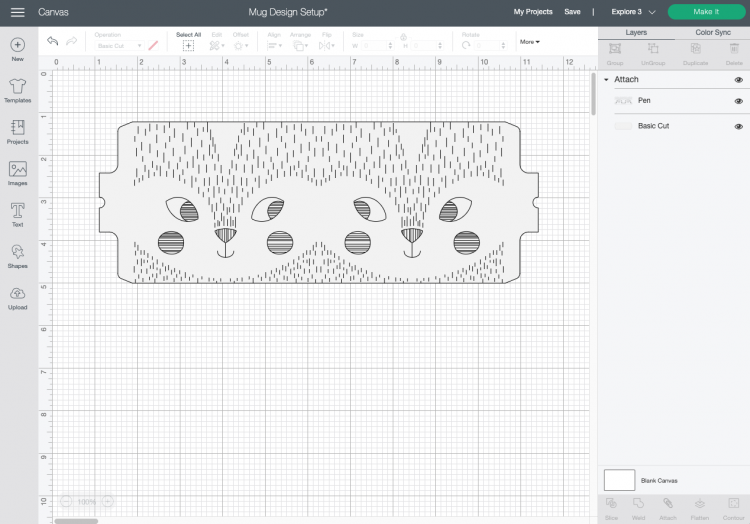
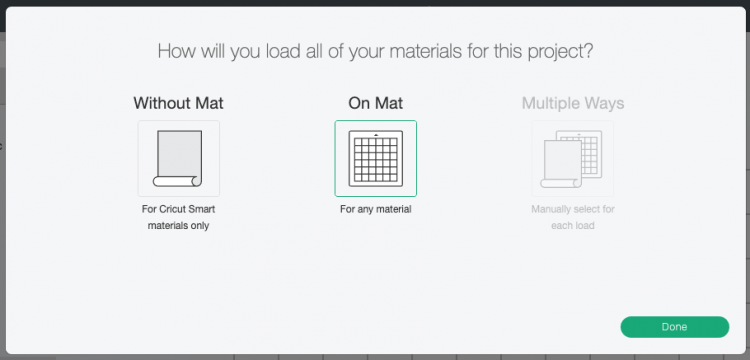
- That's it! Click Make It in the upper right. Select On Mat as your load type if you have an Explore 3, Maker 3, or Joy. If you don't have one of these machines, you won't see this screen.
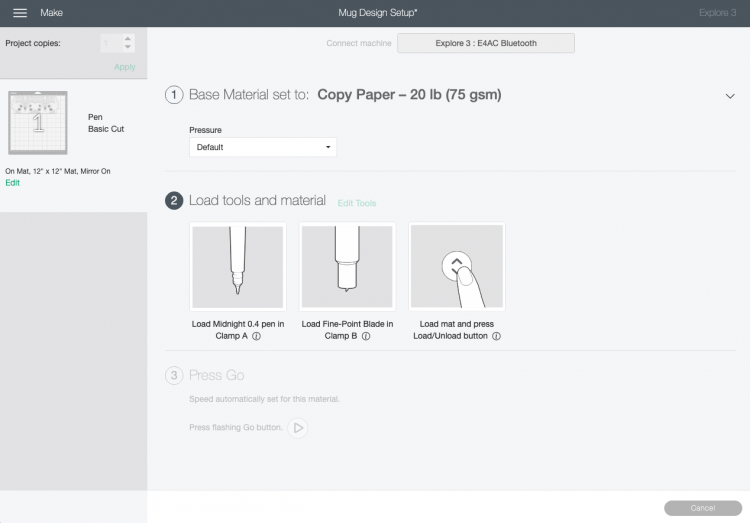
- On the Prepare Screen, make sure to mirror your image. It isn't as important on an image like this skunk, but if you have text or another design that needs to be facing a certain way, you must mirror your image or it'll be backwards on your mug. Then click Continue to go to the Make Screen, where you'll see the pen and blade needed for your project.
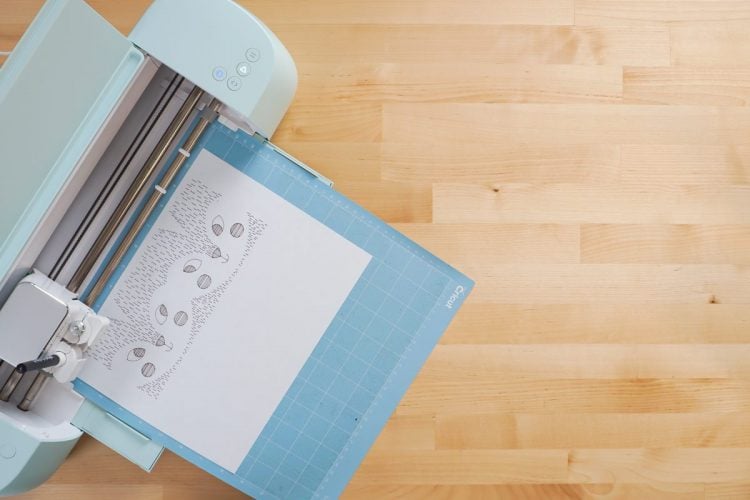
- Place a piece of regular copy paper on your blue mat. If you are using the larger mug wrap template, know that it'll get really close to cutting off that right edge of the paper when it cuts the template (it may even cut the edge off a bit), but that's okay because it's not going to really matter when we put the cut template on the mug.Place your Cricut mat into your Cricut, insert your pen into the housing, and your Cricut will draw your design and cut out your template.
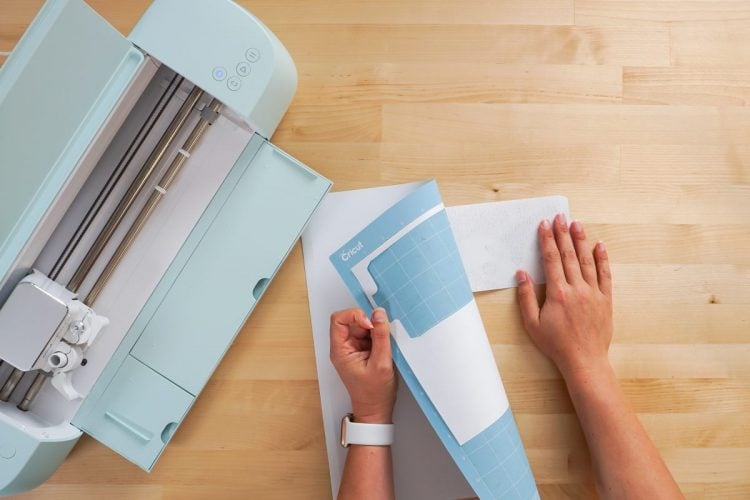
- Then, if you'd like, use your pens or markers to color in the design.Remove the design from your mat by flipping the mat over and gently peeling the mat away from the paper.
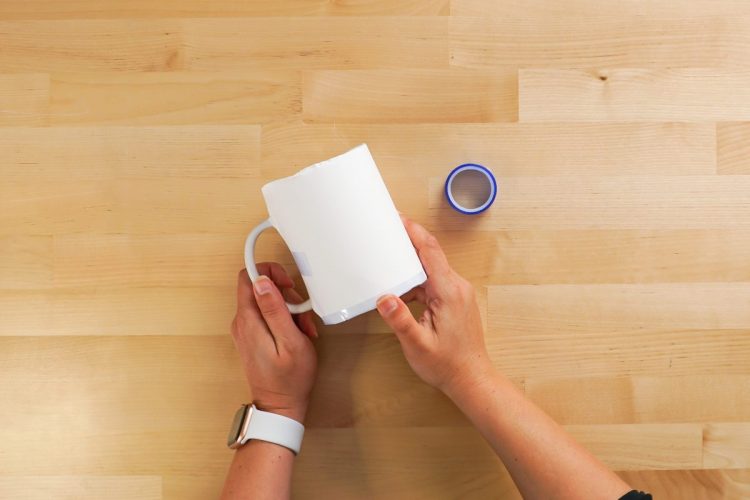
- Tape the design to your mug using heat-resistant tape on the top and bottom. Then tape four layers of butcher paper on top of the design. This will prevent the ink from bleeding through and getting on your Mug Press (and transferring to future designs). Do NOT skip this step!
- Place your mug in the heated Mug Press and press down on the lever. It will count down automatically.When the Mug Press beeps, carefully remove your mug and set it on a heat-resistant surface to cool. The mug will be HOT (like, lose your fingerprints hot) so make sure to only touch the handle. You can also use heat-resistant gloves. Peel off the butcher paper and your design, and your mug is finished!