HOW TO TAPE A TUMBLER FOR SUBLIMATION
Sublimation tumblers can be hard to get right—there's always room to make mistakes when it comes to your seams and ghosting along the top and bottom. Follow these instructions to learn how to tape a tumbler to minimize seams and uneven edges!
Equipment
- Tumbler press or a
- Alcohol and cotton balls
Ingredients
- Sublimation tumbler
- Printed sublimation transfer
Instructions
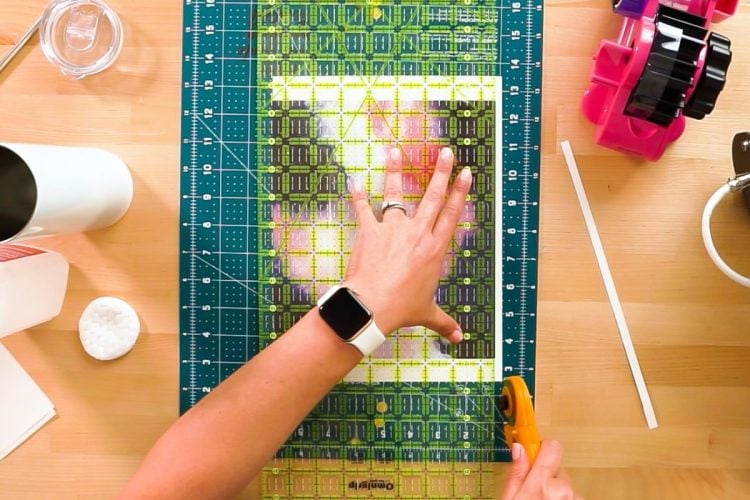
- NOTE: You can also use a paper trimmer for trimming your printed sublimation sheet, but have found that you can shave off the smallest parts of this image to get the sizing absolutely perfect with the rotary cutter, ruler, and mat.
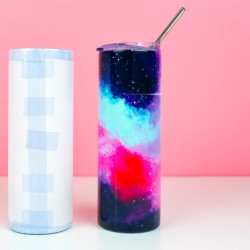
- Clean Your TumblerStart by cleaning your tumbler with some rubbing alcohol and a cotton swab. Make sure it's fully dry before touching.
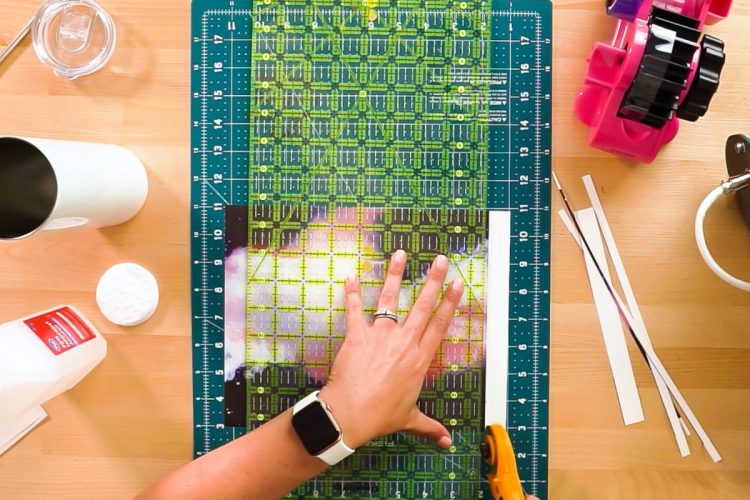
- Cut Your Image to SizeWhen printing this image, the print was enlarged by about 3% to give the wiggle room to trim it down. You can always trim more off, but you can't add any back on. This helps reduce the number of times you have to re-print an image.Cutting your image properly is the first step in having a great transfer. A rotary cutter, acrylic ruler, and self-healing cutting mat were used for cutting. "Slip n grip" dots were added to the back of the acrylic ruler, which makes it more sticky. It doesn't slide around when you cut, which means you can make very accurate cuts. Start by trimming off the top and bottom edges of the image (the longer sides of the paper). Trim right at the edge of the image for a 20oz tumbler because you'll need that entire height.
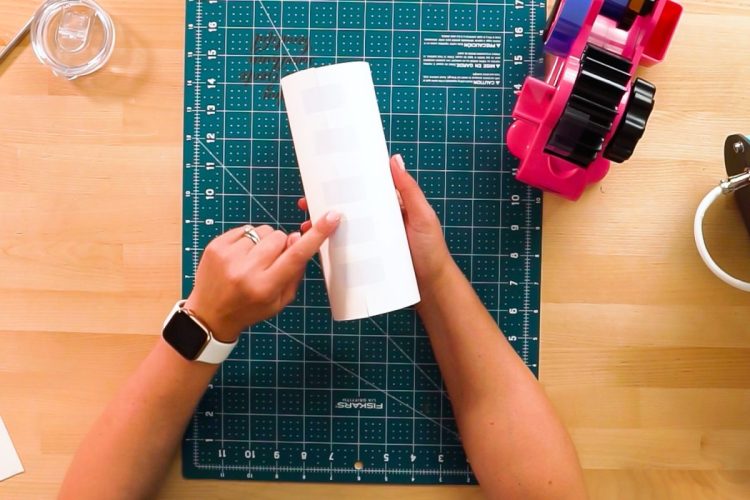
- Wrap around your tumbler and see if you need to trim any more off to make it the height of your tumbler. Then trim one side of your image right at the edge of your ink. Wrap the transfer around your tumbler (do this with the ink facing out so it's easy to see) so you can see how much you need to trim off.
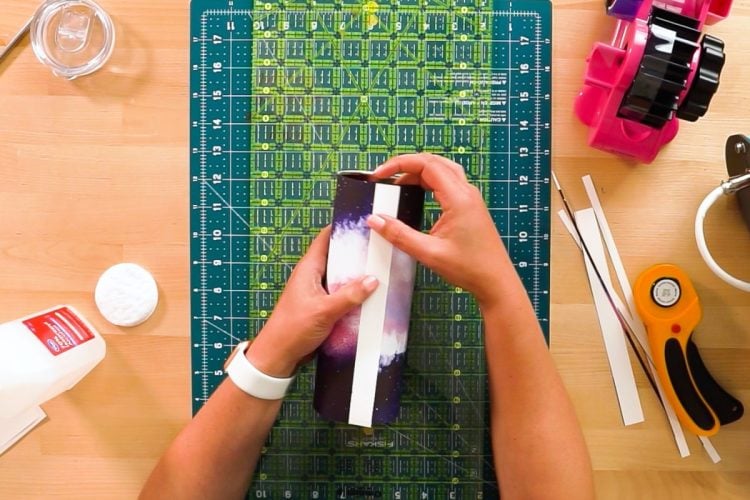
- The goal is to have the image basically butt up against itself when it wraps around when you tape your tumbler. You definitely don't want a gap, which will create a white stripe down the back of your tumbler. And if you overlap, you may get the possibility of both layers of ink sublimating, which can cause that overlap to be darker than the rest of the tumbler. Would rather have the overlap, however, vs. the gap—the darker seam is preferable to having a bit white stripe down the back of the tumbler.If you see that you're going to have a white stripe, print it out again. Spending a few pennies to print out a transfer a second time is so much better than ruining a blank tumbler because of a white stripe down the side.Trim your transfer. Remember, you can always trim more, but you can't put more image back on once you've trimmed it off.
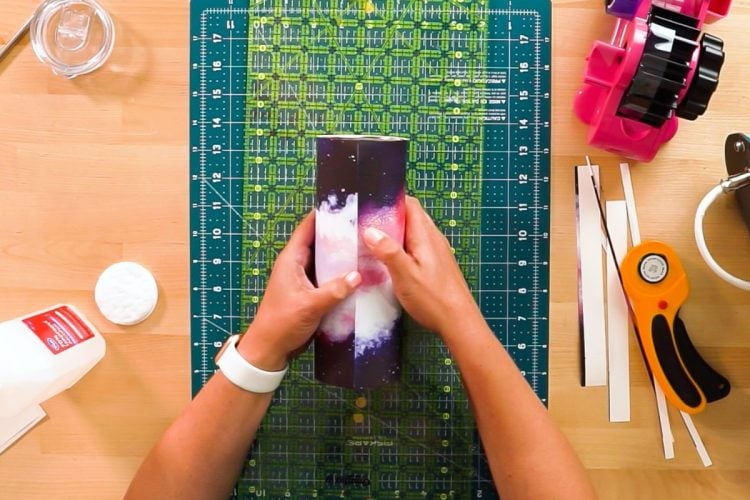
- Keep trimming until your image wraps around perfectly.

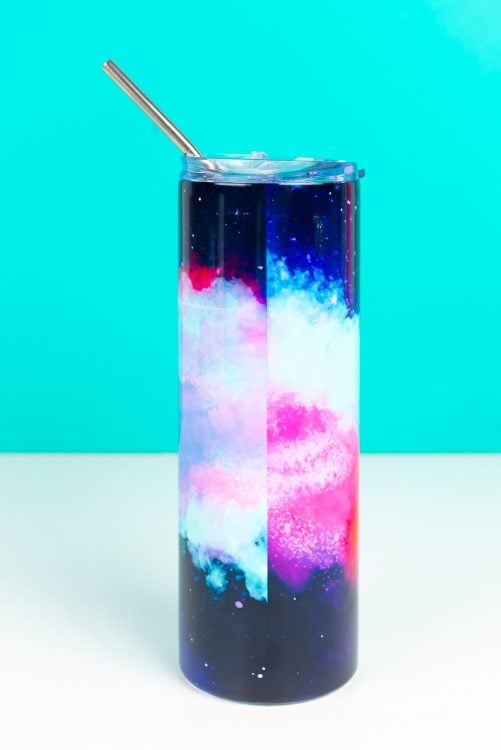
- NOTE: most sublimation designs are not "seamless," meaning that you will probably see the seam on the back of your tumbler where the image lines up because the image itself is not seamless. This galaxy image is a good example.
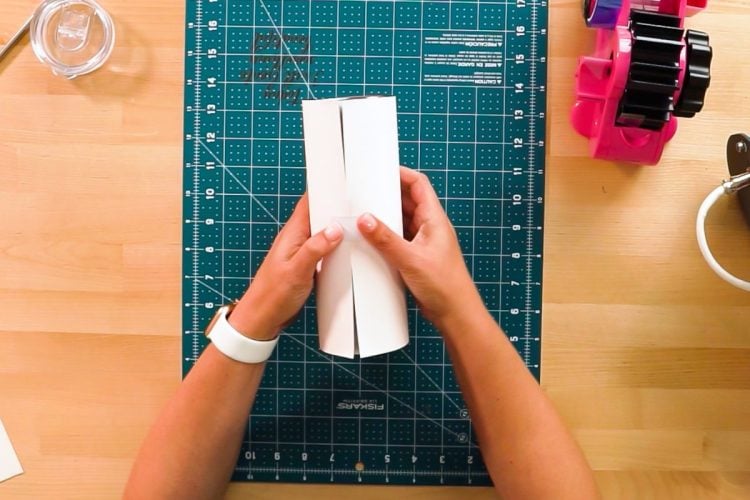
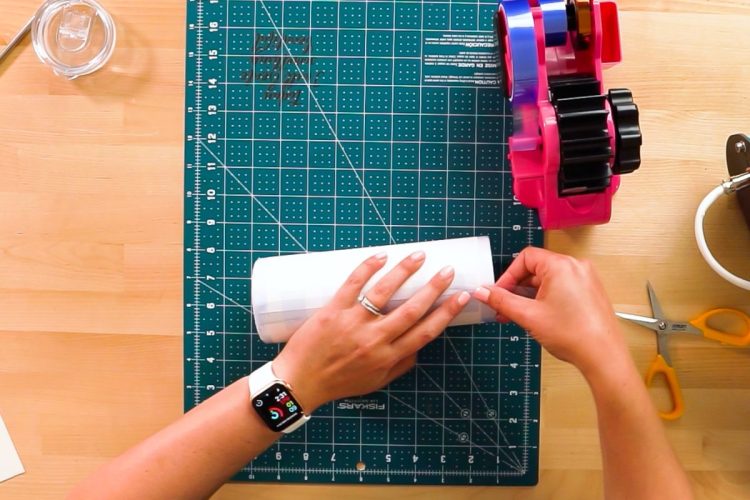
- Tape Your Tumbler for SublimationWrap your image around your tumbler, with the image facing in. Make sure the two edges are aligned, pull as tight as possible, and place a piece of tape in the center. (Apologize that the tape is a very light blue and a bit hard to see in these photos!)
- Then, pulling the transfer tight, place horizontal strips of tape above and below this center piece of tape.
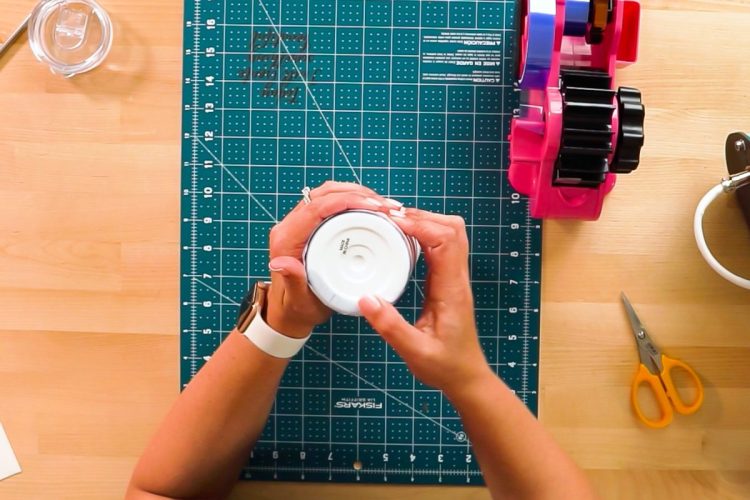
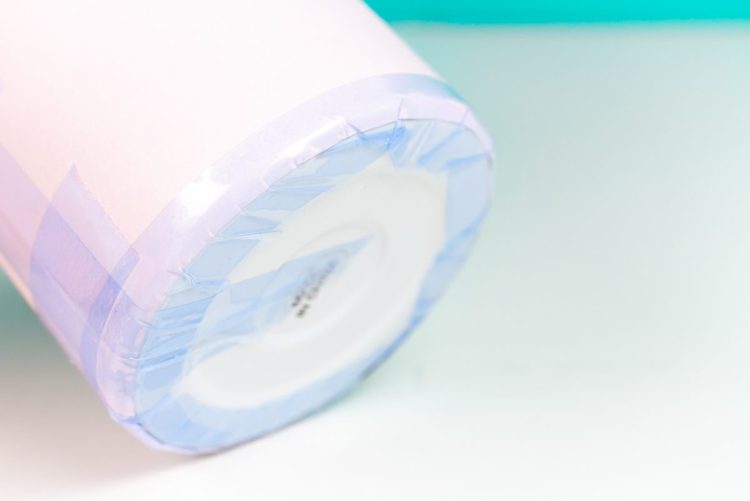
- Next, you'll tape the top. This is best shown in the video above, so make sure to watch it if possible!Start with a long piece of tape, about the circumference of your tumbler. Place the center of the tape on the opposite side of where the seam is. Then work your way around the tumbler, pulling that tape toward the seam. This means you're pulling toward that seam vs. trapping air somewhere along the edge. Then pinch the tape over the top edge.
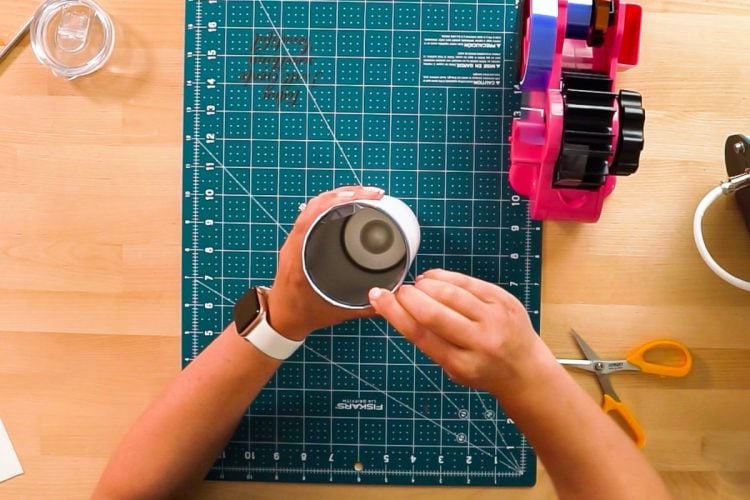
- Do the bottom in the same way. Use your thumbs to really push that tape and transfer into the tumbler.
- A lot of people would have you stop here but it is suggested to roll the bottom and the top edges of the cup on the table or cutting mat. This presses the tape and transfer into the tumbler even more. This is done quite a bit, checking to see how tight everything looks. You want that transfer to basically "hug" the curve of the tumbler at the top and bottom.
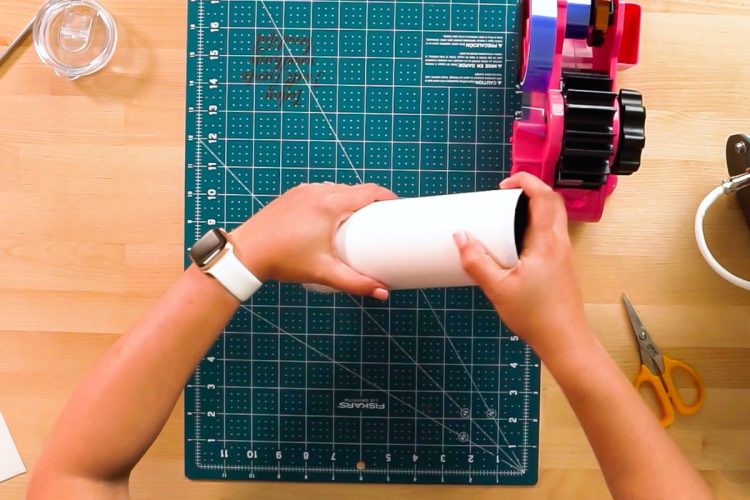
- The final thing to do is to put one long piece of tape along the seam of the tumbler.
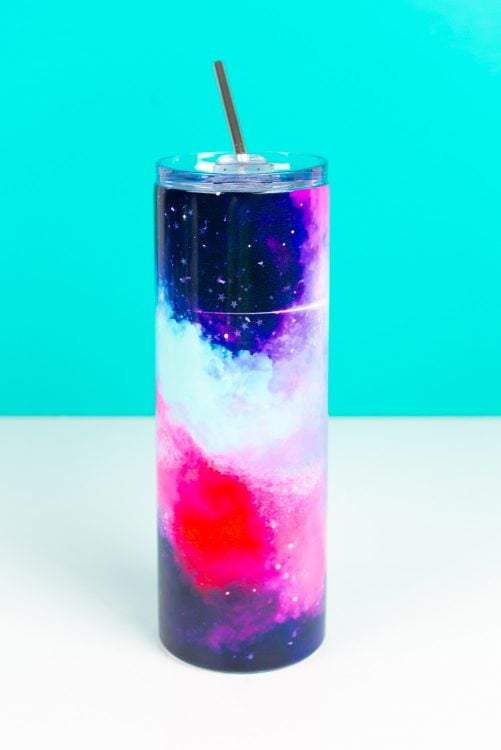
- Now you are ready to press your tumbler! You can see how I do that in this post How to Use a Tumbler Press for Sublimation. You can see just how perfectly the tumbler turned out (the white you may see at the top is the reflection from my lights, not the tumbler itself)! No ghosting on the top or the bottom! And the seam looks great too.