HOW TO MAKE A CRICUT STENCIL USING A STENCIL BLANK
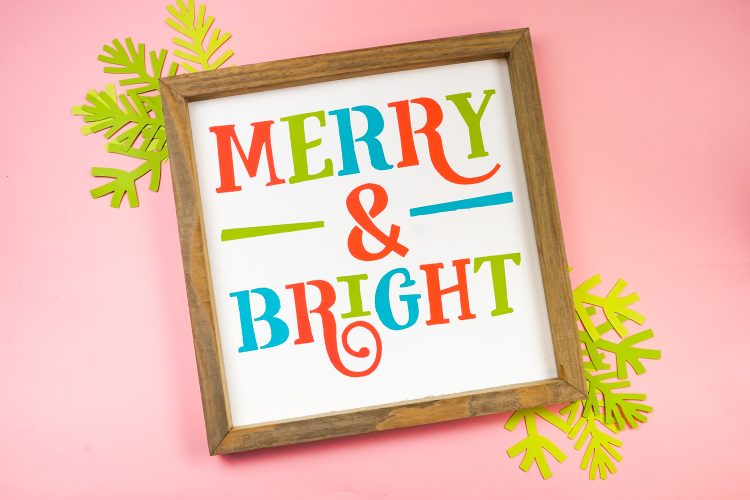
There are so many ways to make a Cricut stencil! This tutorial shows you how to make a reusable stencil with your Cricut using a stencil blank—cut once, and use as many times as you want!
Equipment
- craft paint in a variety of colors including white
Instructions
- Cricut Stencil InstructionsMaking the Stencil in Cricut Design SpaceCreate a new project in Cricut Design Space. On the left, click Upload. Then navigate to the file you downloaded above.
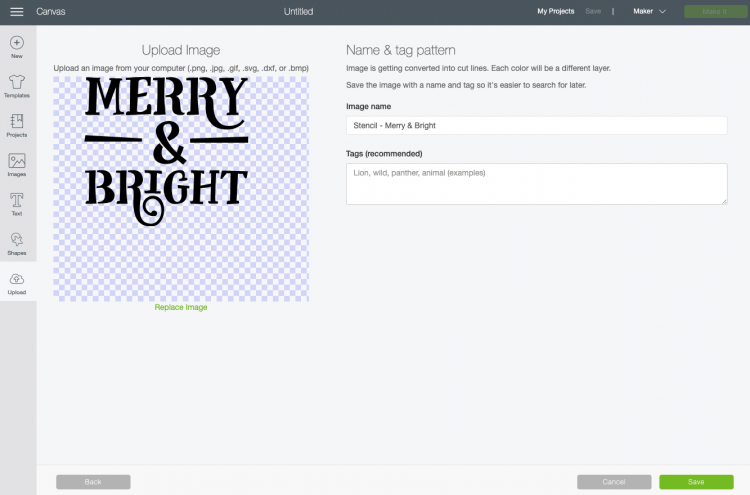
- Click Save.
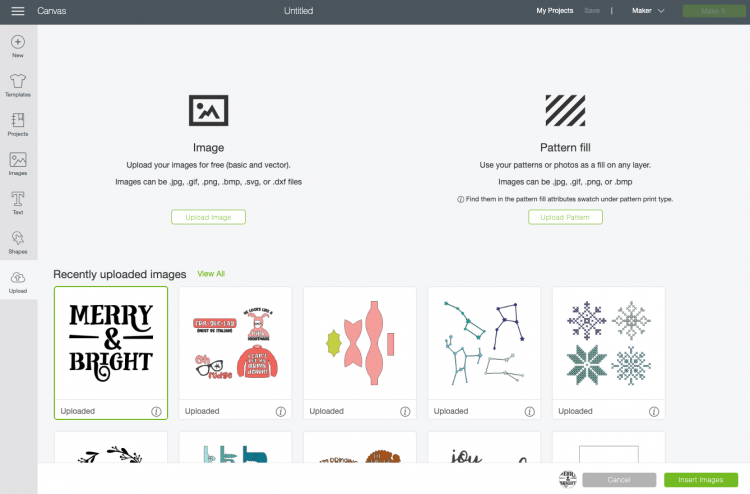
- Then select the file you uploaded and click "Insert Images" to bring it onto your canvas.

- Now I could have given you an actual stencil file, but I wanted to make sure you learned the process for turning a regular cut file into a stencil. Note that you will want to use a stencil font so that the interior of your letters stay connected to your stencil.
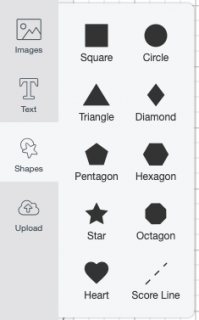
- Start by clicking on Shapes in the left-hand Design Panel and selecting a square.
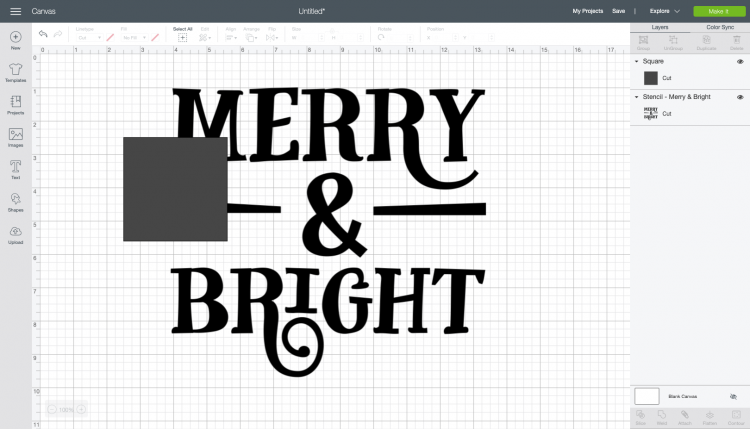
- Then change the size of your square to fit within your frame. Here is was made about 1/2" smaller than the frame, so that there is room to tape it to the backing board so it won't shift. In this case, the square was made 10" x 10" because the backing board is about 10.25" x 10.25".
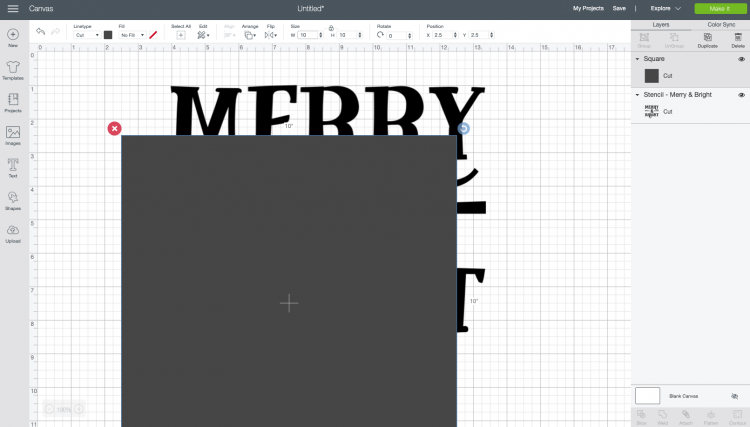
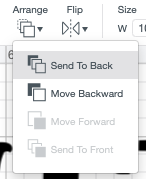
- So you can line up your square and your image properly, select the square by clicking on it and send it to back using the Arrange menu in the top Edit toolbar.
- Now you can line up your image and the square. If you'd like, use the Align tools in the Edit toolbar to make sure everything is centered properly.
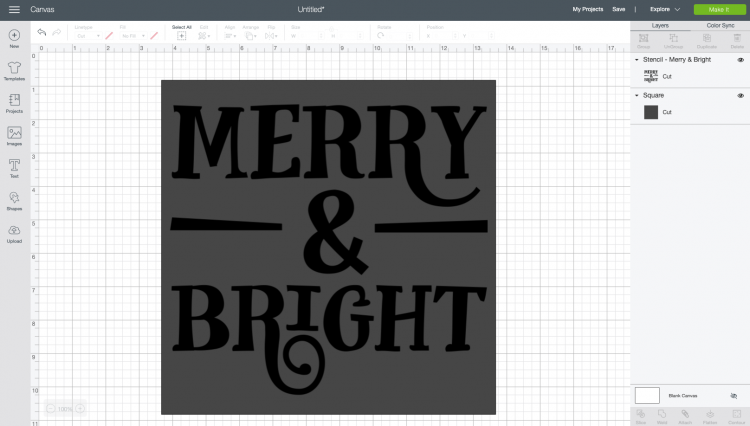
- Now we're going to Slice! Slicing can be confusing to new Cricut users. There are two main rules: 1) you can only slice two items at a time (in this case, the image and the square) and, 2) you'll have a lot of leftover pieces when you're done, as you'll see.
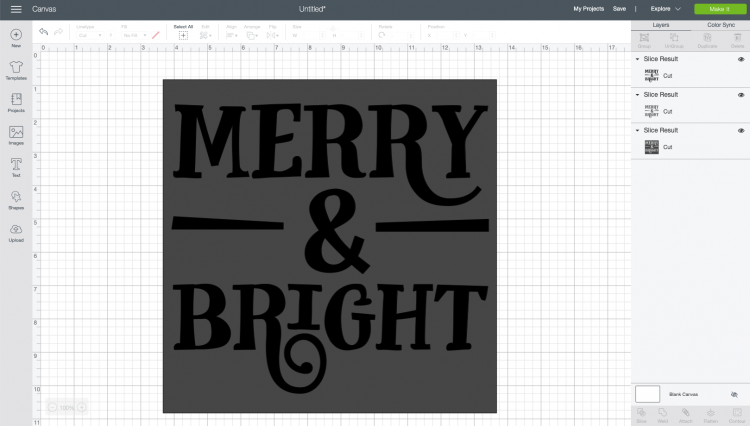
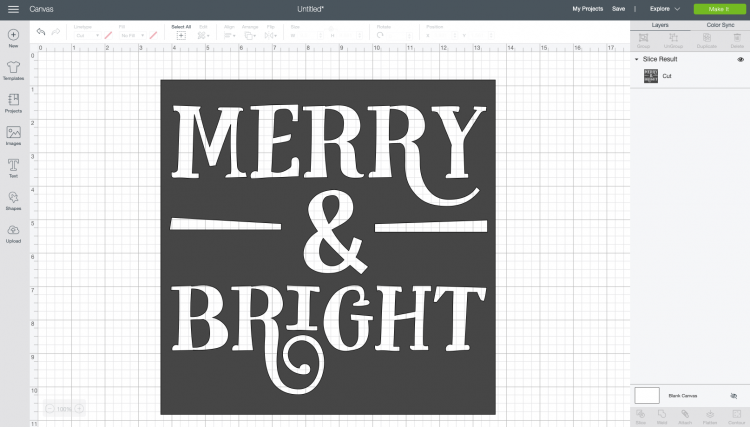
- Click on both the square and the image, and then click Slice at the bottom of the Layers Panel on the right.You'll see your Layers Panel now has three "Slice Results"—a black Merry & Bright, a gray Merry & bright, and a stencil piece. Delete the first two layers so you are just left with your stencil piece.Now you're ready to cut your stencil! You will DEFINITELY want to do some test cutting with your blanks. Three stencil blanks (Folk Art brand) were gone through here for this project before a setting was found that actually worked. You can try this setting, but definitely make sure it's working before you cut your whole stencil!
- Cutting the StencilClick Make It in the upper right of your Canvas.
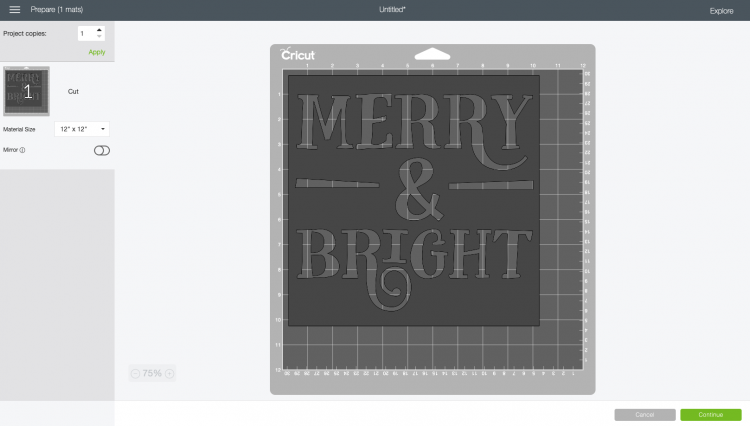
- There is nothing extra to do in the Prepare Screen, so click Continue.If you have a Cricut, set your dial to custom.
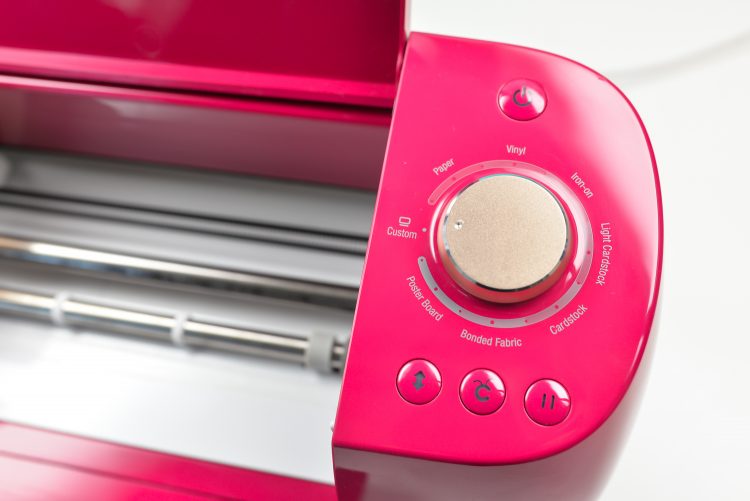
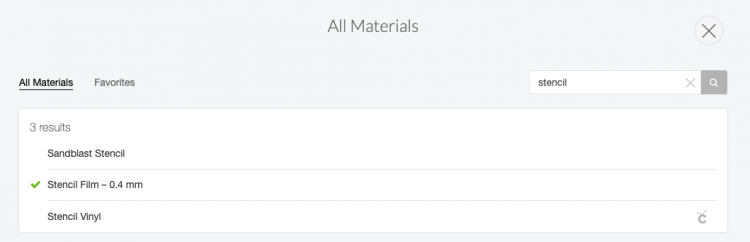
- In the Make Screen, for both the Explore or the Maker, click Browse All Materials and search for Stencil.
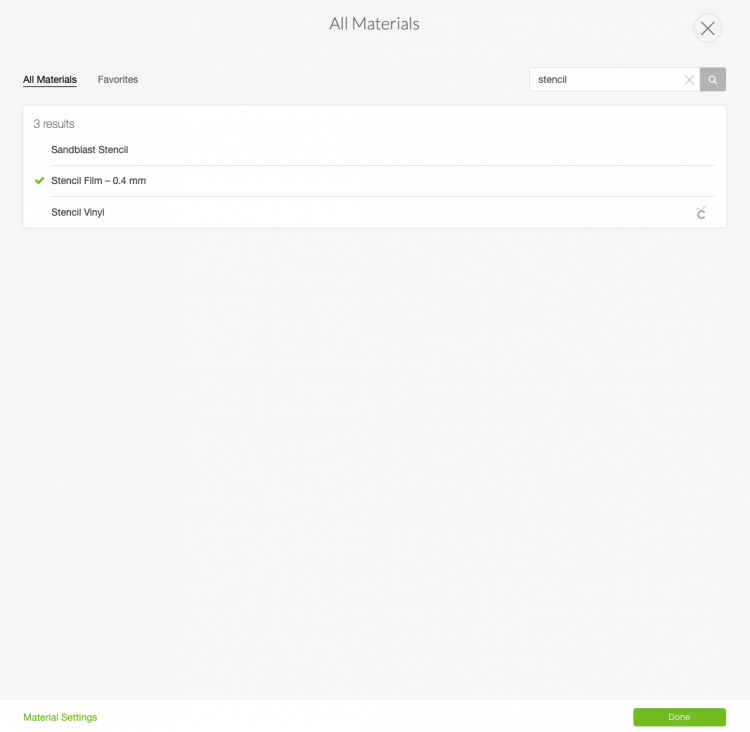
- At the bottom, you'll see a green link for Material Settings. This allows you to fine-tune all of your settings. Scroll down to Stencil Film and change it to the following settings: 350 pressure and 3x multi-cut.

- Then click Save. You will need to go back into Browse All Materials and select Stencil Film as your material.Place your stencil film onto your mat. Place your mat under the guides and press the blinking arrow to insert your mat into your machine.Press the blinking "C" and your Cricut will cut your stencil film. IMPORTANT: Before you eject the mat out of your machine after the cut, test to make sure it has cut all the way through. If NOT, press the "C" one more time and it will cut again. You can't do this if you take the mat out of the machine, though, so make sure to check the cut with the mat still in the Cricut.
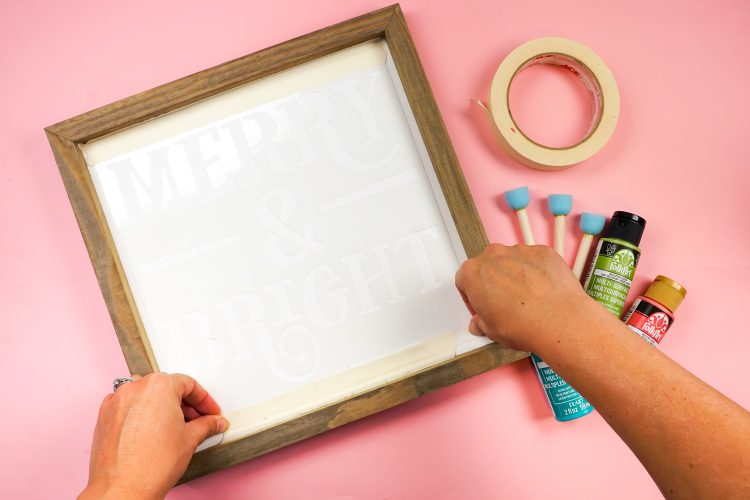
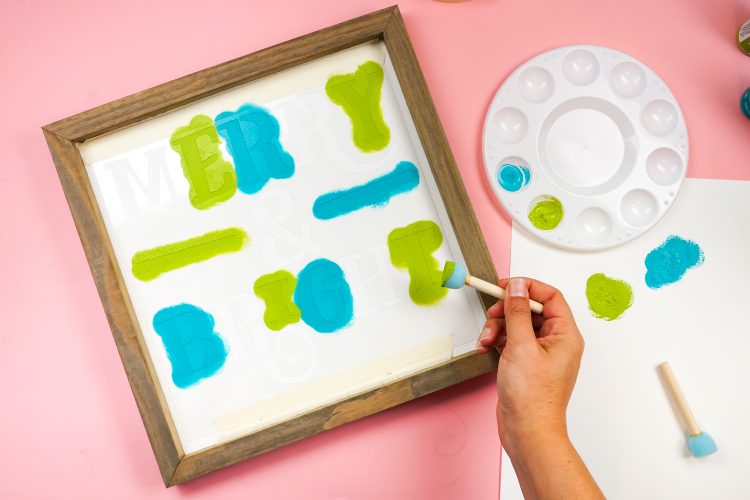
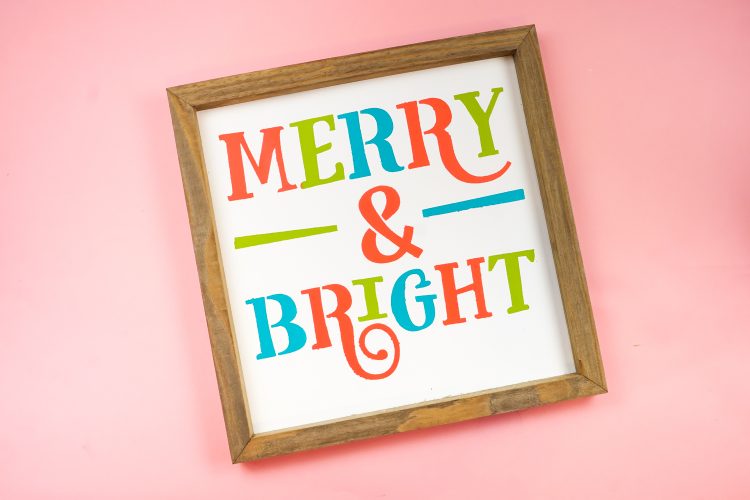
- Stenciling a Home Decor SignNow we can stencil our sign! Start by taping your stencil to the inside of your frame. You don't want it shifting around!
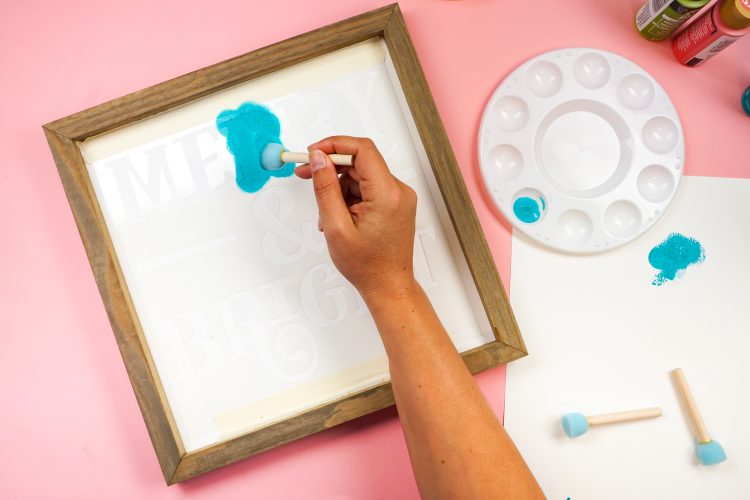
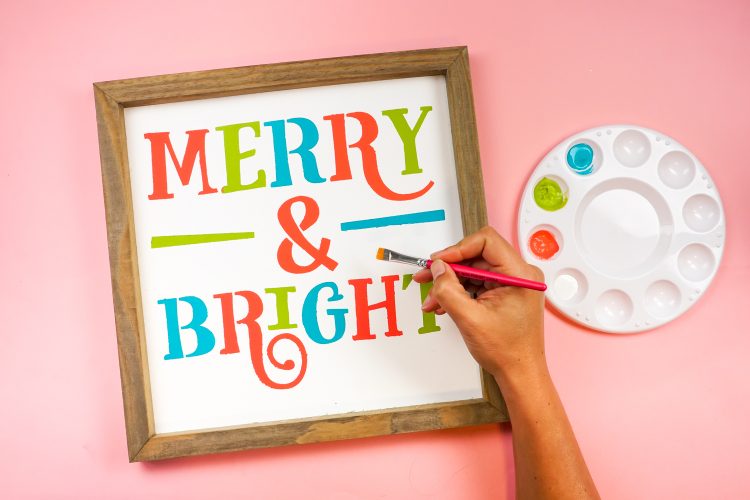
- There are a couple options here, though have not found either of these work that well.You can dab a layer of white paint over your stencil. The theory is that the white paint will bleed giving you a crisper line. This is true, except found that having two coats of paint (the white and the color) can sometimes make my stencil peel when pulled up. Not always, but it's a risk.The second is dabbing a layer of Mod Podge on your stencil. Same theory, but often see the same result, with the paint actually pulling up as the stencil is being lifted up. You can play around and see if any of these options work for you!For this project, went straight to the paint. Using sponge daubers, get a small amount of paint on the sponge, dab it on some scratch paper, and then paint the stencil. You want to use very little paint and use a dabbing motion instead of brushing. This will help prevent bleeding.
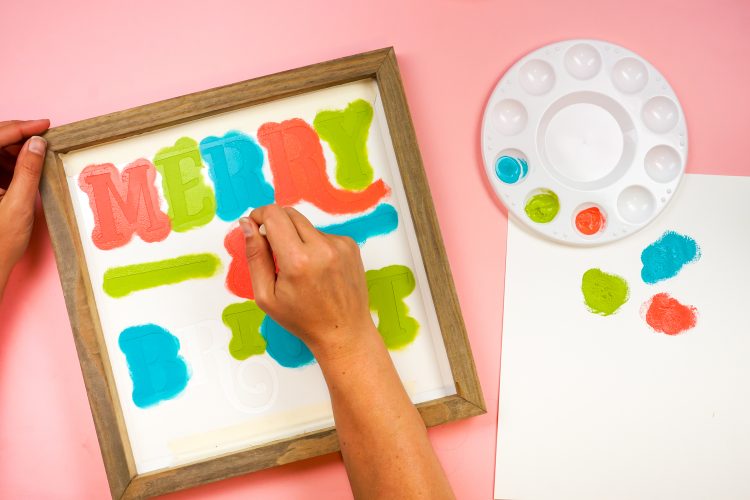
- Continue with this method for the rest of the sign using the other colors.
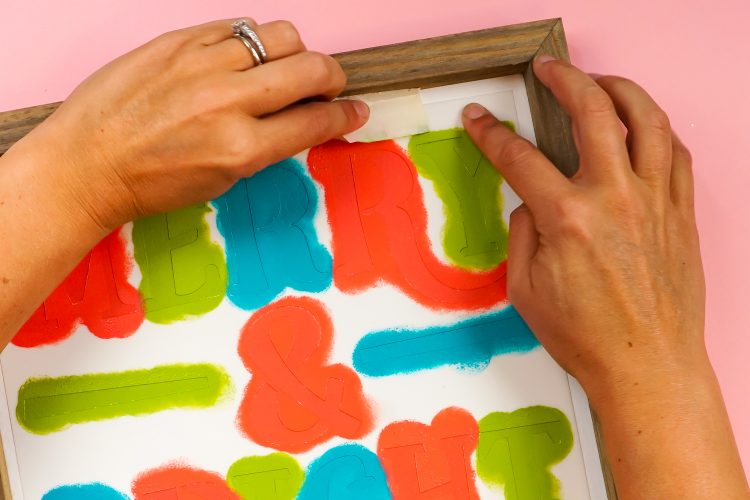
- Before the paint is really set, peel back the tape and carefully lift the stencil (this will help keep your paint from sticking and pulling up).
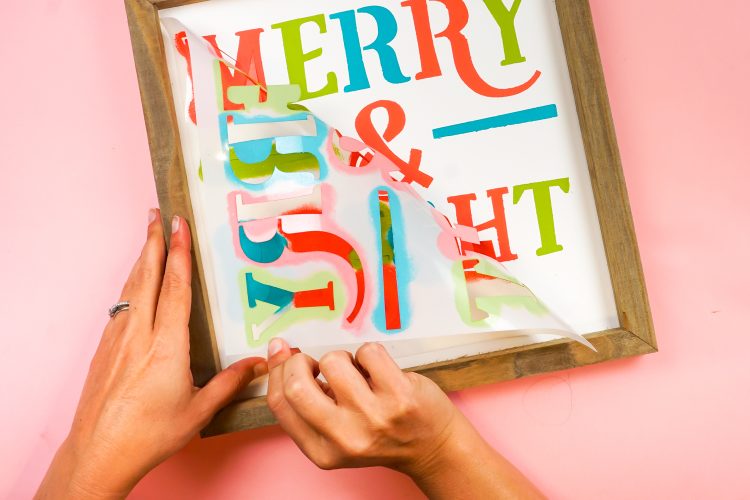
- There's a good chance you will still have a small amount of bleeding. You can see a bit in the bottom "R" below.
- If you use a small amount of paint and use a dabbing motion, it should be kept to a minimum. Use white paint and a small stiff paint brush to touch up any areas that need it.
- Once dry, you can seal the artwork with a bit of poly coating if you'd like—but if it's for indoor use, that step can be skipped.