HOW TO MAKE 3D CRICUT CARDSTOCK FLOWERS
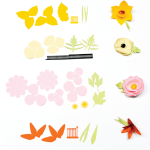
Cricut Flowers can be a little tough to assemble. Here are detailed instructions on how to assemble the Cricut Flower Shoppe Daffodil, Tiger Lily, Poppy, and Peony.
Equipment
- Cricut Maker or
Ingredients
Instructions
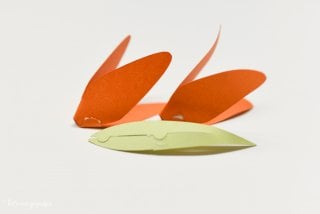
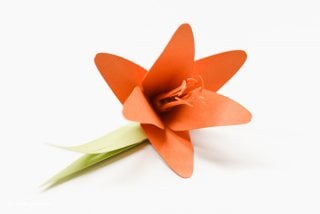
- NOTE: The designs for the following flowers are available in Cricut Design Space individually.Tiger Lily #MA3E15Let's start with the tiger lily. This is a good one to start with because it has a couple features that you'll see over and over in the Cricut flowers. It has three parts -- the petals, the pistil/stamen and the leaves.

- You'll see on the petals and the leaves a few small tabs. These tabs are meant to be glued. They will help guide you as you assemble the flower. Many of the cardstock flowers have these tabs, and once you figure out how they work, making flowers becomes a lot easier!Fold the petals of the flowers into sort of a roll. You'll see the tab then overlaps the other side.

- Glue! Do this for both sets of petals and the leaf.
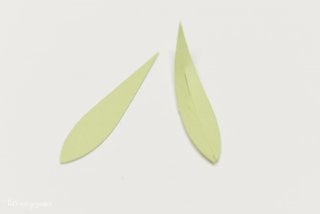
- You'll notice that there are two parts to the leaves, one that is 3D (that you glued) and one that is flat.
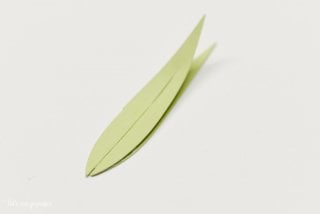
- Stack and glue. Sometimes they are made by offsetting them, and sometimes stacked straight on -- if making several, try and mix it up a bit.
- For anything that looks like the pistil/stamen, roll it. Use a wooden dowel or pencil to get an even roll. Glue that too.

- To assemble, nestle one set of petals in the other. Glue. Roll the petals a little around a pen to help them spread out.

- Nestle the pistil/stamem inside the petals, and glue. Set it upright in a roll of washi tape to allow it to dry straight. Then glue the leaves to the bottom.Yay! A tiger lily!
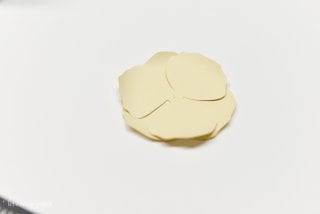
- Poppy #MA3E13Let's do the poppy next. There are no tabs on the petals for the poppy, so they stay flat. Roll the edges up a little using a pen, to give them a bit of a 3D feel. Offset the two petal pieces, and glue.
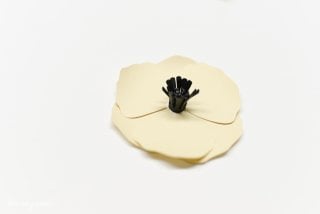
- The pistil/stamen piece may leave you scratching your head, but it's easy. Fold the taller part in half and then roll starting from that side.

- Then glue it to the middle of your poppy.
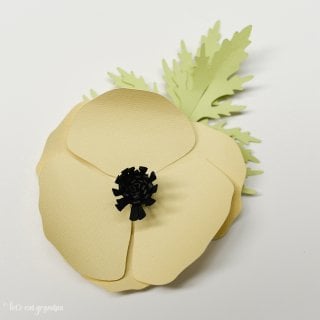
- Make the leaves like you did the tiger lily, and glue below the petals.
- DaffodilThe daffodil has similar petals to the tiger lily, but it also has that extra piece in the center. Glue all the tabs, including the big tab on the center piece. You'll notice that two small tabs fold under the center piece -- this allows you to glue it to the petals.

- Offset the petals, and glue.
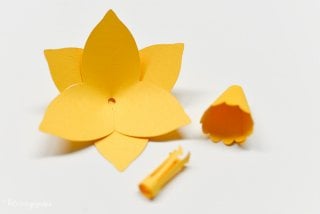
- Then nestle the center piece in the petals, and the pistil/stamen roll inside that. This is another one where setting it upright to dry is a good idea.Assemble the leaves and glue to the bottom. You can also slightly roll the petals to make them a little more 3D.

- PeonyThe peony is the most complicated of these four Cricut flowers, but with the knowledge from above you should be able to do it.The two tiny pistil/stamen pieces aren't rolled, but are instead just fluffed a bit.
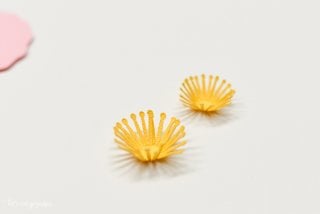
- The outer three-petal petals have one tab and are glued like in the daffodil.The two layers above that have ten petals, which are just curled along the edges a bit to make them 3D. Note that one is slightly bigger than the other -- make sure the bigger one is below the smaller one.Then there are these crazy guys. They actually have six tiny tabs that get glued like this:


- A little hard to get the hang of, but once dry and flipped over, you can see how it creates a really nice 3D effect.Stack all of the petals: the big 3-petal pieces, the 10-petal pieces, then the two smaller pieces in the above photo. You can also put the leaves together as in the flowers above.

- Add the pistil/stamen piece and you've made a cute peony!