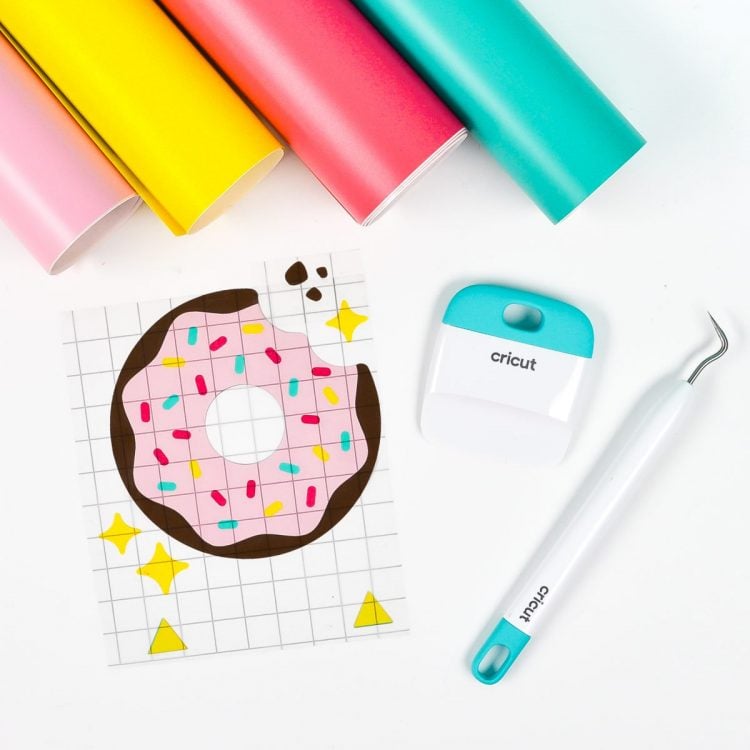
HOW TO LAYER ADHESIVE VINYL USING REGISTRATION MARKS
It can be tricky to layer adhesive vinyl so that all of the layers match up! Here's a simple trick to layer adhesive vinyl using registration marks created in Cricut Design Space!
Instructions
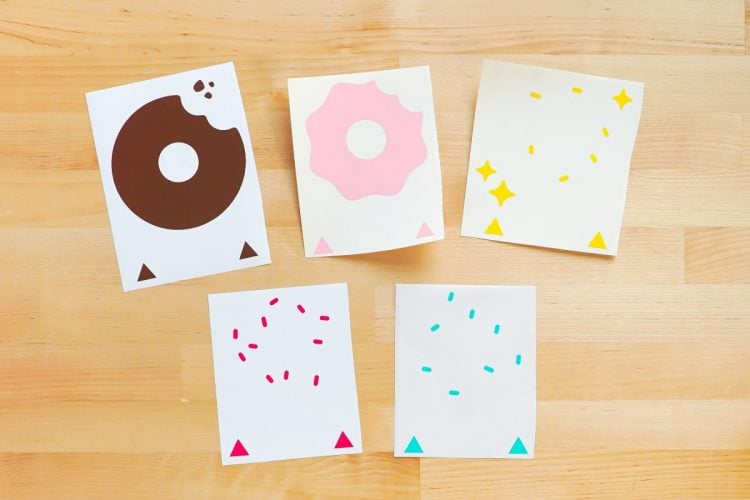
- NOTE: For this example, the file being used is a five-layer donut (Cricut Design Space #M27424521).Resize the design to your final project size. Then ungroup all of the layers so you can work with them individually.
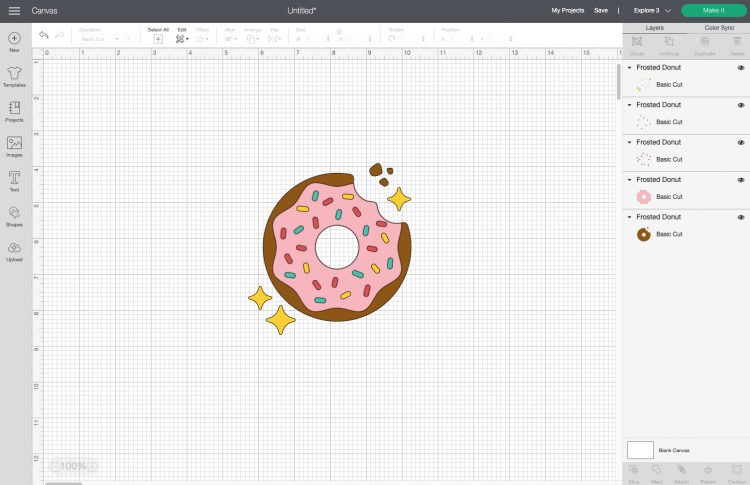
- Use the shape tool to add two triangles underneath your image. These are your “registration marks” that you will use to line up your layers.
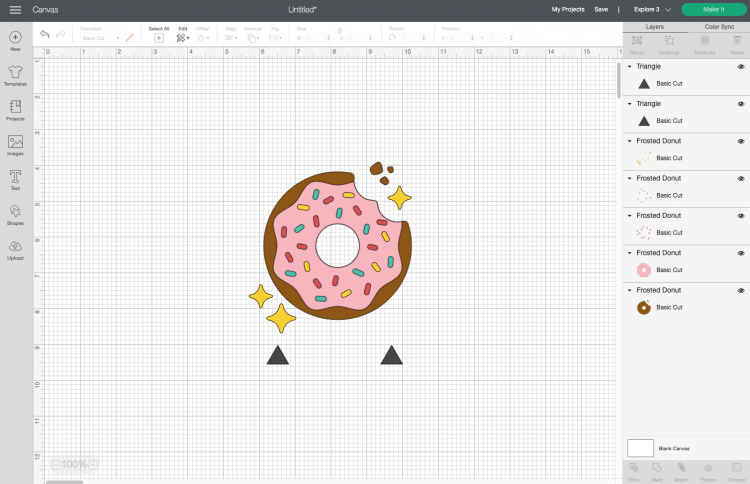
- Duplicate your image AND registration marks for each layer you have. In this image, there are five layers so five total copies were made.
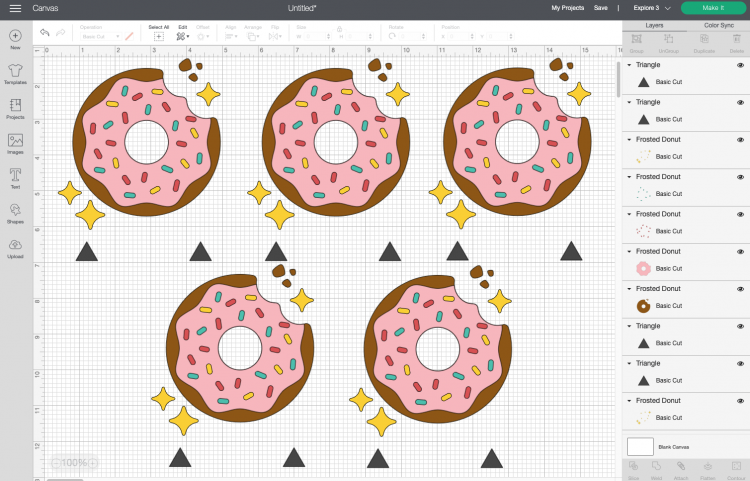
- For each duplicate of the image, delete everything but a single layer and the registration marks, keeping a different layer with duplicate copy.

- Select each image and its corresponding registration marks and click Attach. You will notice that when you select ‘attach’ the registration marks change to the color of your layer. The colors will change to the colors of your layer.

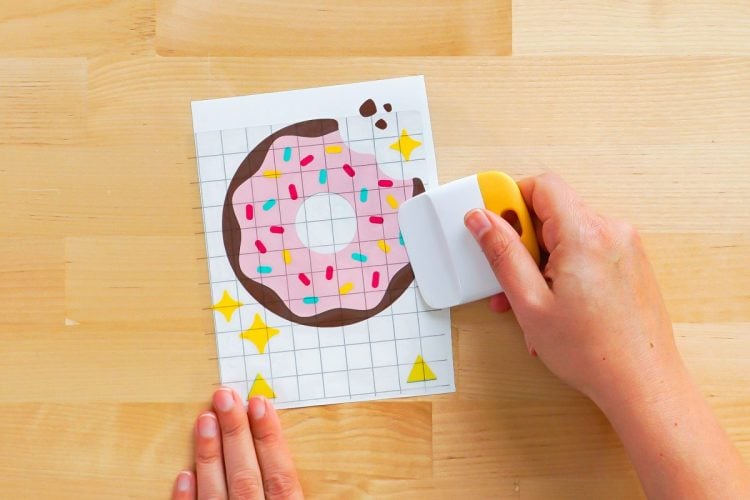
- Now cut and weed all the adhesive vinyl layers of your project. See these posts How to Use Adhesive Vinyl and How to Weed Adhesive Vinyl for more information on how to do that.
- Now we’ll use transfer tape to layer our vinyl by lining up the triangles. As long as the triangles are lined up, the rest of the project will be too!Start with the top layer of your vinyl—you will build your layers from the front to the back. Start by adding a piece of transfer tape to the first layer of your proejct.

- Peel back the transfer tape so that your first adhesive vinyl layer is on the transfer tape.

- Then line up the triangles from that layer with the triangle of your next layer. The more accurate you can be in lining up your triangles, the better.

- Then peel that back so that both your layers on on the transfer tape.
- Repeat until you’ve transferred all of your vinyl layers to the transfer tape.
- Then you can apply it to your base in the same way you would a single layer of vinyl on a piece of transfer tape. Check out my post How to Use Transfer Tape for more information on that!NOTE: Be sure that once you have all of your layers of vinyl on a single piece of transfer tape that you cut off the registration marks so as not to adhere them to your blank during the heating process.