HOW TO CUT, WEED AND ADHERE ADHESIVE VINYL
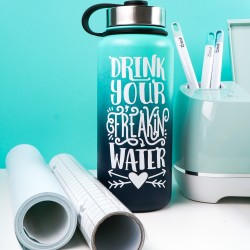
Here are step by step instructions on how to use adhesive vinyl to make a water bottle decal! Learn tips and tricks for cutting and weeding your adhesive vinyl sheets, as well as adhering it using transfer tape.
Ingredients
- Adhesive vinyl
- Base or blank material (generally something smooth and non-porous)
- funny cut file from Etsy seller Fresh Cuts Studio
Instructions
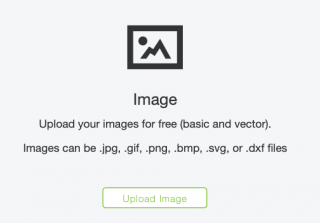
- Start by opening Cricut Design Space. To begin, create a new project in Cricut Design Space. Then click Upload in the Design Panel on the left.

- You'll be taken to the upload screen where you can navigate to the file you want to upload. If you need more help with SVG files, see this post How to Upload an SVG to Cricut Design Space. If you want to find more free and cheap cut files for Cricut machines, check out this post The Best Cheap and Free SVG Files for Cricut Crafters.
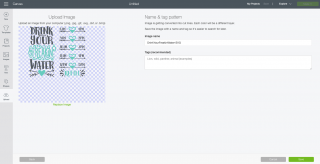
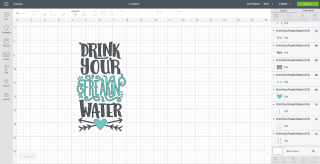
- Insert your file onto your canvas.
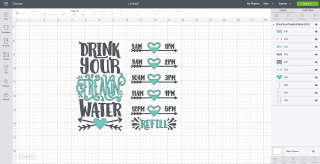
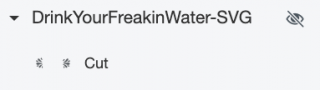
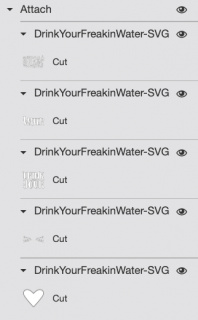
- You'll notice that there are a two sides to this water bottle. For this project only the left half of this cut file is bein used—the right half was designed for a clear water bottle so you can see how much you have had to drink during the day. So let's hide the right half of this cut file. Start by ungrouping the image.

- This allows you to manipulate the pieces of the image individually. Select each piece on the right and hide them in the Layers Panel by clicking the "eye" icon.
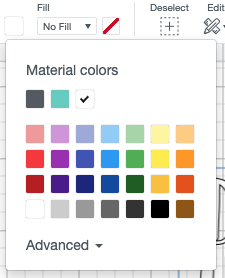
- Once you have hidden all of the pieces you don't want to cut, you may want to change the color of your image. For this project, an all-white decal would look best on this water bottle, so the cut file was selected and the color dropdown was clicked in the Edit Toolbar at the top to select white.
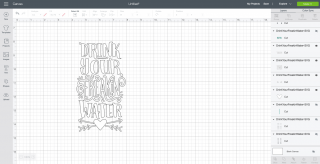
- Now, to make sure it cuts as one single piece, select your project and click Attach. All of your pieces will be nested under an Attach heading in the Layers Panel. Read more about Using Attach in Design Space.

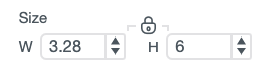
- Finally, you may need to re-size your image to fit on your water bottle. I changed my height to 6" tall.
- Now you're ready to cut your image! Click Make It in the upper right to be taken to the Prepare Screen. You do NOT need to mirror your vinyl—you can cut it as is.

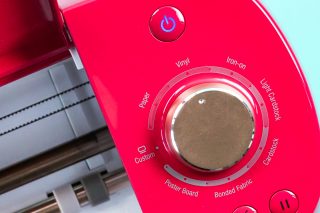
- After clicking continue, you'll be taken to the Make Screen. From here, select your material—if you have a Cricut Explore, you'll set the material with the dial; if you have a Cricut Maker, you'll set the material in that screen.
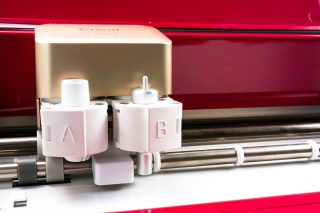
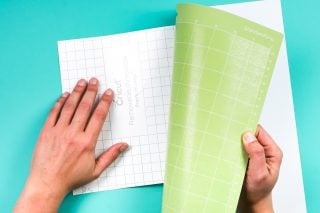
- Place your material with the paper backing down and the colored vinyl up on your mat and insert into your machine. Make sure you have the Fine Point blade installed.
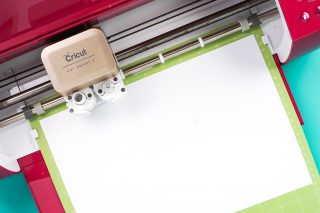
- Click the blinking "C" on your machine and your Cricut will cut your vinyl for you! To remove your vinyl from your Cricut mat, bend your mat away from the vinyl instead of peeling the vinyl up off the mat. This helps prevent curling.
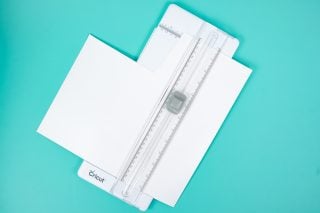
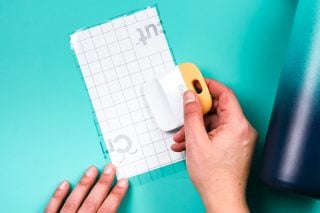
- Finally, use a paper trimmer to cut down the vinyl to save the scraps and use later!
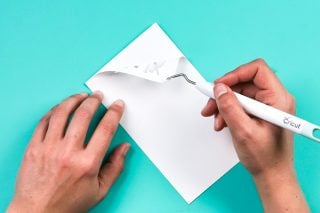
- How to Weed Adhesive VinylWeeding is the process of removing anything that’s not part of your design. Start by digging the tip of your weeding tool into a piece of the vinyl that is NOT your design, and gently pull up. Often once you get a good chunk going, use your fingers to pull up on the vinyl, and your weeding tool to get the more difficult bits, including the insides of letters.Continue to remove all of the pieces around the image until all that’s left is the image. Double check your work to make sure you don’t have any extra bits that need weeding—try holding your image up to the light to see if you've missed anything!
- How to Adhere Vinyl with Transfer TapeNow it's time to place our decal on the water bottle! Cut a piece of transfer tape about the same size as your decal. Peel back the sticky transfer tape from the liner sheet.

- Then place it sticky side down on your decal, and use a scraper to burnish the transfer tape to your decal.
- Carefully peel back the transfer tape and the decal should come with it. If it doesn't stick (this is particularly annoying with glitter vinyl—you may want to try strong transfer tape!), burnish some more and try again.
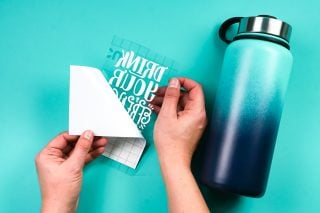
- Place your decal on your water bottle and once it's straight, press to adhere.

- Then peel back the transfer tape—your design should stick! I usually peel back that tape at a sharp angle from the decal—it's better than pulling it straight up.