HOW TO CREATE A CRICUT "MAKE IT NOW" PROJECT
Cricut's Make It Now projects allow you to create a beautiful project from start to finish without any design skills.
Equipment
- Cricut Maker or
Ingredients
Instructions
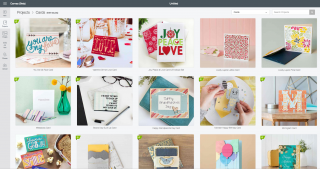
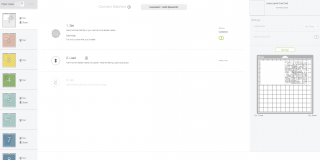
- Start by opening the Cricut Design Space. In the new Cricut Design space, in the left-side menu, click on "Projects" and you'll find all of the "Make It Now" projects. You can use the menu at the top to filter the types of projects you can do. For this project, cards was chosen and then selected the Lovely Layers Floral Card. It's in the top right of the screenshot.
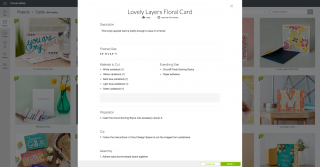
- When you click on a project, it tells you all of the materials and tools you need so you can make sure you have everything and gather your supplies. Notice here that it tells you to insert the scoring stylus into the secondary accessory clamp -- this will create score marks to help you fold the pieces of the card properly. It does tell you what color materials you need, but you can always switch these up if you'd like to use different colors.
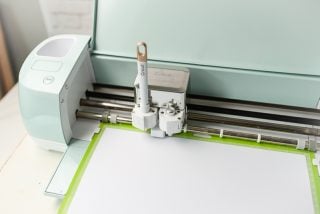
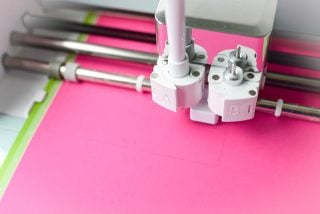
- Then click "Make It Now" and you're off to the races. Instead of bringing you back to the main canvas, you are taken directly to the cutting screen, where your layers will appear on the left. Select your material (in this case, card stock), place your material on the mat and insert it into the Cricut Explore, and click the "Go" button on your machine and it will start cutting out your card for you from the top layer to the bottom. It really couldn't be easier.
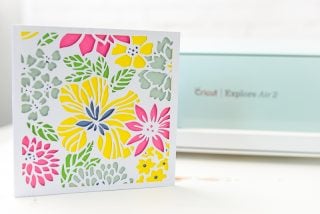
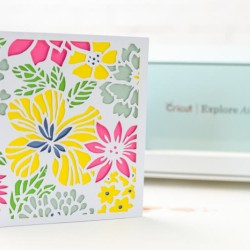
- Once you have all your pieces cut out, the Cricut Design Space will take you back to that original window that has the materials and instructions. The instructions here were vague -- "Adhere card and envelope layers together." Thankfully they were pretty intuitive and the piece was beautifully re-created by matching up that center flower shape on each layer.

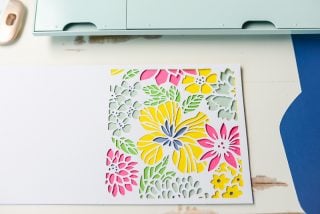
- Use spray adhesive to glue each layer together, fold the envelope and you are done!