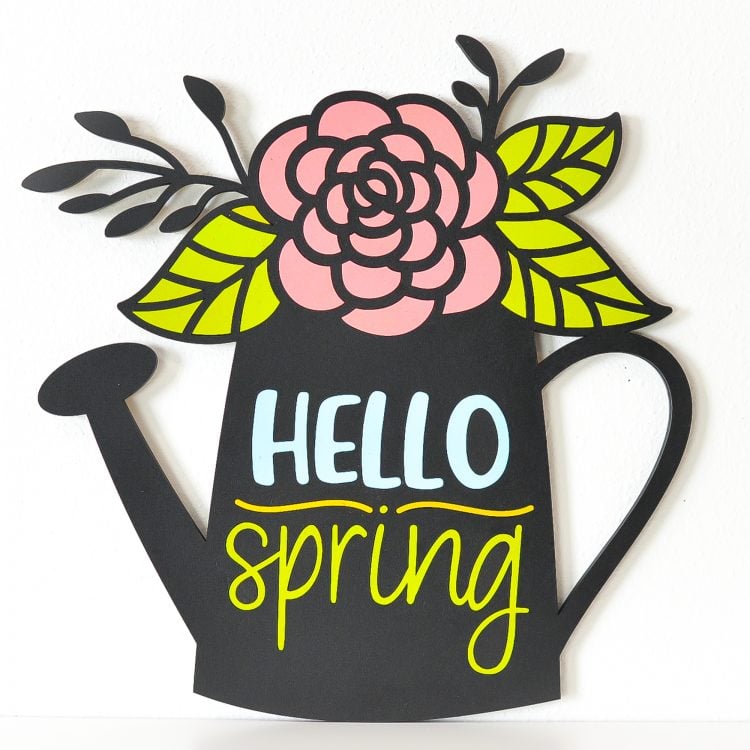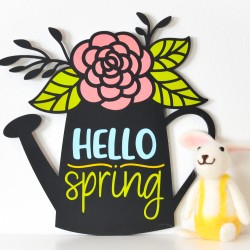
HELLO SPRING SIGN WITH THE GLOWFORGE
This Hello Spring sign is made using a Glowforge or other laser cutter! This sign is easy and quick to make—it's the perfect addition to your spring home decor.
Equipment
- Glowforge or other laser cutter
- Spray paint or
Ingredients
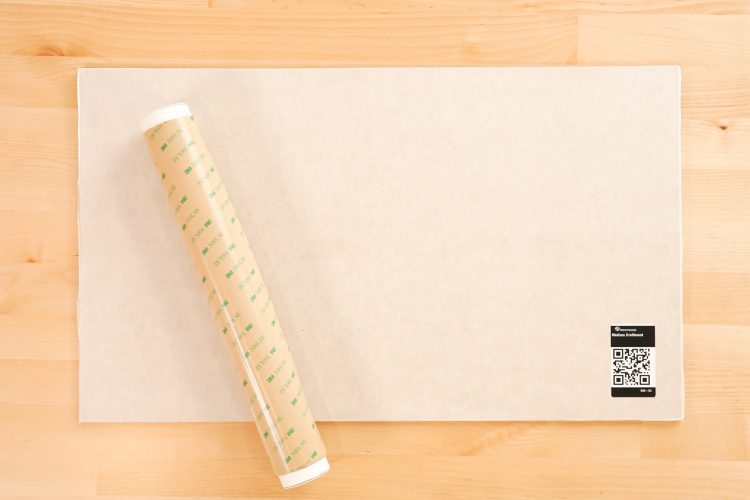
- 1 sheet Glowforge proof-grade draftboard or other material of your choice (wood, acrylic, etc.)
- Free Hello Spring - Laser #L2
Instructions
- Prepare the Draftboard for CuttingTo make assembling this project easier, use 3M double-sided adhesive. It's basically a sheet of double-sided tape that will allow you to assemble the project without glue.
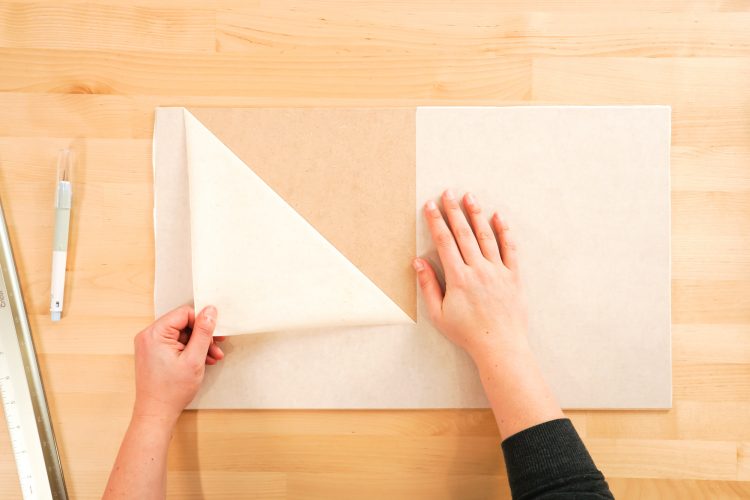
- If you're using a material that's already masked like the Glowforge draftboard, peel off half of one side of the masking. Using a craft knife to score the mask before you peel it off makes things easier.
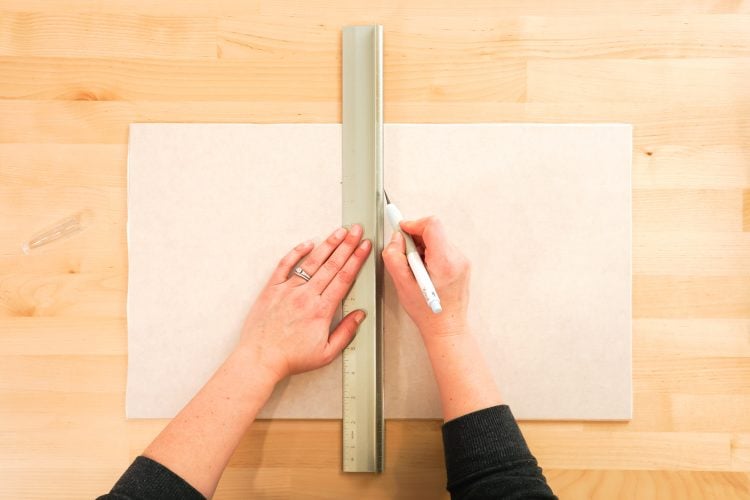
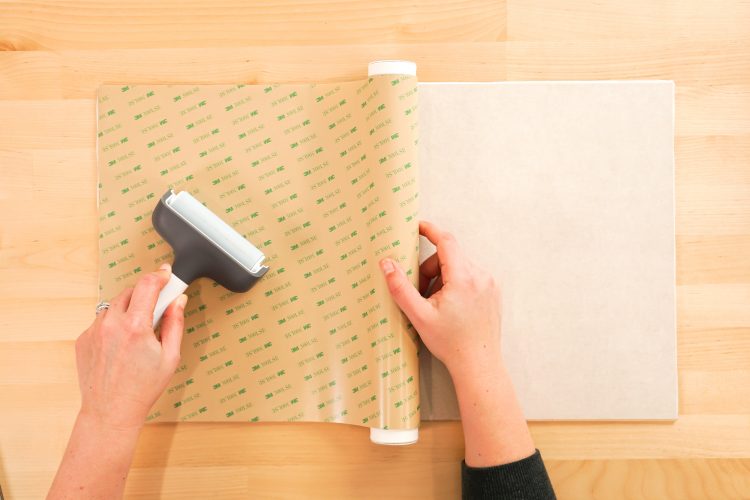
- Then, starting at one end, place the adhesive on the un-masked side of the draftboard, trying to avoid bubbles. Use a brayer to push out any leftover bubbles.
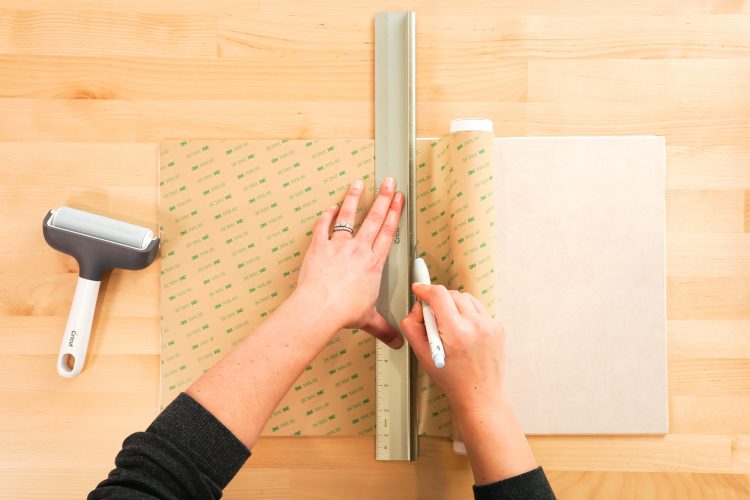
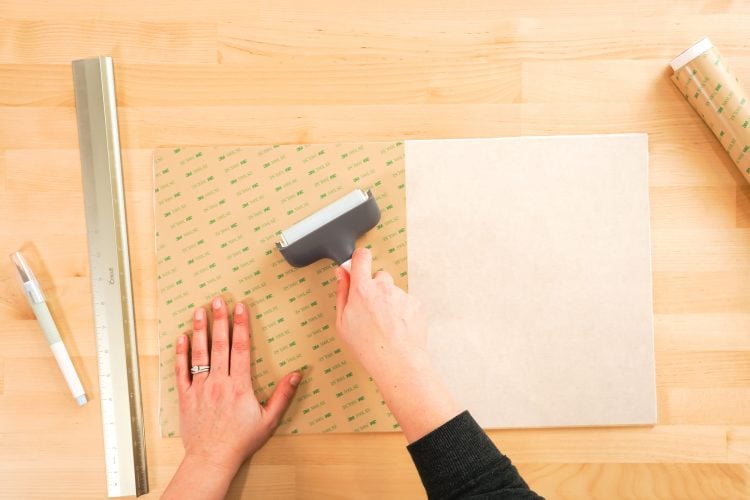
- Then use a craft knife to trim the adhesive, and the brayer to push out any leftover bubbles.
- Okay, let's cut this thing!
- Upload the Hello Spring SVG File to the Glowforge AppThere are three layers included in the file—a backing layer, a layer with the edge and cutouts, and a layer with just the cutouts.

- For the way the sign is being crafted, the cutout layer is not needed, so that layer was deleted and then the two pieces were resized to fit on a single piece of draftboard—about 10" tall in this case.
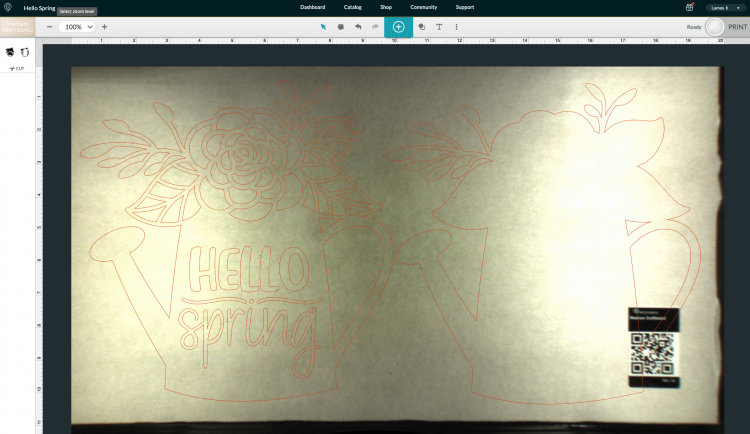
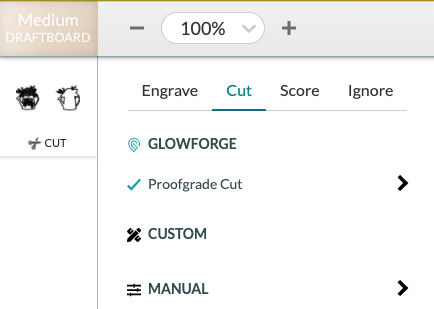
- If you're using a proofgrade material, it should have a QR code for your Glowforge to read. Mine automatically selected draftboard. You can also select it by hand by clicking in the upper left on the material:You'll also want to make sure it's set to cut and not engrave.
- Cut Your MaterialPlace your draftboard in the bed of the Glowforge with the 3M adhesive side down and to the left, so that the cutout Hello Spring piece will be the side with the adhesive backing.Once you've set up your file and material, click Print in the upper right. Your Glowforge will do some wizardry and then you'll be able to click the button and watch your machine do its thing (but don't look directly at the laser!).
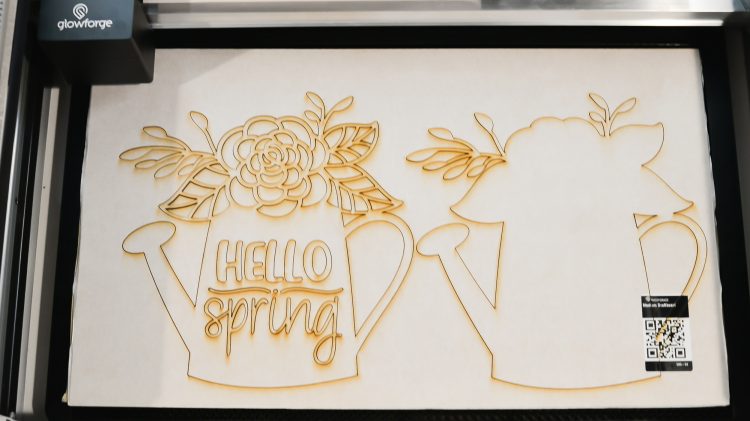
- Once your file is cut, you can use a bit of masking tape over the smaller pieces so you can remove the whole cutout from your machine without the tiny bits dropping into the crumb tray. We'll be using almost all of the pieces, including the centers of the letters, so make sure you don't lose them.

- Here's what you should have. The only pieces you can discard (or throw into a scrap drawer) are the inside of the watering can handle and the little triangle right above that.
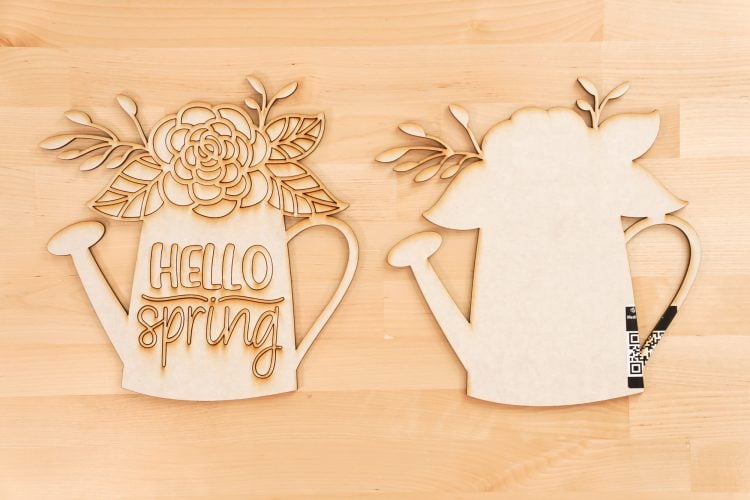
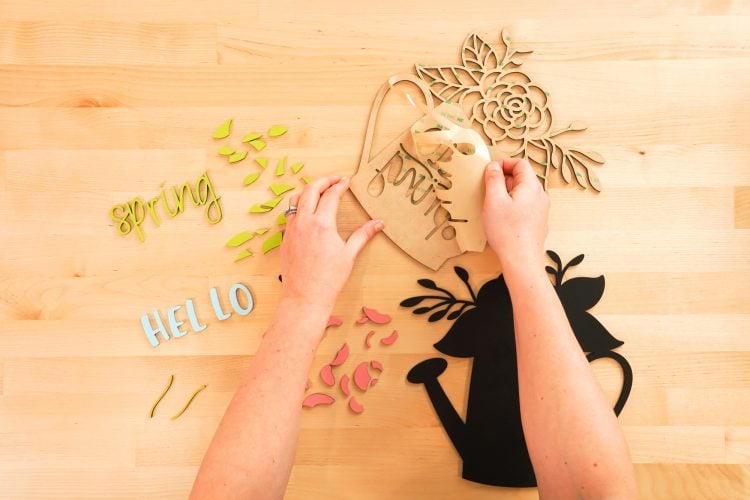
- Remove the MaskNow separate your pieces into the different colors you're going to use. Note that the interiors of the letters will be the same color as the watering can itself. Then remove all of the masking off the front of the pieces (do not remove the liner to the 3M adhesive on the back yet!).

- Assemble Your Hello Spring SignThis next part. is like assembling a puzzle!

- Start by peeling back the liner on the 3M adhesive on the black cutout piece, and then affix it to the other backing piece.
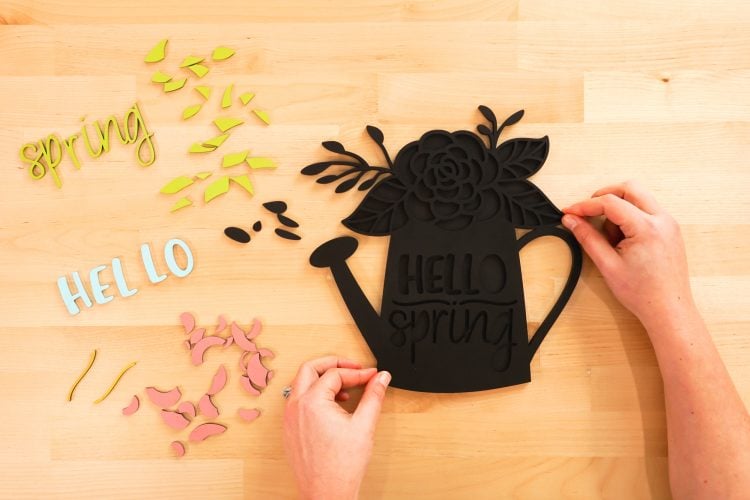
- Now just peel back the liner on the colorful pieces, and insert them into the frame. You can use tweezers to pull off the backing liner, but your fingernail works better than anything else for this.
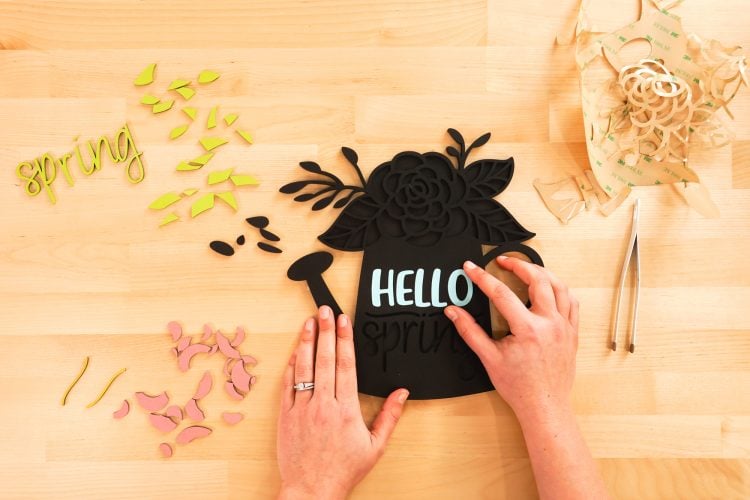
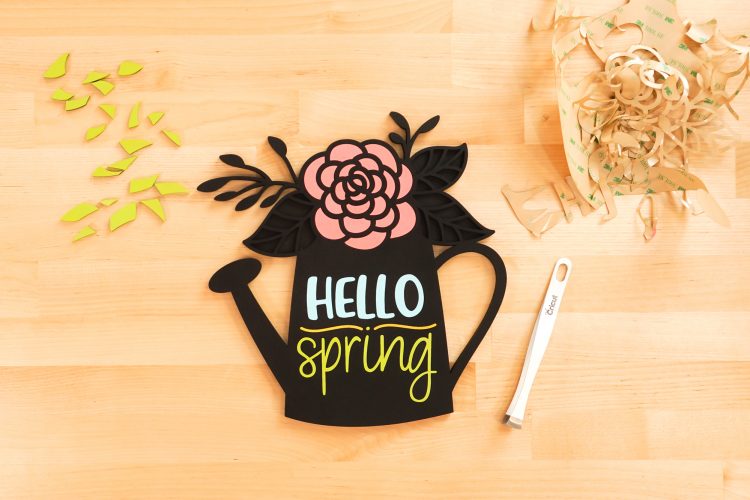
- Press everything really well (run your brayer across it) to make sure the adhesive sticks, and you're done! If you'd like, you can glue a ribbon to the back for hanging.