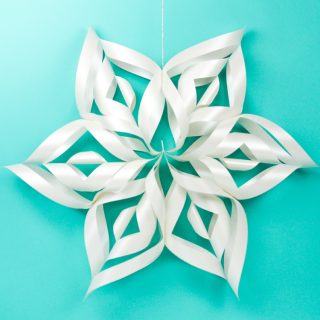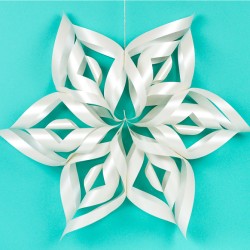
GIANT 3D PAPER SNOWFLAKES
These giant 3D paper snowflakes are fun, whimsical, and will transform your next holiday party into a winter wonderland!
Equipment
- Cricut Maker or
- Clear tape
Ingredients
- 6 pieces of paper
- String or twine for hanging
- Free Paper Snowflake File #C150
Instructions
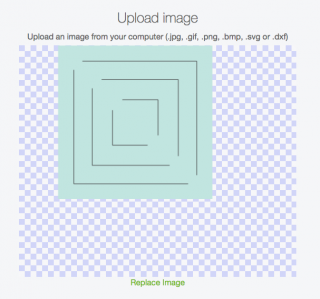
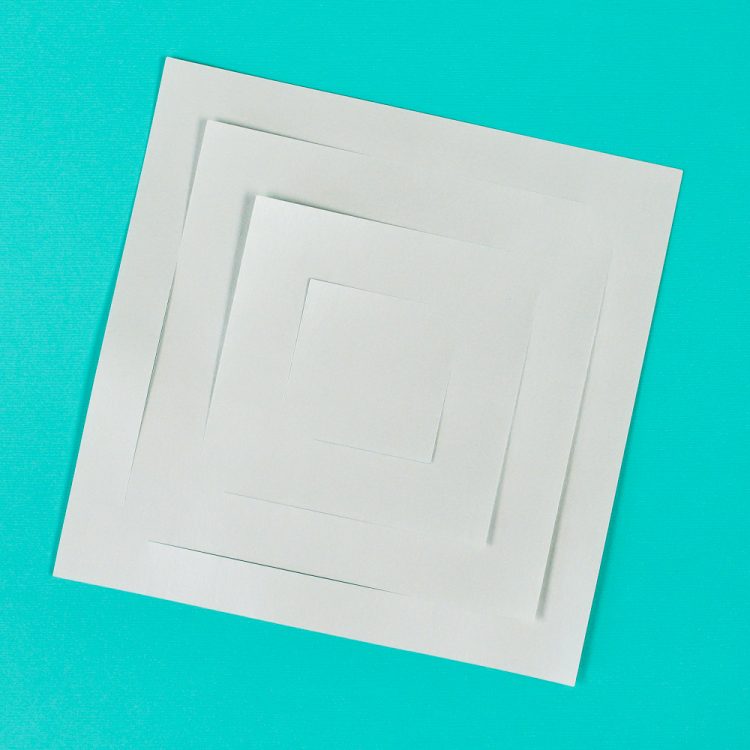
- Start by downloading the SVG. Unzip the file and you'll find an SVG. You'll upload that SVG to Cricut Design Space using the Upload tool in the left-side Design Panel. Learn more about uploading SVG files to Cricut Design Space. Once you have your file uploaded, you'll see that there is a single piece to make this snowflake—we will duplicate in a moment.
- Start by selecting your snowflake piece and clicking "Attach" in the bottom of the Layers Panel on the right. This will make sure those interior cuts cut properly. You'll see that all of the pieces are now under an "Attach" heading in the Layers Panel.

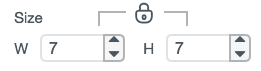
- You can make these as large as 11.5" x 11.5" wide to make a nearly 23" snowflake, (this is the size that the file should import) or as small as you'd like. For this project each piece was made 7" wide in order to hand hang several 14" snowflakes in a front window. The easiest way to do this is to type your size into the sizing box in the Edit Toolbar at the top of your Canvas.
- Once you have your piece re-sized, use the Duplicate tool at the top of the Layers Panel on the right to make six identical pieces. Now you're ready to cut your file! Click Make It in the upper right.Cut out all six pieces using your Cricut. For this project a thinner paper was preferred that bends nicely, so the Stardream Metallics paper from Paper-Papers.com in Quartz was used. If you want to make yours larger than 8" wide, you'll need to use a larger 12" x 12" scrapbooking paper. Stay away from thicker cardstocks for this project—it doesn't curve as nicely and you want a lighter, more ethereal feel for your snowflakes anyway!
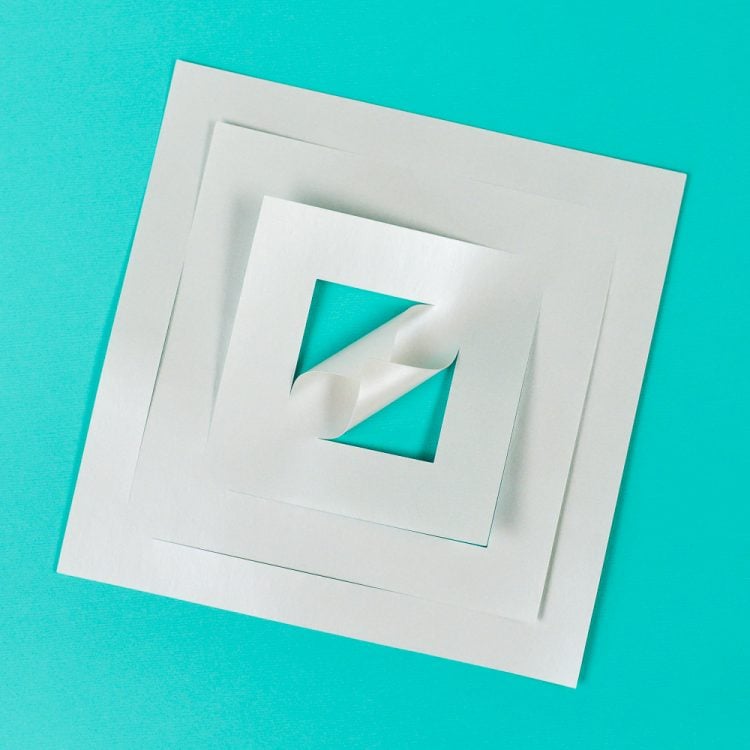
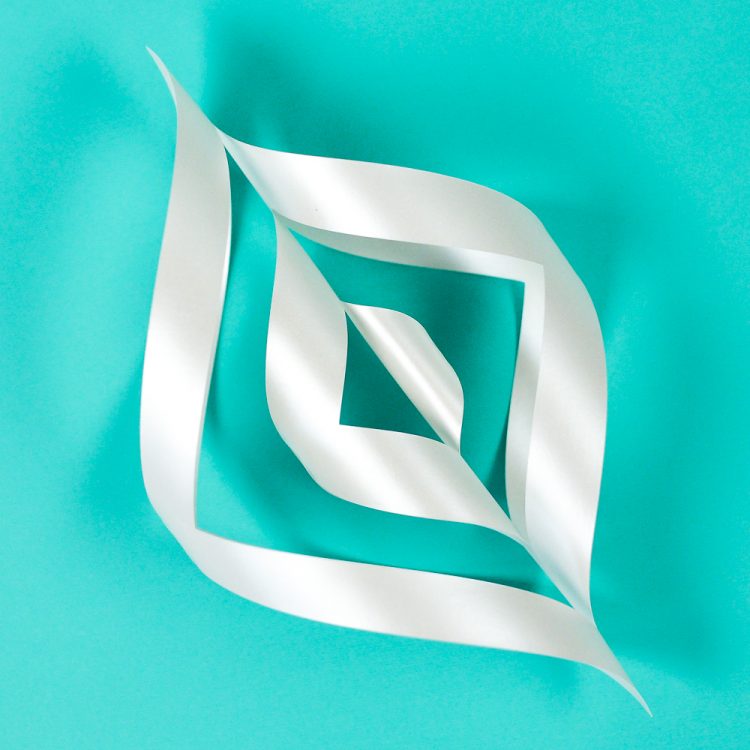
- Start with one piece of paper. Take the two innermost triangles and bend them toward each other to create a...cannoli shape. Overlap a bit and use a little tape to secure the two pieces together. You could also use glue if you don't mind waiting for the glue to dry.
- Then flip the whole thing over and take the next two innermost triangles and do the same, but bending them in the opposite direction than the first triangle. Secure with tape.
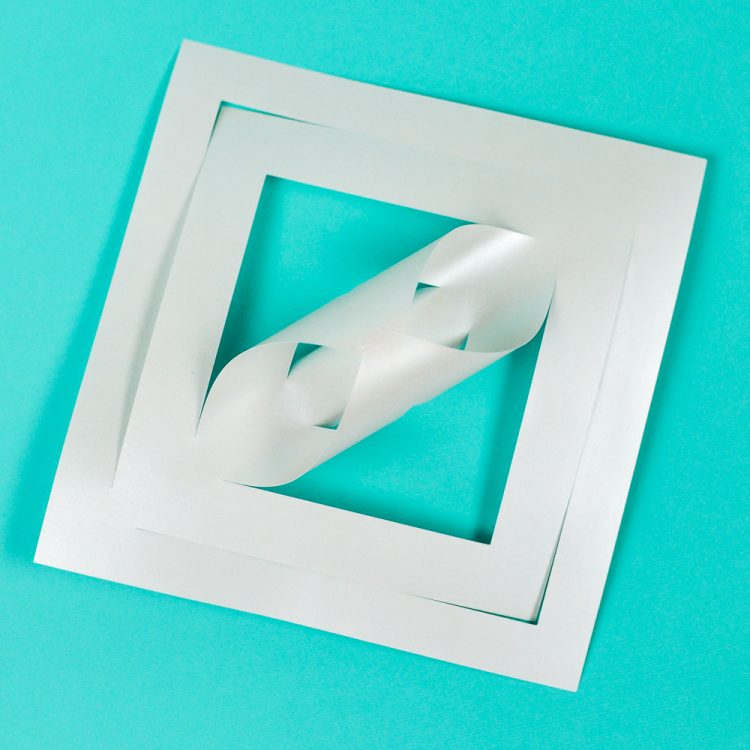
- Flip over again and secure the next set of triangles together with tape.
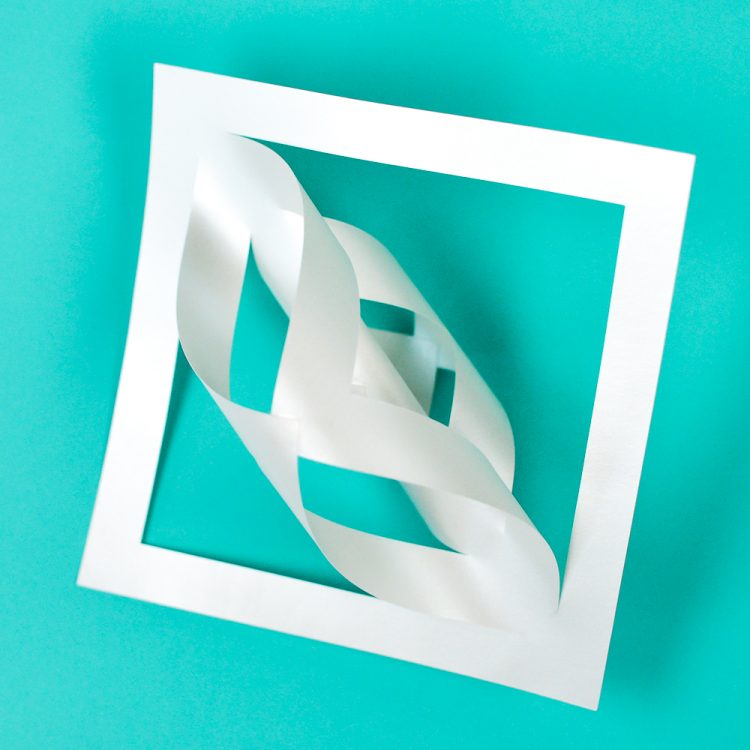
- Flip over once more and secure the final set of triangles together.
- Repeat this process with the other five pieces so you have six snowflake segments.To assemble all the pieces, gather them all together by one end and use a stapler to secure all six together. You'll see that they will fan out into your basic snowflake shape.
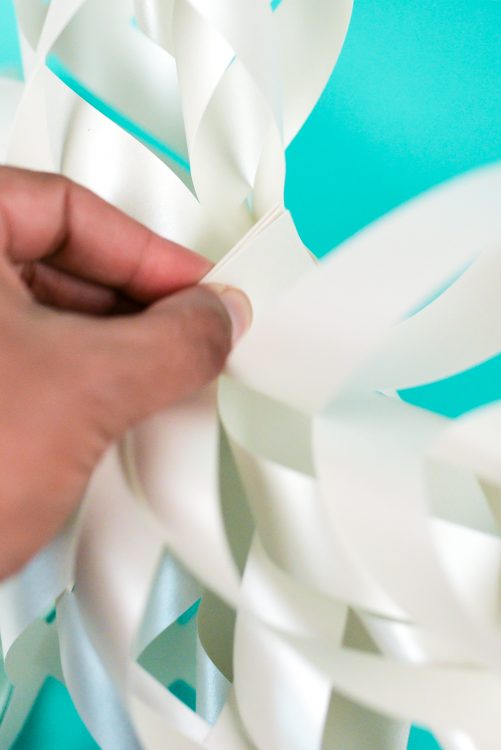

- Then use the stapler to secure each piece to the one next to it.

- Then you can hang using string. Just staple the string to the center, using a knot to secure it so the string doesn't slip through the staple when hanging.