FALL T-SHIRT WITH THE CRICUT INFUSIBLE INK MARKERS AND PENS
Projects made with Cricut Infusible Ink pens and markers are designed to last! Use them to create t-shirts, bodysuits, coasters, and more. Here's how to use the Infusible Ink pens and markers and get the best results!
Equipment
- Cricut Maker or
Ingredients
- Image from Design Space (#M8A1D271)
- Your choice of blank - t-shirt, tote bag, etc.
Instructions
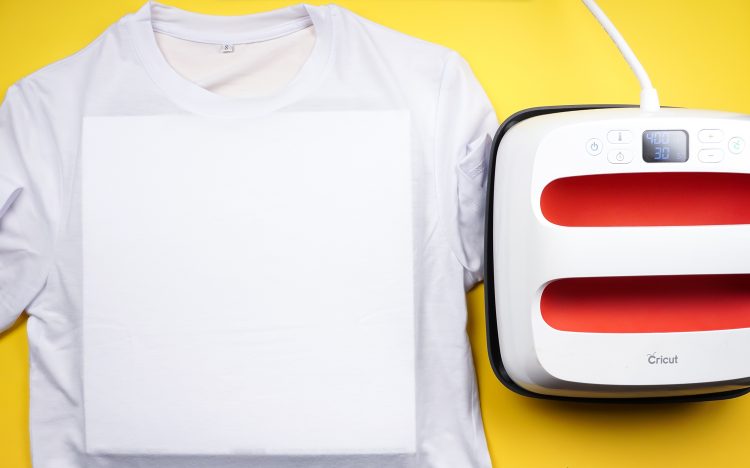
- Choose Your BlankFor this project, a Cricut women's t-shirt is being used. This would also be so cute on a tote bag!
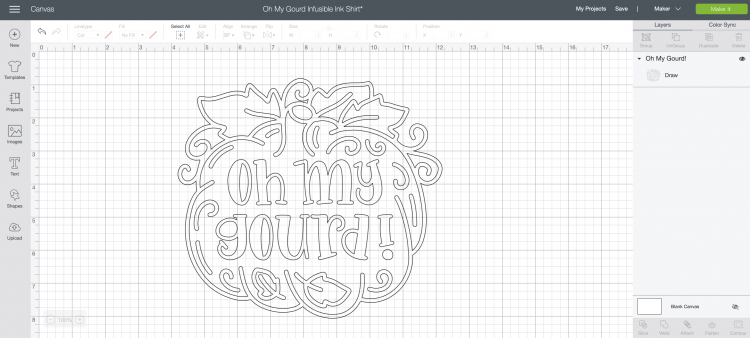
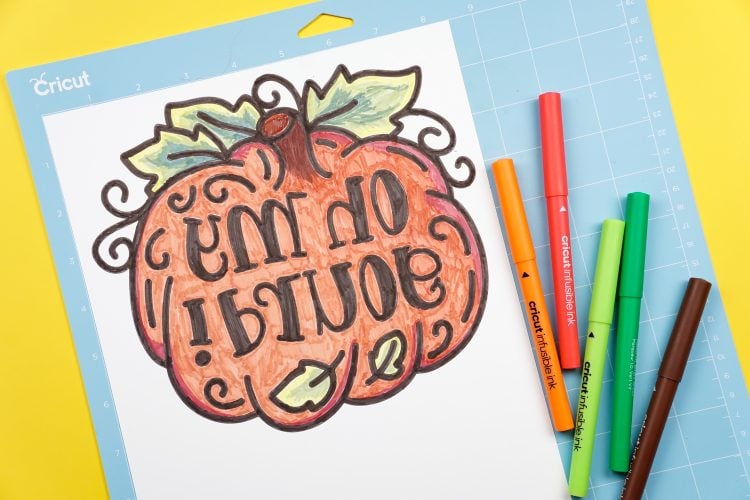
- Create or Choose Your DesignStart by creating your design in Cricut Design Space. For this project we are using this funny Oh My Gourd! image from Design Space (#M8A1D271).
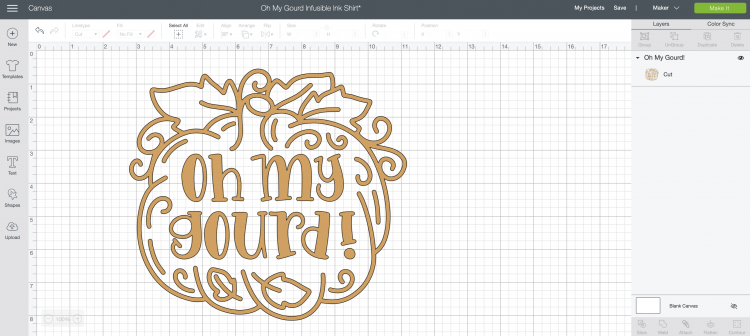
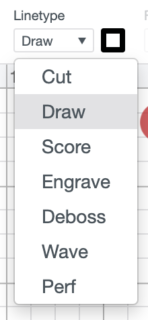
- This is a cut file. To be able to draw it with the Infusible Ink pen, change it to be a draw image.
- You'll notice that Design Space actually outlines the image when making it a draw image. I'll be coloring it in by hand after the Cricut draws it.For this project, the outline is going to be drawn with the black pen. If you want to use other colors, you can change that using the color picker in the Edit toolbar at the top. Also make sure to resize it to fit on your shirt.
- Draw Your Design on Laser PaperThen click Make It in the upper right. IMPORTANT: In the Prepare screen, mirror your image—that way it will be correct when you iron it onto your project.
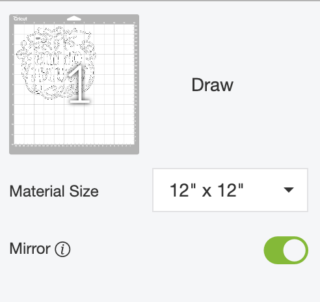
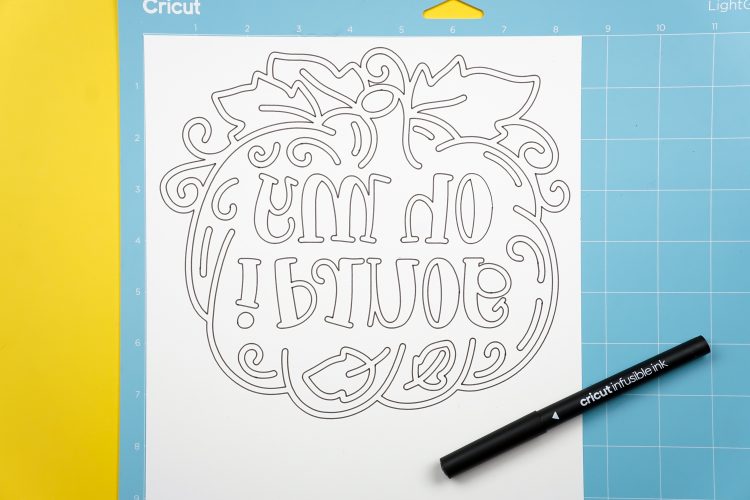
- In the Make screen, select Copy Paper as your material. The software will tell you to load your pen or marker into the auxiliary housing on your Cricut.Place a piece of laser copy paper on a LightGrip mat and insert it into your Cricut. Press the flashing "C" and your Cricut will draw the image for you! If you are using more than one color for your project, your Cricut will prompt you to change your pens.
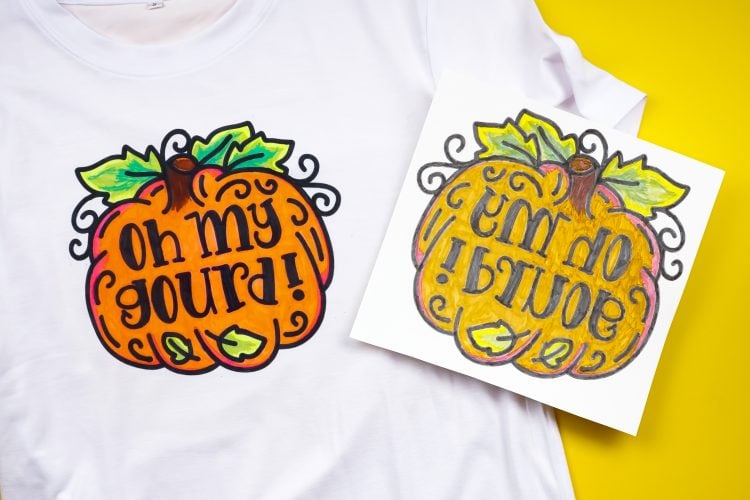
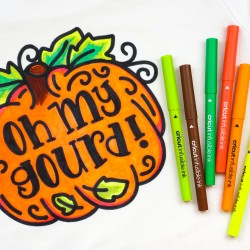
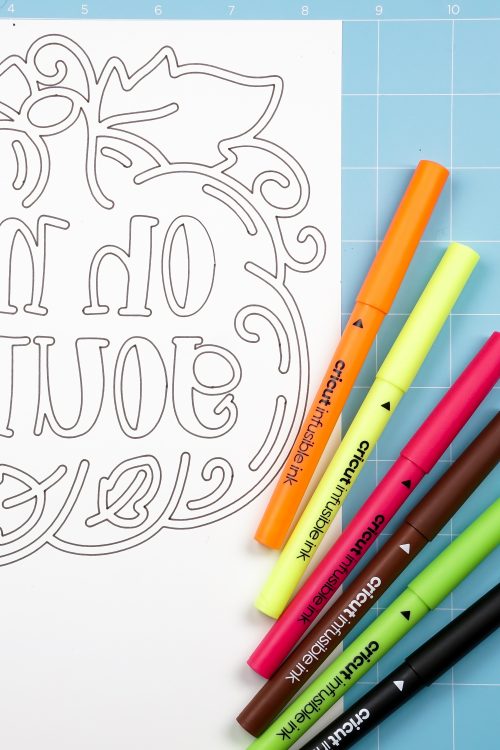
- If desired, color in your project by hand. Here, a variety of colors were used to create this look.
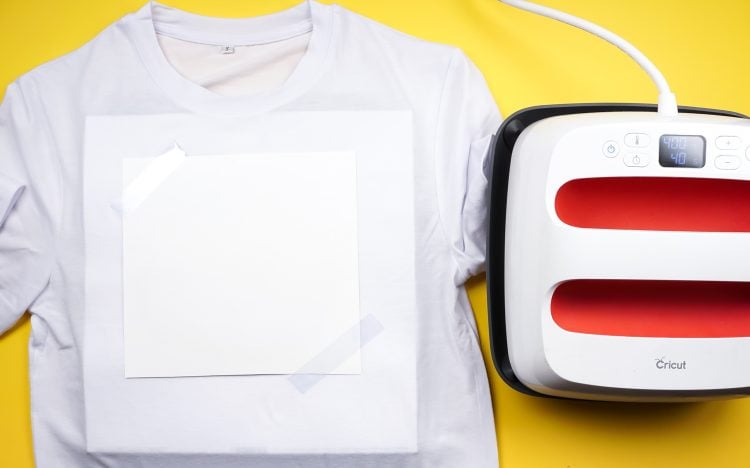
- Transfer Your ImageFor a shirt, set the temperature and time of your EasyPress 2 or heat press to 400° and 40 seconds (note that the heat guide says 385°, but it has been found that the press cools a bit when it hits the mat, so have had more success with a slightly hotter temperature). Trim around the edges of your transfer so there isn't a lot of white blank space. Place the piece of cardstock inside your shirt—this will help keep the ink from bleeding through to the back. Then put your EasyPress mat inside the shirt, between the cardstock and the back of the shirt.
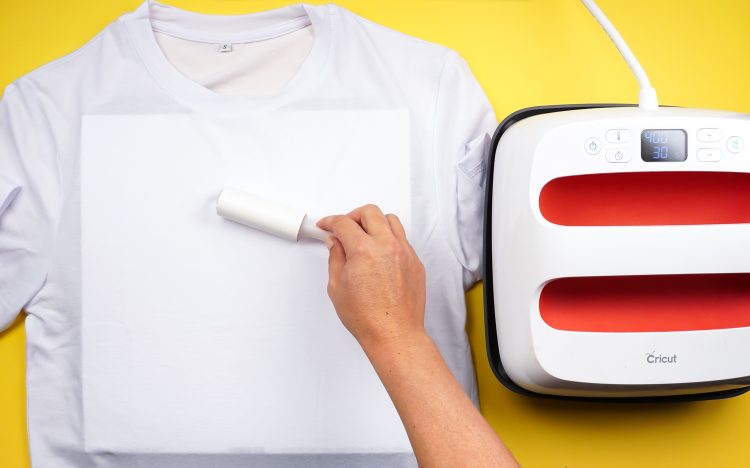
- Use the lint roller to clean off the shirt before you do your transfer (see these troubleshooting tips). If you are using coasters, use a lint-free cloth to clean them off.
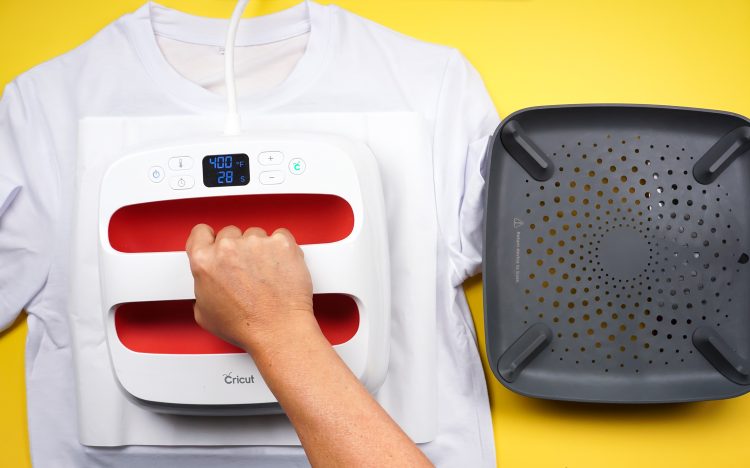
- Place a piece butcher paper larger than your heat plate on top of your shirt and pre-press for 15 seconds to remove any moisture from the shirt.
- Remove the butcher paper and place your design face down on the shirt, securing it with heat-resistant tape if desired.
- Then place the butcher paper on top of your design. Press for 40 seconds. Cricut says the weight of the EasyPress is enough. Haven't found that to work however, so use quite a bit of pressure. Do NOT move the press around, even just slightly—this can cause the edges of your image to blur.
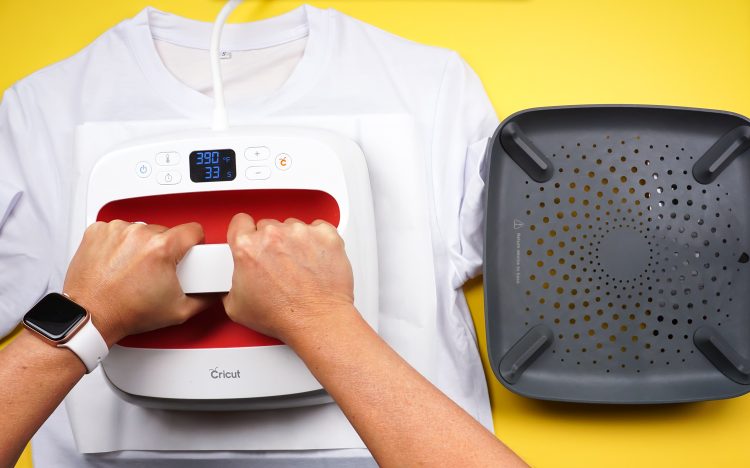
- Lift carefully and let the shirt cool completely before you pick up the paper.
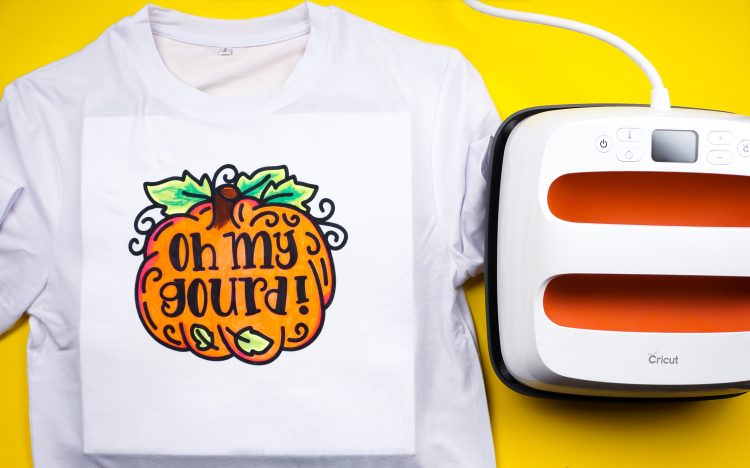
- It's pretty amazing how much different the pens look before and after! Like all Infusible Ink products, the pens look much duller before being transferred.