
DIY FELT WREATH FOR CHRISTMAS
Use your Cricut Maker or Cricut Explore to make a beautiful felt wreath! This is an easy felt wreath DIY—just cut the leaves on your cutting machine, pin or hot glue, and add felt balls! A felt bow finishes this easy Christmas wreath.
Equipment
- Cricut Maker 3 with the rotary blade or
- Cricut Maker with the rotary blade or
- Cricut Explore 3 with the FinePoint blade or
- Cricut Explore Air 2 with the FinePoint blade
- Cricut Green StandardGrip Mat with the Maker (large 12"x24") or
- Cricut Purple StrongGrip Mat with the Explore (large 12"x24")
- Brayer (optional but helpful)
- Hot glue gun and hot glue (you can also use pins if you prefer)
Ingredients
- 1 yard felt off the bolt for your leaves
- 8" x 5" felt for your bow
- Baubles for decorating your wreath (felt balls, bells, etc.)
- Free Felt Wreath File #C248
Instructions
- Making Your Wreath in Cricut Design SpaceCreate a new project in Cricut Design Space. On the left, click Upload. Then navigate to the wreath file you downloaded above.

- Click Save.
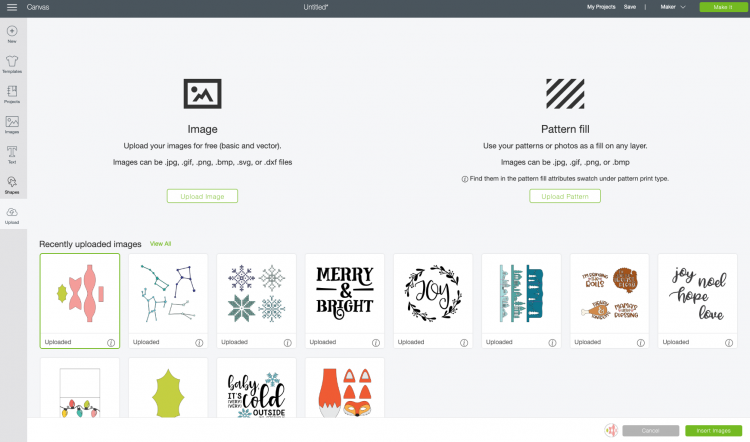
- Then select the file you uploaded and click "Insert Images" to bring it onto your canvas.
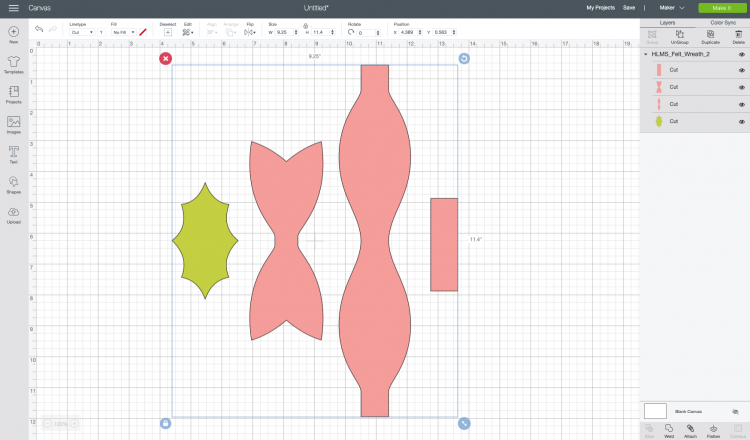
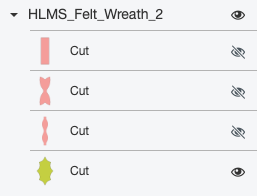
- We're going to cut the two parts of this wreath separately, so click on the "eye" icon next to each pink bow piece in the layers panel to hide it.
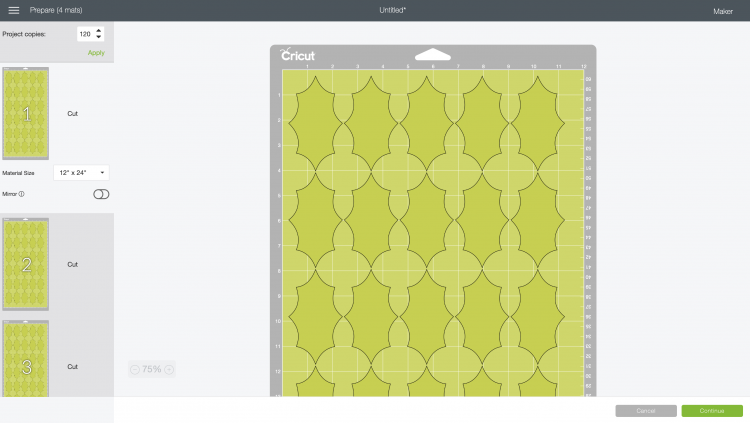
- This leaves just the holly piece on your canvas. Click Make It in the upper right. In the upper right of the Prepare screen, change "Project Copies" to 120.

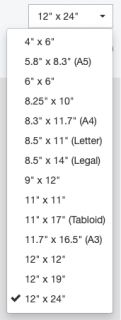
- This will fill ten 12" x 12" mats. But if you change your mat size to 12" x 24" inch, it will perfectly fill four 12" x 24" mats.
- Click Continue to be taken to the Make Screen.
- If you have a Cricut Explore, set your dial to Custom and choose felt as your material. Make sure you've done a test cut as mentioned at the beginning of this post to make sure your settings will cut all the way through your felt.
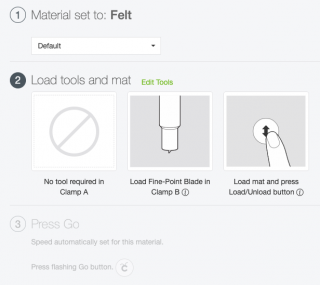
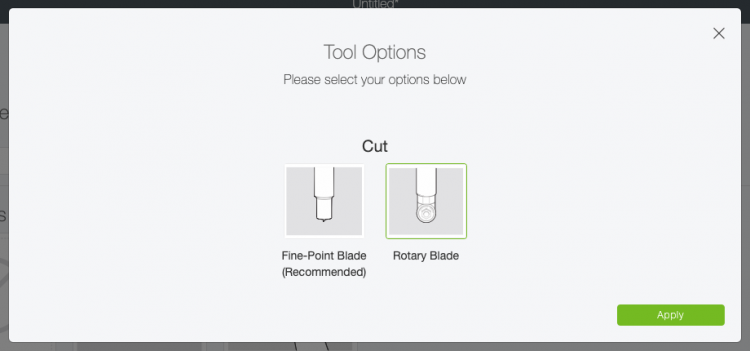
- If you have a Cricut Maker, select felt as your material. Design Space will default to the FinePoint blade. Instead, click Edit Tools and select the rotary blade.Now you're ready to cut and assemble your wreath!
- DIY Felt Wreath InstructionsCut your yard of felt into three 12" x 24" pieces. Depending on the width of the bolt, you will probably have a strip leftover that you can use for future projects.Press your felt to your 12" x 24" mat using the brayer or your hands. Place your mat under the guides and press the blinking arrow to insert your mat into your machine.Press the blinking "C" and your Cricut will cut your felt!

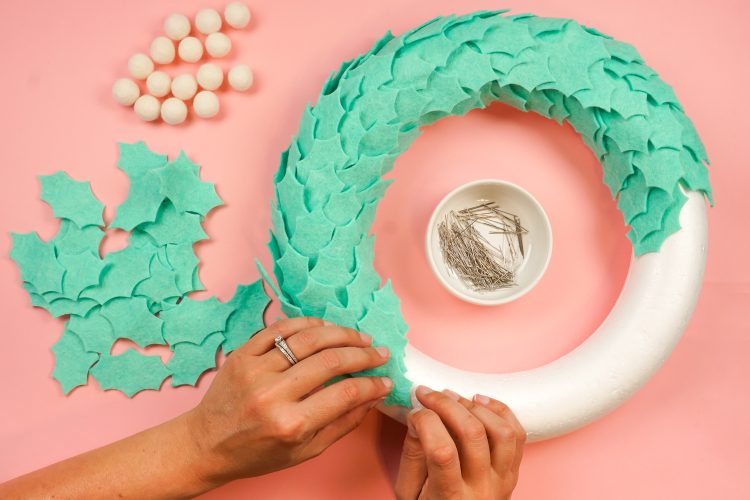
- Once your pieces are cut, you have two options for attaching your leaves to the wreath form—pins or hot glue. Hot glue is a little faster but pinning allows you to move leaves if you don't love the placement.Whichever method you choose, pin or glue from the bottom of the leaf and attach to the wreath form.

- Continue this process around the entire wreath. Do the front and sides, but not the back—that will remain flat for hanging.


- Once you have gone all the way around, give your wreath a little shake and add some support pins/glue if some of the leaves are not staying put.Next, let's make our bow. Cut the bow pieces out using your Cricut in the same way you cut the leaves.Take the longest bow piece and add a dot of hot glue in the center.
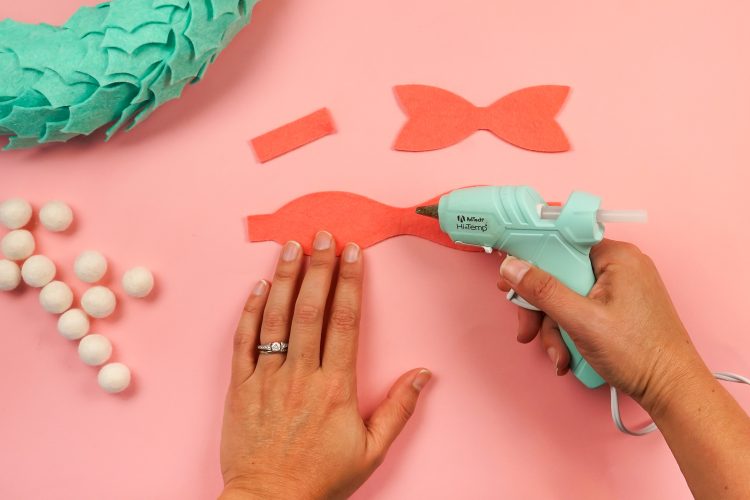
- Then fold the ends to the center and press to adhere (be careful of the hot glue!).

- Then place another dot of hot glue in the center of the tail piece.
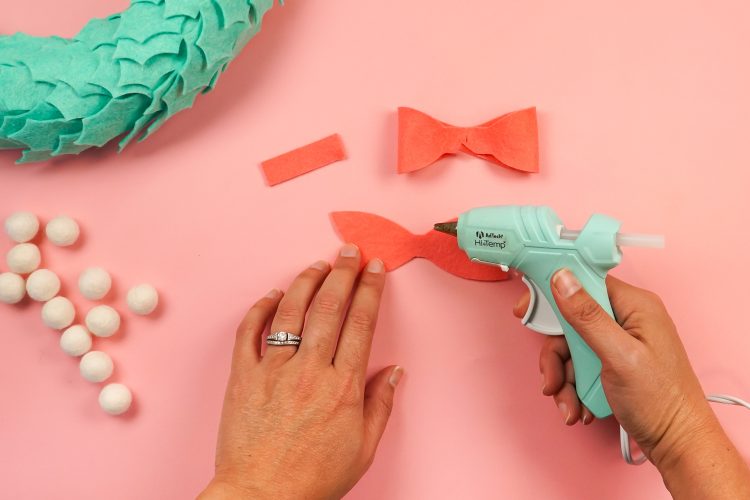
- Flip the bow piece over and adhere to the tail piece.

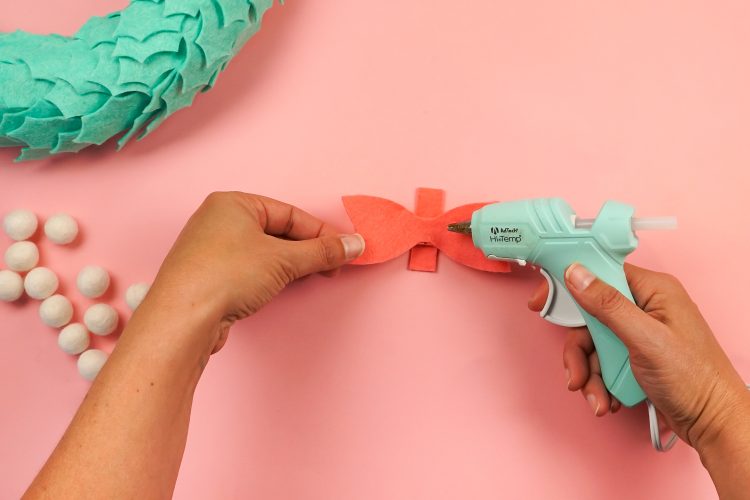
- Wrap the final small piece around the bow and secure in the back with hot glue.

- Then add your bow and your baubles (in this case white felt balls) to your wreath using hot glue.
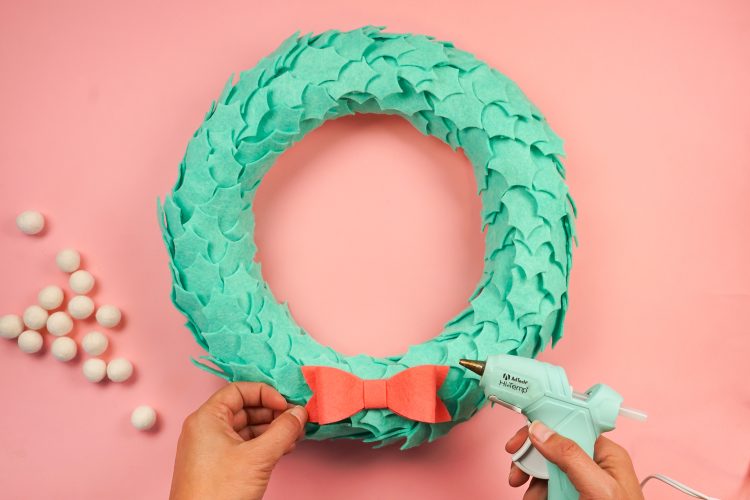

- You can add a ribbon for hanging if you prefer.