DIY CHRISTMAS MUGS
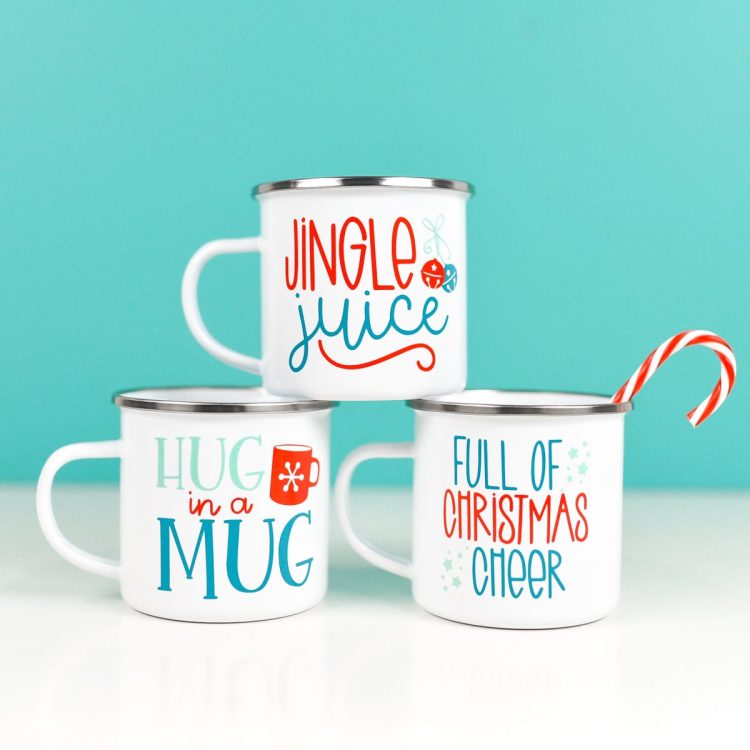
Mugs make easy holiday presents! Learn how to DIY Christmas mugs using your Cricut and adhesive vinyl. Fill with all sorts of goodies and give as a gift this holiday season!
Equipment
- Cricut Maker or
- Maker 3 or
- Explore 3 or
- Lint roller or
- rubbing alcohol and cotton ball
Ingredients
- Adhesive vinyl (this is a fantastic scrapbuster!)
- Camping mug
- Christmas mug SVG files
Instructions
- Upload your SVG file to Cricut Design Space.

- Resize to fit on your mug.
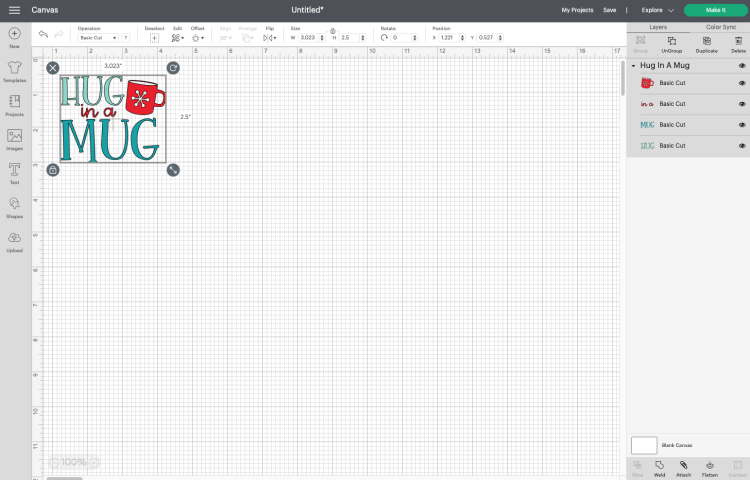
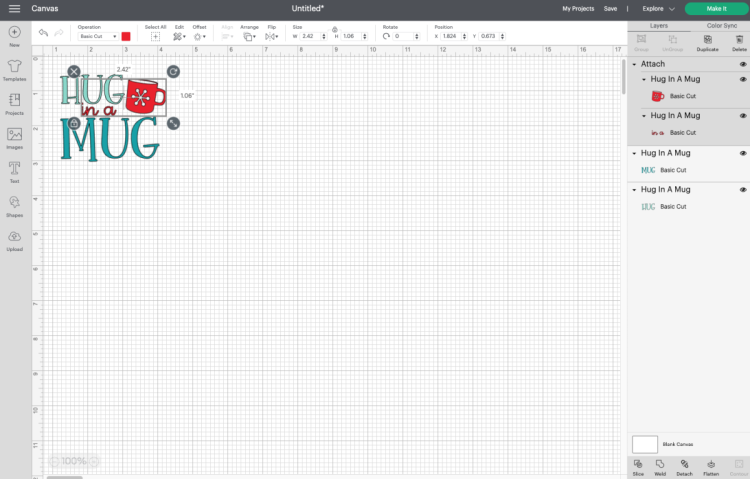
- When these files were designed, the words were kept separate so you could easily change out the colors if you'd like. For this project this file is being cut in the colors seen here, but made the "in a" and the mug image all one piece so it cuts together.Ungroup the mug file and use the Attach tool to attach the "in a" and mug image. Learn more about Using Attach in Cricut Design Space.
- You're ready to make your file! Hit Make It in the upper right to be taken to the Prepare Screen. You'll see all of your images laid out on their respective mats. You do NOT need to mirror adhesive vinyl for this project.
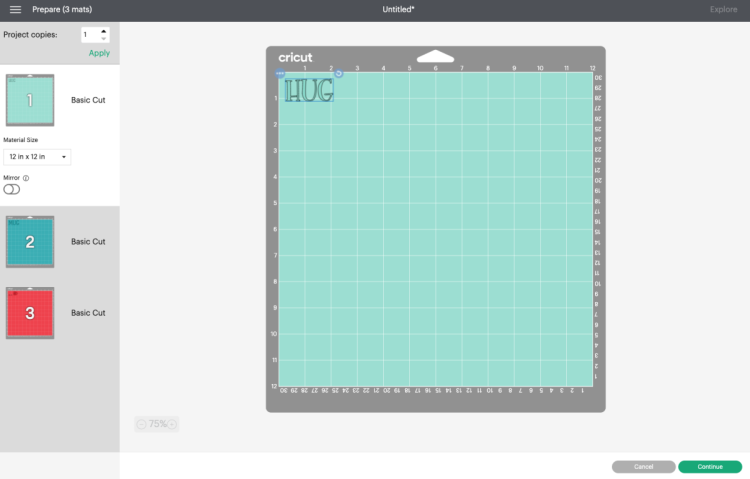
- Then click Continue to go to the Make Screen. Here you'll select your material and make sure you have the right tools in your Cricut machine.
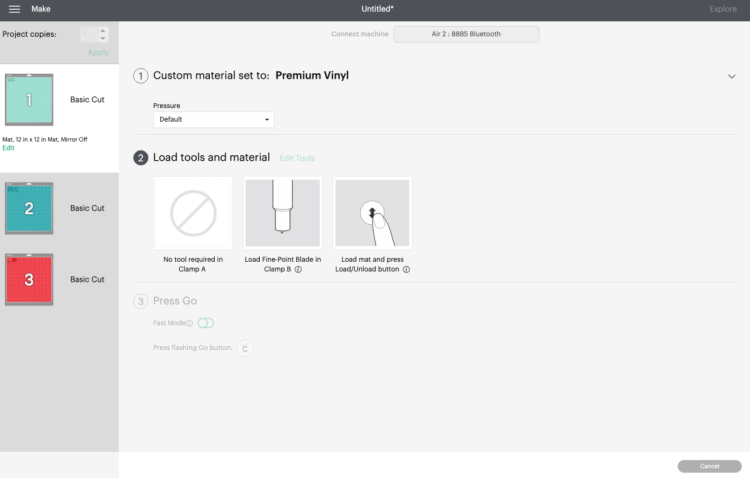
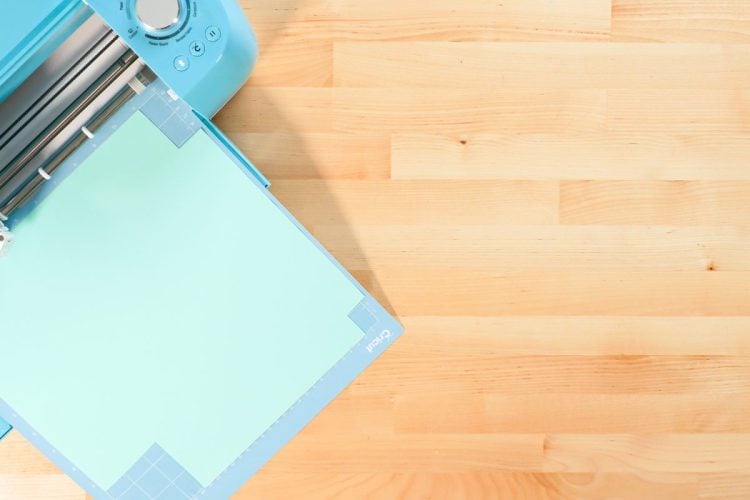
- Place your vinyl color-side up on the Cricut cutting mat, insert into your machine, and press the blinking go button and your Cricut will cut your project for you!
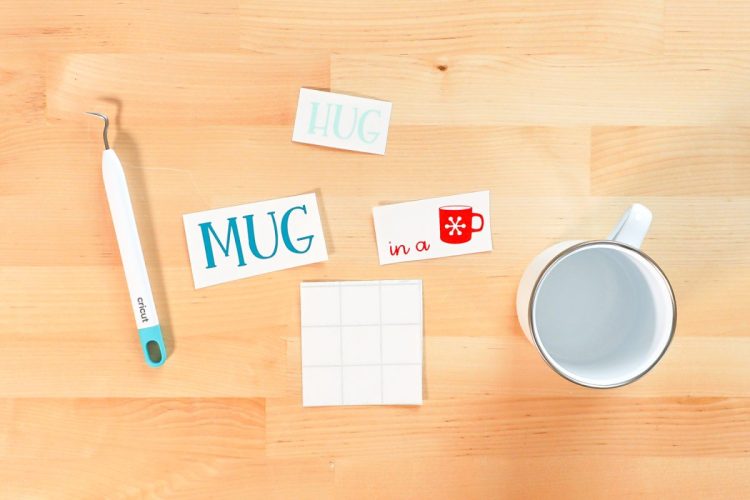
- Once all of your pieces are cut out, use the weeding hook to remove the excess vinyl from around your images. This is called weeding your vinyl. You can learn more in my post How to Weed Adhesive Vinyl.
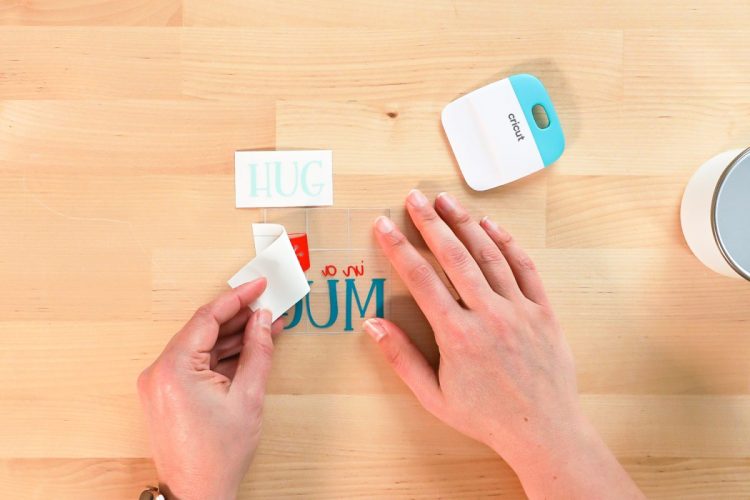
- Now we're going to layer all of our images on a single piece of transfer tape. Cut a piece of transfer tape slightly larger than your final decal. Then peel back the white backing paper and press it down on the first image. Use a scraper to burnish the transfer tape onto the vinyl.

- Then peel back the white backing paper so your vinyl is on your transfer tape. Then repeat with the other layers on the same piece of transfer tape. Refer to the image in Cricut Design Space to make sure you're placing the pieces in the right place, or if you're struggling to line things up, check out this post How to Layer Adhesive Vinyl Using Registration Marks.
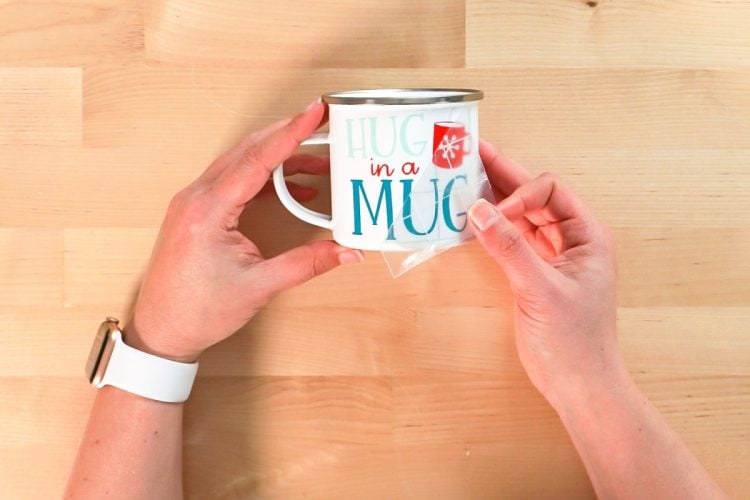
- Once you have all the pieces on your transfer tape, it's time to put them on your mug! Use rubbing alcohol on a cotton ball or a lint roller to clean the surface of your mug.Then place your decal on the side of the mug. Use your fingers to burnish the vinyl onto the mug.
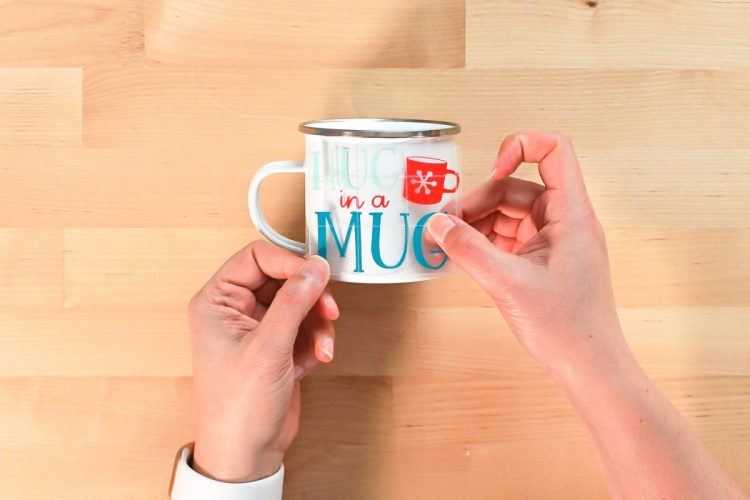
- Then peel back the transfer tape to reveal your finished DIY Christmas mug!
- How to Make Cricut Mugs Dishwasher SafeYou definitely don't want to make these DIY Christmas mugs only to have the vinyl come off in the dishwasher! Here are a few tips:Make sure your mug has a clean surface before adding your vinyl, using a lint roller or rubbing alcohol.Wash on the top rack of the dishwasher.Do not use the super high heat or sanitizing modes on the dishwasher.They do make dishwasher-safe ModPodge, but the results are about the same as above plus you have to wait 28 days for it to fully cure.You can always take more care with your mugs by avoiding the dishwasher altogether and hand washing your mugs instead.