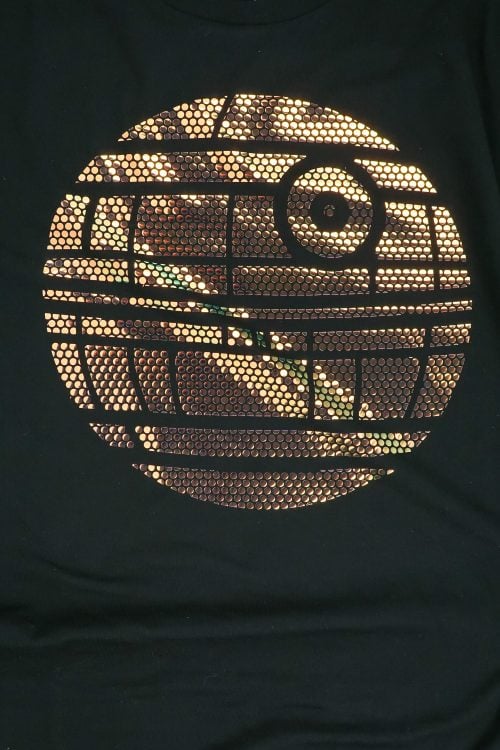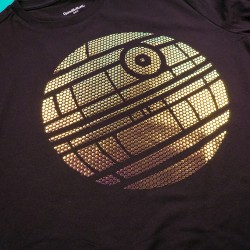
DEATH STAR T-SHIRT USING CRICUT MOSAIC IRON ON
Use Cricut Mosaic Iron On to create depth and glamor to any heat transfer project! Get all my tips and tricks for working with this new material, including some significant ways it is different than regular iron on vinyl.
Equipment
- Cricut Maker or
Ingredients
- Black t-shirt
- Free Death Star File #C224
Instructions
- Set Up Your File in Cricut Design SpaceBefore we get to using the actual material, you'll want to upload the Death Star SVG file to Cricut Design Space. If you need help uploading a file to Cricut Design Space, see this post.
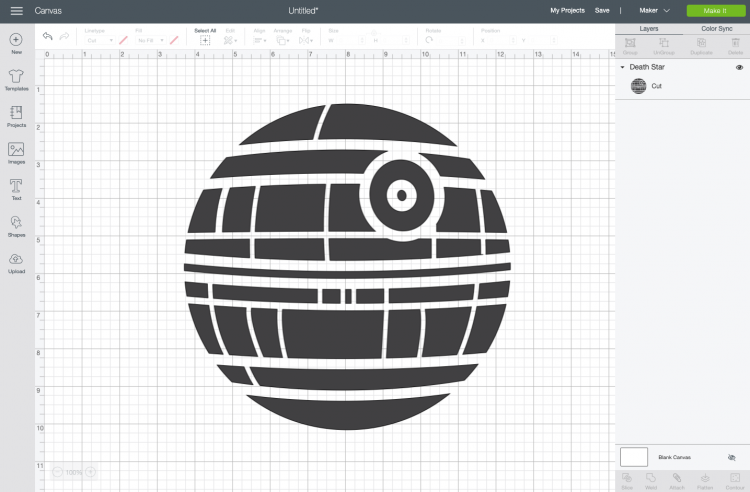
- Depending on the size of your shirt or other base material, you may want to resize the image. The one for this project is a 10" square. Then click Make It in the upper right.In the Prepare Screen, make sure to mirror your image. Then click Continue.
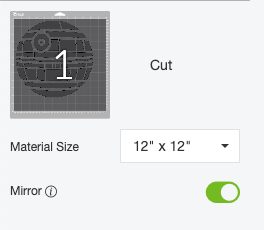
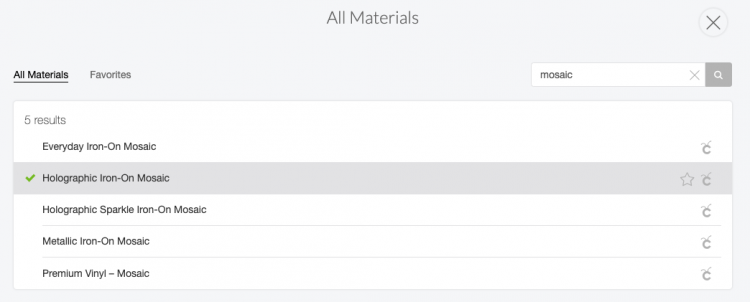
- In the Make Screen, you can search for Mosaic Iron On as your material. Make sure to select the correct one for your material.Make sure your fine point blade is inserted in your machine (that's the regular blade that came with your Cricut) and you're ready to cut!
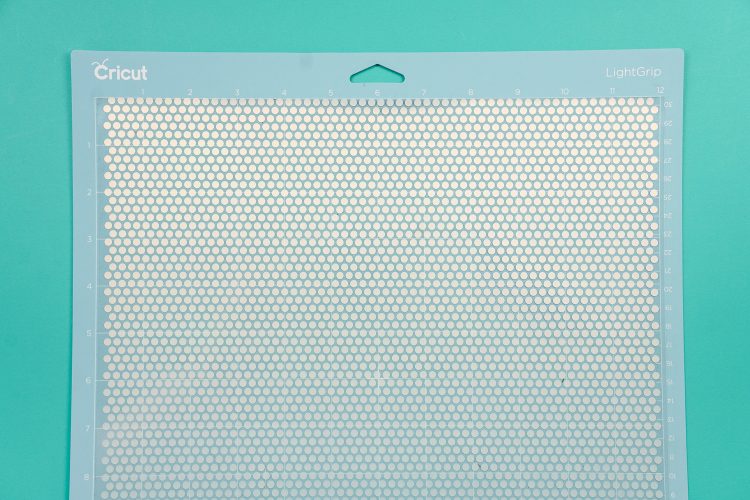
- Cutting & Weeding Mosaic Iron OnPlace your mosaic shiny-side down on the mat.
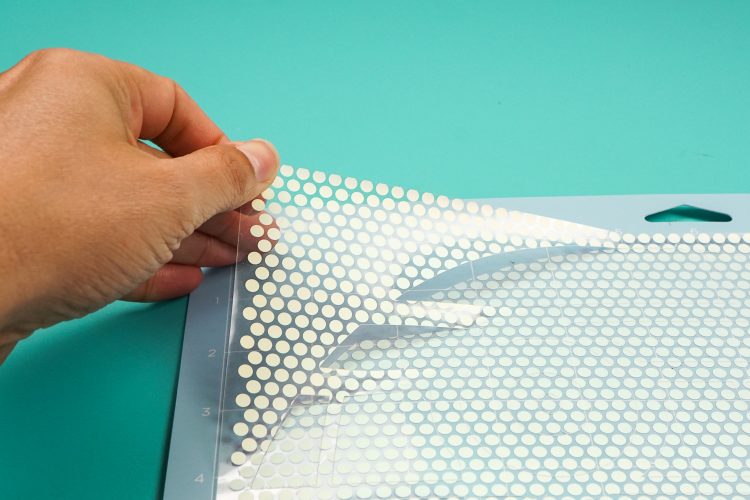
- Insert into your Cricut and click the blinking C to cut.Now here is where things get a little different from regular iron on. Cricut Mosaic is actually built with two liner sheets. You can use your weeding tool to get in between the sheets and lift off the one with the part of your project you don't need. How much better is that than trying to weed all of those individual dots?!
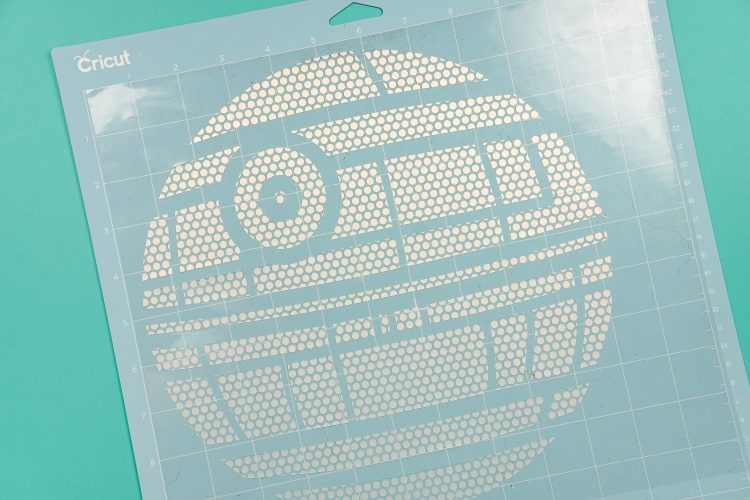
- Do make sure you get it all. This liner sheet tears fairly easily and you can see in the photo that some was missed a bit on the right side. Thankfully it was caught before adhering it to the shirt!
- Adhering Cricut Mosaic Iron OnPlace your shirt on an EasyPress mat or folded towel. Use your EasyPress to pre-press your shirt for 5 seconds, to help prepare it for the iron on.The Cricut Heat Settings Guide sets holographic mosaic iron on for 330° for 30 seconds. Center your image on your shirt and then press using your EasyPress or iron.
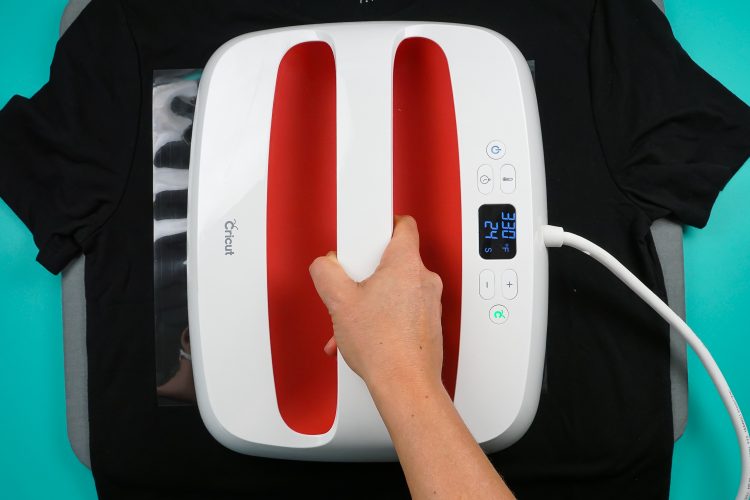
- Then flip your shirt and press for 30 more seconds from the back.Once it's cooled for about 30 seconds, you can peel off the first liner layer. You'll notice that there is still a second plastic layer over the actual mosaic circles.
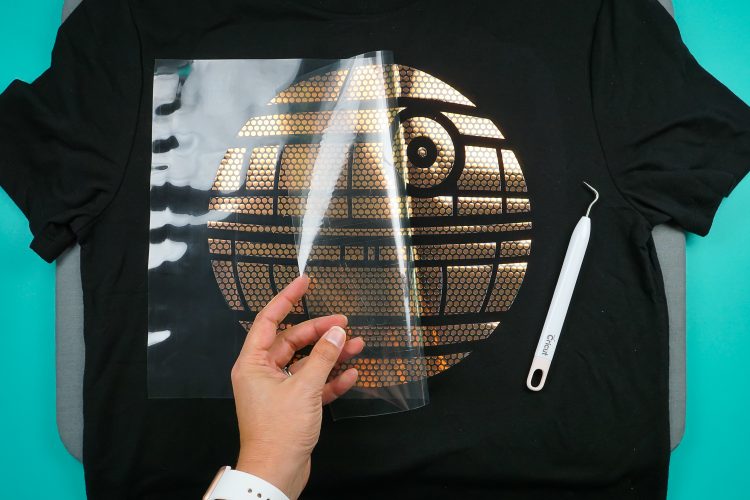
- Then you can gently lift off the second layer. Found that it worked best to stick the weeding tool in between the dots and loosen the liner. Wouldn't call it easy—it definitely took a few times to get the knack of how that second layer comes off.
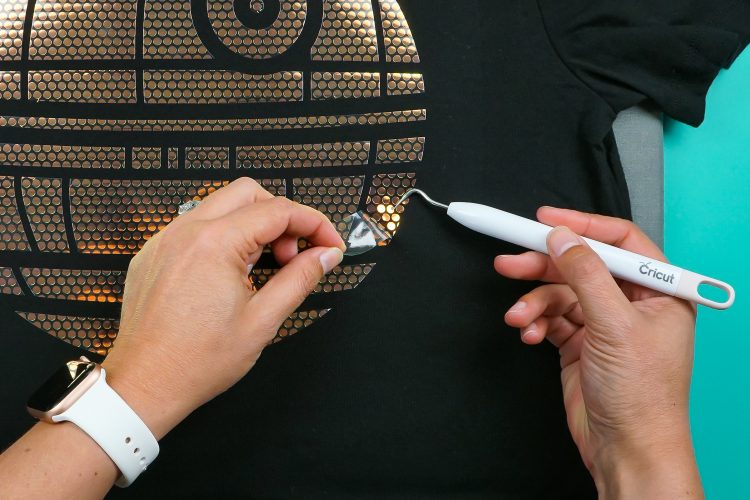
- If you see a mosaic circle start to lift from the shirt, replace the first liner over the image and re-press for an additional 10-15 seconds. Once you've peeled off the seconds layer, you're done!