CUSTOM SUBLIMATION APRONS
Create one-of-a-kind aprons using sublimation! Here are all of my tips and tricks to make sublimation aprons. They are a perfect project for beginners and make great gifts!
Equipment
Instructions
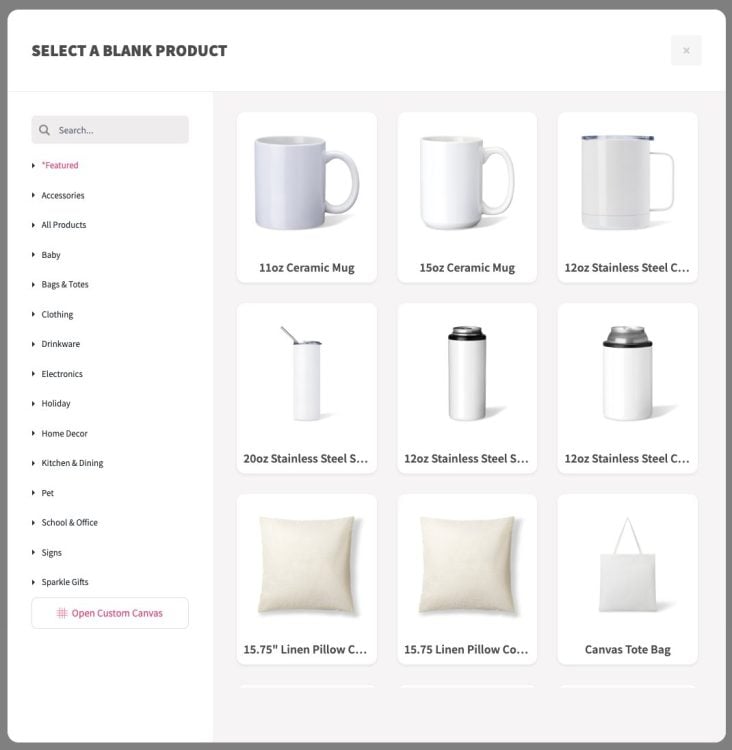
- Print Your ImageFor this project, Sawgrass DesignMate files are being used from HLMS fall 2023 collection, Sweater Weather! There are both images and patterns that are perfect for a retro fall vibe.Open DesignMate. Click on Open Custom Canvas at the bottom left of the screen.
- Measure your apron. For this apron, the design is 9" across, but depending on your apron size and your image, you may want to choose a different size. Make your custom canvas the width of your image.
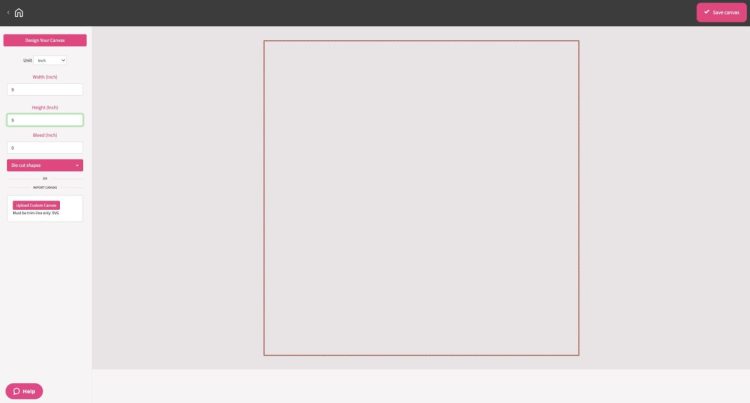
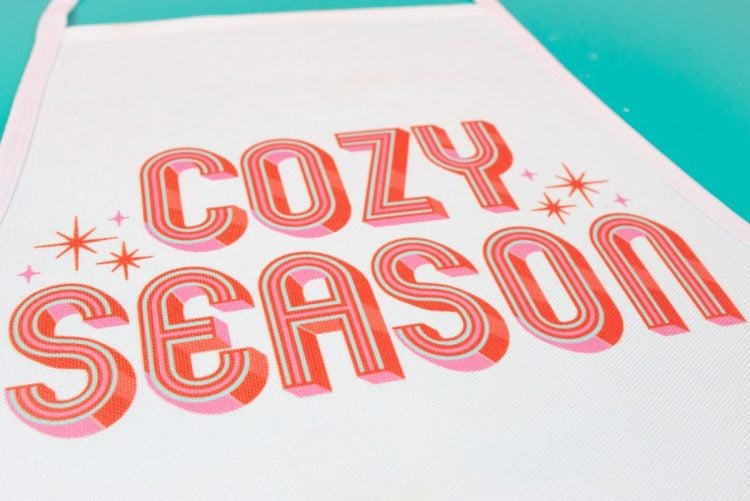
- Click Design Your Canvas in the upper left. From here, you have some options. For this project the Cozy Season design is being used from the HMLS Sweater Weather collection, which is under Designs. I worked with Sawgrass to create this fun retro bundle that is perfect for the holidays! These designs make me so happy.To find my designs, just search Cori in the search bar and all of my designs for this collection will come up!
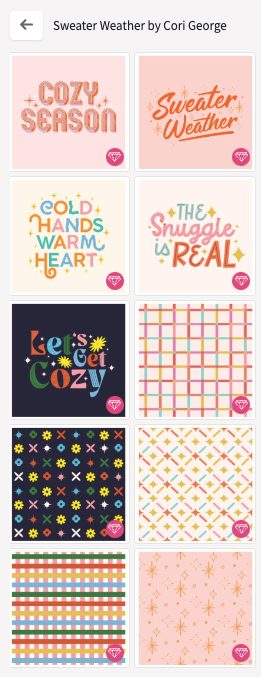
- You can choose an image from my collection, choose a different image in Sawgrass DesignMate, or you can upload your own image. For this apron, the Cozy Season image was chosen.
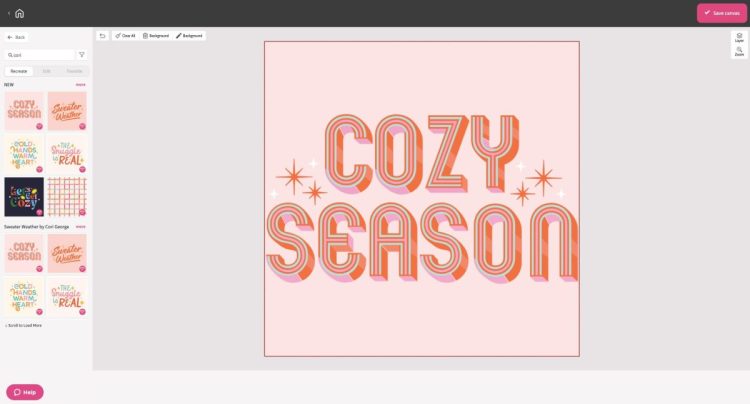
- If you choose a Sawgrass image, you can edit it! This is such a great feature to be able to customize designs right in DesignMate. The background was removed from this design and and changed the small stars from white to pink so they would show up on the apron.
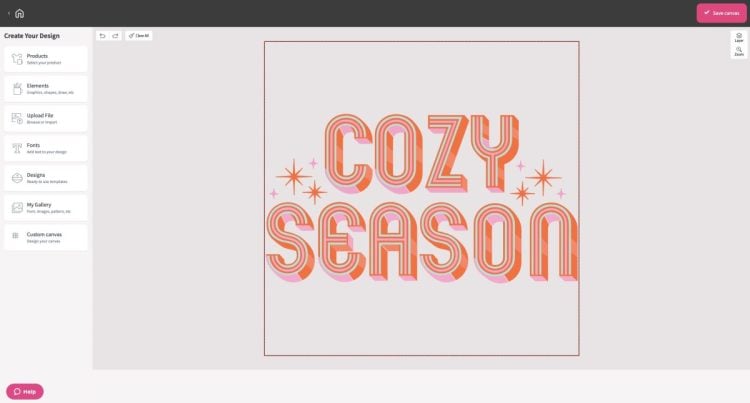
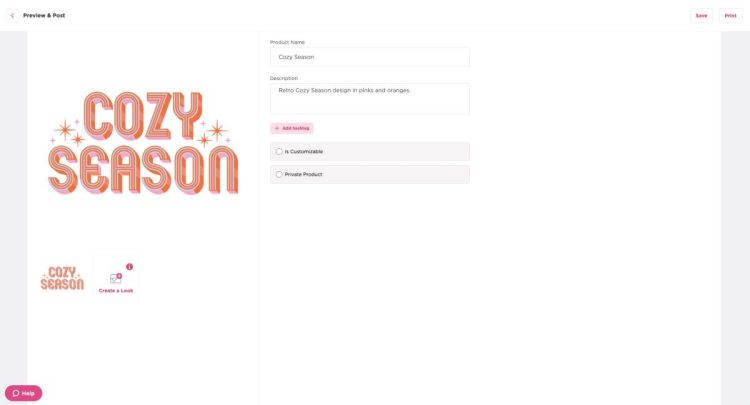
- Click Save Custom Canvas in the upper right. Then give your design a name and description.
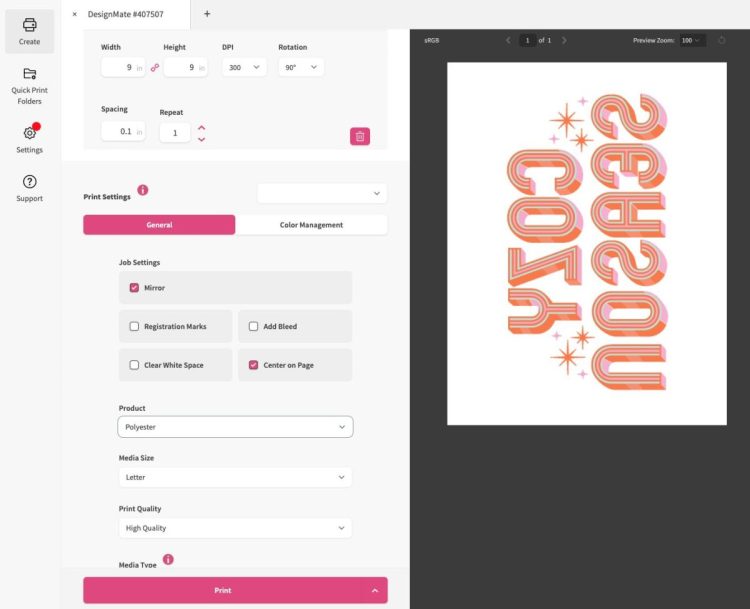
- Then click Print. This will open up PrintMate. From here, the image was rotated 90° so it would fit on the page and the image was centered on the page (you'll see why below), and the material was changed to polyester. Then click Print and your Sawgrass will print your image!
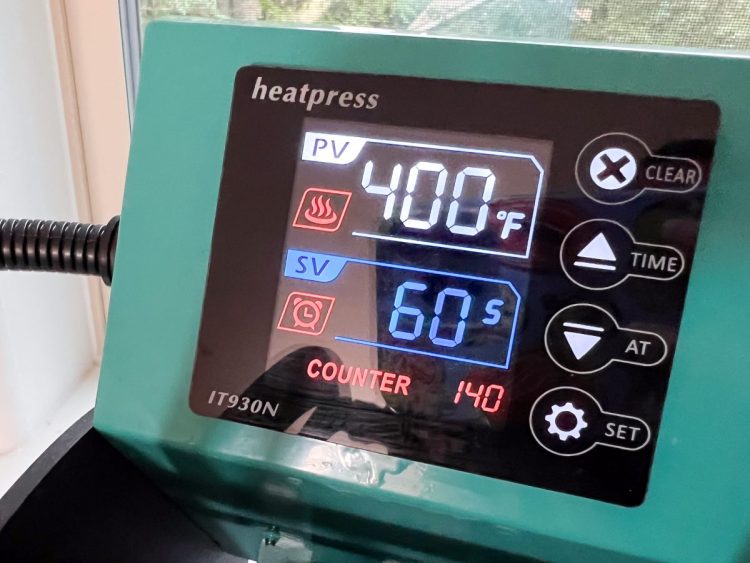
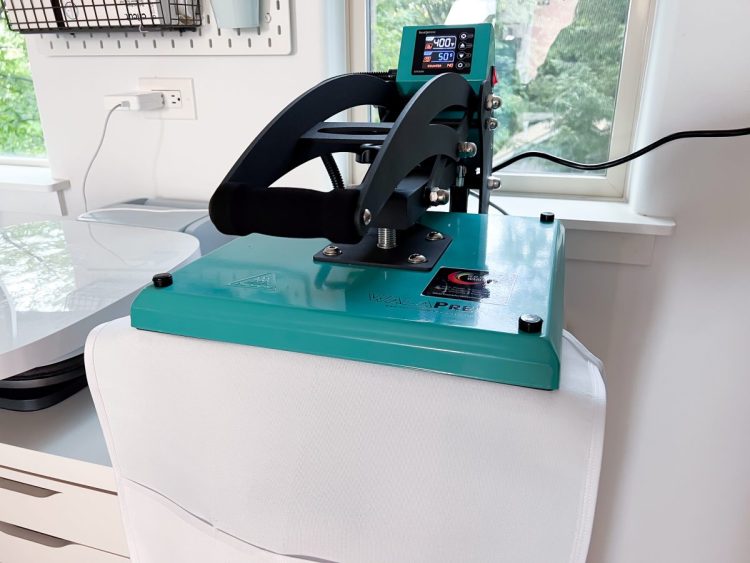
- Prepare and Prepress Your Blank ApronCheck the manufacturer's instructions for the recommended settings for time, temperature, and pressure. For my apron, they were as follows:Time: 60 secondsTemperature: 400° FPressure: medium to firmSet your heat press. If you are using a traditional heat press (rather than an EasyPress), test your pressure before it gets hot so you know it will be correct when you press your apron.
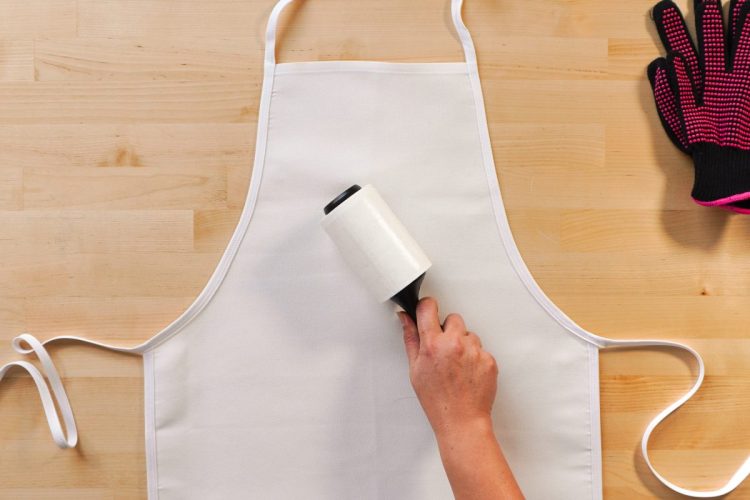
- Lint roll your apron to remove any fibers, hair, or dust.
- Pre-press your apron for 15 seconds to remove moisture and give you a flat pressing surface. I actually like to press my entire apron to remove all the wrinkles.Tear around the edges of your transfer (this is why I like to center my transfer on the page). This will help reduce any pressing marks around the edge of your paper.
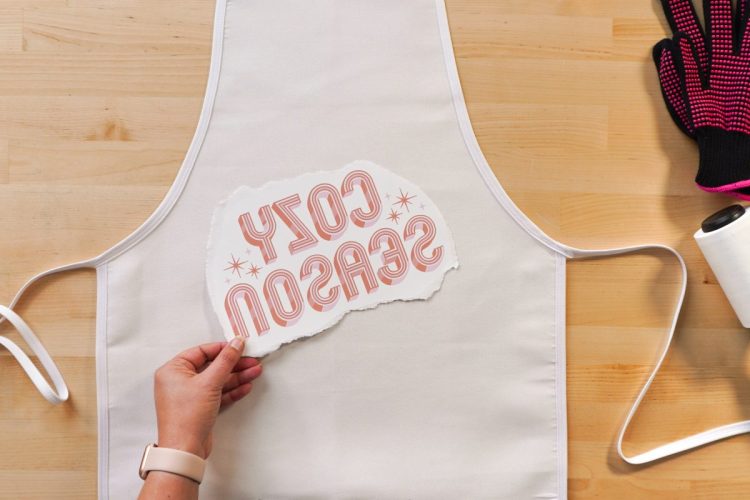
- Use heat-resistant tape to secure your transfer face down on your apron.

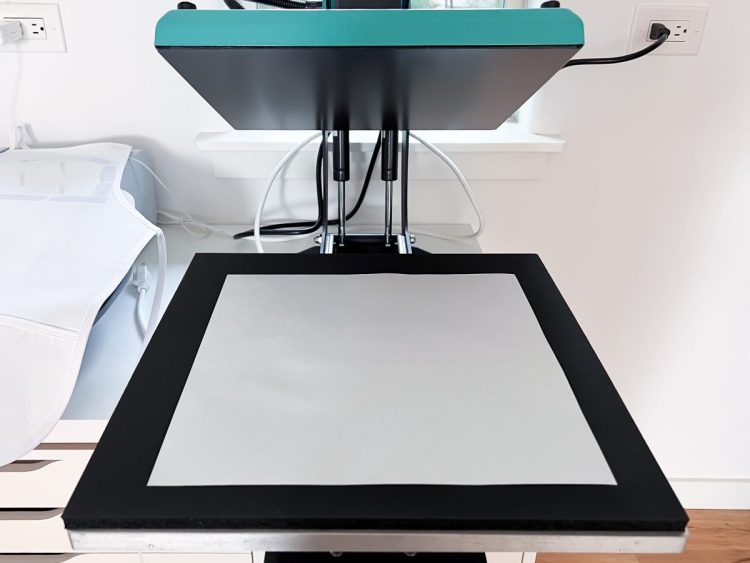
- Place a piece of butcher paper on the bottom pad of your press. This will protect the pad of your heat press from any ink that goes through the apron.
- Put the apron with the transfer face down on top of the butcher paper.
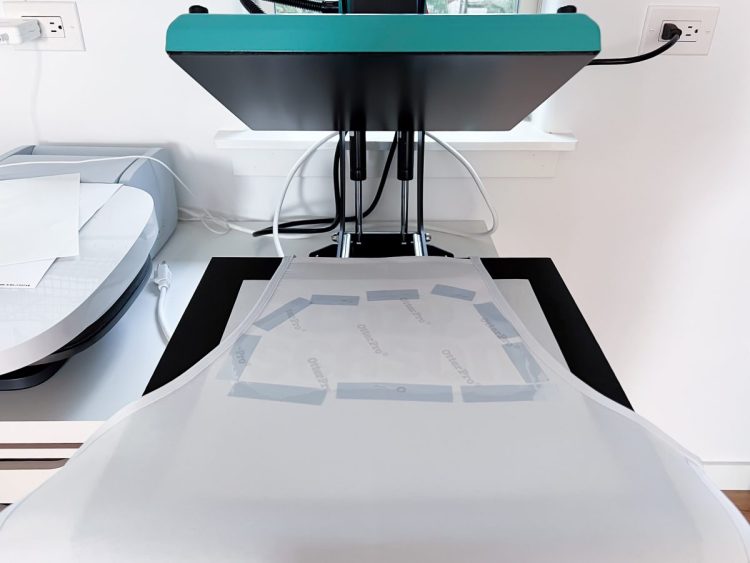
- Add two more pieces of butcher paper on top of the transfer. This will protect your press plate from any ink that goes through the paper.
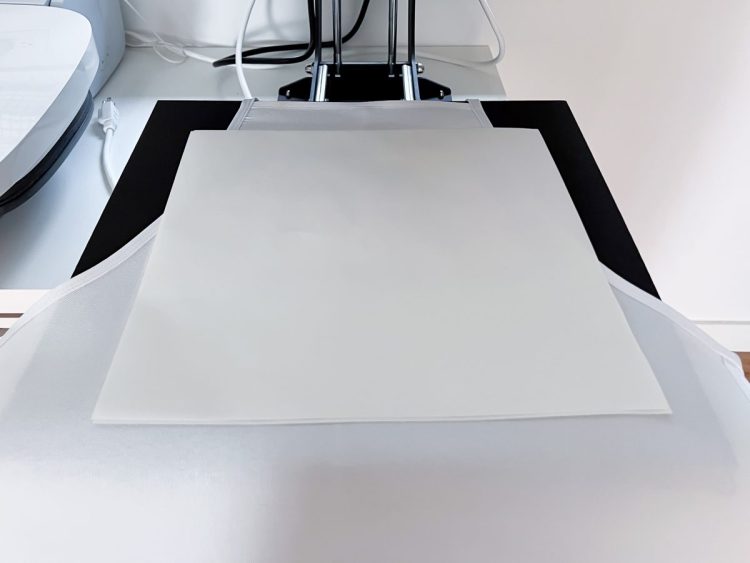
- Press for the recommended time. When the time is up, slowly open your press so your image doesn't shift and you'll get the best results.
- Let your image cool for a moment and then peel back the transfer to reveal your final image!
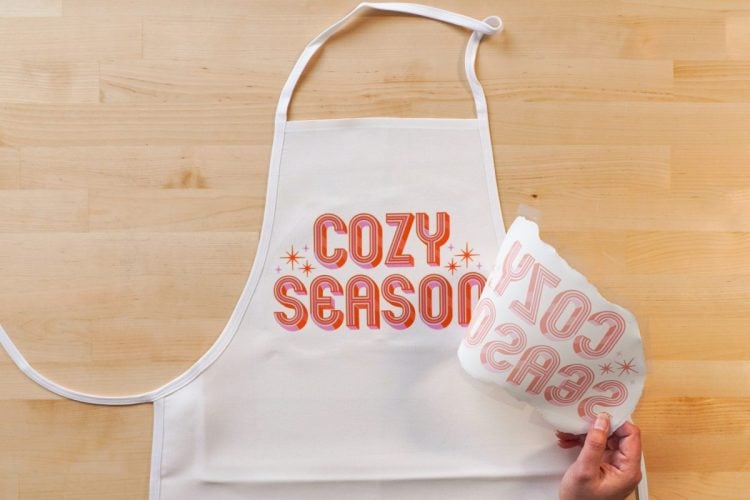
- And that's it! It's really easy to add any image to custom sublimation aprons!Want a full overview of sublimation? Check out my helpful ebook, The Ultimate Guide to Sublimation!