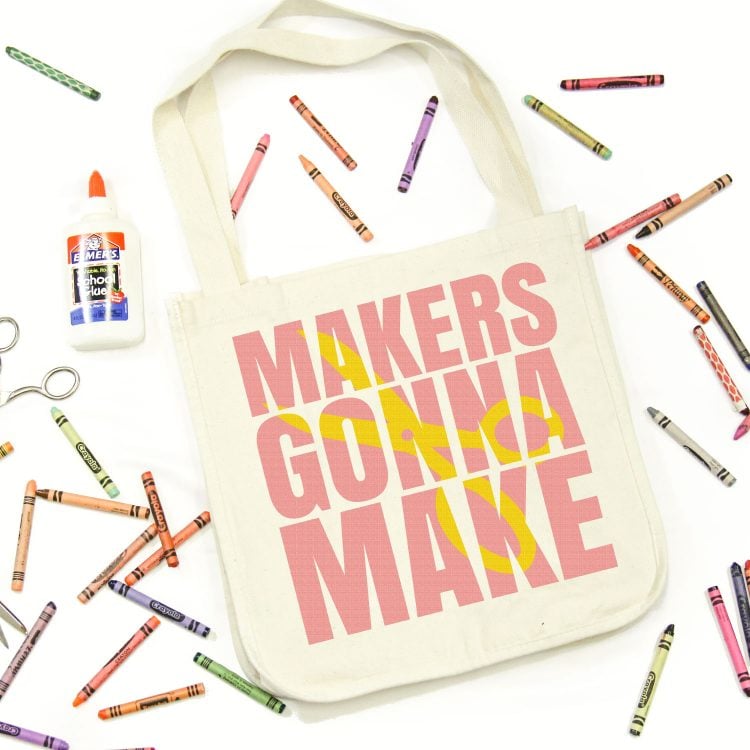
CREATING A BLOCK KNOCKOUT DESIGN
Easily create a trendy knockout effect in Cricut Design Space—no outside software necessary! Practice using Weld and Slice to make this block knockout design.
Instructions
- Create Your TextTo start, we'll make our blocky text. You'll want a thick text for this. A lot of people use Impact, which often comes as a system font on your computer (learn more about system fonts vs. Cricut fonts). For this project a similar font called Anton, was used which also comes with the computer being used.
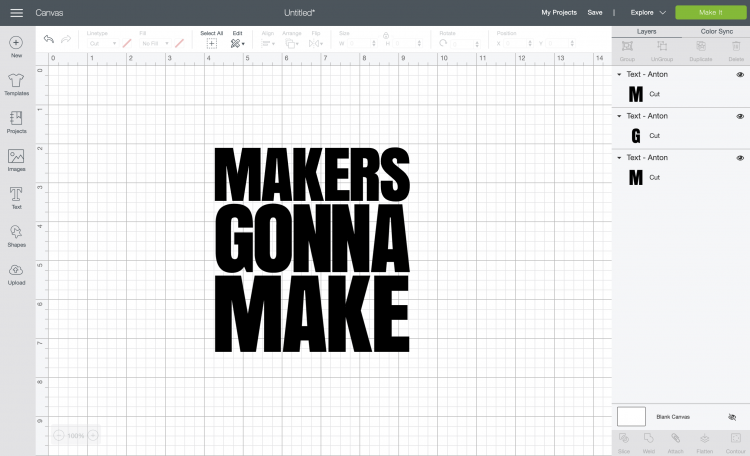
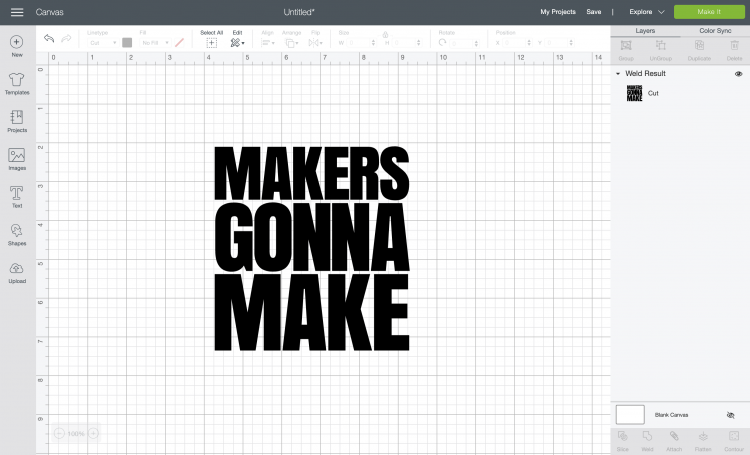
- Here are the steps used to create the text:Use the text tool to type MAKERSChange the letterspacing to .3 to bring the letters closer togetherDuplicate MAKERS twice and change the text in each of those to read GONNA and MAKEChange each word to be 5" wide Stack the words close on top of each other and use the Align tool to "center horizontally"Now, to turn these three words in to a single piece, select all three and click Weld in the bottom of the Layers Panel on the right. Learn more about Welding. You'll see that it is now a single image in the Layers Panel on the left.
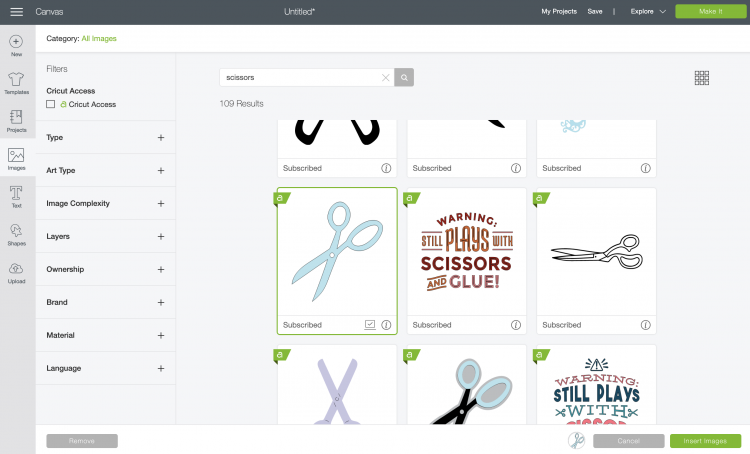
- Create Your Knockout Design ImageFor this project, it was decided that a pair of scissors was a fun image to knock out of the big text. Click Images in the Design Panel on left and search for Scissors.
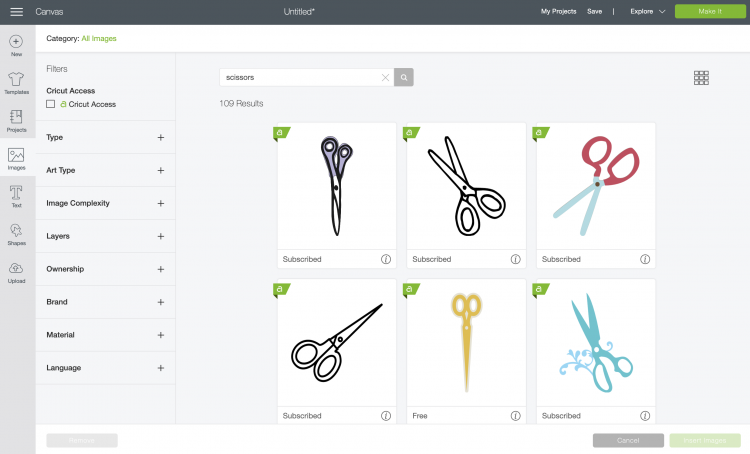
- Scrolled down a bit and found #M8DB1F1E, a blue pair of scissors. If you are choosing a different image, the easiest route is to find a single-layer image, since you can only slice two single layers at one time (the text we created + the image you're inserting).
- Insert the scissors image onto your canvas.
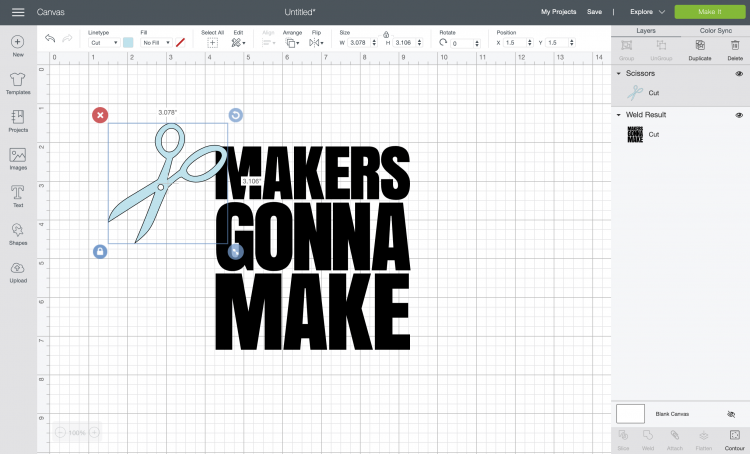
- Then use the "rotate" and "resize" tools to turn your image and make it fit over your letters.
- Select both your text and your scissors and click Slice at the bottom of the Layers Panel. If it's not letting you select slice, double check that a) you've welded your words and b) that your image is a single layer. You can only slice two layers at a time. Learn more about Slicing.
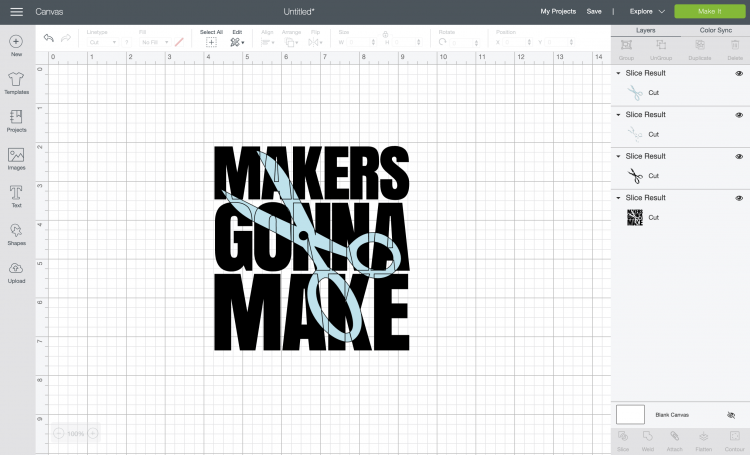
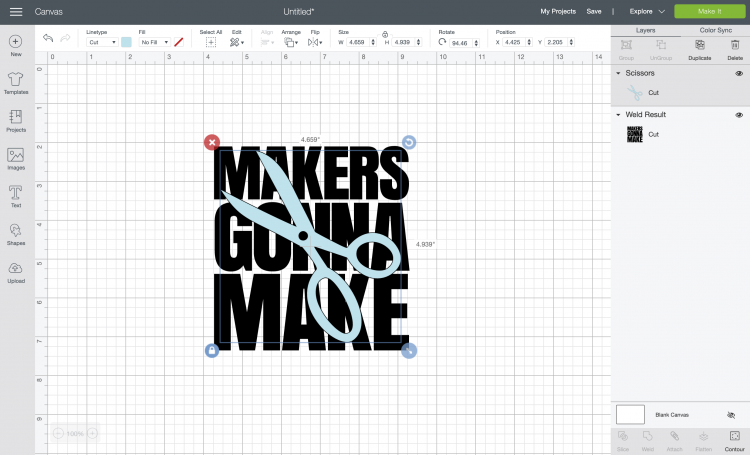
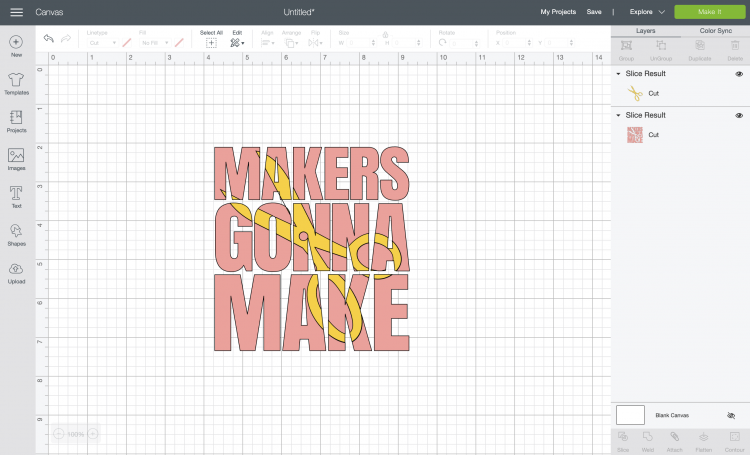
- Once you've sliced, you'll see that your project is now four layers:Delete the extra parts of the scissors and the knockout of the scissors that is black.A knockout of the scissors in blueThe letters with the knockout design removedThe "extra" parts of the scissors that are not on top of your lettersA knockout of the scissors in black
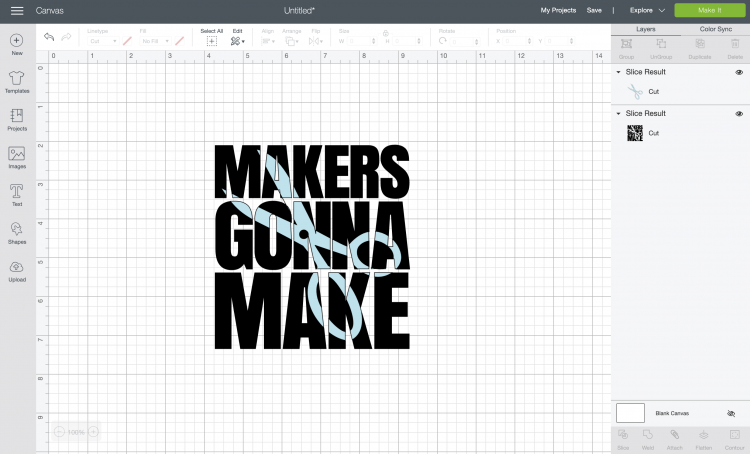
- If desired, recolor your project and then resize to fit on your project!
- Make Your Knockout Design ProjectCheck out the following tutorials for helping you apply this image to a base/blank:How to Layer Iron On VinylHow to Layer Adhesive Vinyl