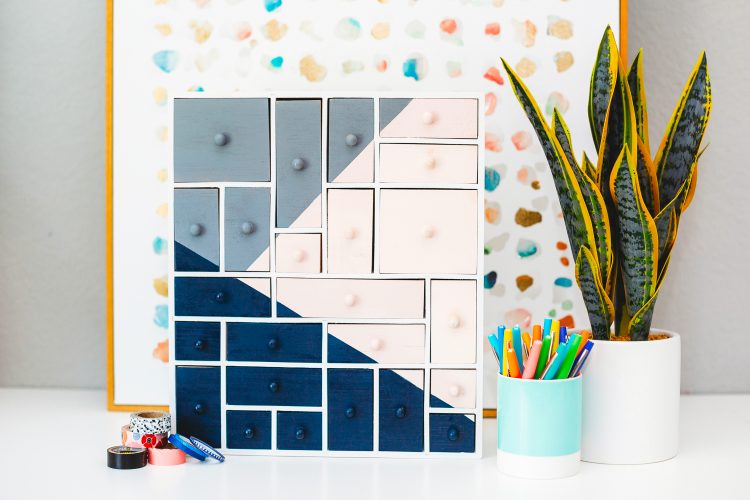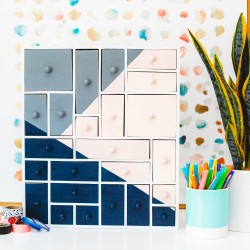
COLOR-BLOCKED CRAFT ROOM ORGANIZER WITH RUST-OLEUM
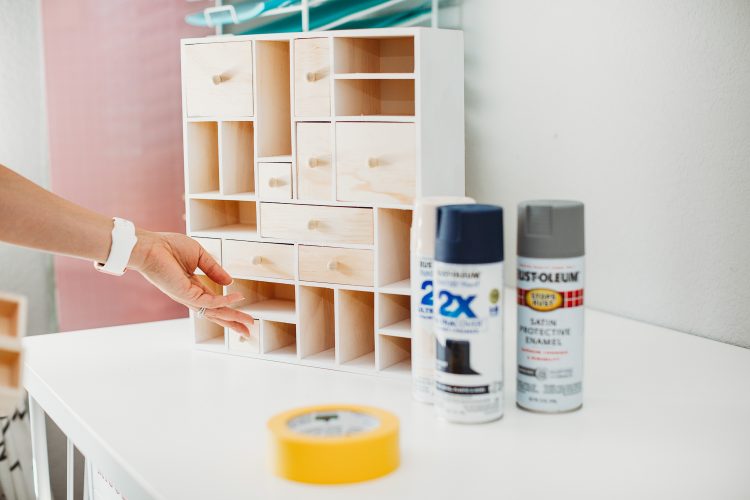
Tame your craft chaos with this fun color-blocked craft room organizer! All it takes is a little Rust-Oleum spray paint and some painter's tape to create a bold (and functional!) statement in your craft room.
Equipment
- Pink Peony Rust-Oleum 2X Gloss or color of your choice
- Midnight Blue Rust-Oleum 2X Satin or color of your choice
- Coastal Gray Rust-Oleum Stops Rust Satin or color of your choice
- Linen Ultra White Rust-Oleum Chalked or color of your choice
Ingredients
Instructions
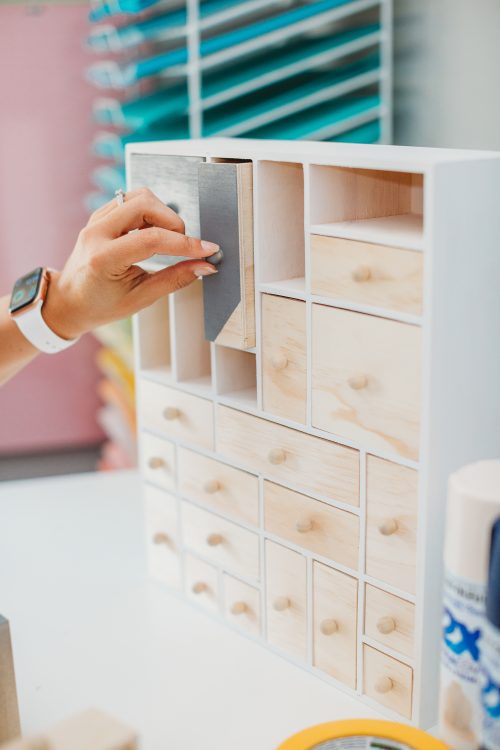
- Paint the Organizer FrameStart by removing all of the drawers in the organizer., and number the drawers from left to right on the back so that you know where everything fits.
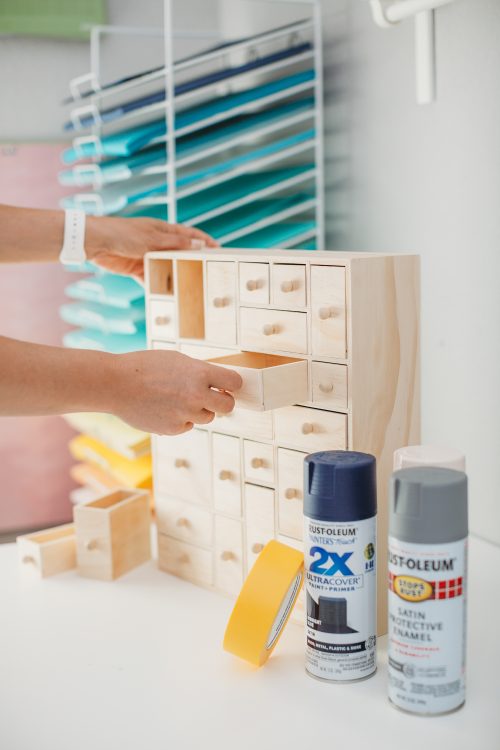
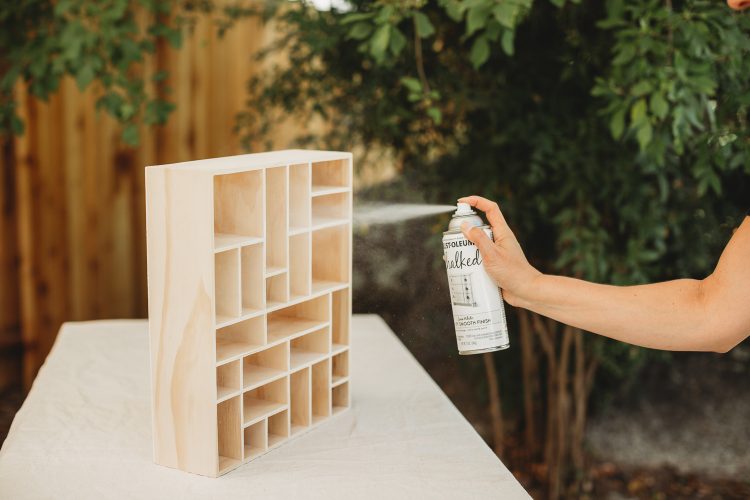
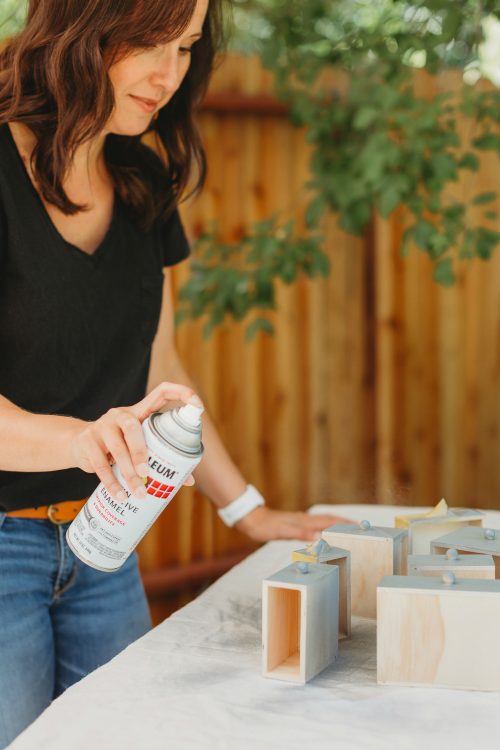
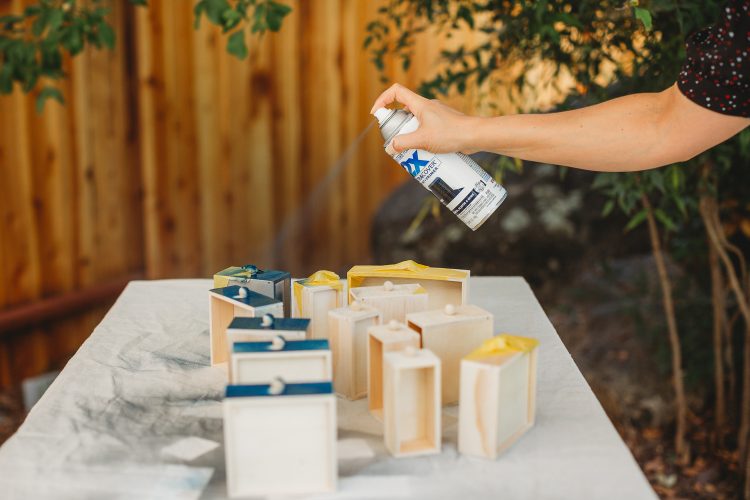
- For this project the frame was painted using Rust-Oleum Chalked in Linen (which is a nice bright white) as a backdrop to the other more bold colors being used. Choose a well-ventilated area when using spray paint and protect your work surface with a dropcloth.
- Once that coat is dry, re-insert all of the drawers back into the painted organizer.
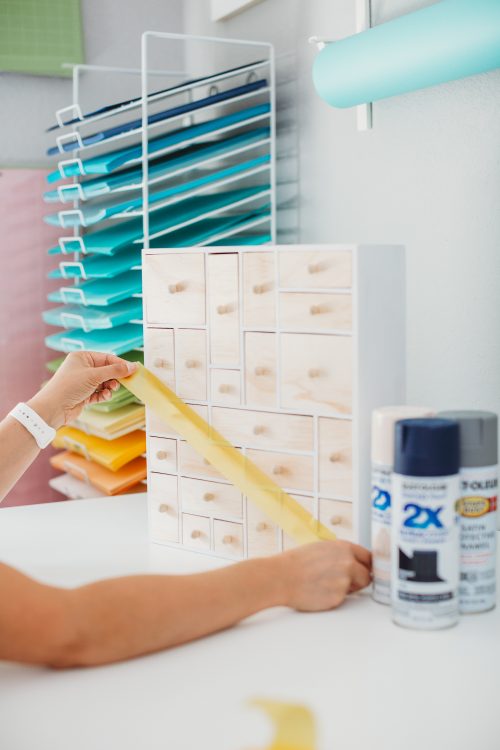
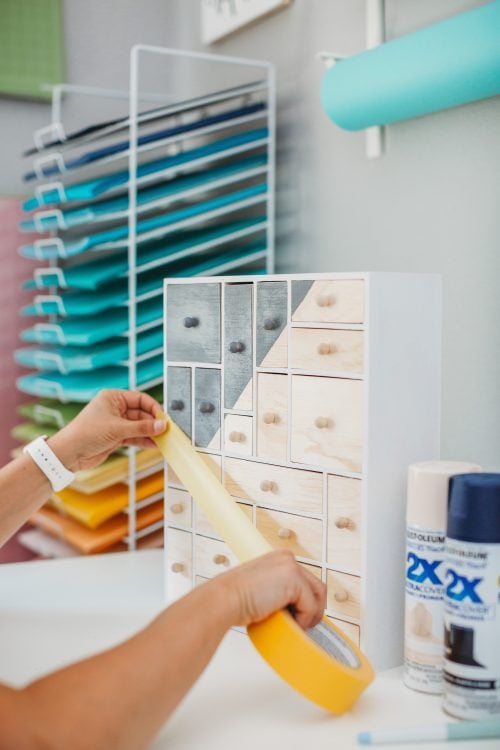
- Paint the First ColorUse painter's tape to mask off the color blocks on the organizer. Try your best to find a line that doesn't hit the handles on the organizer.
- Then, using the craft knife, carefully cut the painter's tape around the edges of each drawer. Start with the gray section in the upper left. Each section will need to be re-masked, as you'll see.
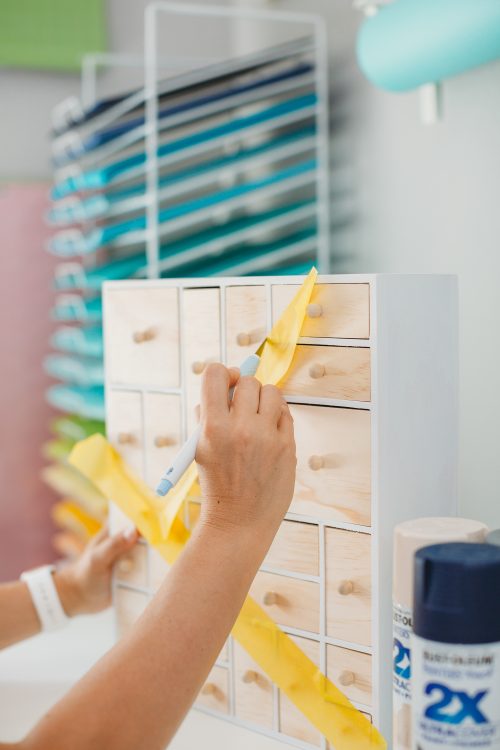

- This should leave you with perfectly masked drawers to paint! Press the painters tape onto the drawer to make sure it's adhered firmly. Also mask off any of the parts of the drawers that aren't supposed to be painted, handles included.

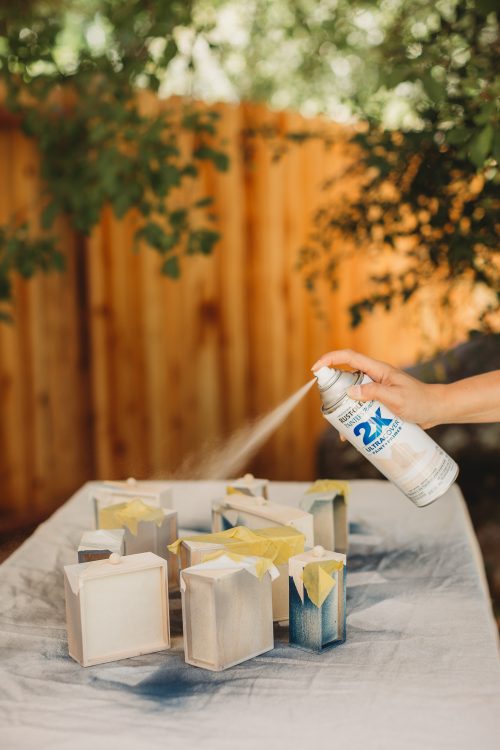
- Then spray paint the drawer fronts. Let dry and spray paint another coat.
- Once those are dry, remove the painter's tape and put them back into the organizer.
- Paint the Second ColorThen mask off the second color-blocked section. You will put your tape right on top of the painted edge you just made.
- Paint the Third ColorThen paint the next set of drawers, making sure to mask off everything that shouldn't be painted. Spray paint with two coats.
- Do the same for the last section
- Once everything is dry, put your drawers back into the craft room organizer and you're done!