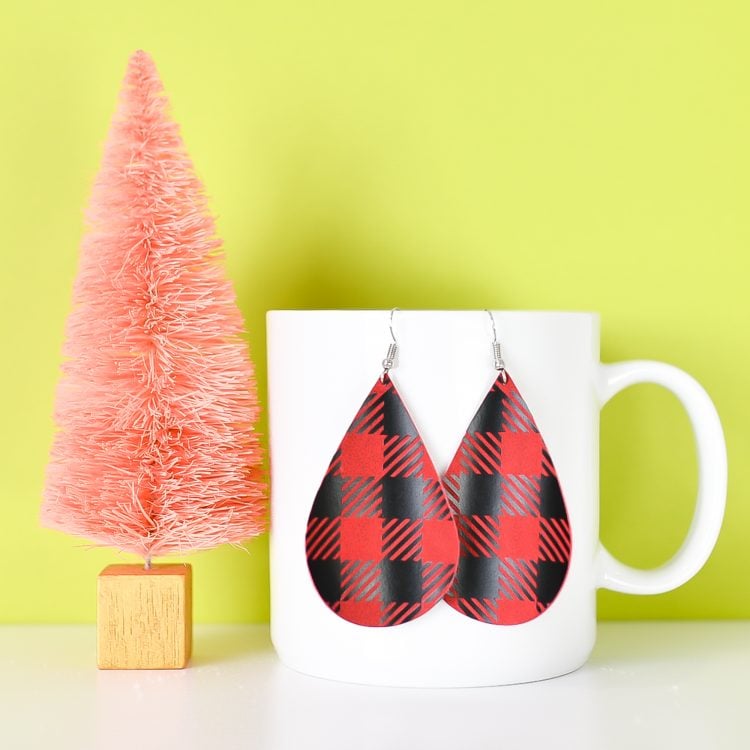
BUFFALO PLAID EARRINGS
Whip up a pair of buffalo plaid earrings with your Cricut in less than 15 minutes! This project uses faux leather and iron on vinyl and makes a perfect holiday gift!
Equipment
- big needle
- Pressing Mat or
Ingredients
Instructions
- Upload the Earring File to Cricut Design SpaceWe will start by uploading the earring file to Cricut Design Space (see Uploading SVG Files to Cricut Design Space if you need help).
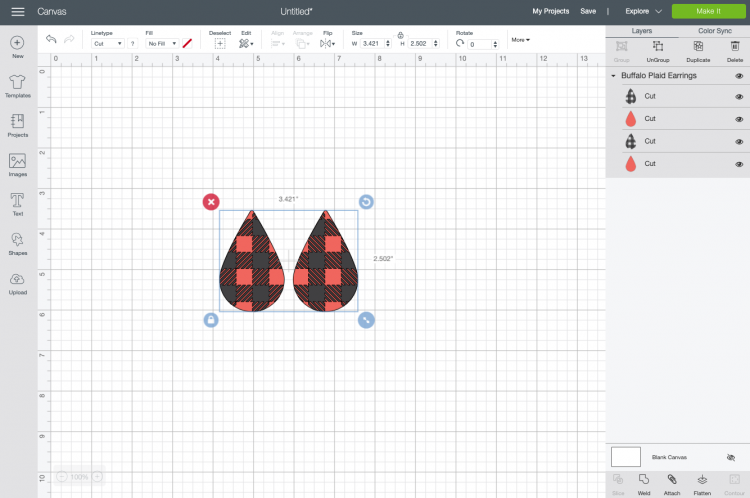
- These were designed to be 2.5" inches tall—but you can resize if you'd like.Duplicate the earrings to make as many pairs as you'd like. For this project we are making three pairs.

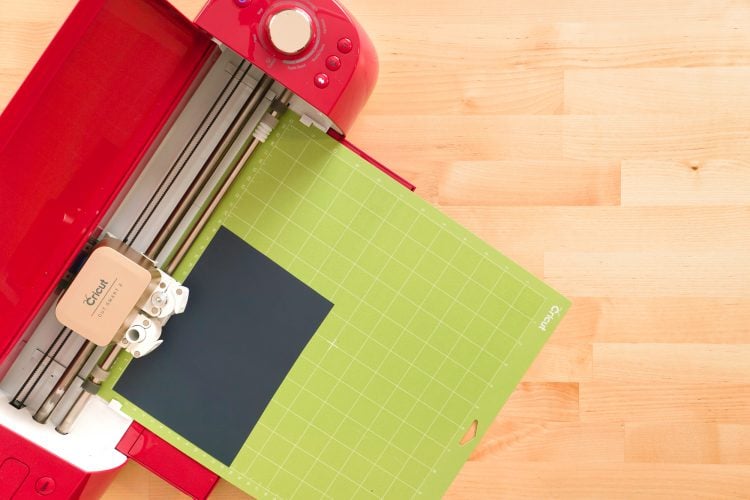
- Three different colors of faux leather are being used, but keeping all three red here. You'll see how to cut three different colors of leather on the same mat in a few minutes. Click Make It in the upper right.Here you'll see your two mats. The first has the iron on vinyl (the "plaid") for all six earrings.

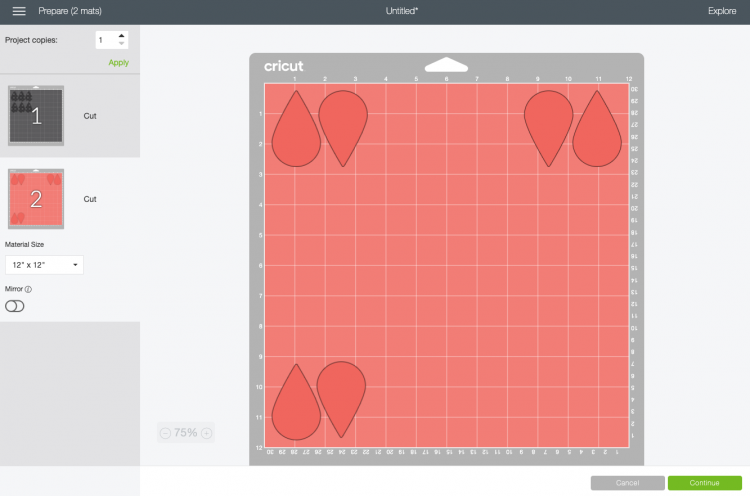
- On the second mat, you'll see the earrings. Instead of leaving them all in a row, move them to the corners. They were rotated so they would fit a smaller piece of leather.Click black on the black mat (so you don't accidentally cut the leather layer in vinyl!) and click Continue.
- Cut and Weed the Iron On VinylSelect vinyl as your material, and cut your black layer.
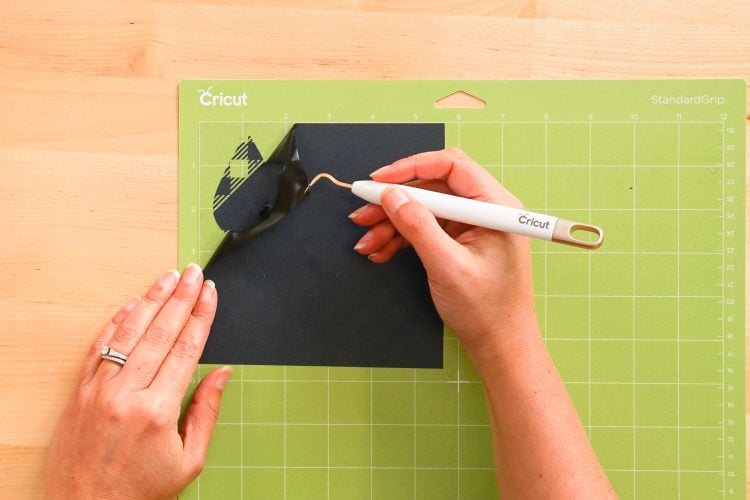
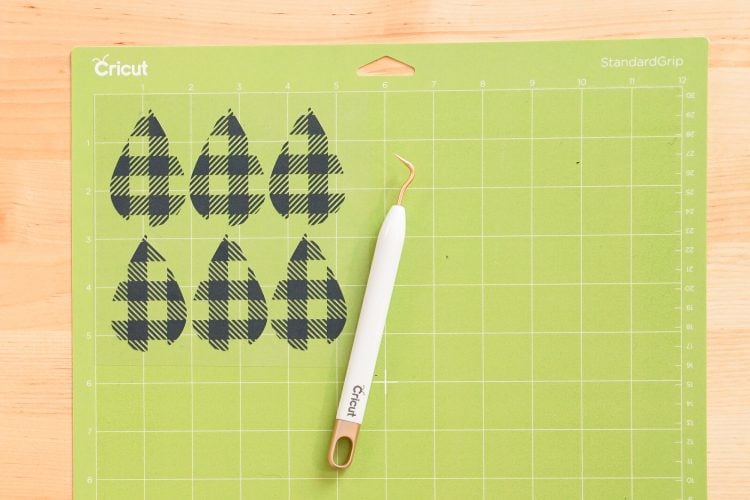
- Then weed out the negative space from this cut. It is preferable to weed the project while it's still on the mat. See the post on Weeding Iron On Vinyl for more tips and tricks.
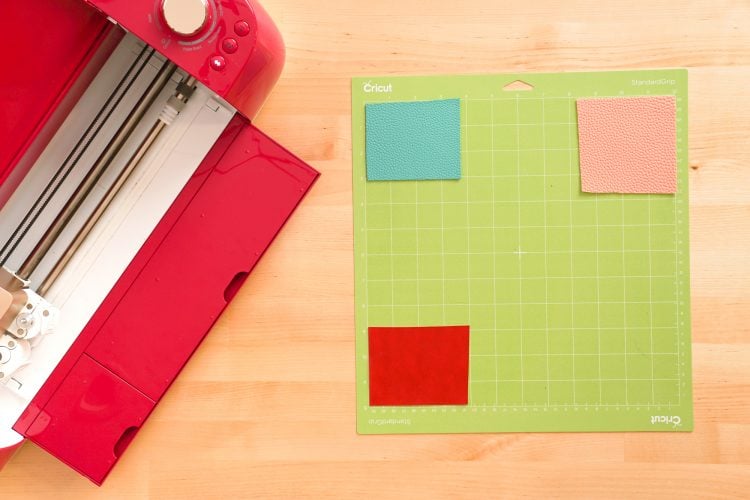
- Cut the Faux LeatherNow let's cut the leather layer. Place your leather pieces in the three corners you specified in the Prepare Screen above.Here, a brand new green Cricut mat is being used, so the leather adhered really well. If you are using an older mat, you may want to use masking tape around the edges of your leather to hold it in place.
- Using Iron On with Faux LeatherNow it's time to assemble your earrings! Pair each set of leather earrings with the plaid pieces, noting that there are two different plaid pieces—they are a mirror of each other.
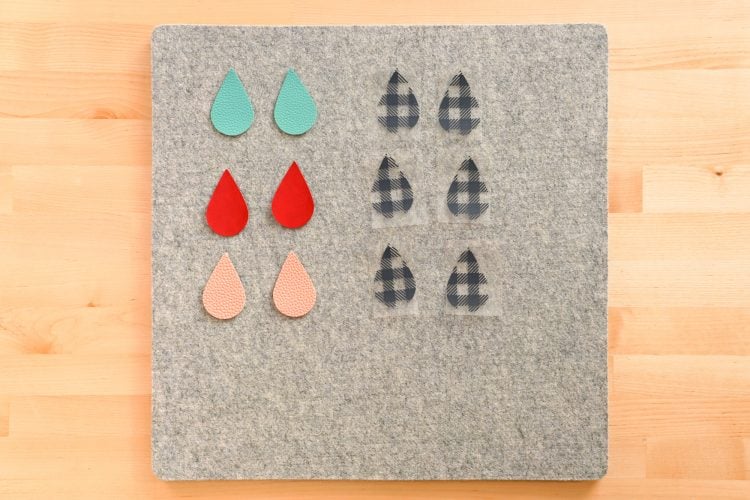
- Place the iron on piece on top of your leather piece, centering it.
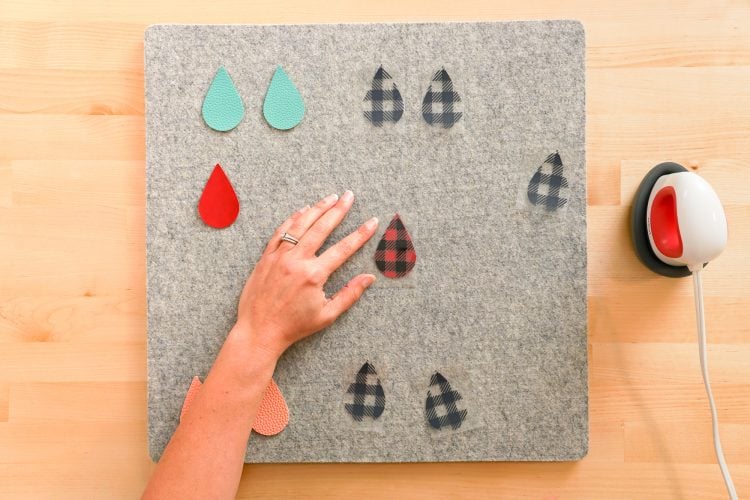
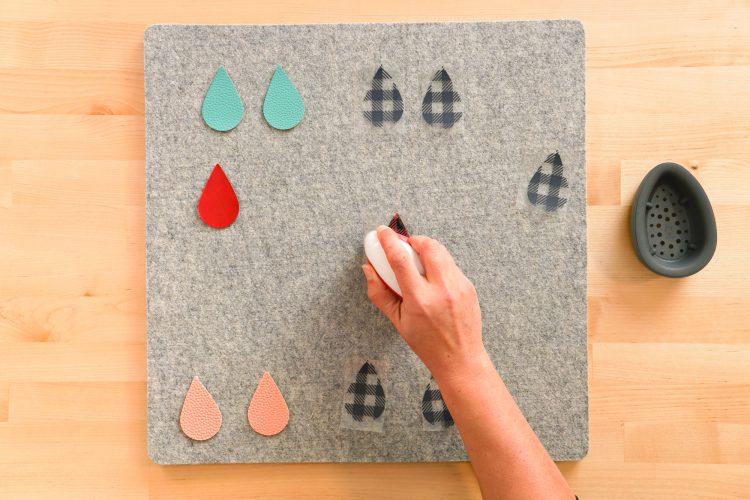
- Use the EasyPress mini or iron to adhere the iron on vinyl to your faux leather earring. Note that if you are using pebbled leather, the leather will melt just a bit (it is plastic after all) and you'll lose a bit of the pebbling.
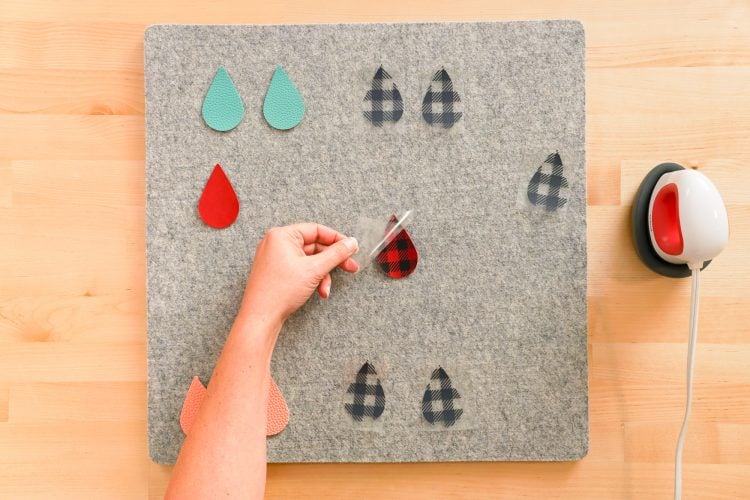
- Once cooled a bit, peel back the carrier sheet. If any of your plaid is hanging over the edge, trim with scissors.
- Assemble the Buffalo Plaid EarringsThen use the piercing tool or a large needle to poke a hole at the top of the earring.

- Then use the pliers to open the ring at the bottom of your fishhook earring.

- Slide the earring onto the ring, making sure it's facing the right direction, and clamp closed.

- Repeat with the matching earring and you're done!