BBQ/PICNIC CADDY
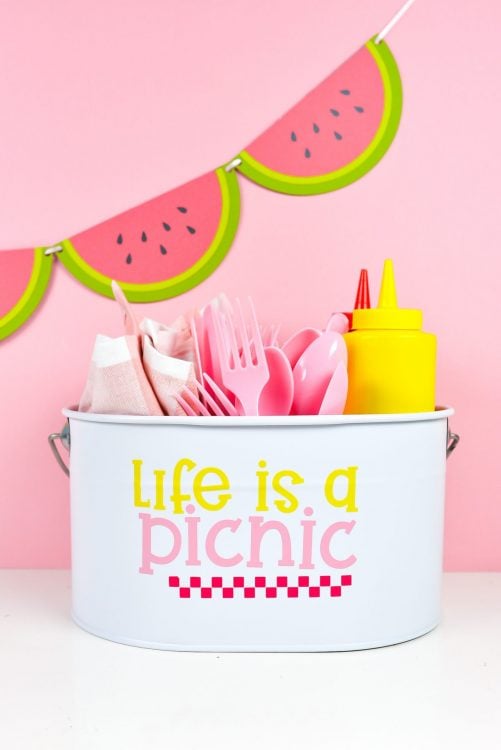
Make it easy to tote your utensils and condiments to the picnic table or porch with this cute caddy! Learn how to decorate a picnic caddy using your Cricut and adhesive vinyl.
Servings: 1 Cooler
Equipment
- Cricut Maker or
- Maker 3 or
- Explore 3 or
- Blue LightGrip Mat use with Adhesive Vinyl
Ingredients
Instructions
- Upload the Picnic SVG to Cricut Design SpaceUpload the SVG file to Cricut Design Space (see Uploading SVG Files to Cricut Design Space if you need help).
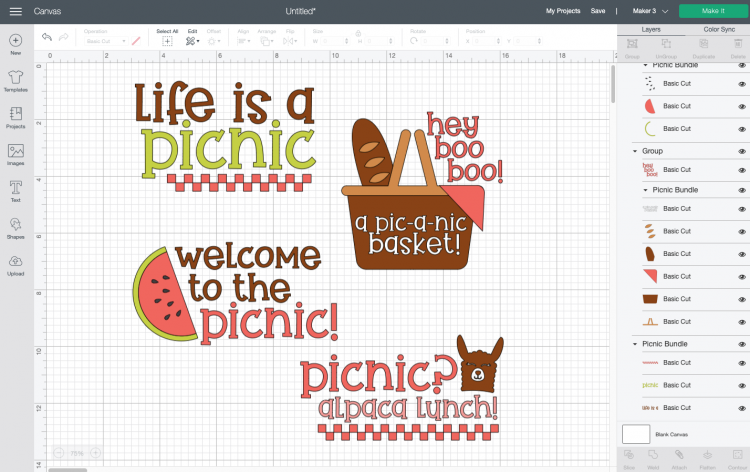
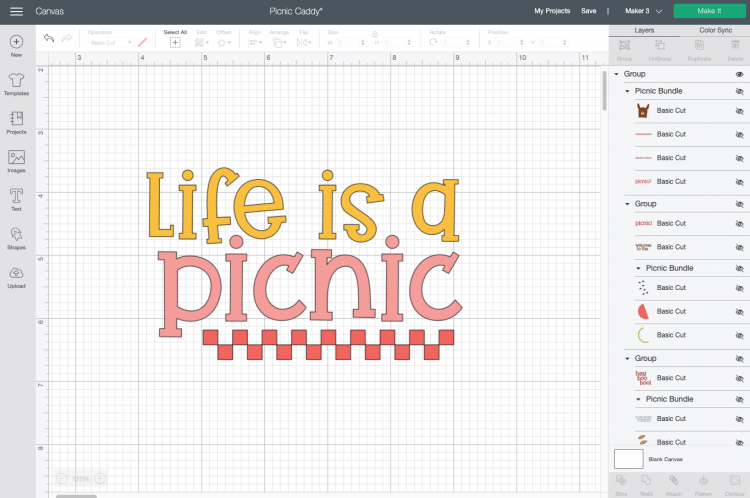
- There are a few files you can choose from here, so pick your favorite. For this project we are using the Life is a Picnic file because it best fit the shape of the caddy. You can click the "eye" next to the other images to hide them. You can then resize and recolor your image to work on your particular caddy.That's it! You're ready to make your picnic caddy. Click Make It in the upper right.
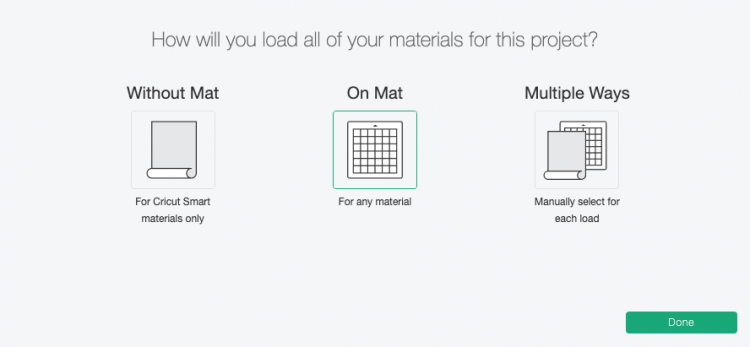
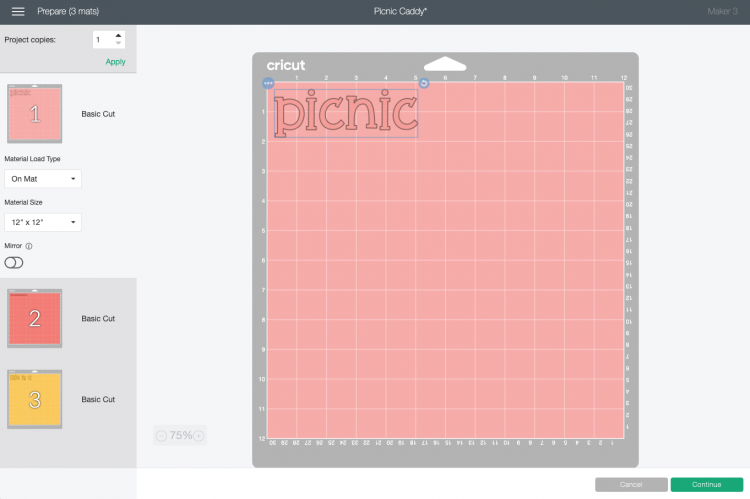
- Cut Your Vinyl for Your Picnic CaddyIf you have a Cricut Maker 3 or Cricut Explore 3, you'll see a Mat Selection window. I chose On Mat because I am using regular vinyl. If you're using Smart Vinyl, you can choose Without Mat. If you do not have one of these newer machines, you won't see this screen.
- On the next Prepare Screen, you'll see all of your images laid out on their respective mats (or just on the material if using Smart Vinyl).
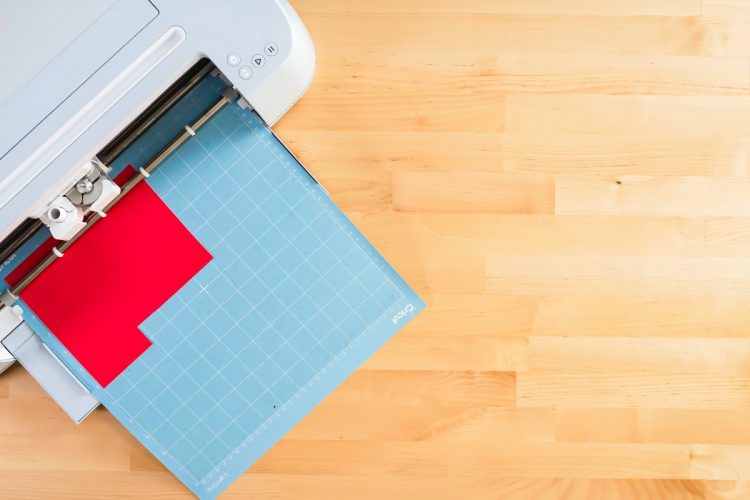
- On the Make Screen, you'll set your material to vinyl or Smart Vinyl. Make sure you have your fine point blade in your machine and place your vinyl colored side up. Insert your mat or material and your Cricut will cut your project!
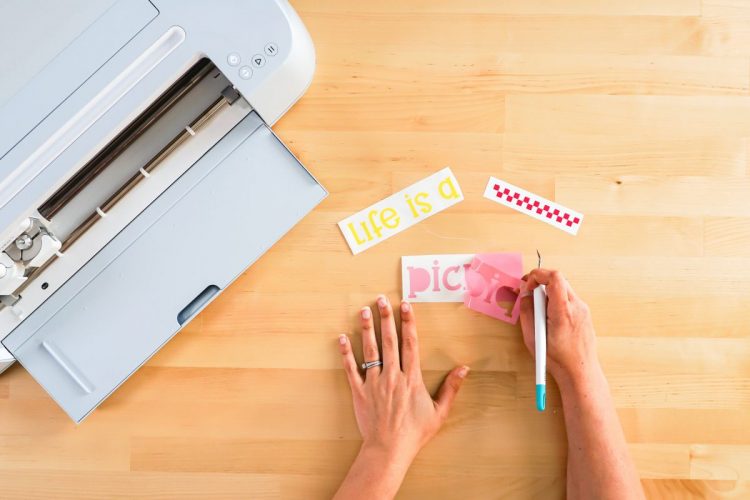
- Weed Your VinylNext we're going to "weed" the negative space from around each image. There is an extensive post about Weeding Adhesive Vinyl, which you'll want to read—tons of tips and tricks to making it easier.
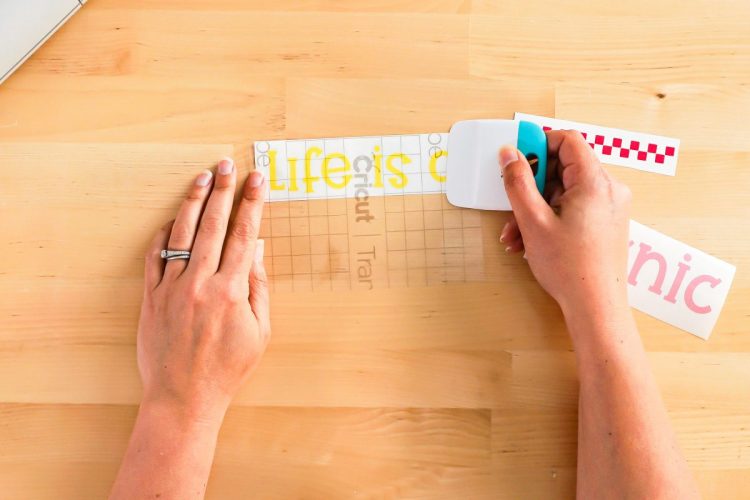
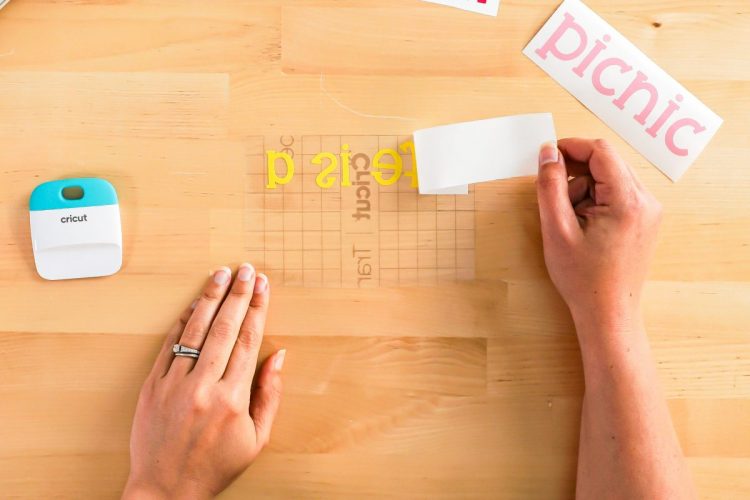
- Use Transfer Tape to Adhere Your VinylOnce all of your decals are weeded, it’s time to use transfer tape to adhere them to your caddy. You can see an in-depth tutorial about Using Transfer Tape if you need it (plus troubleshooting tips if you’re struggling!).Start by cutting a piece of transfer tape the same size as the final decal. Peel the backing sheet off the transfer tape and place the sticky side of the transfer tape down on the first layer of your vinyl. In this case, "life is a" was chosen and placed at the top of the transfer tape. You can use your hands or a scraper to burnish the transfer tape down on top of the vinyl.
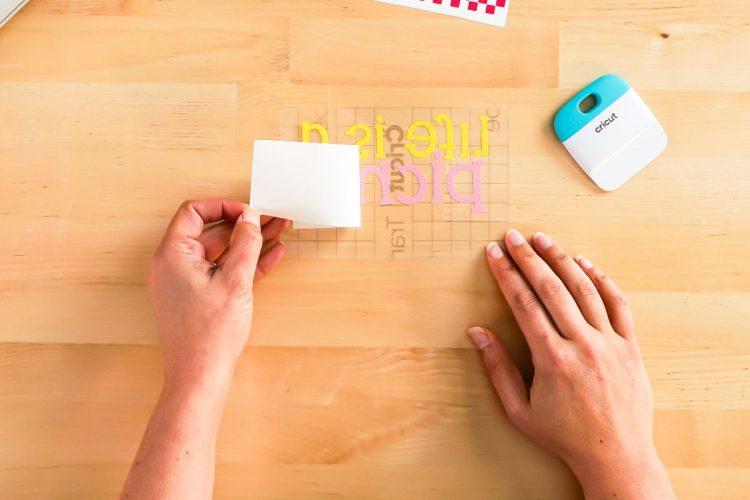
- Then flip it over, and peel the backing sheet away from the transfer tape. Your decal should stick to the transfer tape—you can use your fingernail to catch anything that isn’t sticking cleanly.
- Then, instead of placing it on your caddy, place it down over the next layer and burnish the transfer tape.
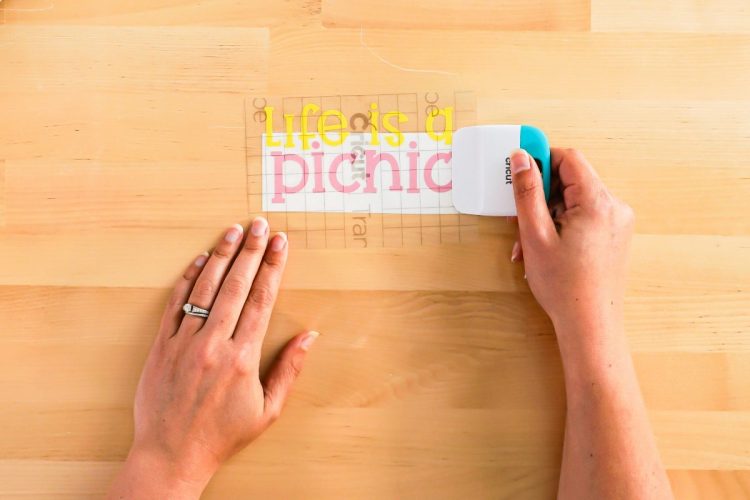
- Peel it back and your second layer should should stick.
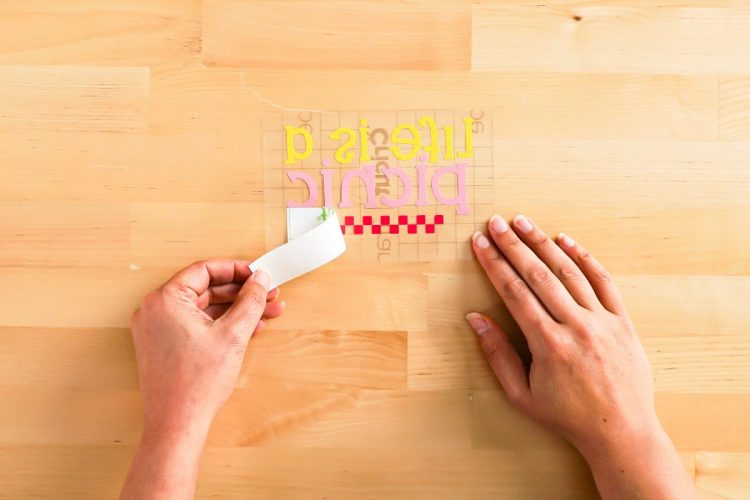
- Then do the same for the third layer.
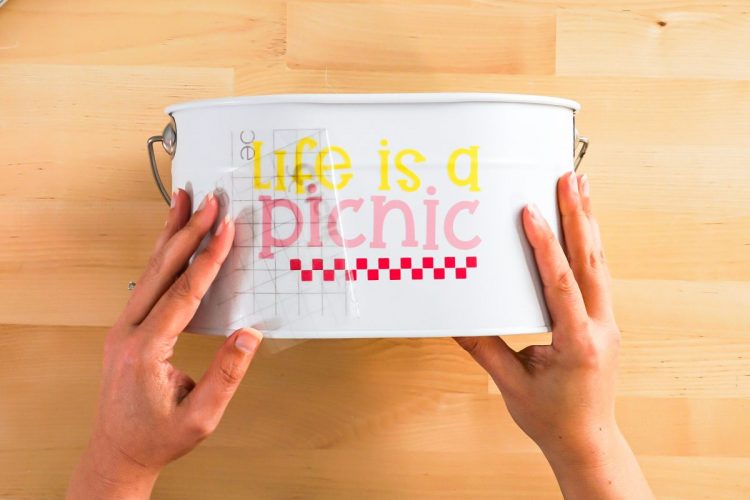
- You now have your complete picnic decal on the same piece of transfer tape! Flip it over and press it onto your caddy. Use your hands to burnish the vinyl into the caddy.
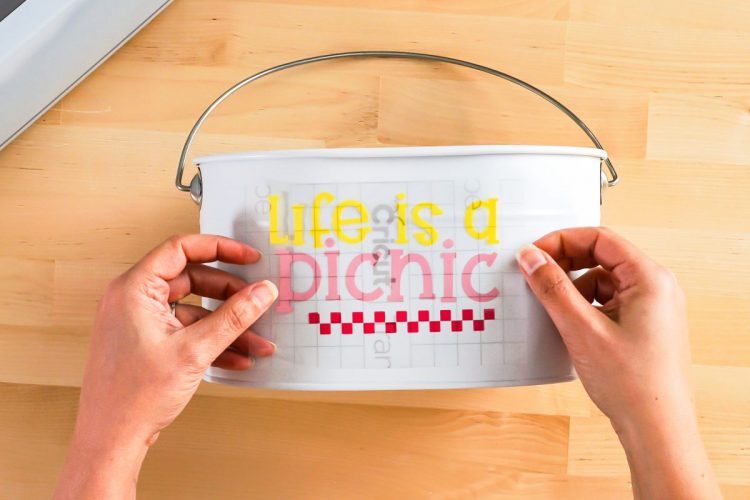
- Then peel back the transfer tape and your vinyl should stick!
- Your caddy is ready to ferry all sorts of picnic or barbecue goodies back and forth between your picnic table and your kitchen!