Back to School Frames
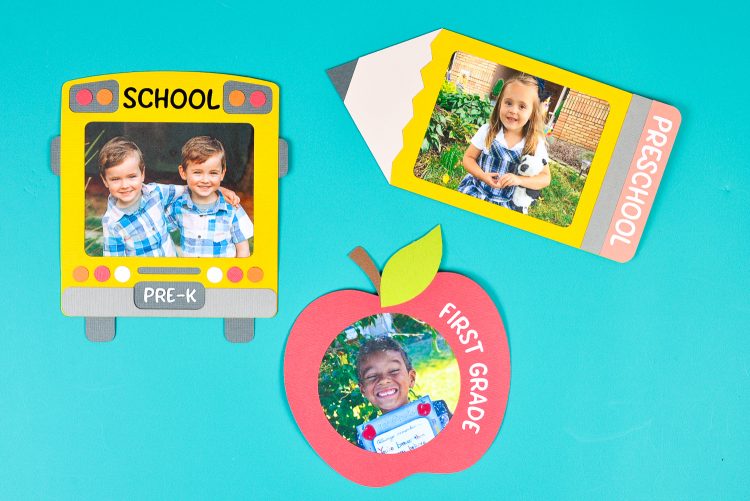
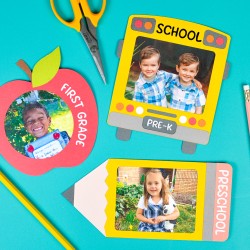
Immortalize those first day of school photos with these three school-themed frames, cut on your Cricut! These back to school frames are perfect for scrapbooks, teacher projects, refrigerators and more!
Equipment
- Cricut Maker or
Ingredients
- Various colors of cardstock feel free to mix and match based on your preferences!
- Black and white iron on vinyl (see note in instructions below)
- Adorable photos of your children
- Free Back to School Cut Files #C211
Instructions
- Start by uploading the downloaded SVG file to Cricut Design Space. If you need help uploading your file, see this post. Included are separate files for each grade, preschool through 8th!

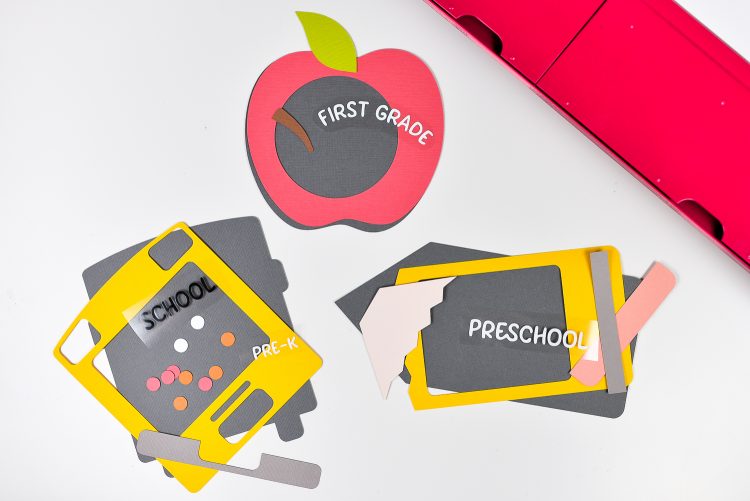
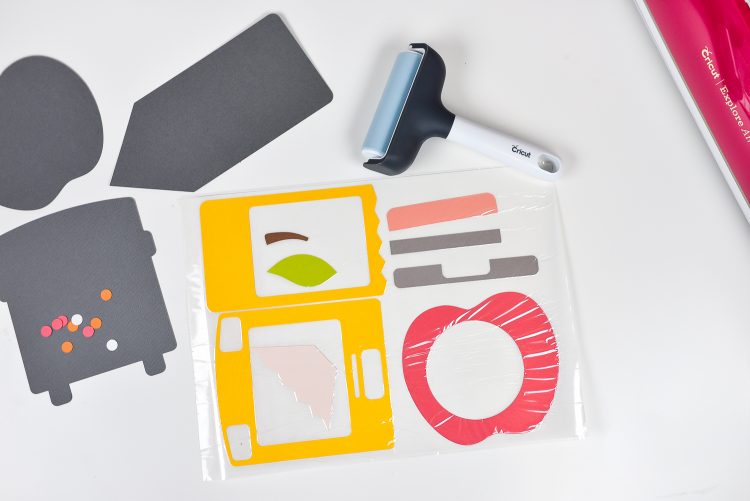
- For the text (both the word SCHOOL on the bus and the grade levels, you can choose whether you want to cut these out of cardstock like the rest of the project, or if you want to use iron on vinyl. Smaller pieces like this are so much easier to cut with iron on vs. trying to piece in cardstock.Once you have all of your pieces cut, it's time to assemble your frames! The bottom piece for each frame is cut in black—you can piece the rest of your frame, including the photo of your child, on top of that bottom piece. Save the cutouts in the middle of the apple, bus, and pencil to help you cut your school photos to the correct size.
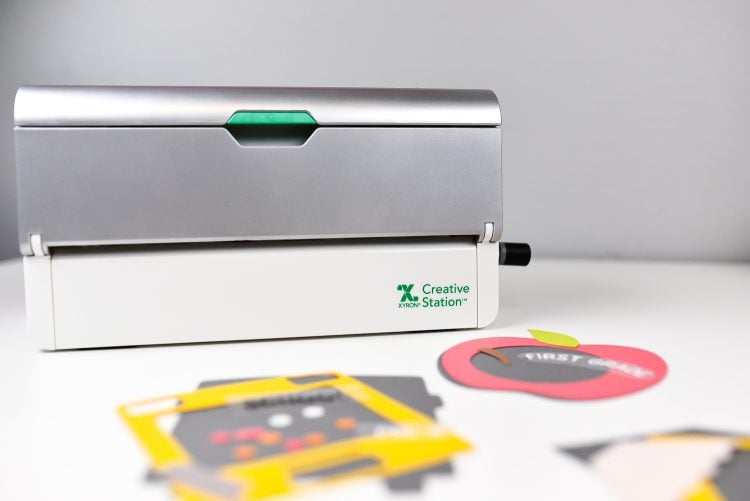
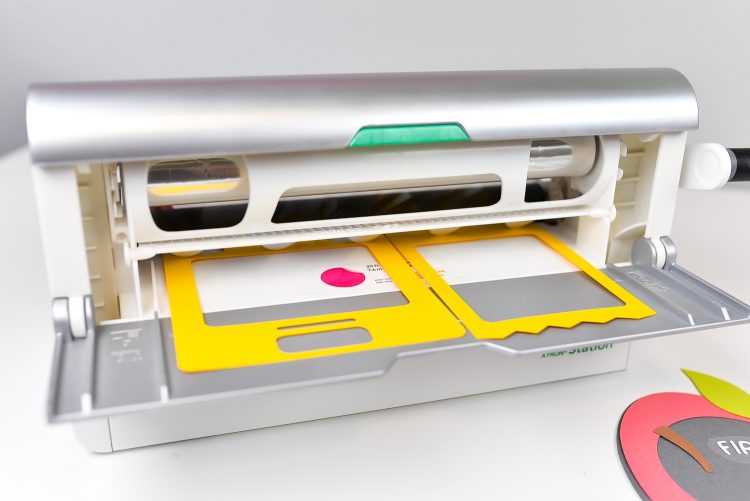
- Back to School Frames: Cricut Design SpaceUse a Xyron Creative Station—it's basically a sticker maker! You can run all of the pieces through and it will add an adhesive layer to the back.
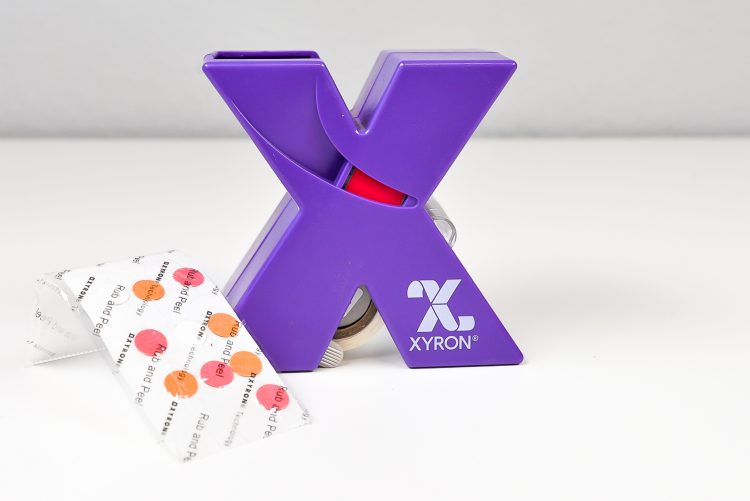
- The mini version of the Xyron Sticker Maker was used for the smaller pieces.
- Once you've run your cardstock pieces through the Xyron, rub the plastic coating on top—this helps keep it from "webbing" (you'll know it when you see it!). The brayer does a great job of helping the webbing problem.
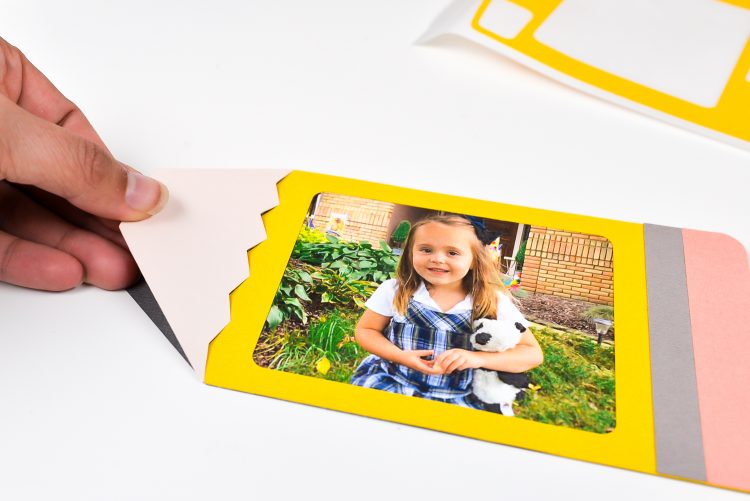
- Once you have all of your stickers made, it's time to assemble! Carefully peel the largest piece (the bus, pencil, and apple) and place your photo behind the frame. Then place onto the bottom gray piece. Then add all of the decorative pieces.
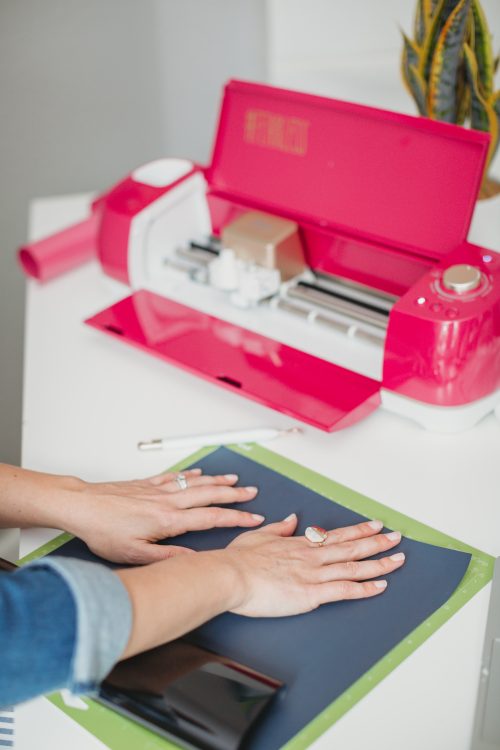
- For the text, the Cricut EasyPress is being used, though an iron works as well. Carefully lay your weeded iron on vinyl onto your project. Set the EasyPress at 290° and try not to get the actual photo under the heat plate. 20 seconds is usually enough to get it to adhere to cardstock. If you're having trouble getting it to adhere, try pressing from the back.

- Once you've adhered your iron on vinyl pieces, you're done!