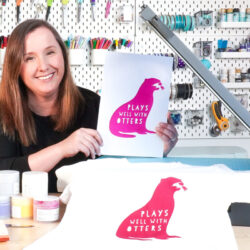
xTOOL LASER SCREEN PRINTING
Screen printing starts with a design that is used to create a stencil on a mesh screen. Then ink is applied across the screen using a squeegee. This allows ink to pass through some of the screen (the design) but not all of it, allowing for intricate designs to be reproduced on t-shirts, tote bags, paper, and more. You can use more than one screen to create layered designs and you can mix ink colors to create custom looks.
Equipment
Ingredients
Instructions
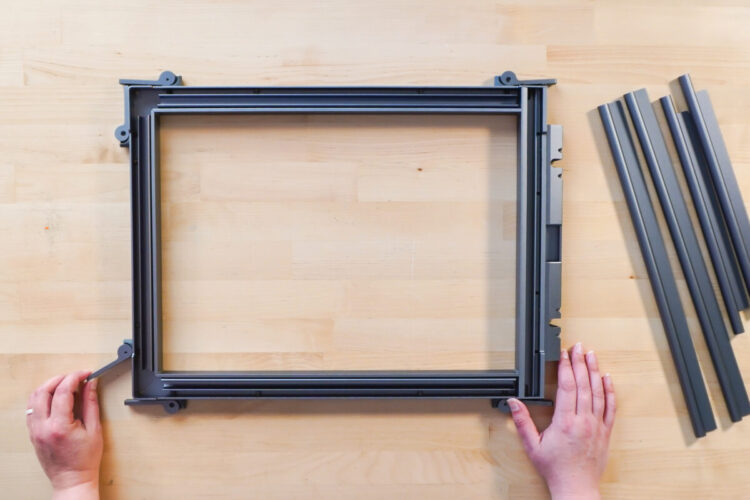
- Setting the Screen in the FrameTo start, you'll need to set the screen in the frame piece. Set the frame piece on your work surface with the back side facing up (the side with the rails).

- Open the six clamps toward the outside of the frame. This will loosen the rails so you can insert your fixing pins.
- Take one of the screens (do NOT remove the cardboard) and set it in the frame with the cardboard facing down. The cardboard is perfectly sized to fit in the frame.

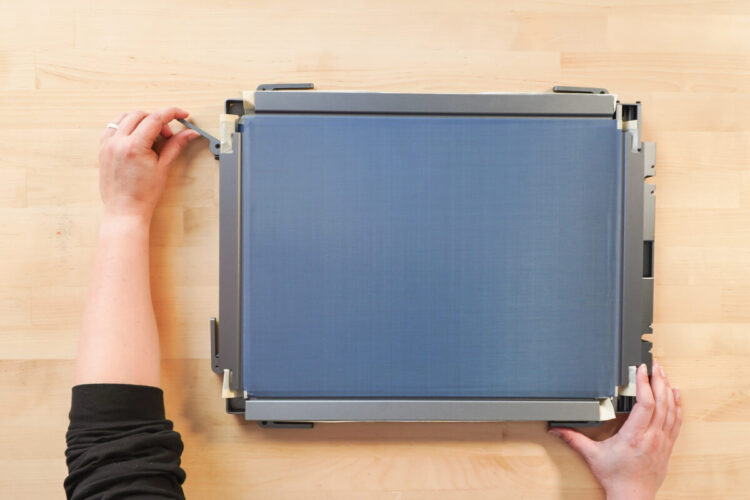
- Add the fixing pins (these sit inside the rails). Do the two long fixing pins first, then the two short ones. These can be a bit tough to put in—you'll want to angle them at a 45° angle and press them down, pushing the screen into the rail.

- Once you get a fixing pin in, press down on the flat part toward the frame to lock it into place. Repeat with the other three fixing pins.

- Then close the six outer clamps. This will tighten the screen in the frame. Your screen should be tight without any wrinkles.
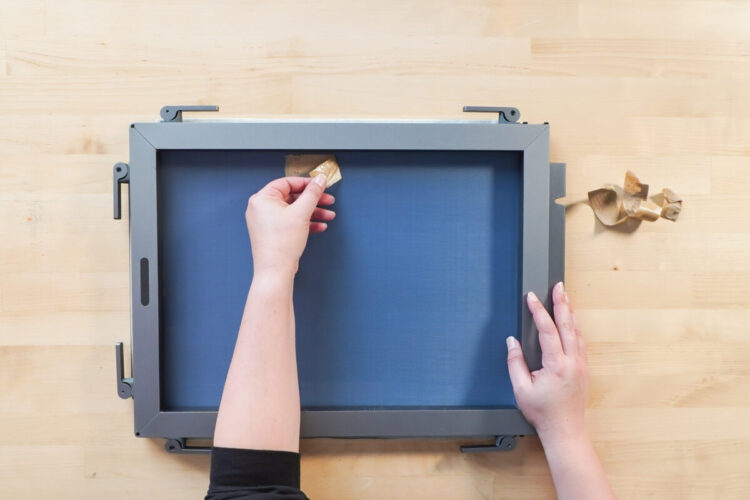
- Flip the screen over and remove the cardboard. Just pull it up and recycle it.

- If you have trouble with some of the cardboard, peel up the adhesive strips as well. You may want to use a little alcohol or Goo Gone to remove any leftover adhesive.
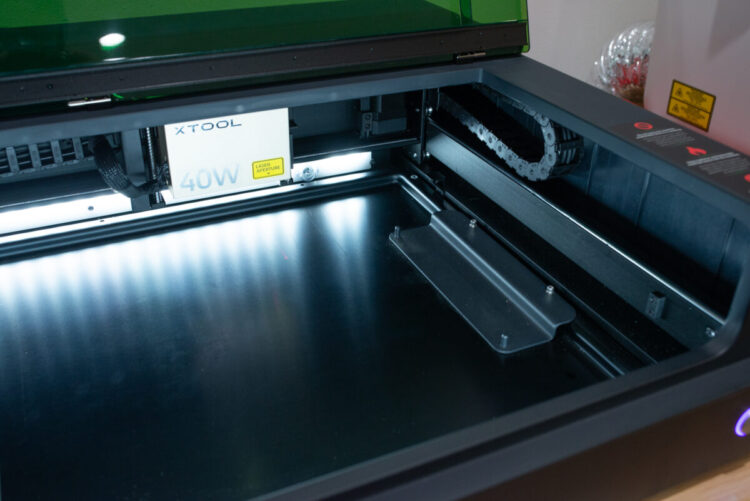
- Setting Up the Laser for Screen PrintingFor this project a xTool S1 is being used This means the multi-color set can be used, and that you can have more than one frame for the same image because they are all being burned in the same location. This will be better understood when the project below is made.Remove the riser and honeycomb tray if you are using them, and install the baseplate in the machine. Remove the two screws in the middle of the right side of the base of the machine.
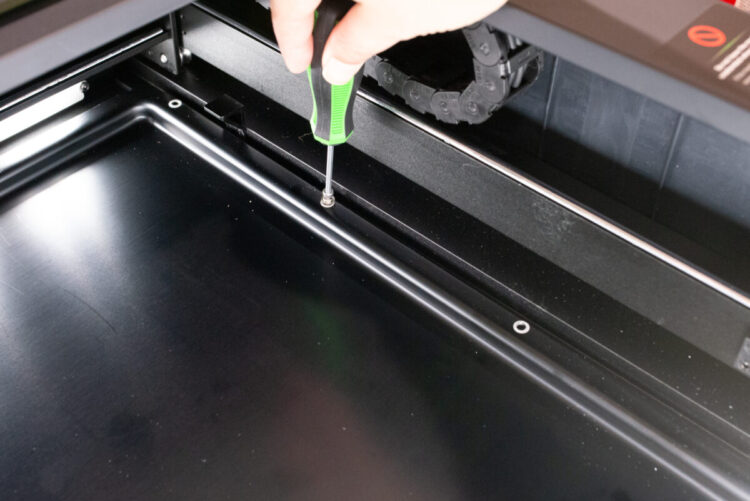
- Fit the frame fixing piece inside xTool S1 with the screws. Your frame fixing piece comes with longer screws, so use those instead of the ones you removed.
- Setting Up Your Screen Printing FileNow go to the xTool Creative Space to set up the file. Open Creative Space and create a new file. To start, on the right, change the processing type from Laser Flat to Screen Print.
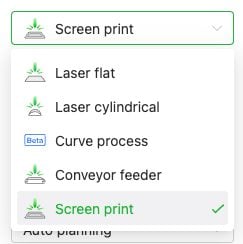
- This will tell the laser that we are using the screen printer. You'll see a green rectangle appear on the Canvas—this is the area of the screen itself. So you'll want to keep your design within those margins.
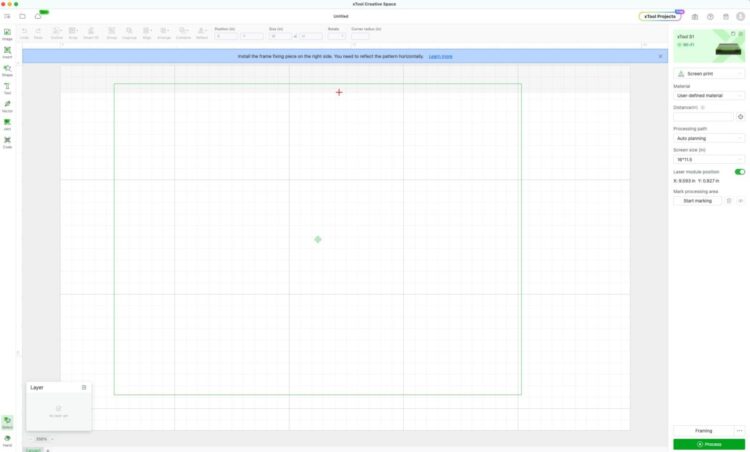
- Next upload the file. Go to the file folder image in the upper left and click Import Image. Navigate to your image and add it to your Canvas.

- You'll get a warning at the top that tells you to insert that frame fixing piece (you already did that) and to reflect the image horizontally. So let's go up to Reflect and reverse our image horizontally.
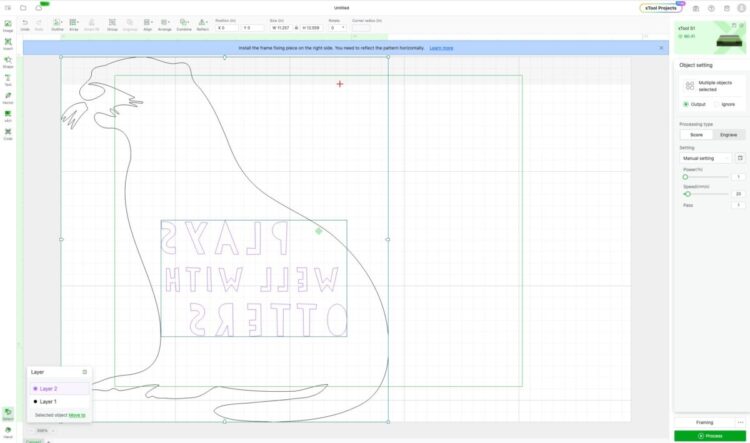
- Now resize and rotate the image to fit on the garment or other project. Note that the hinge of the screen printer will be on the right and the top of your shirt will be on the left. So you want the top of your image to be toward the left of the screen.
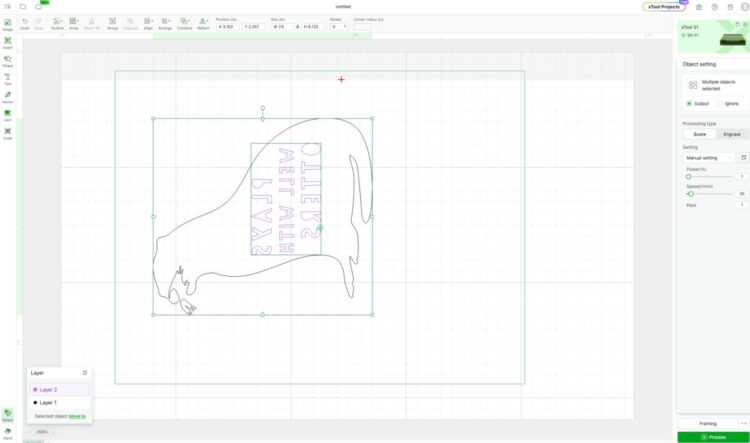
- This particular otter SVG has two layers—the otter and the words. We want it to be a single layer. So with both layers selected, go to Combine > Subtract.
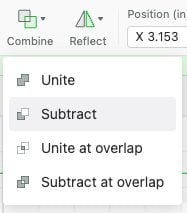
- This will "subtract" the letters out of the otter shape, leaving you with a single layer.

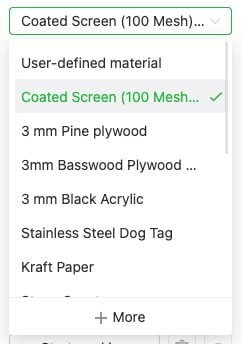
- With the image selected, change your processing type to Engrave on the right.

- And change your material to Coated Screen.
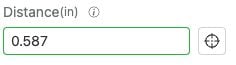
- Finally, you need to auto-measure the height of the screen. Make sure your laser head is toward the center of your screen (you can just move it by hand).
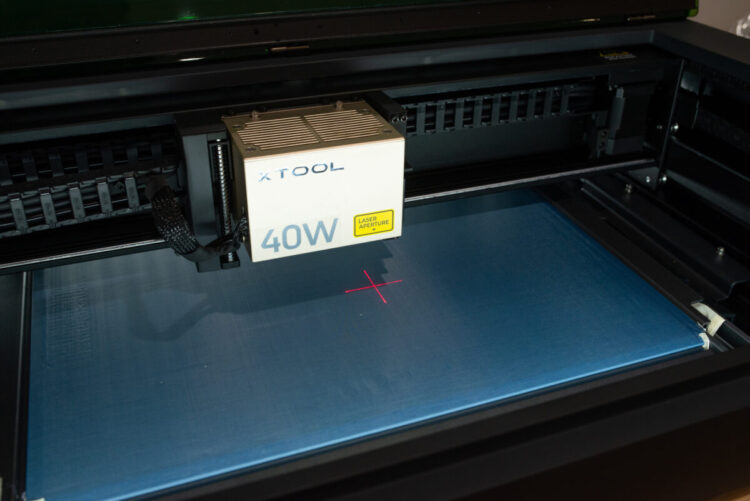
- There's a small targeting icon next to the distance box in the panel on the left.

- Click the icon and your machine will automatically measure the height of the screen.Click Process and you're ready to burn your screen!
- Burning Your ScreenTurn the frame with the screen so the backside is up. Slide into the machine. The frame fixing piece that was installed earlier has two pins and the frame slides into place. This ensures the design is in the same place every time, which is particularly important if you are doing a multi-color design like you are here.Then you can click Process in the xTool Creative Space program and your laser will burn your screen!
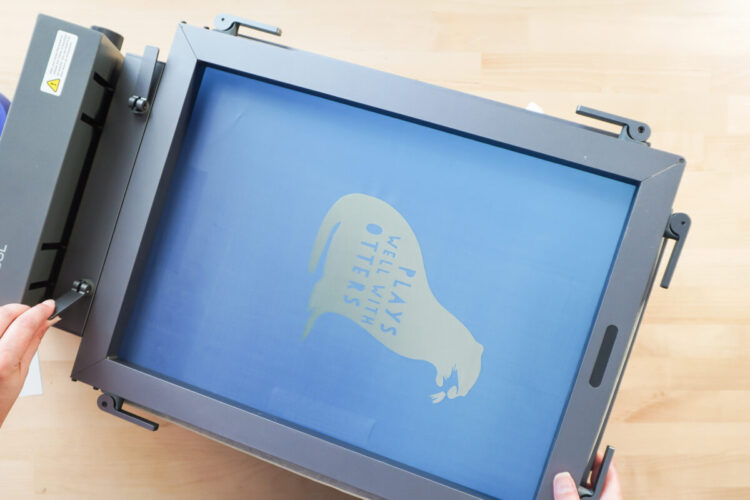
- Preparing to Screen PrintRemove your screen from the laser when it's done processing. To clean your screen, use a little canned compressed air. This will remove any extra material that didn't get removed inside the laser.
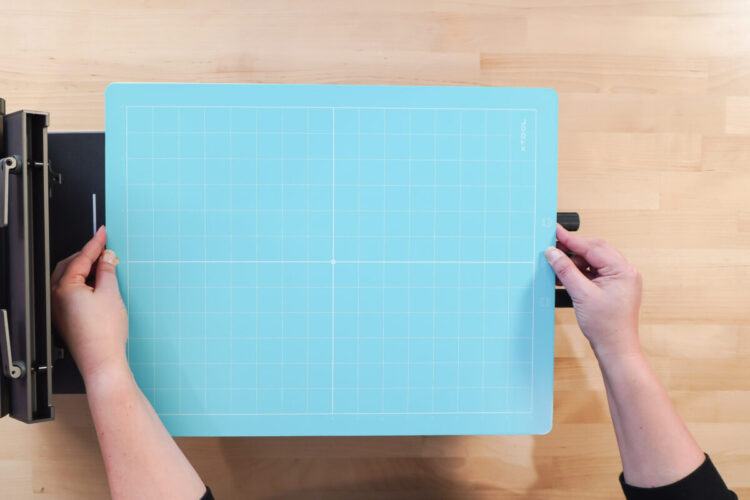
- Remove the sticky mat protective sheet from the back side and place on the wood base. Then peel off the other side exposing the sticky side up. This will give your blank project something to stick to so when you lift up your screen, your project will stay in the exact same space. You can also use the tack spray I mentioned in the supplies list above.

- Thread your shirt onto the wood base, with the back of the shirt going below the wood base. Press well on the sticky mat so that it adheres with no wrinkles.
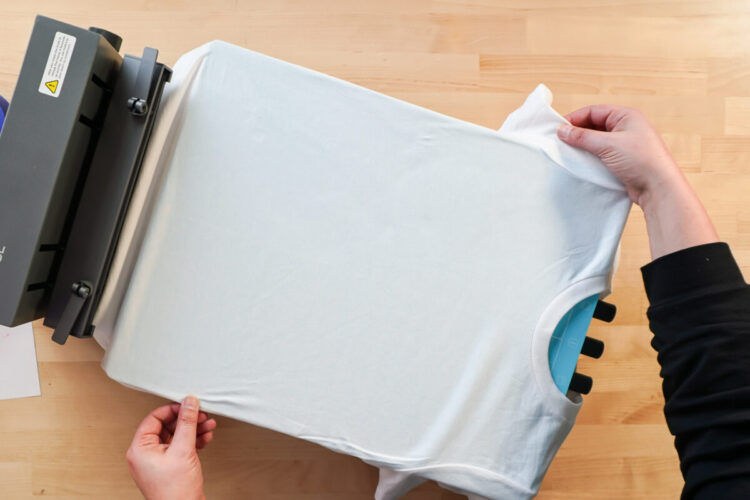
- Make sure you are avoiding the brackets underneath the base so that the shirt doesn't interfere with closing the screen.If you have a project that is not "threadable" (like a tote bag or baby onesie) then use some of the provided cardstock between any layers to prevent ink bleed-through.

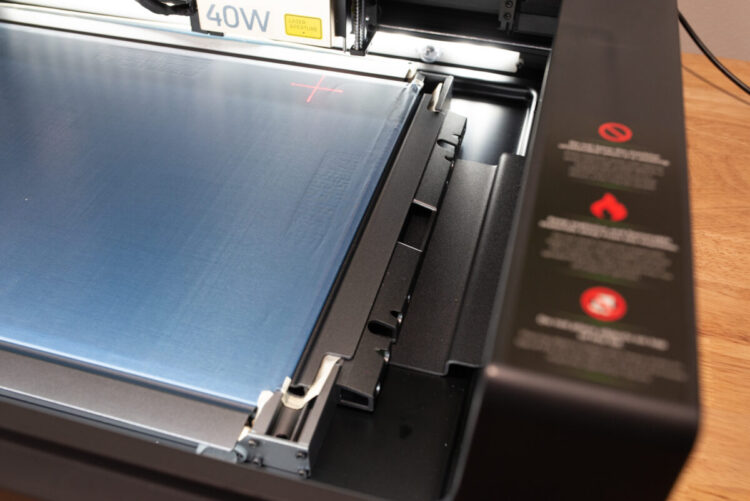
- Open the levers on the hinge of the base. Then slide your frame into the hinge and close the two levers to lock it into place.
- Add painter's tape on all four sides to make clean up and storage much easier! The tape will prevent ink from going between your screen and the frame.

- There's a knob on the right side. You can use this to adjust the height of the screen. Hold onto the screen and when you have it in a place you like, turn the knob to tighten.

- There are also directional knobs on the machine, to make incremental changes to where your base plate is in relation to the screen.

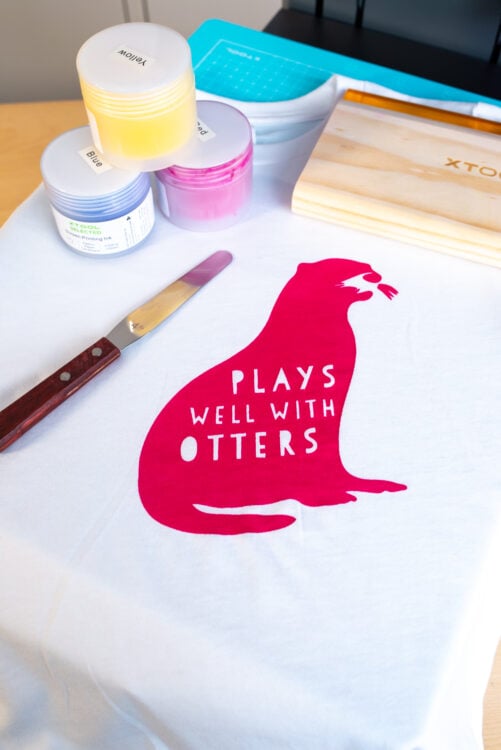
- Screen Printing using the xTool Laser Screen PrinterChoose your ink color. For this project, the "red" ink was (more like magenta) used right out of the jar. You can mix your own custom colors if you'd like. Stir the ink really well.
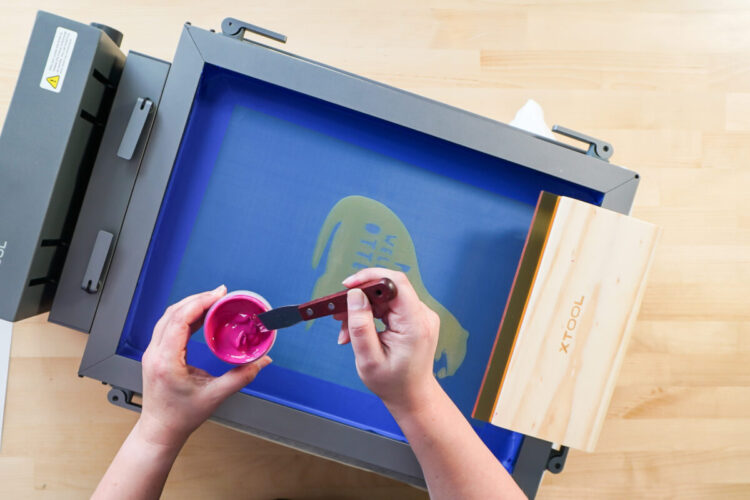
- Using the spatula, spread a layer of ink above your design.

- Lightly pull the squeegee through the paint and toward you at a 45° angle. This is called flooding or priming the screen. You're not pressing the ink into the design yet.
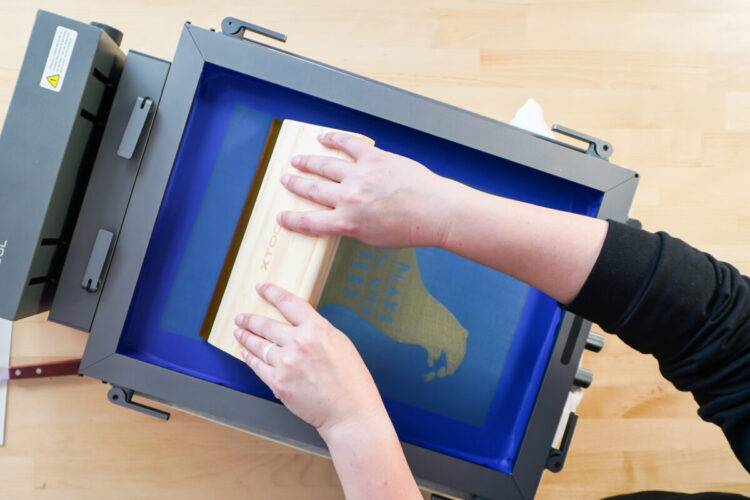
- Next, start at the top of the design once again and press down and pull toward you. Depending on the width of your design you may need to do more than one pull across your design.

- Note that pressing too hard or pulling too much ink can result in ink bleed. Check out this video on screen print ink bleed for more tips and tricks for getting the perfect ink transfer.Lift up the screen to see your design. If you've used the sticky mat or tack spray and your image hasn't moved, you can lay your screen back down if you feel like you need more ink coverage.Then pull your project off the screen printer and you're done! Screen printing is great for batching, so keep using that screen to make as many projects as you'd like.
- Curing the Screen Print InkxTool's screen print ink says that it just needs 48 hours of air drying to cure. Other ink, however, needs a heat press to cure. Let your project dry for 24 hours and then press it for 30 seconds at 350° using a teflon sheet on top of my project to protect it.You can also use a heat gun set to 350° to speed up the drying process instead of letting it dry for 24 hours. Just make sure you aren't getting the heat gun to close because it can burn or create bubbles in your ink.
- Cleaning Your ScreenRemember how the tape was used around the edge of our screen? Peel that off! Now you don't have ink in the space between the screen and the frame. Use water to clean your ink from your frame. If you are struggling with getting your screen clean, you can use a screen cleaning solution, which is linked in the supplies list above.
- Reusing Your ScreensYou can definitely reuse your screens. The easiest way is to leave them in their frames. You can buy more frames, though they aren't inexpensive (there is a bulk order discount on that page). If you have a small business, however, and you have a certain number of designs you make, you could buy enough frames for those designs and continue to reuse them until the screens no longer work. Then you can just replace the screens. There are also smaller 9x12 frames and replacement screens for smaller projects!If you do not want to leave the screens in their frames, you can check out this hack for reusing your screens!