USING THE DESIGN SPACE OFFSET TOOL
After many years of asking, Cricut users can now offset their designs in Cricut Design Space! An offset is basically a solid outline/shadow for text or images. The new Cricut offset tool makes it easy!
Instructions
- Creating a Rounded Offset
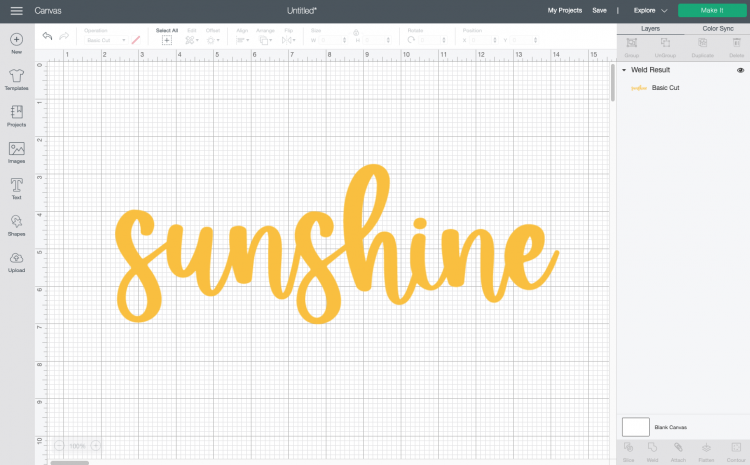
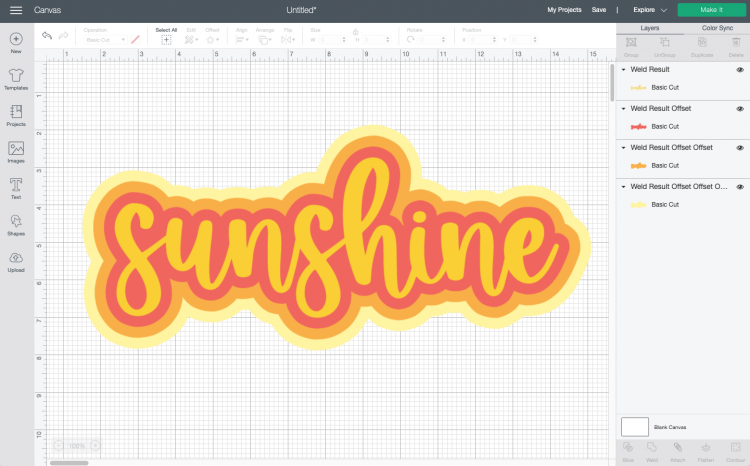
- Create your design like this cute word "sunshine", weld the word and then click the offset tool.

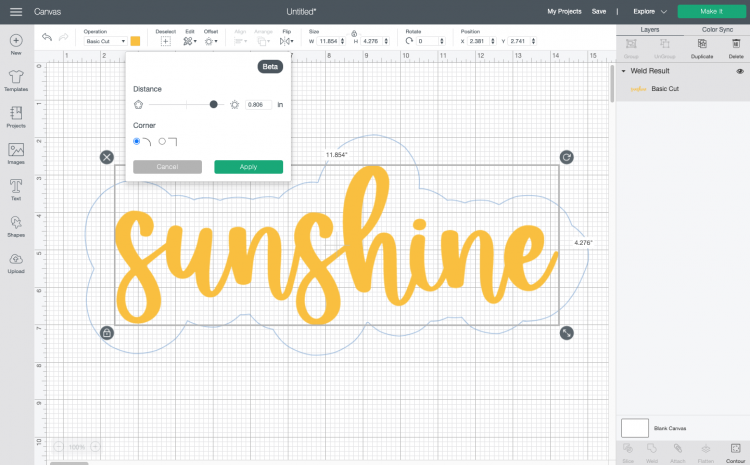
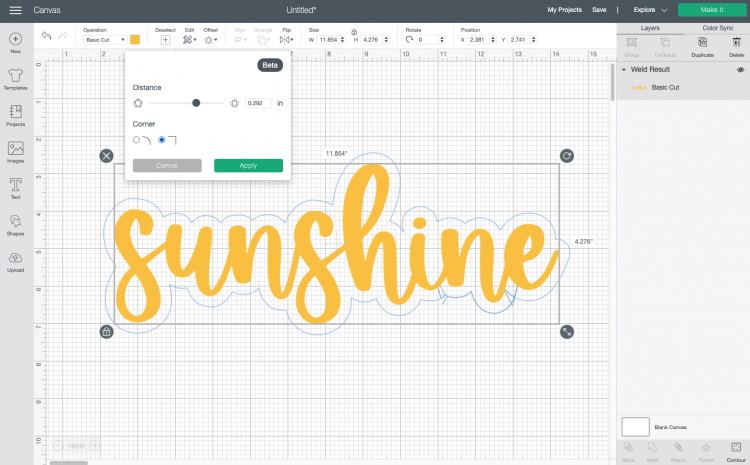
- From here, select a .25: offset with rounded corners. Note that you won't see that "Weld Offsets" option because this file is a single cut piece. You can see the offset in real time as you change the settings:

- Now play around with the slider to create a bigger offset:
- Once you click Apply, it will apply the offset as a new, black layer on your project.
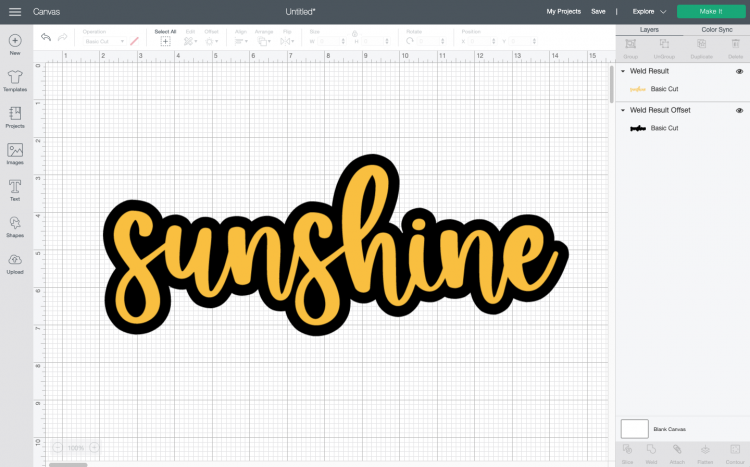
- You can then change the color of that layer to whatever you'd like. You can also offset offsets to create a fun effect!
- Creating a Square OffsetYou'll also see that there's the tick box to change it to a square or block offset instead of the rounded corners above. This was found to be a bit glitchy, depending on the font being worked with.
- Didn't expect it to work on the rounded Festive font, — got a little ugly down in the bottom right and everything else stayed rounded (since it had no mathematical square edges to offset):
- Also tried using the square outline on a few different block fonts, and had mixed results. The first you can see how it did fine for the rounded offset, but then sort of lost its mind on the square:
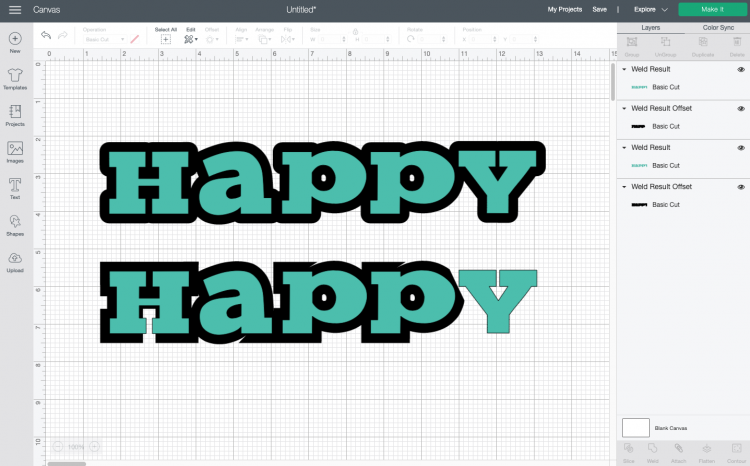
- Again, you can slide the slider a bit and a lot of these glitches may resolve themselves.And here it did a lot better, but not a fan of those spikes on the top of the "m"s.
- Note that Adobe Illustrator has a third option to "miter" the corners (vs. just round and square), which cuts off those strange spikes to make a cleaner square offset.Overall, I think I just prefer the rounded offset and I ran into fewer glitches with it. Remember that this is a brand new feature, so hopefully Cricut will refine some of this as time goes on.
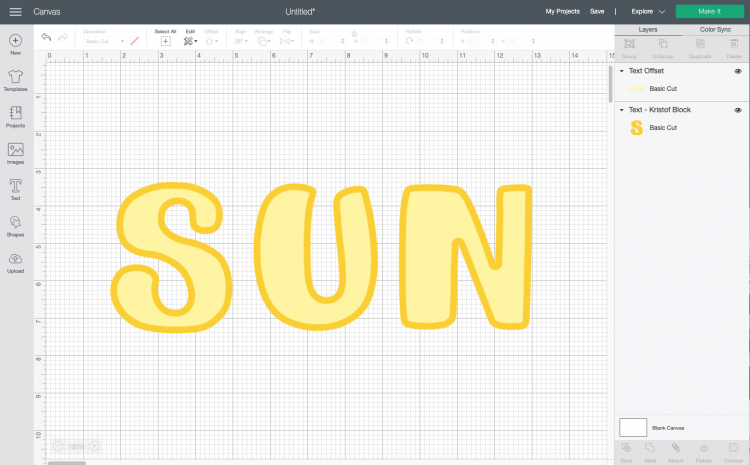
- Creating an InsetIn addition to creating an offset, you can slide that slider to the left and create an inset (or a "negative offset"). This works best with chunkier fonts and images, like the font Kristof. Here's the word "sun" with a negative offset. The darker yellow is the font itself and the lighter yellow is the inset:
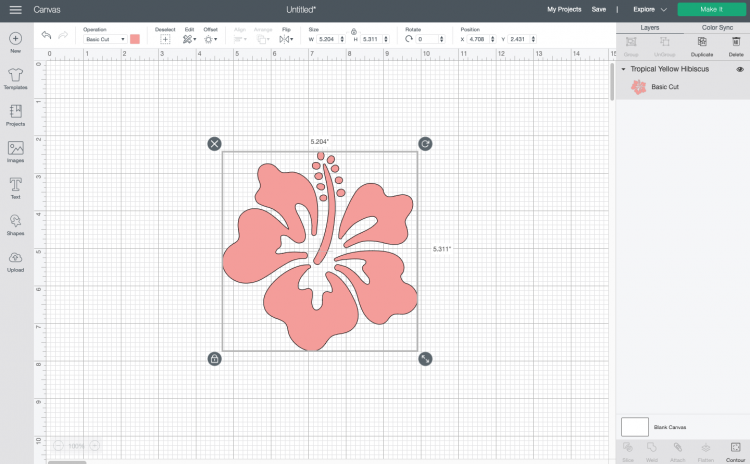
- Creating an Offset for ImagesSo we've seen how this Cricut offset works on a bunch of text, now we'll look at a few images. Let's start with a simple hibiscus flower from Cricut Design Space.
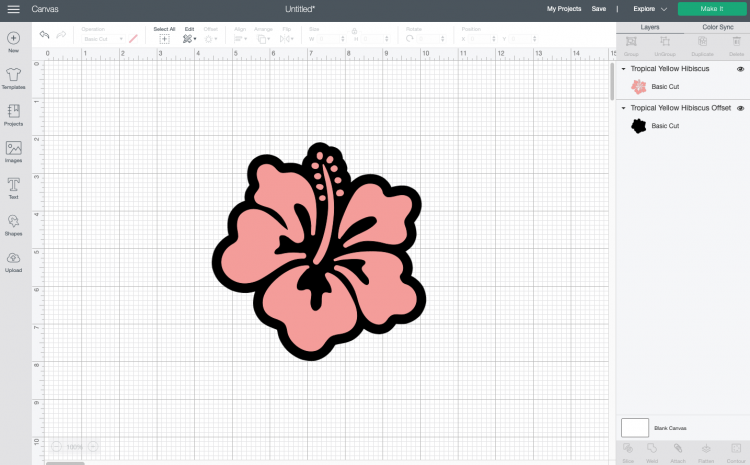
- Worked like a charm:
- Now let's try a more complex image from the Cricut Image Library:
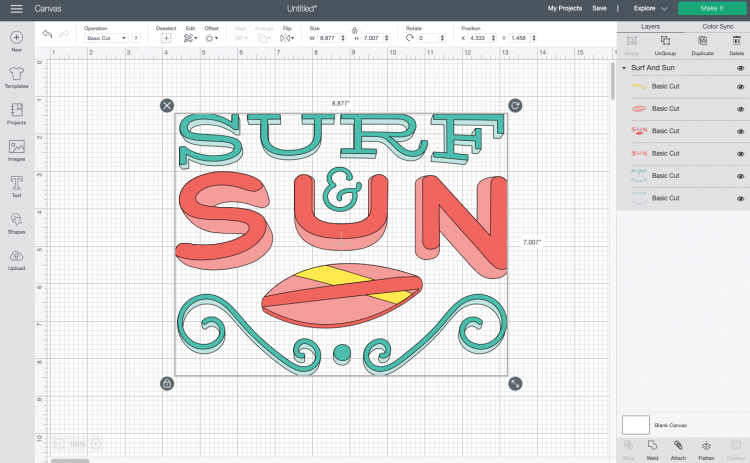
- If you create an offset for this, you'll notice that you need to make the offset quite large not to have "holes" in the offset. But not loving how the huge offset looks, so here's a way to fix it. Create the offset that you'd like. You'll see this one has four holes in it. Not so cute on this image.
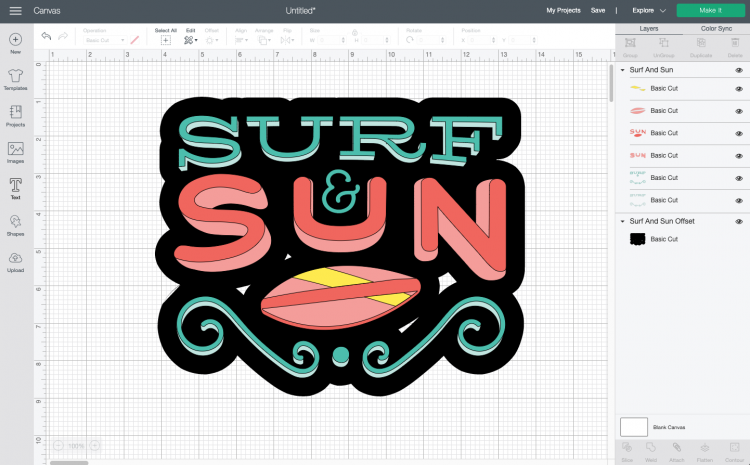
- In the Layers Panel on the right, hide the Surf & Sun image so you just have the offset layer showing. Then use a shape like a square to cover the holes.
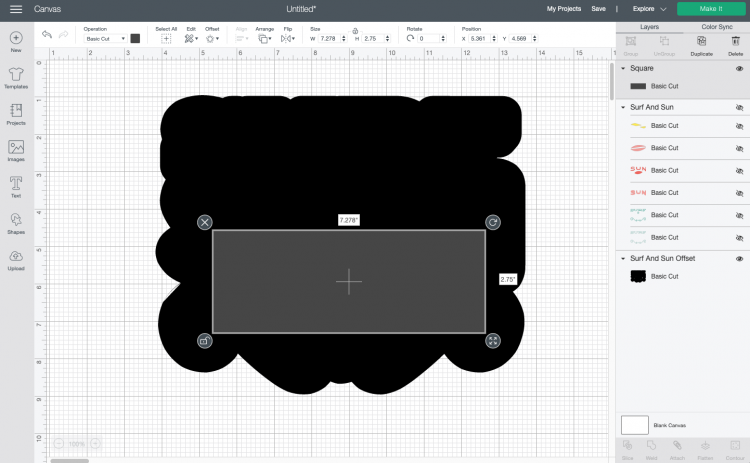
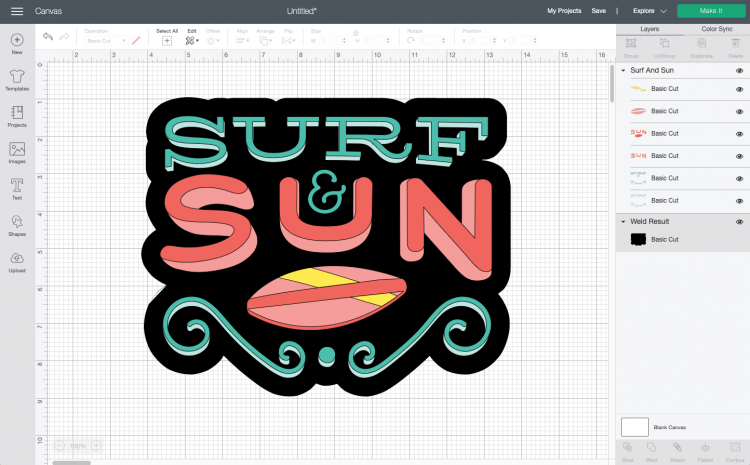
- Then weld the square and the offset to make it a single piece. Unhide the rest of the image and move the offset back to the back (it will pop to the top when you weld it) and you can see that this is a much better offset image:
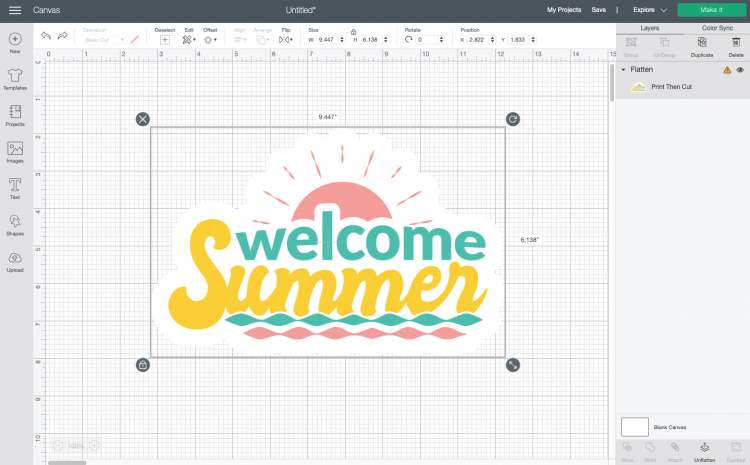
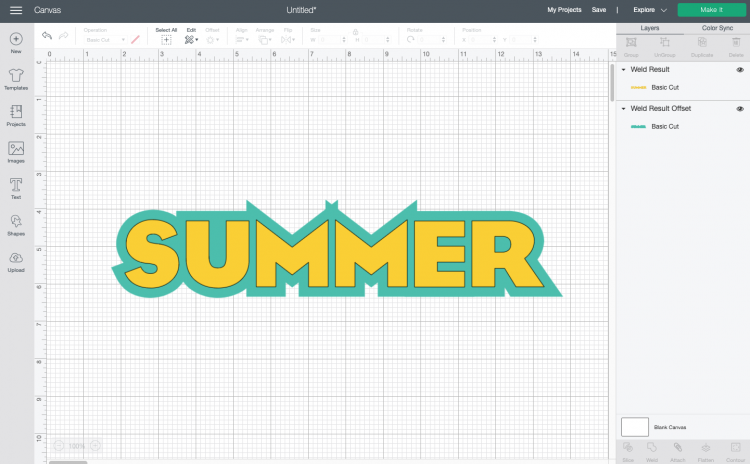
- Creating Stickers with Cricut OffsetFinally, here's a quick way to create stickers using the Cricut offset tool. Start by uploading or choosing an image from the Cricut Image Library. For this project this Welcome Summer image was chosen.
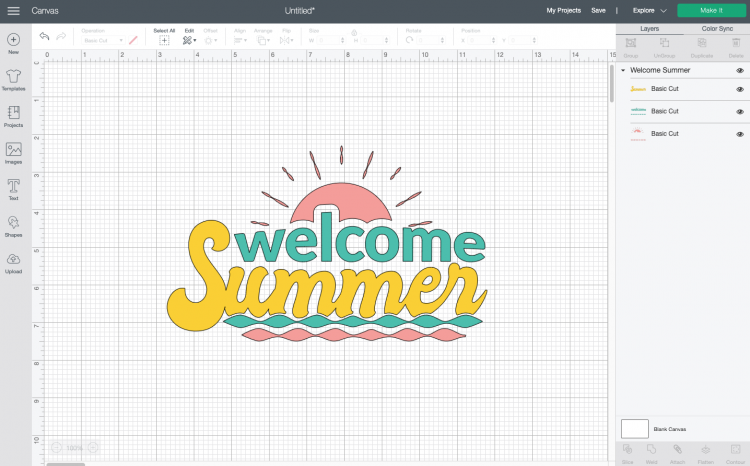
- Create your offset and make it white. Fill in any holes using the method in the previous section, if needed.

- Then choose both the image and the offset and click Flatten in the lower right. This will turn your image into a print then cut image, which you can see in the Layers Panel.
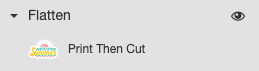
- Now you can use Print then Cut to cut this image on sticker paper!