Using Attach in Cricut Design Space
Using Attach in Cricut Design Space allows you to keep images together. Here's everything you need to know about the Attach tool, as well as samples to show the results of attaching images together.
Instructions
- Rules and Guidelines for Using AttachOnly Works on Two or More Layers: Attach does not work on a single layer, and Attach will be grayed out if only one layer is selected.Combines Different Colors: If you Attach images of more than one color together, the colors will change to the color of the bottom layer. This is because Attach is used to keep everything on the same mat, and two different colors equal two different mats. Ungroup Can Help: If you're finding that things are attaching that you don't want attached, make sure that you don't have anything grouped. You can use the Ungroup tool at the top of the Layers panel to ungroup your images.Overlapping Cut Lines: If Attached images overlap, the cut lines will as well. So if you Attach a script font, thinking it will cut as a single piece, it will still cut the individual letters and it won't be pretty. To prevent these overlapping cut lines, you'll want to use Weld instead.Use Undo or Detach: if you accidentally attach things that shouldn't go together, use the Undo button or the Detach button (the Attach button becomes the Detach button when an attached image is selected).Hidden Layers: In the past, when you attached images, it would delete any hidden layers. But with newer updates, it seems that this bug has been fixed.
- How to Select Images to AttachIf you're unfamiliar with selecting in Cricut Design Space, you have a few options. In the Canvas screen:Click your mouse near the items you want to select and then drag your mouse over the items. Hold down the shift key on your keyboard and click each item you want to select.Hold down the shift key on your keyboard and click each layer that you want to select in the Layers panel.
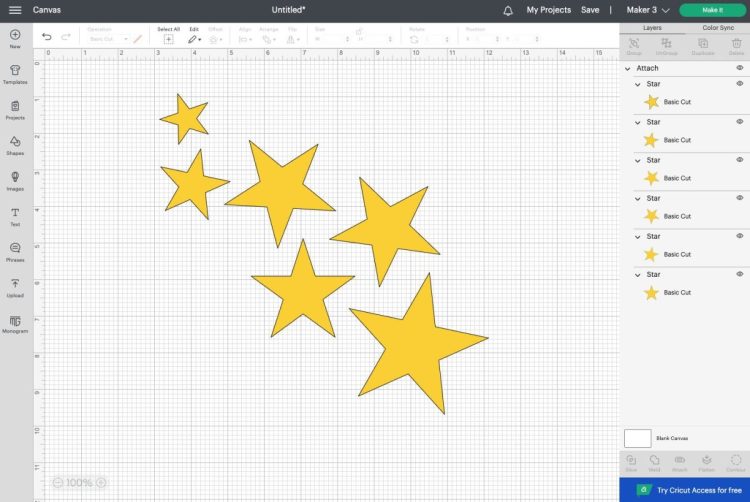
- Using Attach to Keep the Same ArrangementLet's talk first about how to keep the same arrangement of your images on the cutting mat as you see on your Canvas. For this example, six yellow stars are being used that have been arranged in sort of a falling pattern. This specific pattern is being used so that it can be used on the pocket of a shirt using iron on vinyl.
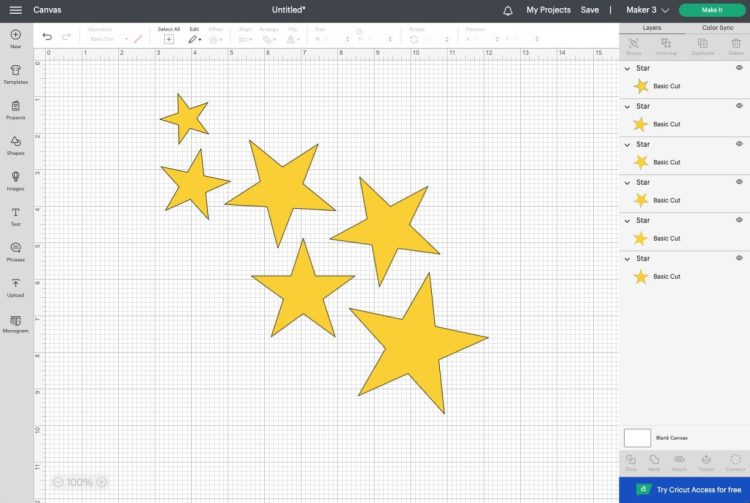
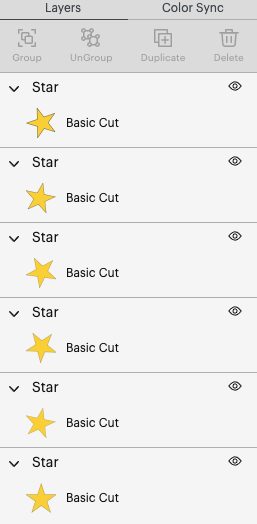
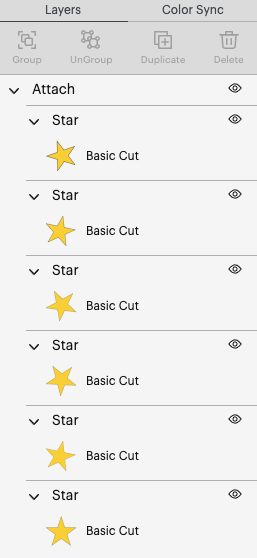
- Each star is on its own layer, as you can see in the Layers Panel on the left.
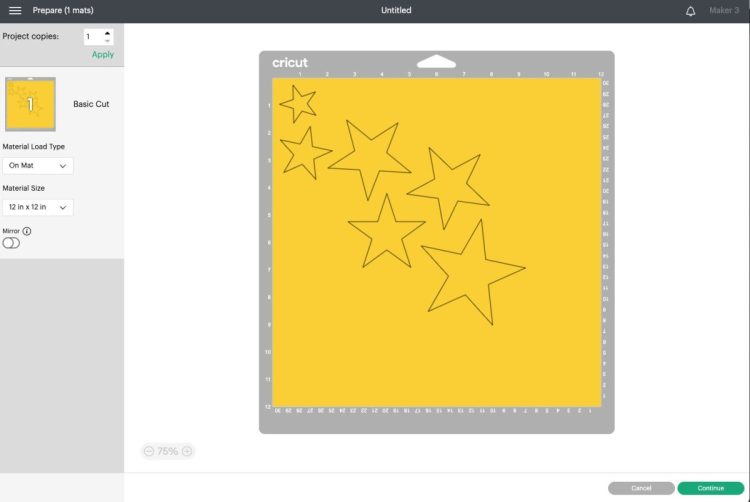
- If you click Make It in the upper right, Cricut Design Space will use its algorithm to conserve as much material as possible, lining up the stars.
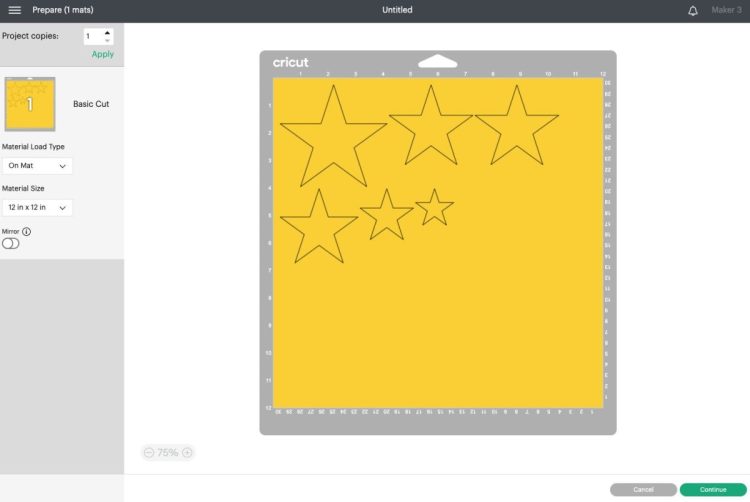
- The algorithm is great for designs where the layout doesn’t matter. But when you want the image to look exactly as it did on your Design Space Canvas, you need to use Attach.Note: if you wanted to cut this project as is, you could use techniques in my post How to Fit More on a Cricut Mat to save even more material!Head back to your Canvas and select all of your stars. Then click the Attach button at the bottom of the Layers Panel.
- You'll see the pieces are attached because they will be nested under a label that says "Attach" in the Layers Panel.
- Now, when you go to cut out your project, all of your attached items will be in the same position you had them in on your Canvas.Often, SVG files you import from designers outside of Cricut Design Space will not have their files built correctly, so their letters and other images will appear a jumbled mess. Use Attach to make sure those letters and images appear in the correct placement on your mat.
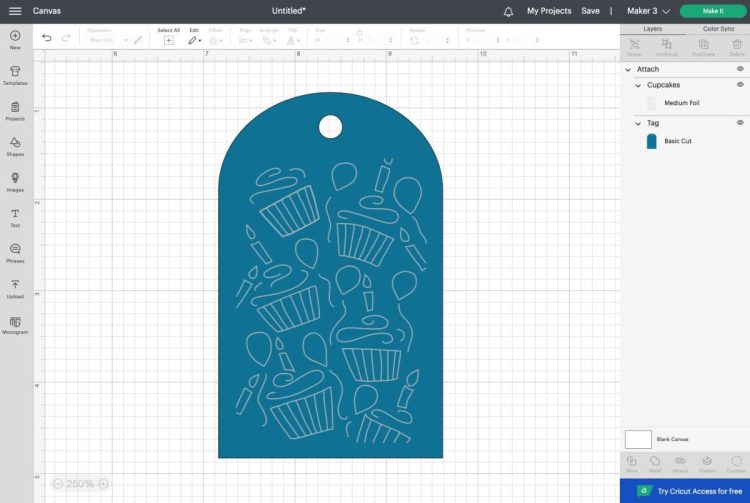
- Fastening Linetypes to LayersOne other primary use for the Attach tool is to fasten linetypes (drawing, scoring, foiling, debossing, engraving, etc.) to your project in the correct place on the correct layer. This means that those operations will be connected to the right cut layer—you'll have draw lines on the paper tag layer, or your score lines will be on the greeting card layer.For this example, let's foil a gift tag. In the Cricut Image Library, the tag is #M8EEE895 and the cupcake image is #M6D26BF.

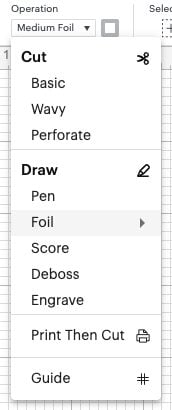
- To start, you'll want to change that cupcake image from a pen operation to a foil operation in the dropdown Operation menu at the top. This mode will let your Cricut know that you will be using the Foil Transfer Tool (read about it here: The Ultimate Guide to the Cricut Foil Transfer System).
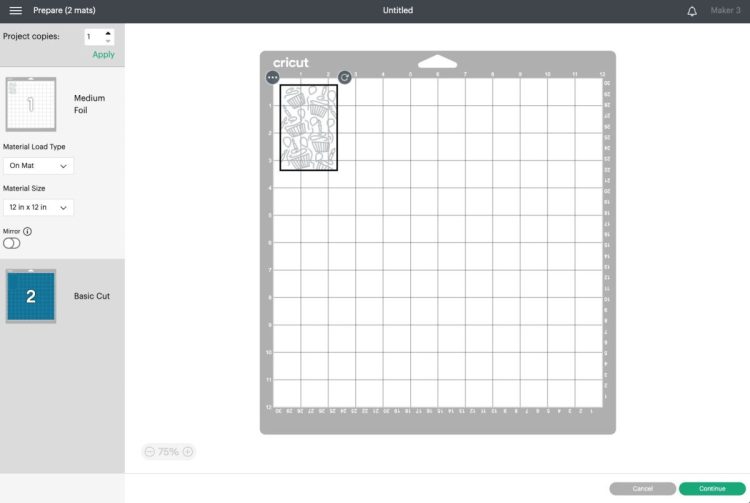
- If we make this file as is, the foil image and the tag image will appear on two different mats, instead of having the foil be on top of the tag image.
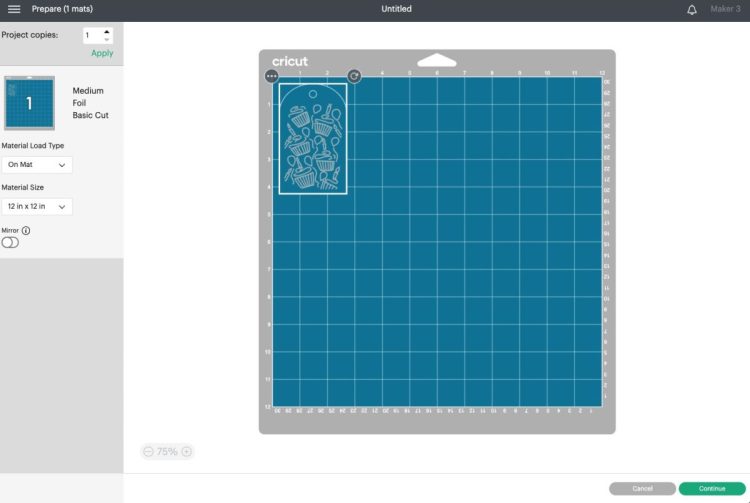
- So head back to the Canvas and choose both layers and click Attach. Again, you'll see your two images nested under an Attach header in the Layer Panel.
- Then when you go to make your project, you'll see that both images are on the same layer. Your Cricut will prompt you to foil your project first, and then swap out the Foil Transfer Tip for the Fine Point Blade, and then it will cut around the edge of the tag for you.
- Detaching ImagesYou can also detach images if you decide you don't need them attached. When you select an attached group of images, the Attach button will change to a Detach button. This allows you, for instance, to move the stars around from the earlier example so they are in a different arrangement. If you had actually welded those stars into a single cut image, you will not be un-weld them and rework the positioning of the stars. This is one of the big differences between using Cricut Weld vs Attach.
- Frequently Asked Questions about the Attach ToolWhat Does Attach Do in Cricut Design Space?Attach is designed to keep your images in the same arrangement on your cutting mat as on your Canvas. Your images still remain separate layers. What is the difference between Weld and Attach in Cricut Design Space?Attach keeps your images in the same arrangement on the cutting mat, though the images are still separate pieces. The Weld tool turns more than one image into a single image. Read more about the Weld tool. What is the difference between Group and Attach in Cricut Design Space?The group tool keeps images together on your Canvas, but doesn't keep that placement on your cutting mat. Attach, on the other hand, keeps the placement you see on your Canvas on your cutting mat.Where is Attach in Cricut Design Space?The Attach tool is found at the bottom of the Layers Panel on the right on desktop, and under the Actions toolbar on mobile. It looks like a paperclip.Why is my Attach button grayed out?Most likely, you have only one image selected, and to attach you need more than one image.How do I Attach a script font?You actually don't generally want to attach script letters together. This will cause them to be cut individually and not as one clean file. Instead, use the Weld tool.