SUBLIMATION CHEESE BOARDS
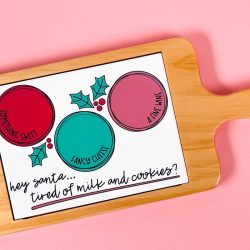
Looking for a unique sublimation gift? These sublimation cheese boards are perfect for the holidays, hostess gifts, and for housewarmings! Here's how to sublimate this fun project.
Ingredients
Instructions
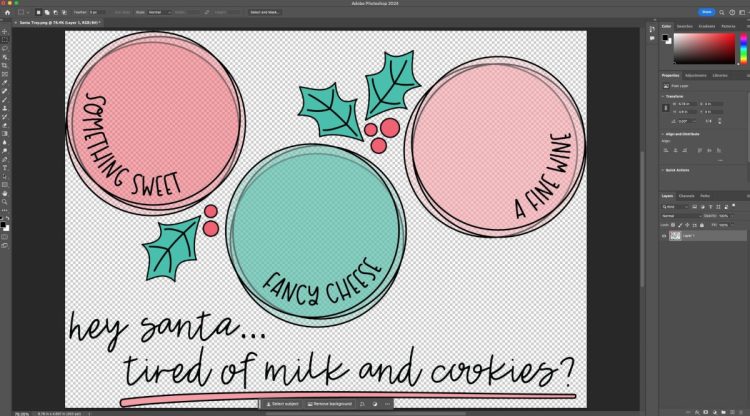
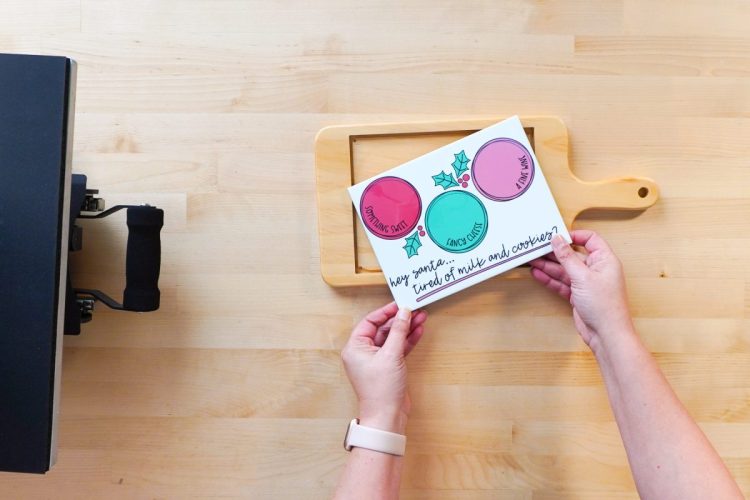
- Print Your ImageIf using a Brother SP-1, print from Photoshop. You can also print from other programs like Google Docs or Cricut Design Space. This Santa wine and cheese board file was uploaded to Photoshop and resized to fit the cheese board.
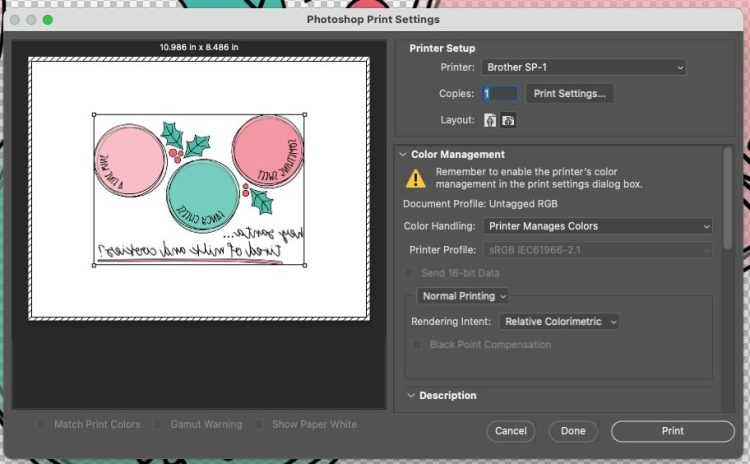
- Then go to File > Print to print the image.In the Print screen, if using a Brother SP-1 make sure "Printer Manages Colors" is selected. If you have a converted Epson printer, you'll want to choose your ICC profile here, if you have one. Also scroll down and under Functions, make sure you have Emulsion Down checked—this will reverse your image.
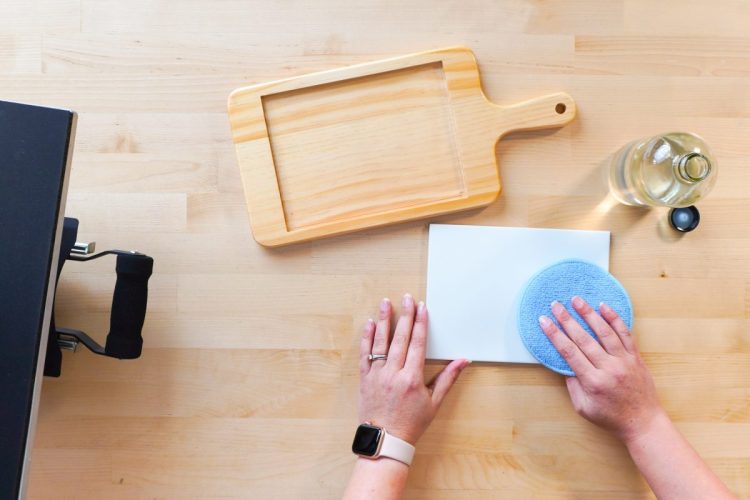
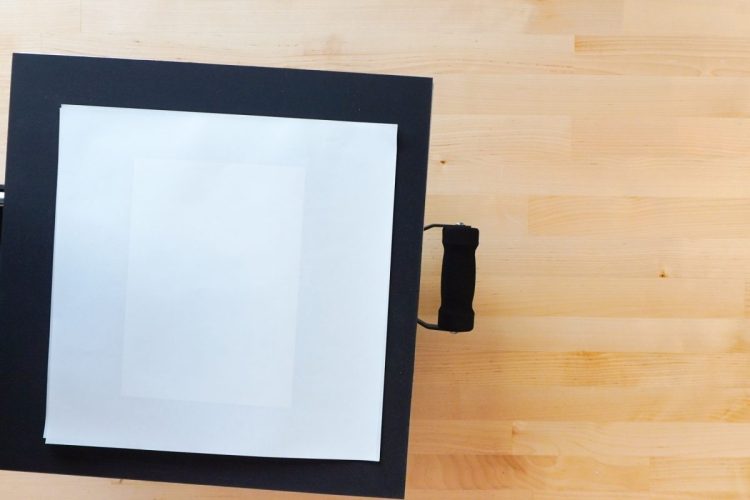
- Prepare and Prepress Your Blank CheeseboardBefore beginning this next step, lets talk about using a sublimation green pad. This pad conducts heat and is particularly important if you are doing an image that goes edge-to-edge because it forms to the shape of the tile while still getting crazy hot so it sublimates your image. You can try it without, but because the tile in the cheeseboard isn't perfectly flat, you could potentially end up with faded edges. It's not cheap, but if you are doing sublimation on some of these harder blanks, it is recommended to invest in a green pad.Check the manufacturer's instructions for the recommended settings for time, temperature, and pressure. For this cheese board, they were as follows:Time: 300 secondsTemperature: 400° FPressure: medium to firmSet your heat press. Test your heat press pressure before it gets hot so you know it will be correct when you press your cheese board. Like what was mentioned above, a sublimation green pad is recommended, so if you are using it make sure to take that into account as you are setting your pressure.Remove the tile from the wood part of the cheese board. Use the alcohol and microfiber cloth to clean your tile.
- Trim around the edges of your transfer.
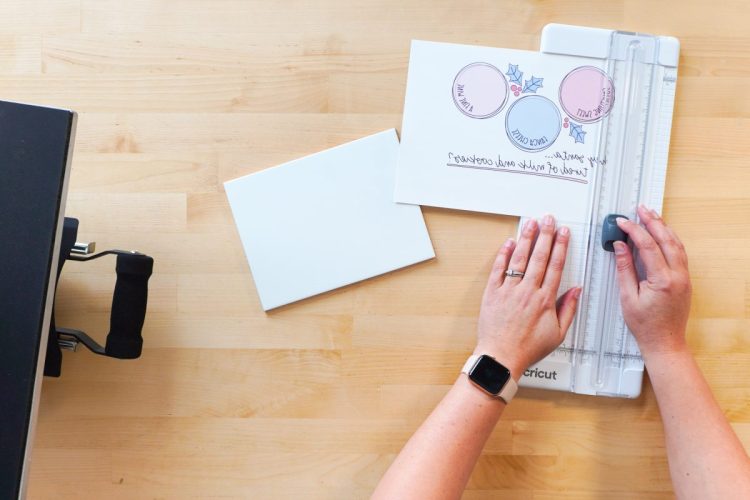
- Use heat-resistant tape to secure your transfer to the cheese board. On this board, it was taped from the back.
- Place a piece of butcher paper on the bottom pad of your press. This will protect the pad of your heat press from any ink that may escape from your paper.
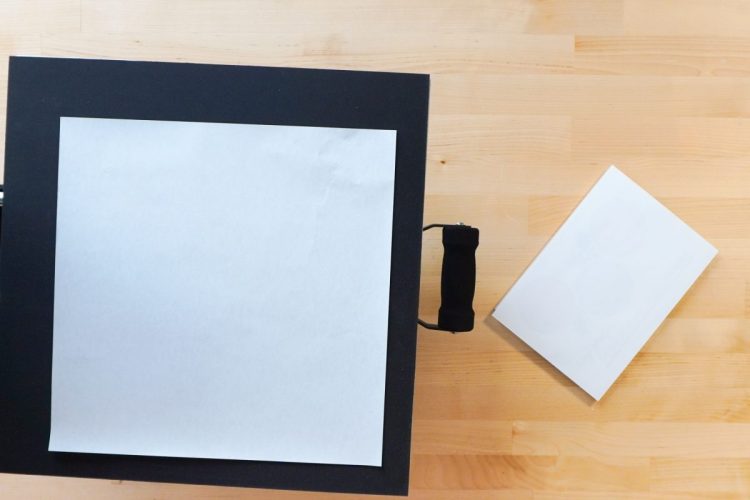
- Put the tile with the transfer face down on top of the butcher paper.
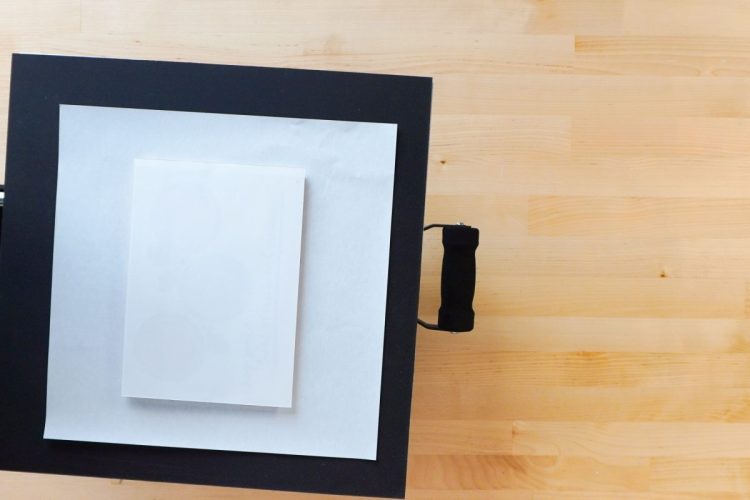
- Add add another piece of butcher paper on top of the transfer. This will protect your green pad and press plate from any ink that goes through the paper.
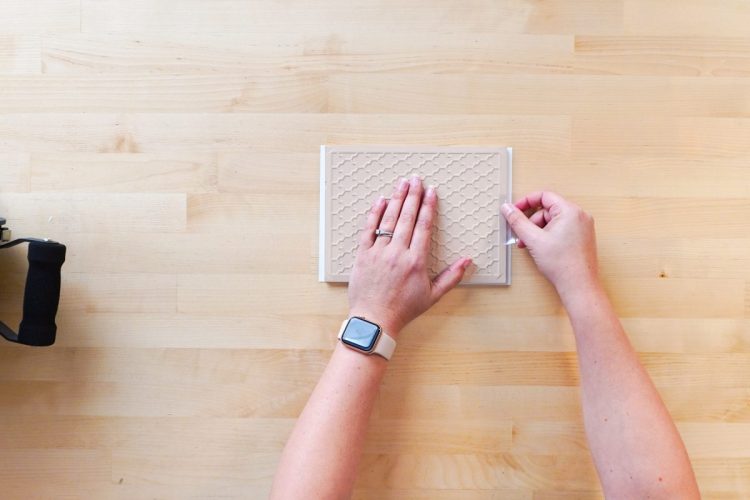
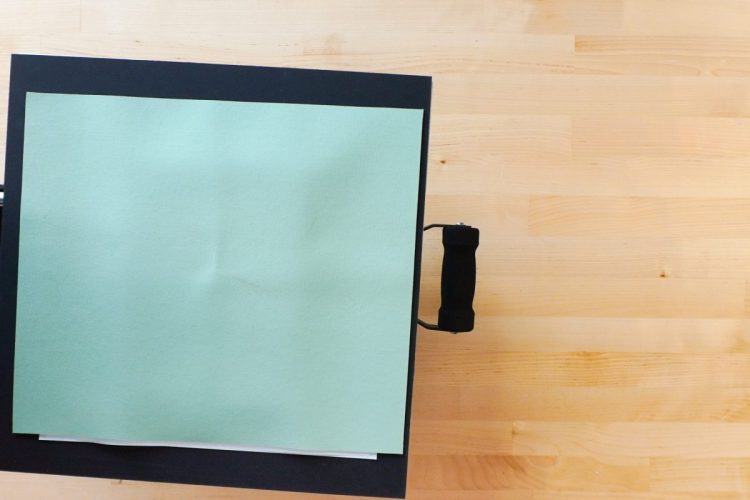
- Add the green pad on top of your sublimation stack.
- Press for the recommended time. When the time is up, slowly open your press so your image doesn't shift and you'll get the best results.The tile will be HOT! Let your image cool for a bit and then peel back the transfer to reveal your final image! Place it back inside the wood board. For this project, the tile was not glued in order to be able to easily wash the tile and to avoid the idea of anything getting under the glue if it's adhered to the wood.
- And that's it! It's really easy to add any image to a custom sublimation cheese board! Cheese boards should be hand washed only and don't use sharp knives on the ceramic surface or you may scratch it.
