SUBLIMATING GLASS CUTTING BOARDS - TWO WAYS
Glass cutting boards are a trendy sublimation craft! These instructions will show you two ways to sublimate on glass cutting boards—with a sublimation cutting board blank and using a regular cutting board and a lamination sheet!
Equipment
- Heat press or
- Cutting mat and
- Craft Knife (optional)
- Hanging kit (optional)
- Alcohol +
Ingredients
- Sublimation paper
- 8" x 11" glass cutting board
- Dollar tree cutting board (go in store to buy individually)
- Lamination sheet (if using a regular cutting board)
- Free Sublimation Stained Glass Files #S20
Instructions
- Pros and Cons of Each MethodBefore we get to the instructions, let's take a look at some of the pros and cons for each of these two methods:Glass Cutting Board Sublimation Blank
- ProsEasy to useFaster to makeNo preparation stepsProfessional finishWhite background makes image stand out
- ConsMore expensiveNeed larger printer for full-bleed imagesWhite background doesn't allow light through
- Regular Glass Cutting Board with LaminationProsLess expensiveCan use full-bleed images with smaller printerClear background makes better sun catchers
- ConsMore prep workTakes longer to makeLess than professional finishMay see bubbles in laminateClear background makes it hard to see some images
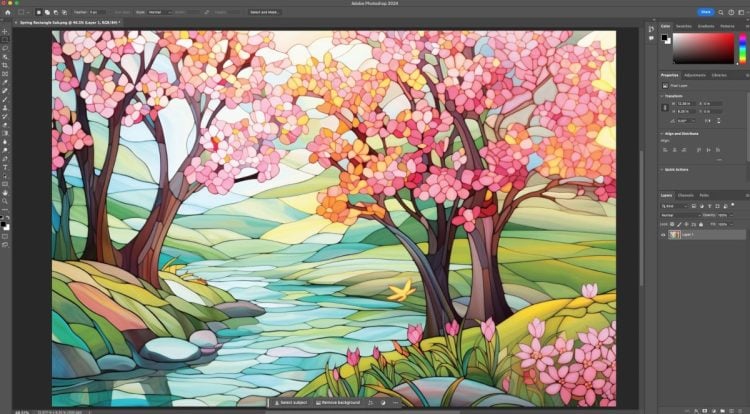
- Print Your ImageNo matter which method you choose, you'll start by printing your image. There have been a few issues with Sawgrass DesignMate, so these designs were printed directly to the Sawgrass printer from Photoshop. You can also print from other programs like Google Docs or Cricut Design Space. For the sublimation-specific cutting board, the rectangular spring image was used Again, if you want a bleed image on these cutting boards, you'll need a bigger printer. These were sized to fit the image in Photoshop.
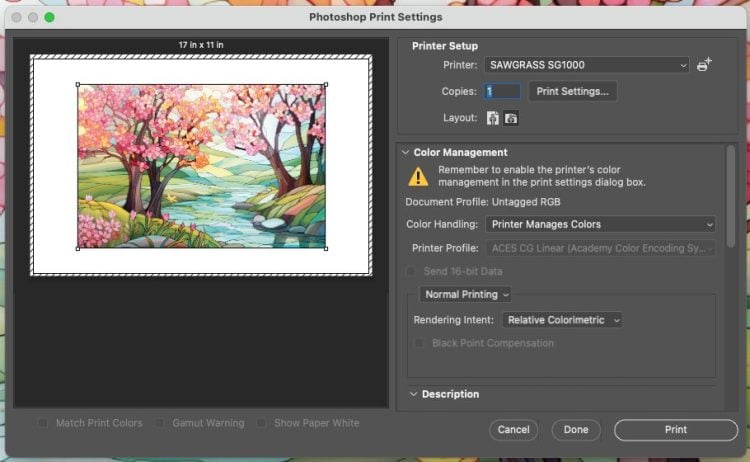
- Then go to File > Print to print the image.In the Print screen, the Sawgrass printer was chosen. Make sure "Printer Manages Colors" is selected. If you have a converted Epson printer, you'll want to choose your ICC profile here, if you have one. DO NOT mirror your image (called Emulsion Down in Photoshop).You'll do the image for the Dollar Tree blank in the same way.
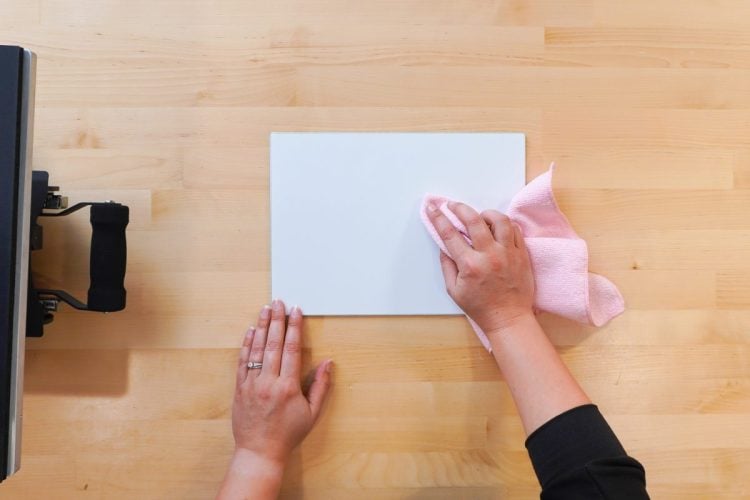
- Sublimation on a Glass Cutting Board Sublimation BlankSublimation-specific cutting boards have a white sublimation coating on them, making them easy to sublimate. But when the image is sublimated, you won't be able to see through the glass, unlike the Dollar Tree cutting boards. Depending on the look you're going for, this may or may not matter to you.Check the manufacturer's instructions for the recommended settings for time, temperature, and pressure. For this sublimation cutting board, it is as follows:Time: 240 secondsTemperature: 400° FPressure: medium to heavySet your heat press. Test your heat press pressure before it gets hot so you know it will be correct when you press your cutting board.If your cutting board has a plastic film over it remove it. Use the alcohol and microfiber cloth to clean your cutting board. You will be sublimating the bright white side.
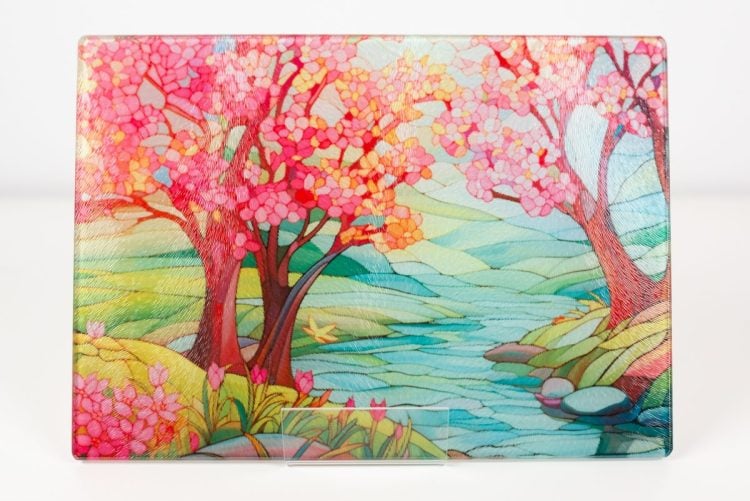
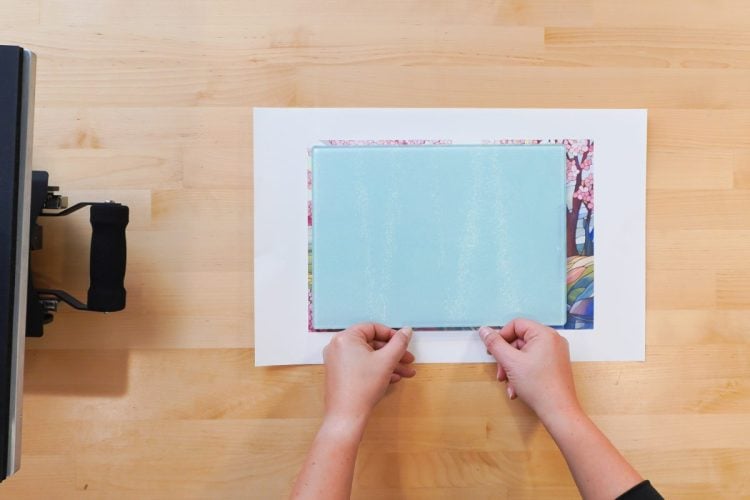
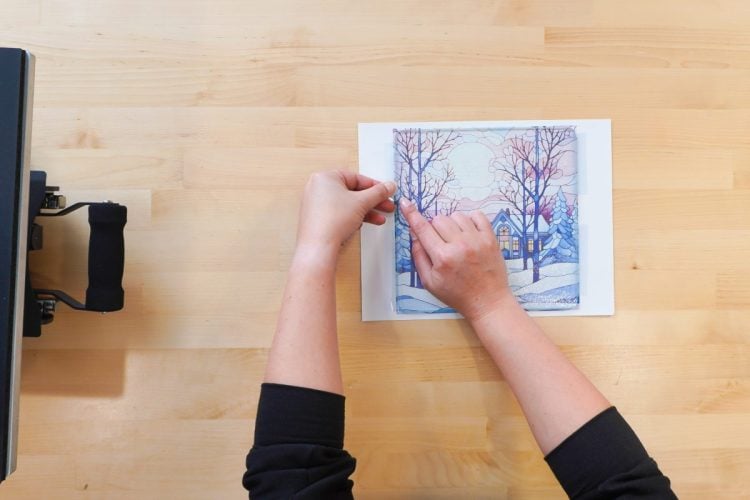
- Tape your transfer to your cutting board using heat-resistant tape. For this board, it was taped from the back on the full sheet of paper. The left side of this image was liked a bit more than the right, so the board was offset, making sure it was within the edges of the print.
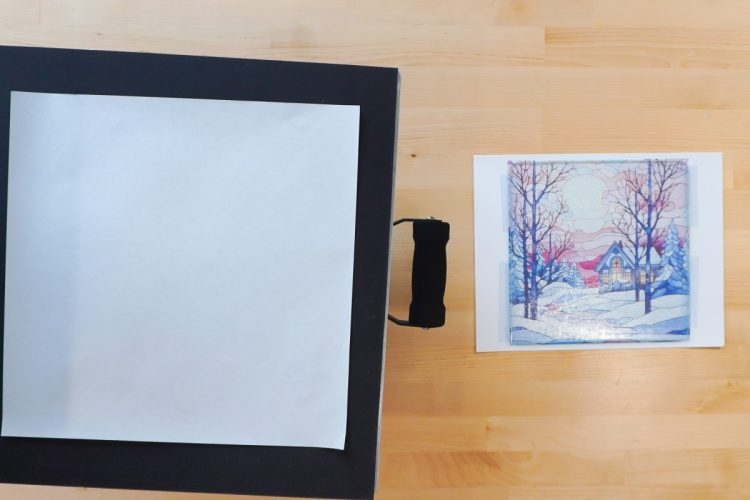
- Place a sheet or two of butcher paper on the bottom pad of your heat press, depending on the size of your blank.
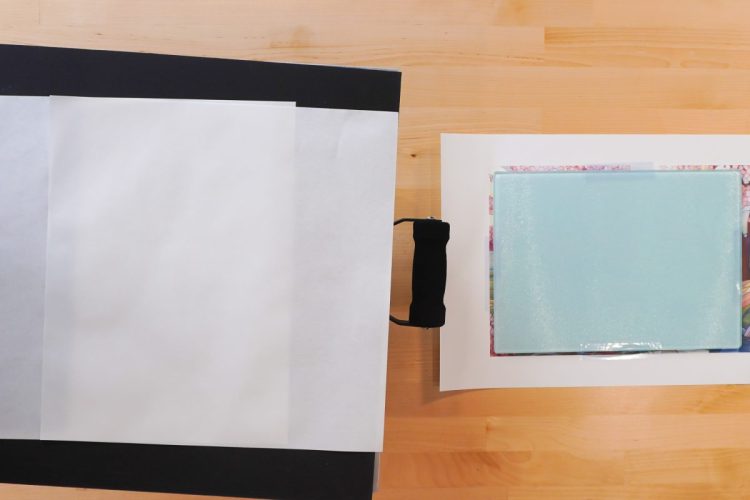
- Position your glass cutting board on the butcher paper with the transfer facing down.
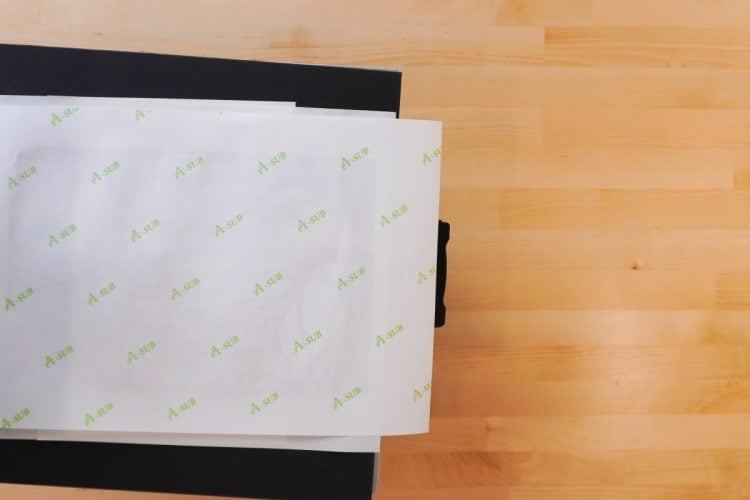
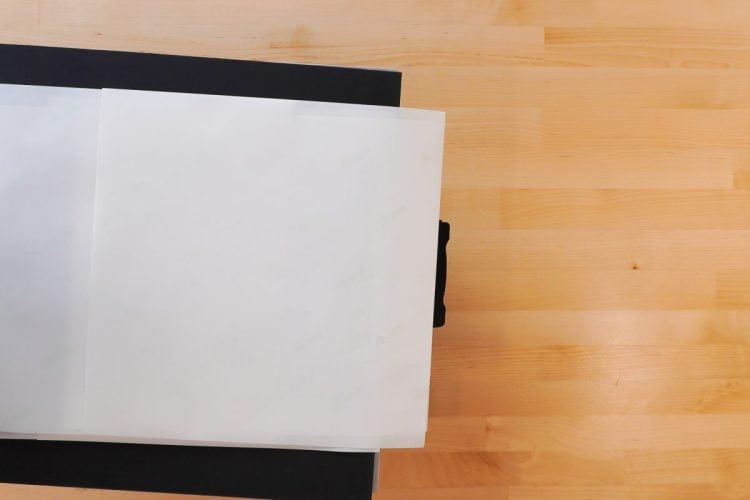
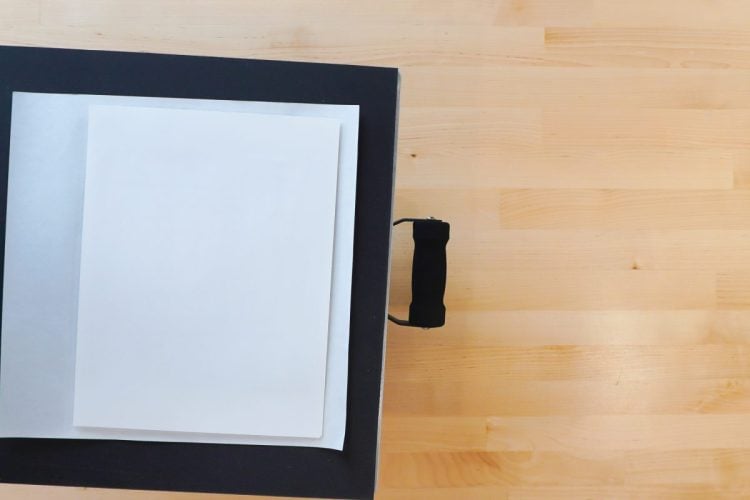
- Place a sheet or two of butcher paper on top of the cutting board.
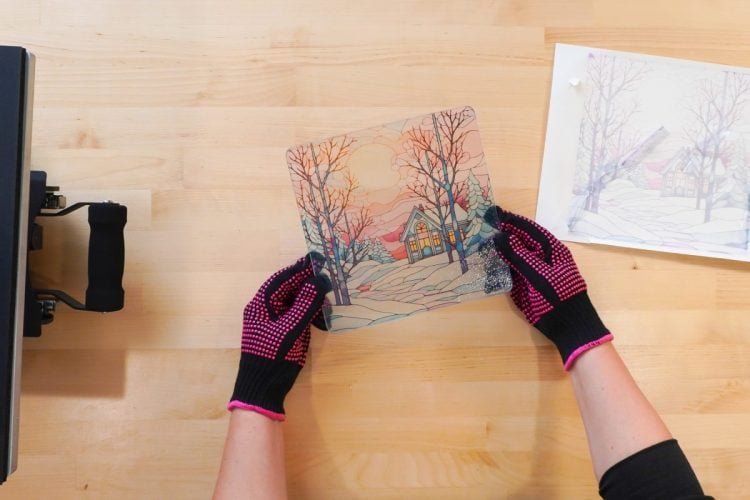
- Press for the recommended time. When the time is up, slowly open your press so your image doesn't shift and you'll get the best results. Remember that glass is hot, so use your heat resistant gloves if you want to move your project.Peel back the transfer to reveal your final image! Add the rubber feet to the back of the cutting board so it doesn’t slide around.
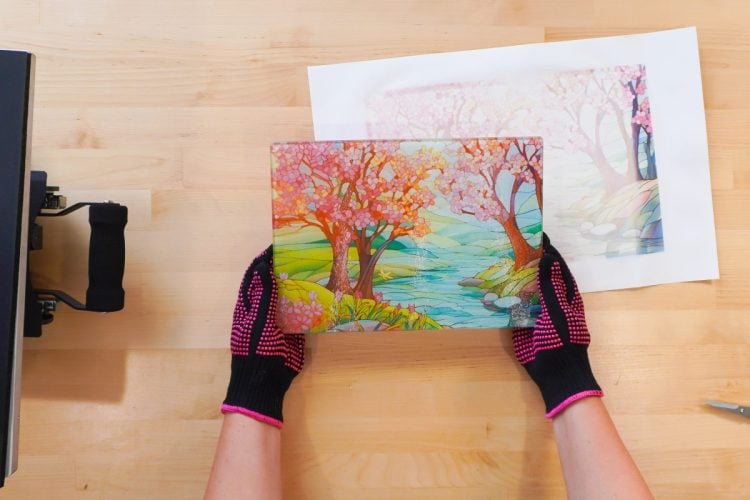
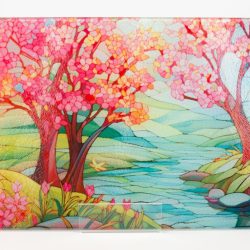
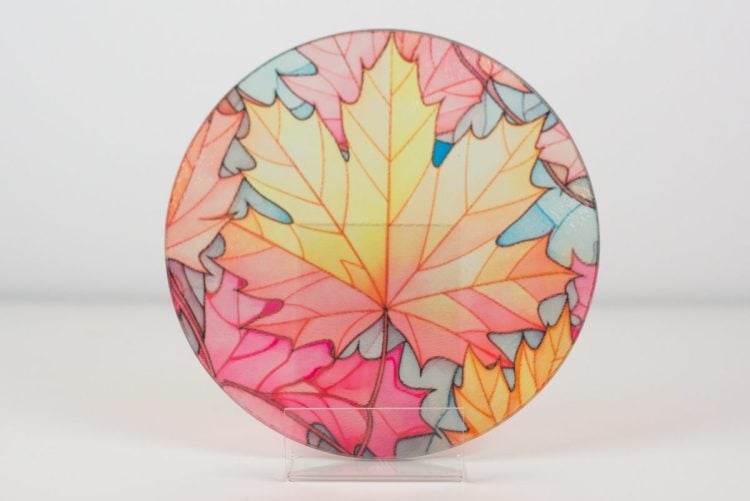
- Finished product for a Glass Cutting Board Sublimation Blank!
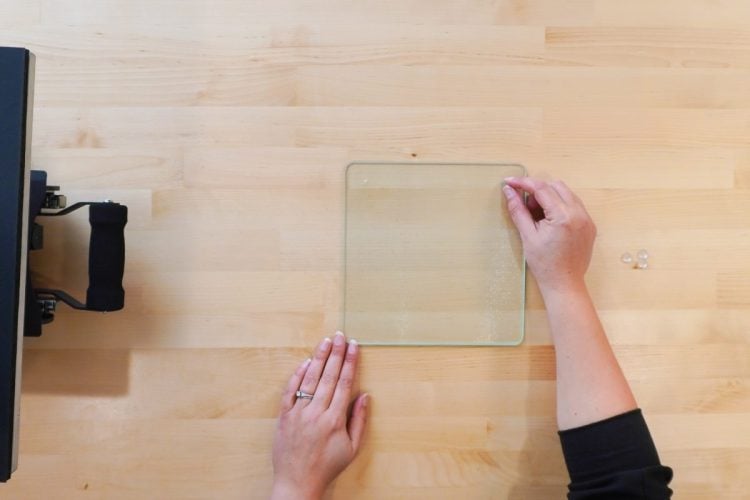
- Sublimation on a Regular Glass Cutting BoardNext up, you'll go the much less expensive route and sublimate on some glass cutting boards that were picked up for $1.25 each at a local Dollar Tree. These will sublimate without the white coating, which means you'll see right through them. This may make some images harder to see than others, but it makes for really pretty sun catchers.Adding the LaminateBefore you sublimate this project, you'll need to adhere the laminate to the cutting board. Start by removing the plastic feet from the cutting board, and setting them somewhere you can find them. We'll be adding the laminate to the smooth back side of the cutting board.
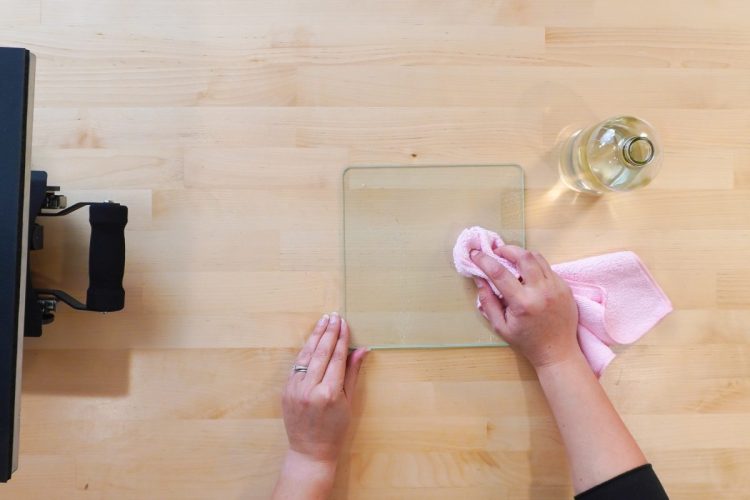
- Clean the backside of your cutting board with alcohol and a microfiber cloth. Make sure you get up any reside left by the plastic feet.
- A laminate pouch comes with two layers. Cut a piece about the size of your cutting board.
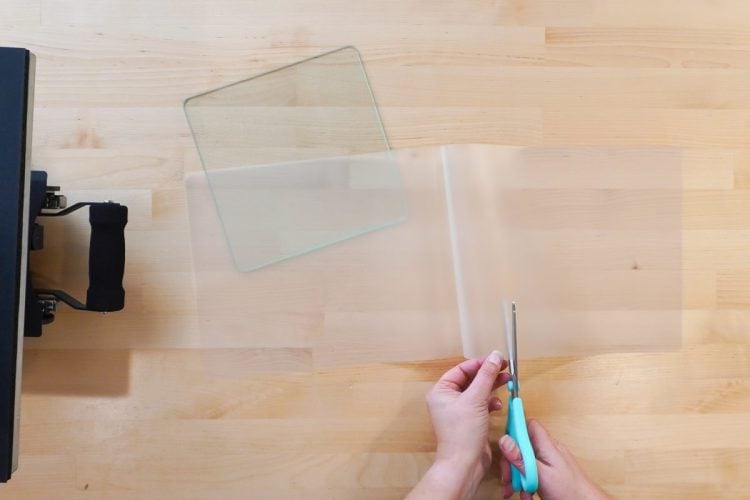
- It doesn't need to be exact, it just needs to be larger than your cutting board.
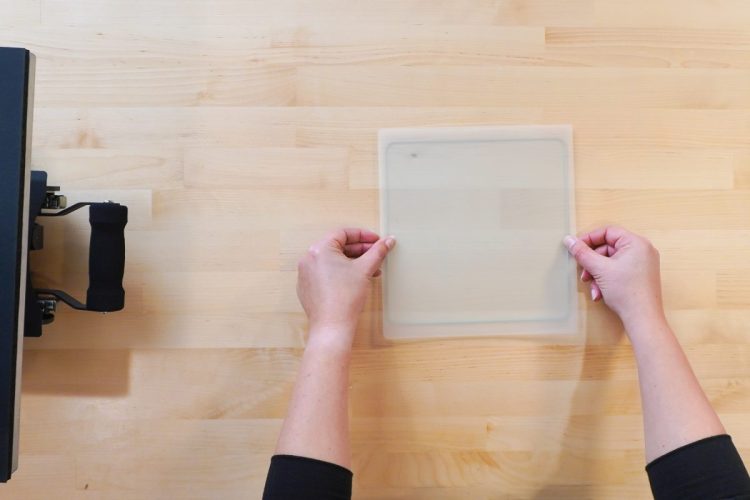
- Place your cutting board face down (with the smooth side up) onto the bottom of your press. Then place your laminate sheet on top, with the cloudy side face down, on top of the cutting board.
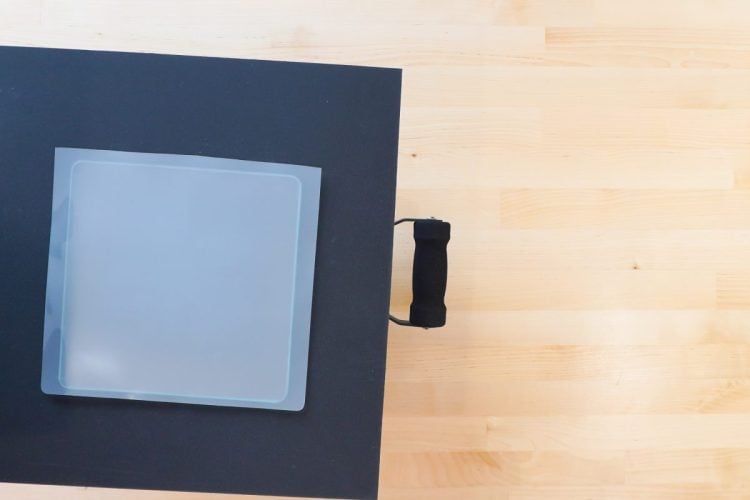
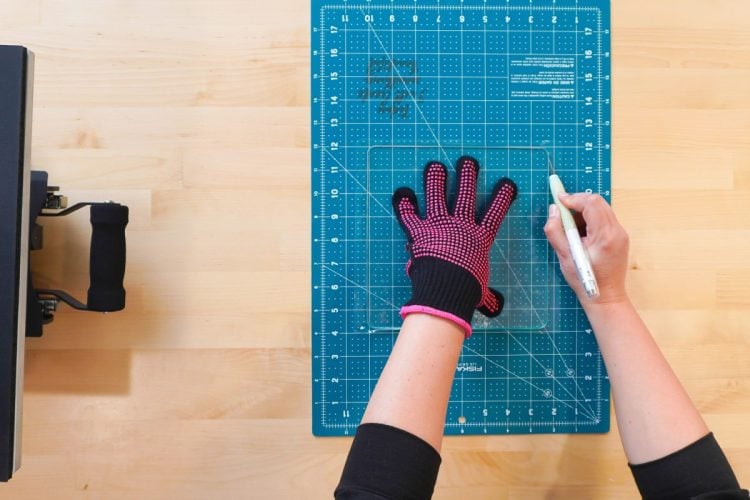
- Then press to adhere the laminate at these settings:Time: 60 secondsTemperature: 400° FPressure: mediumThe cutting board will be hot, so wait until it cools or handle with heat-resistant gloves.You can trim off the excess with scissors, but using a craft knife on a self healing cutting mat works best. Flip your cutting board over so the laminate is flat against the mat. Then drag your craft knife around the edge to remove the excess lamination pouch.
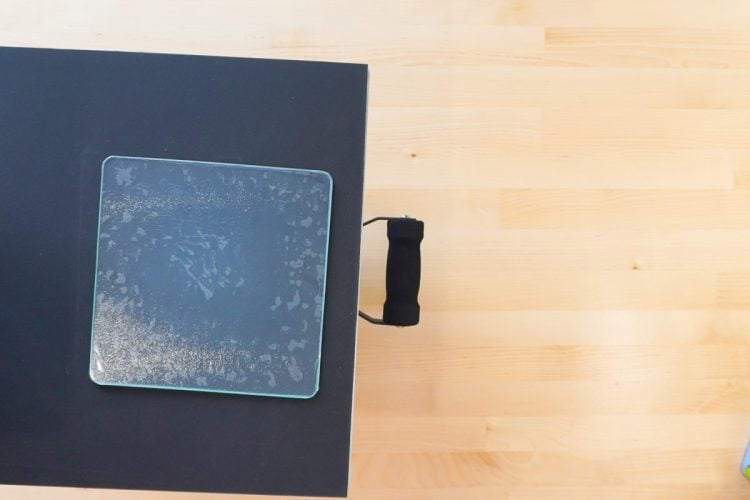
- Now one thing about the lamination technique is that if you look at the right angle, you may see some bubbles in your lamination sheet. You can see it the most when put on the black background of the heat press pad. No matter how long or what temp was used, it ended up with some bubbles.
- Once cooled, tape your sublimation image to the side where you added the laminate using heat resistant tape.
- There are no manufacturer's recommended time and temperature settings since this is a hack, but found these settings to work well for the sublimation portion:Place a sheet of butcher paper on the bottom pad of your heat press.Time: 180 secondsTemperature: 400° FPressure: mediumPlace a sheet of butcher paper on the bottom pad of your heat press.
- Position your glass cutting board on the butcher paper with the transfer facing down.
- Place a sheet of butcher paper on top of the cutting board.

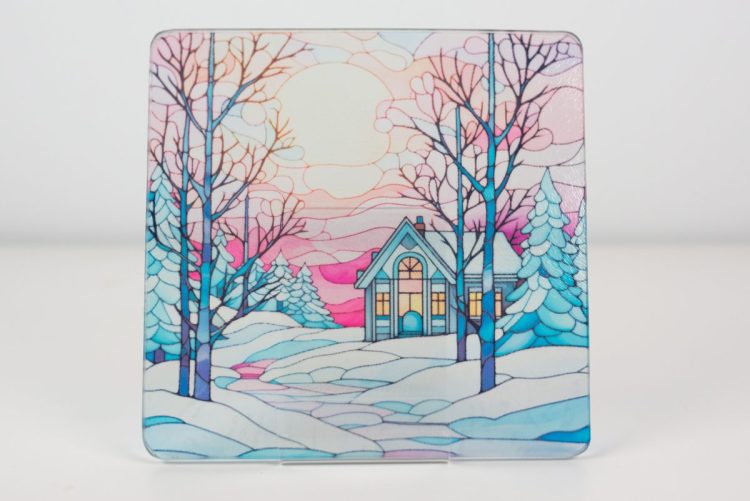
- Press for the recommended time. When the time is up, slowly open your press so your image doesn't shift and you'll get the best results. Remember that glass is hot, so use your heat resistant gloves if you want to move your project.Peel back the transfer to reveal your final image! You can definitely see how different is with it being transparent. Replace the rubber feet to the back of the cutting board so it doesn’t slide around or turn it into a sun catcher using the hanging kit.
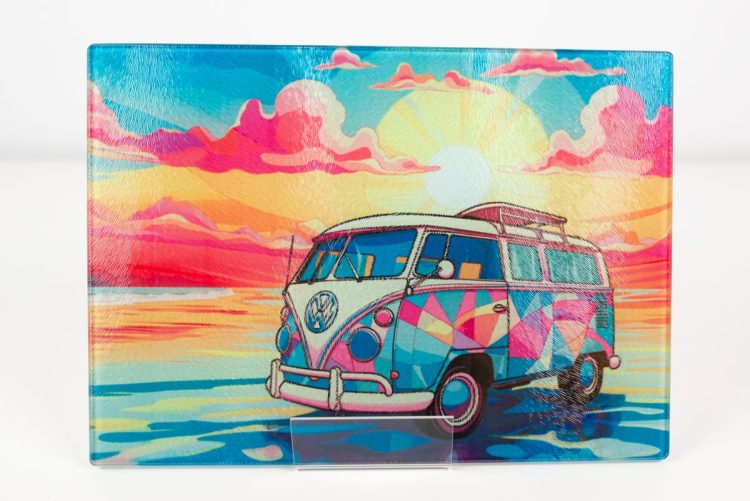
- Finished product for a Regular Glass Cutting Board!