STANLEY CUP TOPPERS WITH A LASER
Jump on the latest viral trend and create Stanley cup toppers for yourself or to sell! Make these using any type of laser machine with acrylic colors to match your Stanley tumbler and your style!
Equipment
Ingredients
Instructions
- Favorite shops to purchase acrylic:Custom Made BetterCraft ChameleonHouston AcrylicModfy BuildPersonalized Stanley Cup Topper Name PlateThere are a few main steps—designing the name, cutting the acrylic, and gluing it all together. Let's start with the personalization!Designing the NameAdding the name to the plate, requires just a bit of design work. Script fonts are preferred because they are just easier to add to your topper and because they are in a single piece. But you can use whatever font you'd like. If you are using a font that doesn't have overlapping letters, you can skip the welding portion of the instructions below.There are a huge number of programs you can use to create your name, but the process is similar no matter what program you are using. Here is a quick overview of a few of the most popular programs.Glowforge AppIf you have a Glowforge, it's super simple to just type your name in and cut it. The letters are automatically welded together if you are using a script font. The biggest downside here is that you need Glowforge Premium to use the text tool and there are only a handful of fonts to choose from and you can't use your own fonts. Make sure your text is set to cut.xTool Creative SpaceIf you have an xTool laser, it's also very simple to add a name within the software. Just select the text tool, type your name, and then choose your font. Once you have it how you want it, you can click Weld at the bottom of the Text tool pane. Make sure your text is set to cut.Adobe IllustratorIllustrator is actually the favorite, but it's not cheap and the learning curve is a bit steep, so it's not for everyone. You have access to all of the fonts on your computer. Type your name with the text tool. Then select the entire name and go to Type > Create outlines. Then go to Window > Pathfinder and choose the Unite option to weld all of the letters into a single piece. Export as an SVG and upload to your laser software.CanvaYou can create your name in Canva it is not recommended. If you're using a script font, when you export your SVG (you will need Canva Pro to do this), you'll see that your letters aren't welded. Which means you'll need to bring them into another program like Inkscape or Illustrator to do that welding—might as well just do the whole thing in Inkscape or Illustrator.
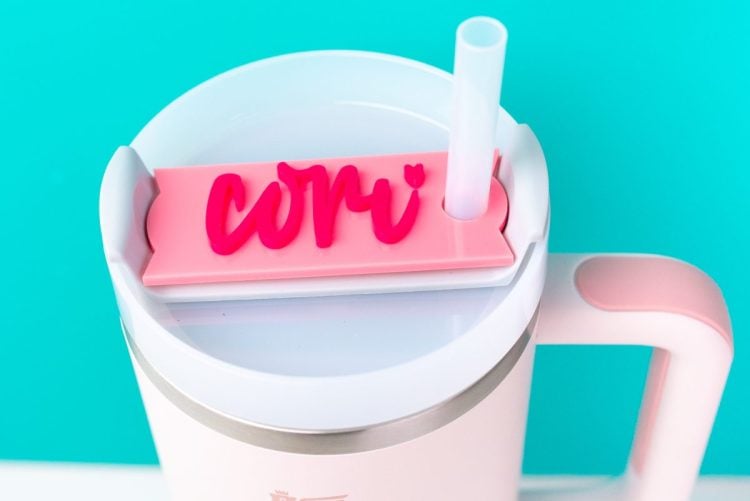
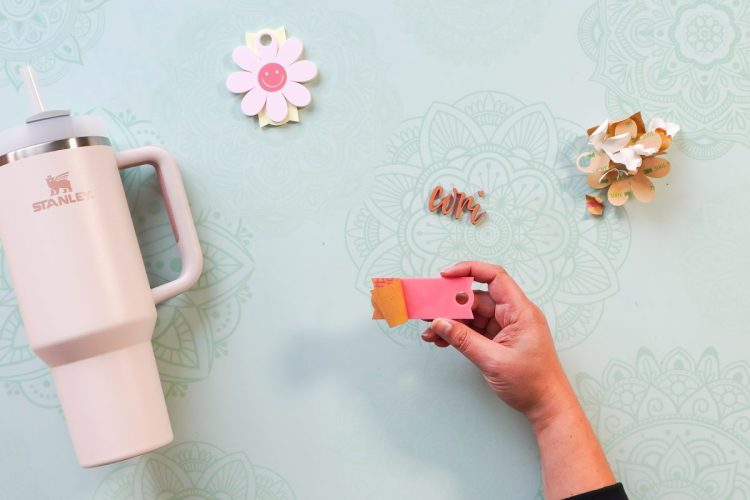
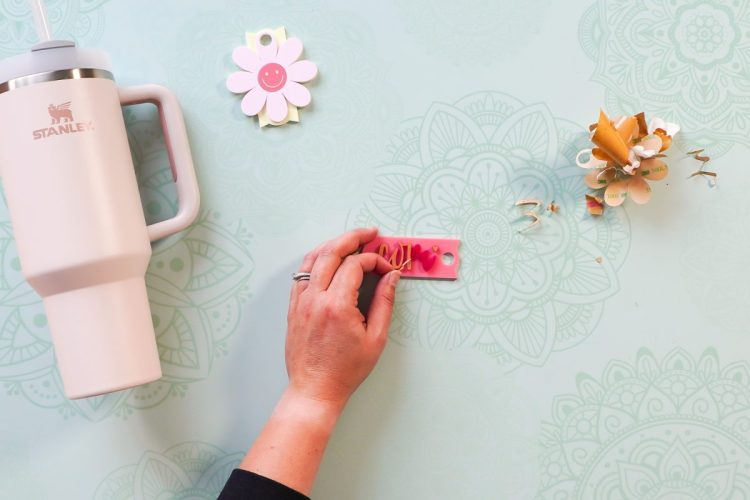
- Cutting the Stanley Cup Topper Name PlateNow it's time to cut the name plate and name! For these instructions, the Glowforge Pro is being use because some fun acrylic is being used that just won't work on any diode lasers. Start by preparing your acrylic. To make assembling these as easy as possible, remove the masking from the back of the acrylic that is being used for the name and replace it with a 3M double-sided adhesive, as mentioned earlier in this post.Upload your topper SVG to the Glowforge App. You shouldn't need to resize the topper design at all. Just be sure you're using the correct 30 or 40 oz. size. Resize your name to fit the topper.As an optional step, you can create a score line on your plate piece so that it's easy to line up your name on the name plate. This isn't necessary with script fonts that are one piece, but if you are using fonts that have individual letters you may want to do this.If you'd like to add a score line to your plate piece, duplicate the name design so there are two on your canvas. Place the duplicate name on top of the plate piece. Change the linetype on the duplicate name to score. This will ensure that your name is lightly outlined onto your plate piece when you cut. This will make it much easier to align your letters when assembling.Then change your linetype to cut for both the plate piece and the name layer and be sure your settings are correct for your particular acrylic. You may want to do a test cut if you haven't cut your particular material before. Then cut your topper piece.Then cut the name. The 3M sheet was already added to the back of the area that was planned to be cut, so it was placed with the 3M side facing down in the machine. This way the adhesive is on the back.Similar to the topper, select your cut settings and cut your acrylic material.Depending how small your name is once cut, you may need to use a tool such as a weeding hook to help press it out of the larger piece of acrylic.Now it's time to assemble!
- Assembling the Stanley Cup Topper Name PlateStart by removing the mask from both sides of your topper piece.
- Now, take the name piece and remove the 3M adhesive backing. Don't remove the mask on the front of the name piece yet. This step is saved for last to avoid any unnecessary fingerprints. Position the name onto the topper right where you want it and press down. Then, remove the masking off of the top of your name.
- Place it on top of your Stanley tumbler and enjoy!
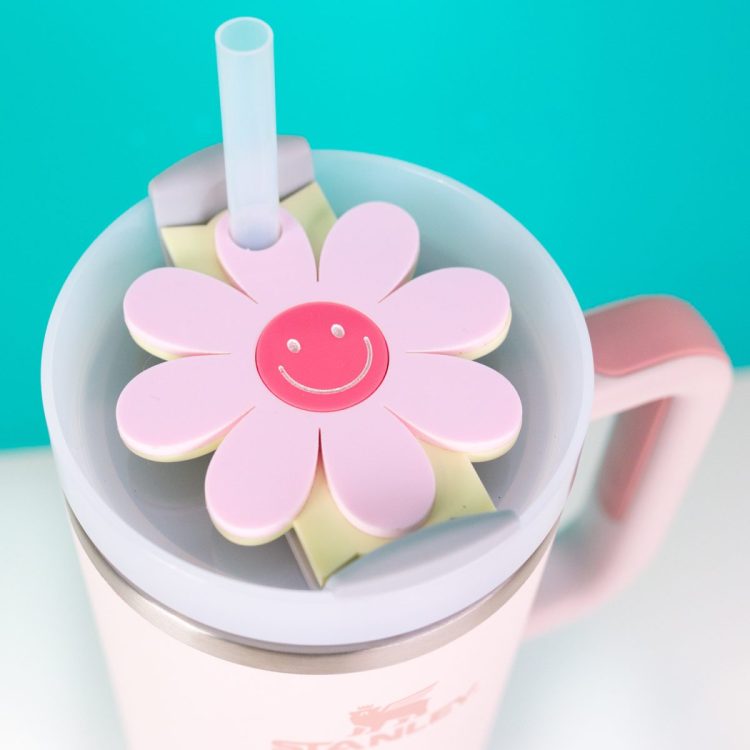
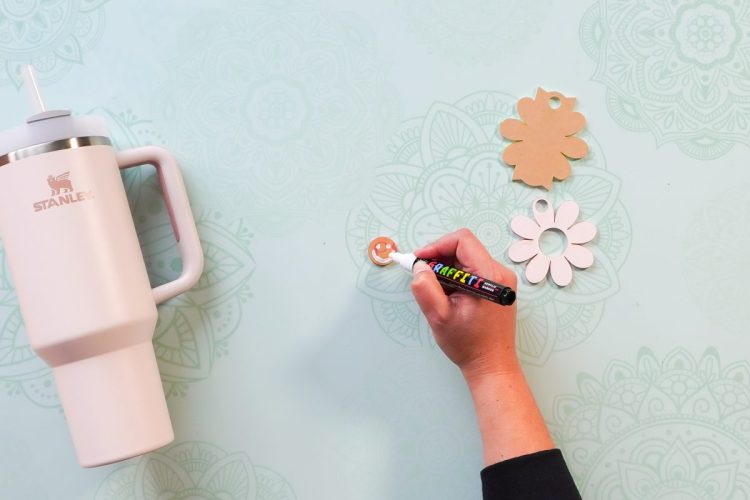
- Cutting the Retro Flower Stanley Cup TopperThis is very similar to the personalized Stanley topper, but no need to create the name! This topper is three pieces—the base piece, the flower piece with a cutout in the center, and the smiley face piece which fits in the cutout.Start by preparing your acrylic. Again the 3M double-sided adhesive was used to make assembling these as easy as possible, so took the masking off the back of the acrylic being used for the flower piece and the smiley face piece and replaced it with a 3M adhesive mask. Upload your SVG to the Glowforge App. You shouldn't need to resize the topper design at all. Just be sure you're using the correct 30 or 40 oz. size.Change your linetype to cut for all three layers and be sure your settings are correct for your particular acrylic. For the smiley face piece, also set just the face to engrave.You may want to do a test cut and engrave if you haven't cut your particular material before. Then cut your three pieces, making sure the 3M side is facing down in the laser. For the smiley face, before you remove mask, use an acrylic paint pen or acrylic paint to fill in the engraving. This makes the smiley face stand out. An acrylic paint pen was used for these smaller images. Let the paint dry completely.Now it's time to assemble!
- Assembling the Retro Flower Stanley Cup TopperNow that you have both pieces cut, let's assemble! Start by removing the mask from both sides of your base piece.Then remove the backing from the 3M adhesive on the backside of the flower piece. Don't remove the mask from the front yet—keeping it on there will help minimize finger prints. Then line up and press the flower piece onto the base piece. Peel back the mask on the front of the flower piece.
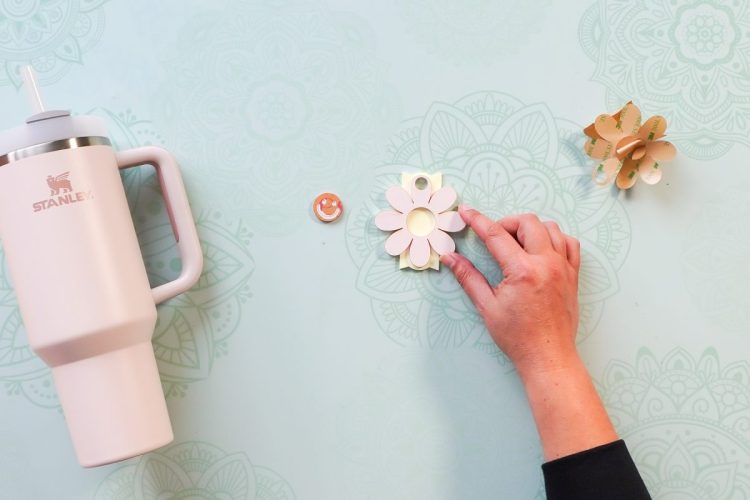
- Remove the backing from the 3M adhesive on the backside of the smiley face piece. Press the smiley face onto the center of your flower.
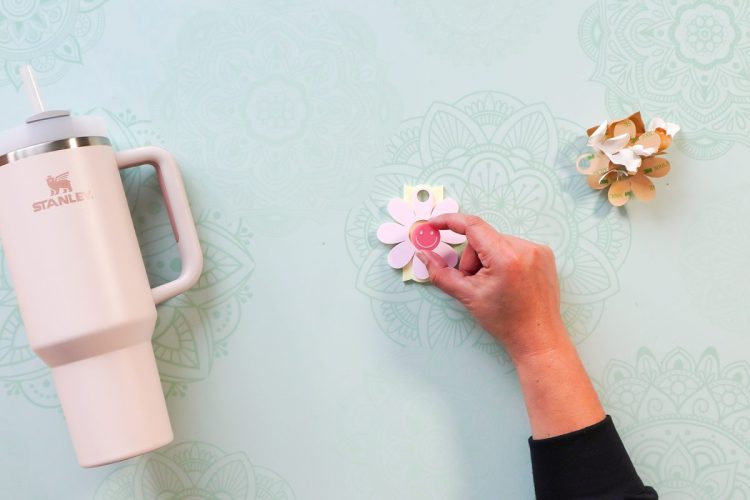
- Place it on top of your Stanley tumbler and enjoy!