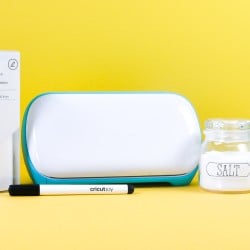
SPICE JAR WRITABLE LABELS WITH CRICUT JOY
Organize everything in your house (and beyond!) using Smart Writable Labels and your Cricut Joy. Here's how to use this new material plus tips and tricks for getting the best results with the pen.
Instructions
- In Cricut Design Space, go to Projects. From here, you can use the dropdown in the upper right to choose Free for Cricut Joy and that will narrow down your options. Scroll down and choose the spice labels.If you want to customize them and make your own labels, you can click Customize. If not, click Make It and skip this next section.

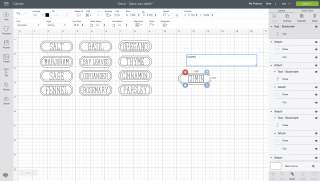
- Customizing Your LabelsOn your Canvas, copy a label and then click "Detach" to separate the text from the label. From there, you can click on the text and re-type whatever label you need (like was done here with "cumin"). Make sure your text is set to "Draw." Then select the text and the label and click Attach so that they write and cut as a single label.If you want to get really fancy, you can change the font or the color of the outline or text!
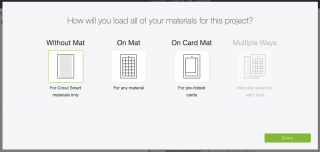
- Writing and Cutting Your LabelsWhether or not you clicked Make It from the project screen or customized your labels and clicked Make It in your Canvas, you'll be taken to the Prepare Screen to set up your project. A pop-up will ask you which type of mat you will use. Because we are using Smart Labels, which don't require a mat, click Without Mat.
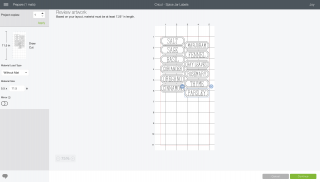
- From here, you'll see how your labels are laid out on your vinyl.
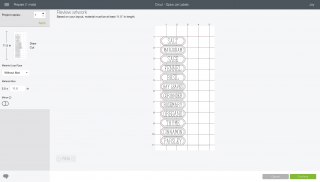
- This is fine, but you can move those labels around and save yourself a couple inches of vinyl (just drag the images, making sure none of them overlap):
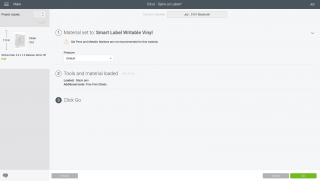
- Then click Continue and connect your Cricut Joy. Remember, there's no button to turn Cricut Joy on—it's on whenever it's plugged in. Select Smart Label Writable Vinyl as your material, and Design Space will prompt you to insert your pen into your machine.
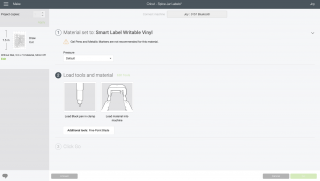
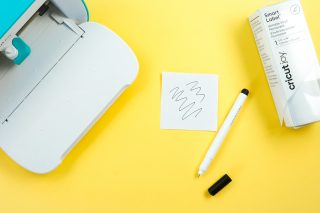
- Before doing so, though, scribble a bit on a piece of paper to make sure 1) there is ink in the pen and 2) that the ink is flowing evenly. Once you've confirmed this, open the clamp, remove the blade, and drop the pen in (don't push it down) and close the clamp.
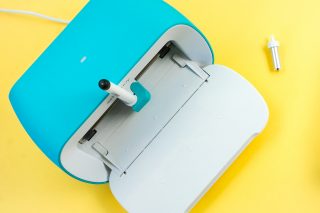
- Cricut Design Space will also prompt you to insert your material. Instead of a button, like on Explore or Maker, Cricut Joy automatically feeds your material into the machine. It will also check to make sure you have enough material to make your project.
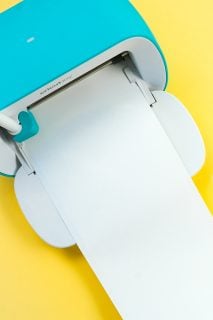
- Once your material is loaded, click Go!
- Cricut Joy will first draw your labels onto the material. Once that is finished, Design Space will prompt you to change from the pen to the fine point blade and it will cut out your labels for you!

- When removing your labels to place on your jars, you may find that the thicker backing material makes it a little harder to remove the labels. Start by removing the surrounding non-label material, which makes it a lot easier to pick up each individual label. Then place on your jars and you're done!