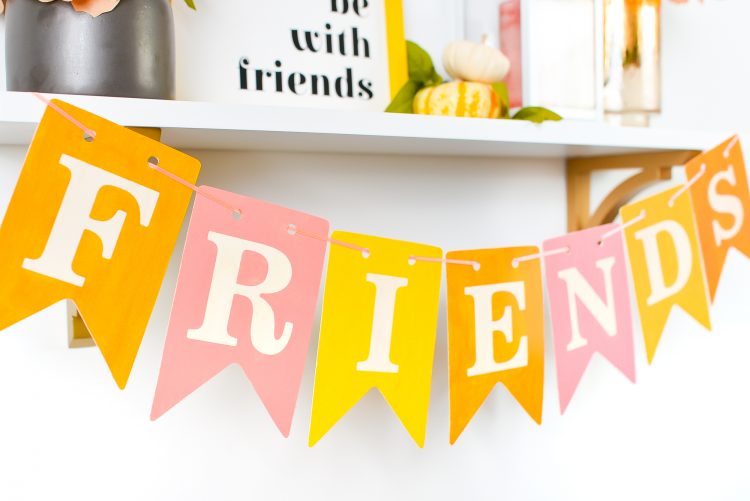
REVERSE STENCIL FRIENDS BANNER
Gather with the friends who mean the most to you for a festive Friendsgiving this year! These DIY Friendsgiving decorations will set the mood for this fun holiday!
Equipment
Ingredients
Instructions
- Reverse Stencil Friends Banner InstructionsWe're going to create the file for this project directly in Cricut Design Space. Start with a new document, and use the Text tool on the left to type the word "FRIENDS".
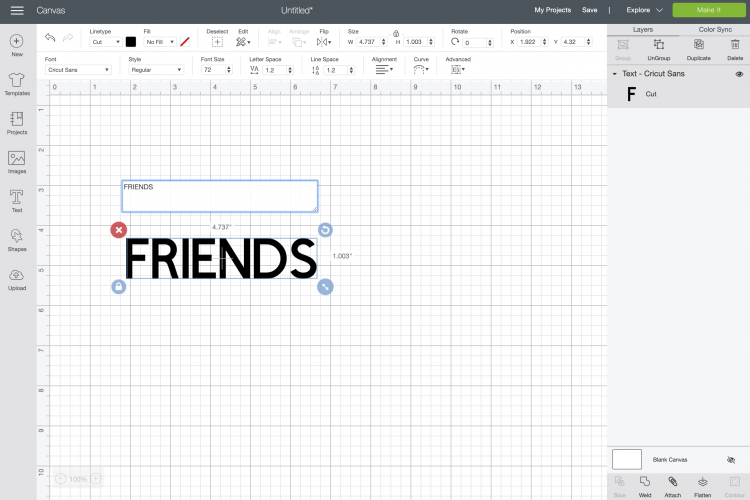
- Then choose a font. The Cricut Design Space Chip Decor font was used for this project, but you can choose any font you'd like.
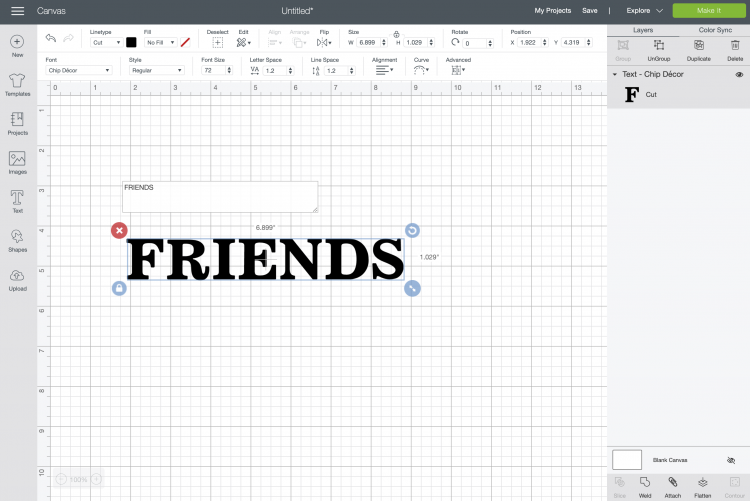
- Next, resize the letters to fit on your flags. For this font, I made my word 3.5" tall, but that might change depending on the font you choose. Some fonts are much wider and you want to make sure your letters will fit on the flags.
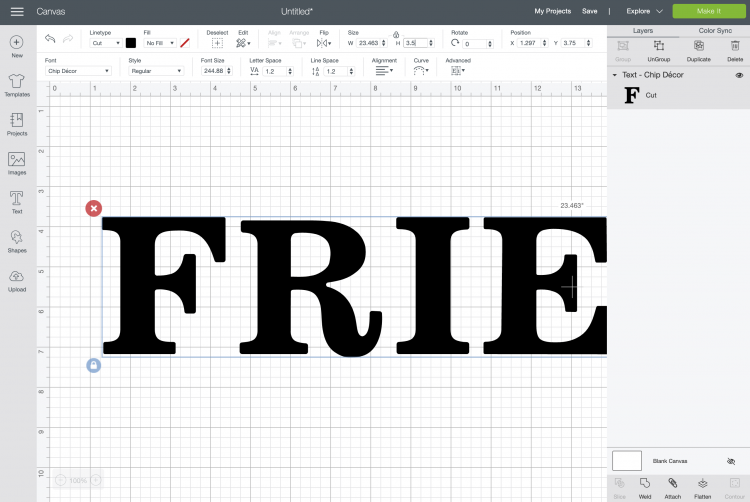
- If you'd like to add another word for the back to make your banner reversable, you can add that as well.
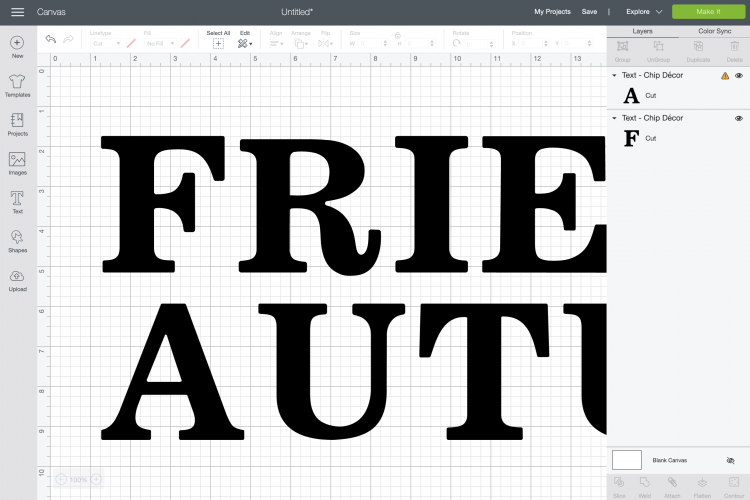
- Finally, click your words and click "Ungroup" at the top of the Layers Panel so that Cricut Design Space can save space when it goes to place all these letters on the mat.
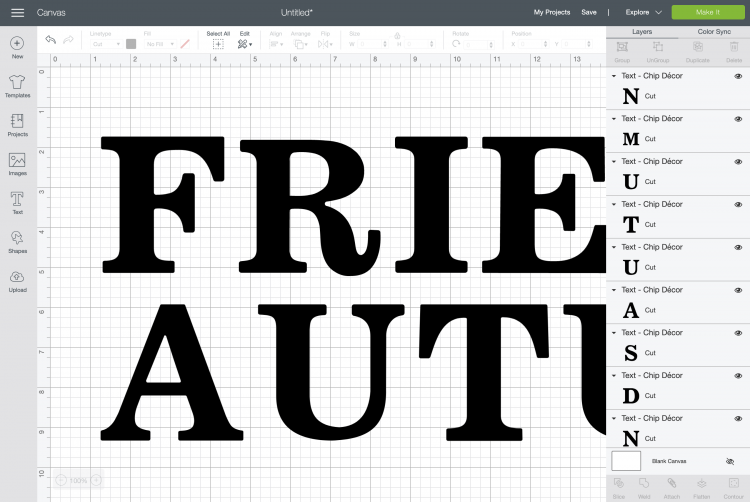
- That's it! We are ready to cut the file. Click Make It in the upper right and you'll be taken to the Prepare Screen. Nothing to change here!Then click Continue!
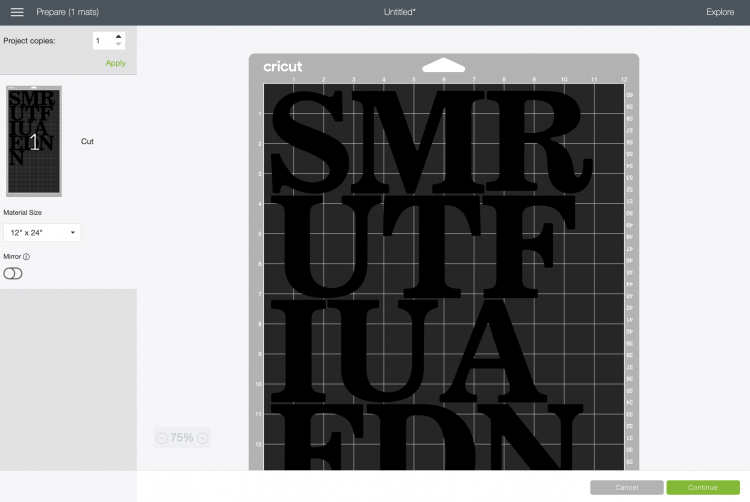
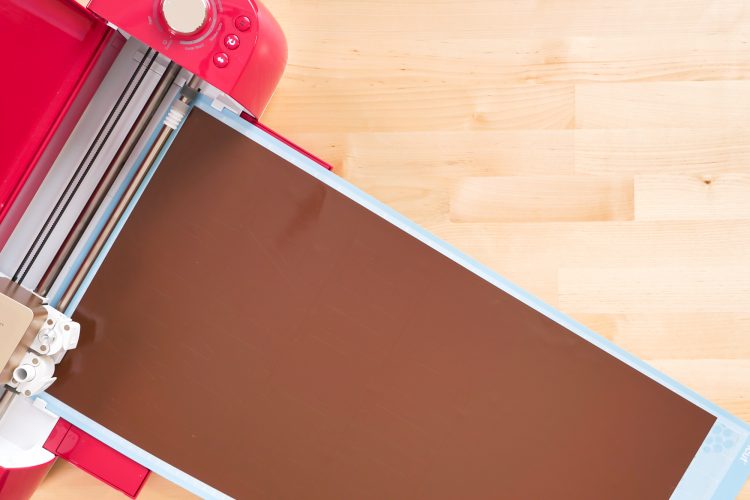
- Cut Your Adhesive Vinyl for the Friends BannerOn the Make Screen, you'll set your material to adhesive. Make sure you have your fine point blade in your machine, insert your mat, and your Cricut will cut your project!
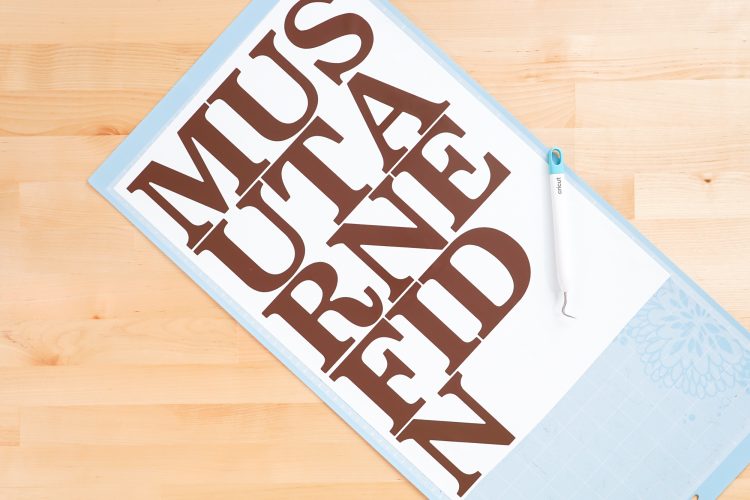
- Weed Your Iron On VinylLike we did with the sign, next we're going to "weed" the negative space from around our image.
- Normally, transfer tape would be used when using adhesive vinyl (see post on Using Transfer Tape). But these letters are simple enough that you can just place them like stickers on your banner pieces!Make sure you really press down the letters so that paint can't seep underneath—a brayer works well for this!
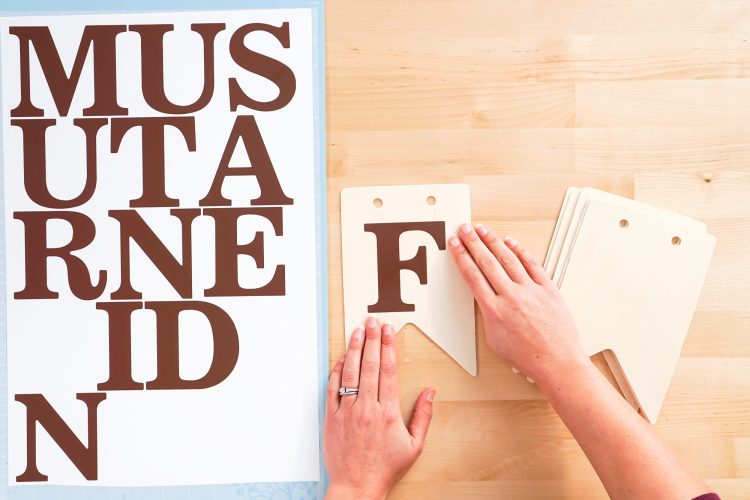
- Then, grab your paint! Paint a layer of paint over the top of the banner piece, including the letter. Use a thin layer of paint to help keep the paint from seeping under the edges of the letter. You may need a second coat.
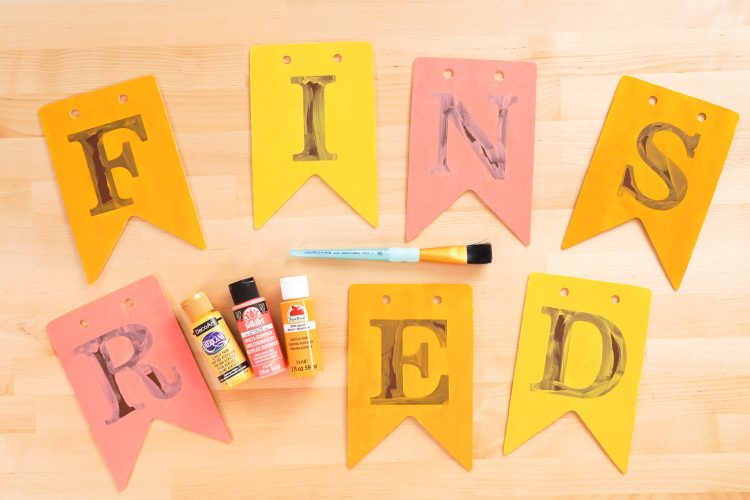
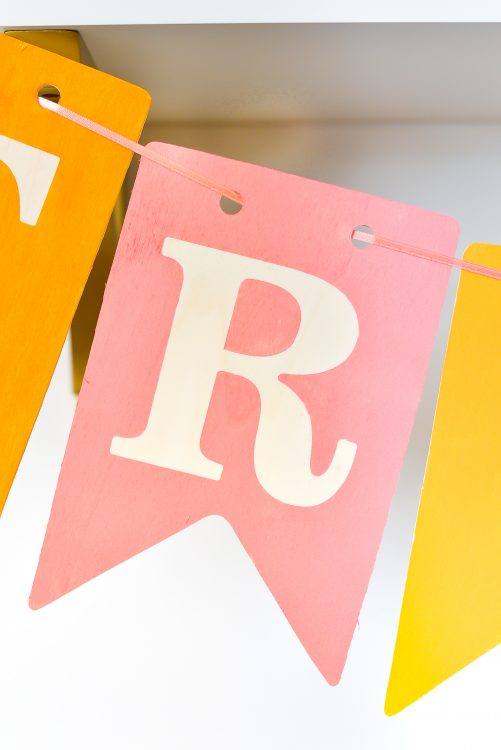
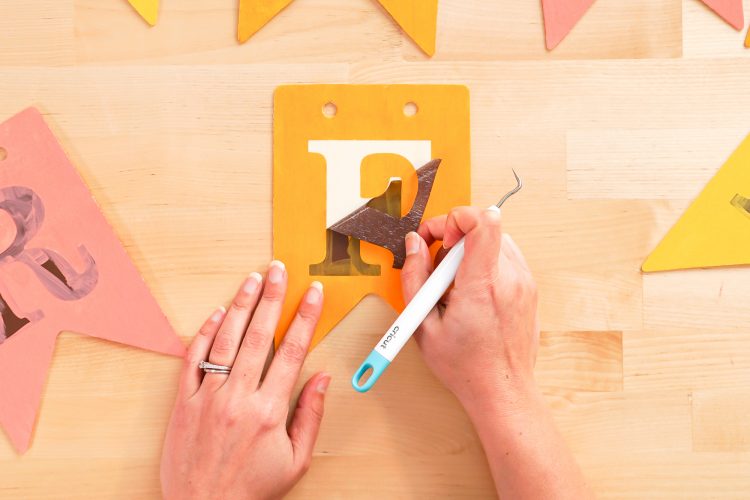
- Once the paint is dry, use your weeding tool to carefully lift off the vinyl letter, revealing the raw wood underneath.
- Then string up using the twine that comes with the wood banner or add a colorful ribbon like here!
