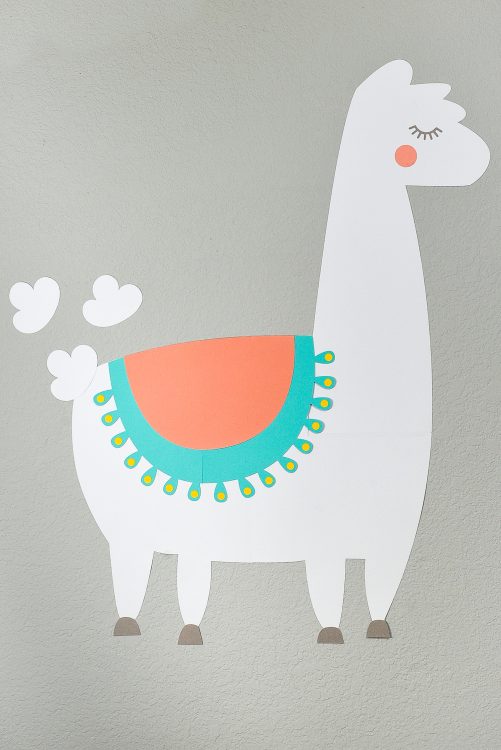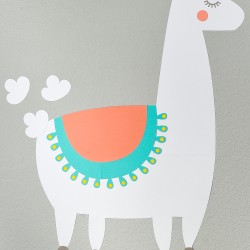
PIN THE TAIL ON THE LLAMA
Have you ever wanted to make a Cricut project bigger than mat? You can use the Slice tool in Cricut Design Space to tile a Cricut "off the mat" project—like this cute Pin the Tail on the Llama game!
Equipment
- Cricut Maker or
Ingredients
Instructions
- Start by uploading the llama SVG to Design Space.
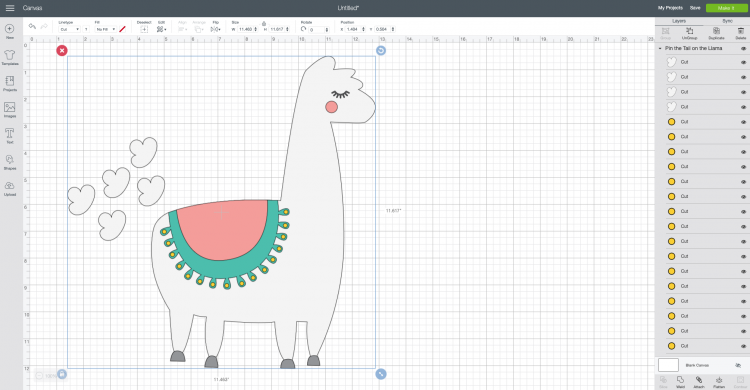
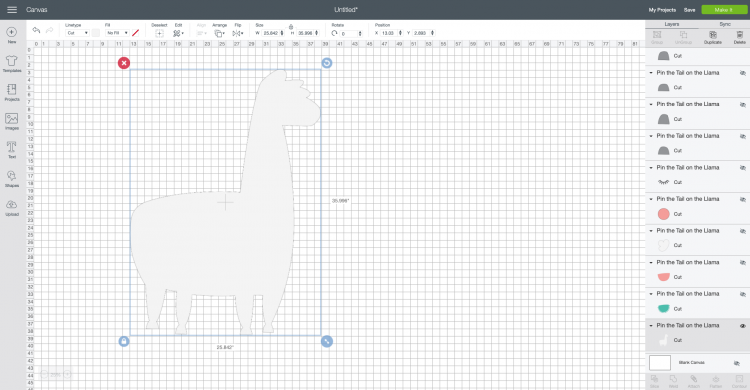
- Let's say we want to make this llama 3' tall and 2' wide—obviously too big to fit on the mat. Start by resizing the image using the Edit Toolbar.
- If it's too big to see the entire project, you can zoom out in the lower left.
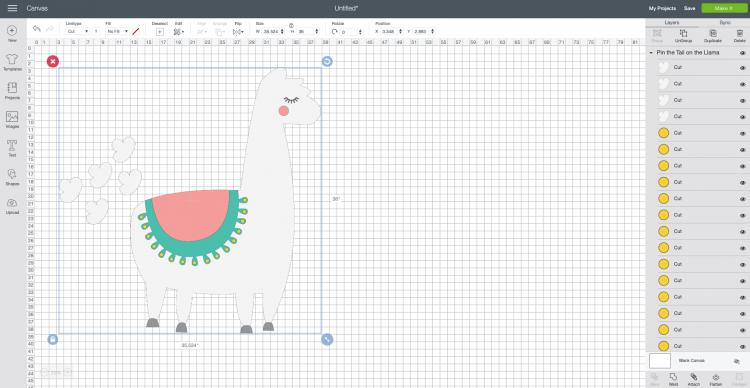
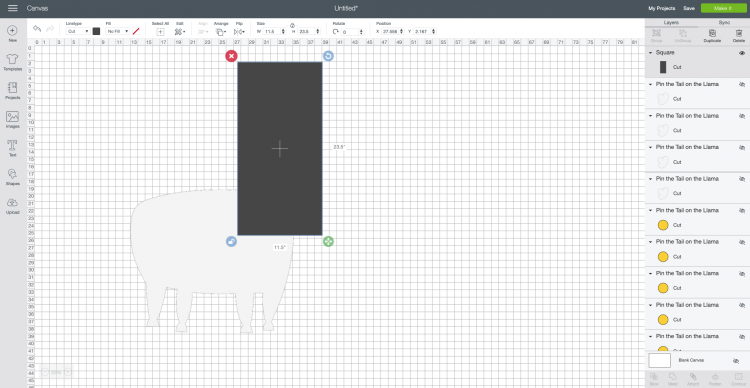
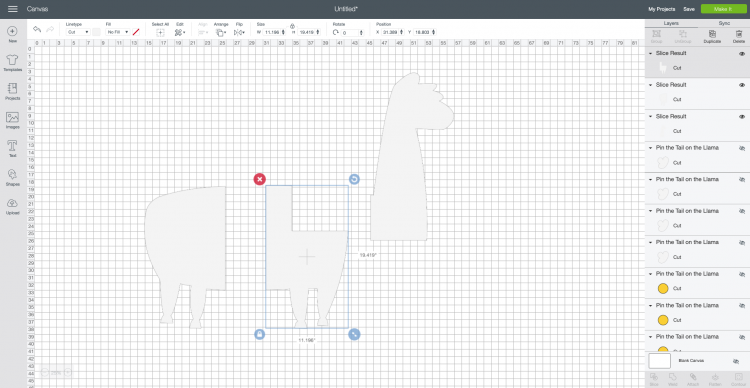
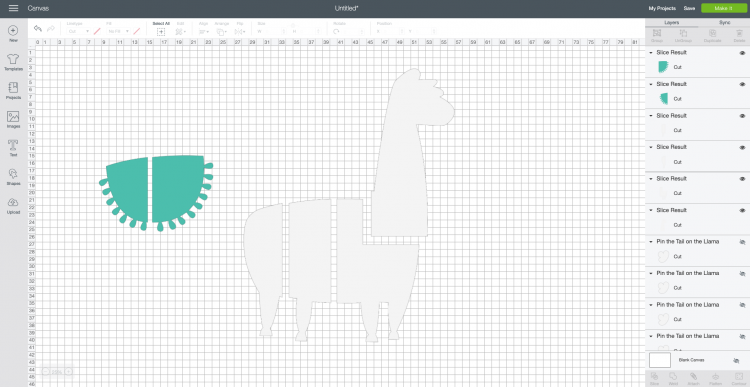
- Hide every layer by clicking the "eye" icon next to each layer in the Layers Panel on the right. If you are doing a project with more than one layer that needs to be tiled, work with a single layer at a time. This project has two layers that need to be tiled—the llama, and the blue blanket piece.
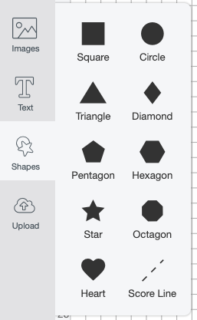
- Create a rectangle from the Shapes menu in the Design Panel on the left.
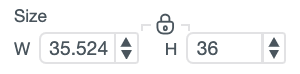
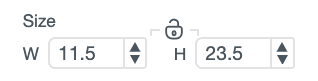
- Using the Edit toolbar at the top, change the size of the rectangle to 11.5" x 23.5"—you will need to click the little lock to "unlock" the dimensions. (If you are using the regular 12" x 12" mat, make a square that is 11.5" x 11.5").
- Place the rectangle over as much of your project as possible.
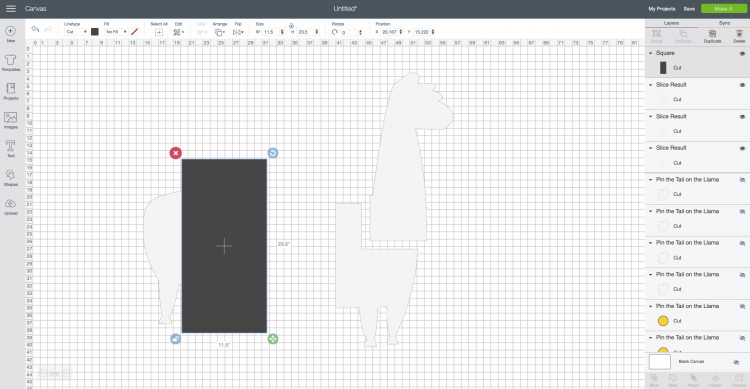
- Select both the rectangle and the llama and click Slice at the bottom of the Layers Panel on the right. Slice always leaves you with more pieces than you might expect. Delete everything that isn't part of your original image. Now you can see that there are two pieces, one that will fit on the 12" x 24" mat.
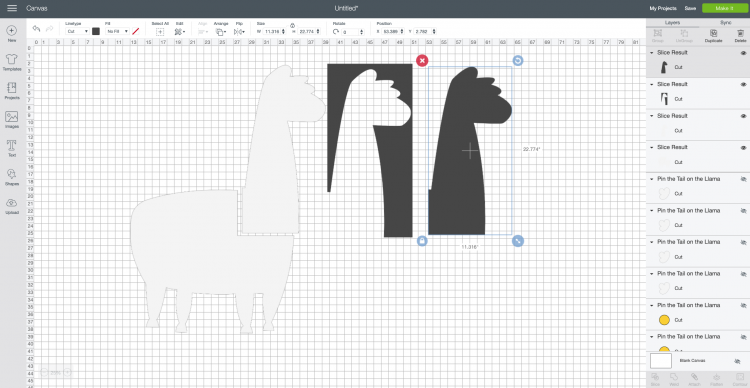
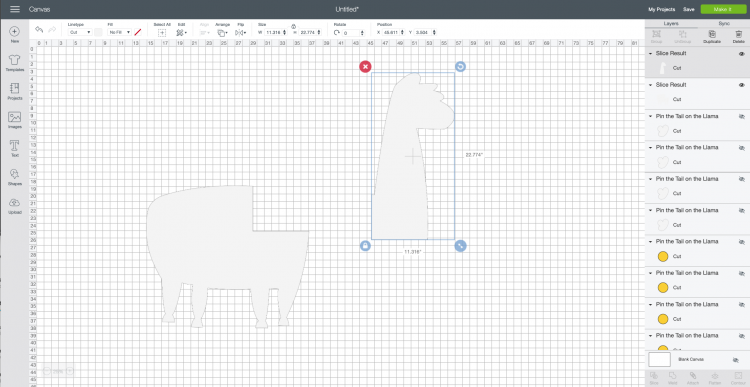
- Make another 11.5" x 23.5" rectangle and place it over the next section of your llama and slice like you did before. Continue until all the parts of your llama are less than 11.5" x 23.5".
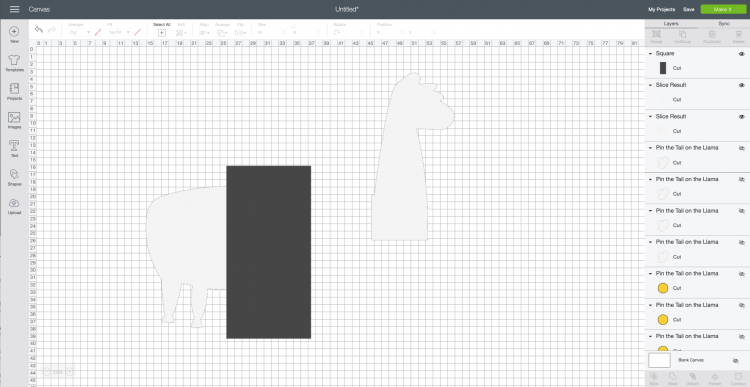
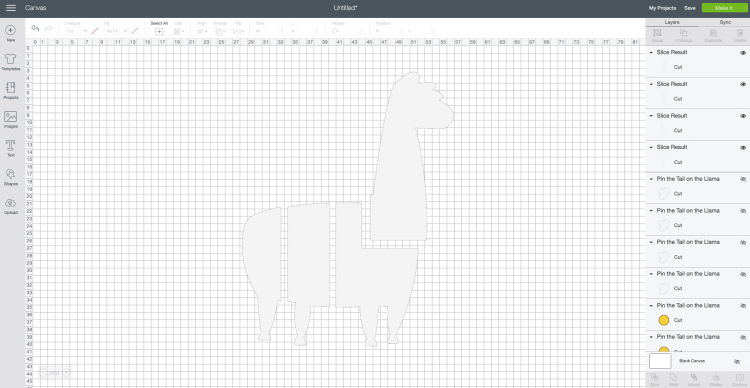
- Unhide the blue blanket layer and slice that one in half in the same way.
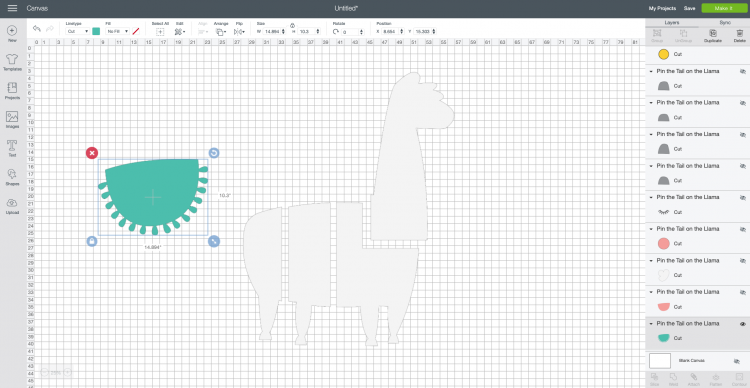

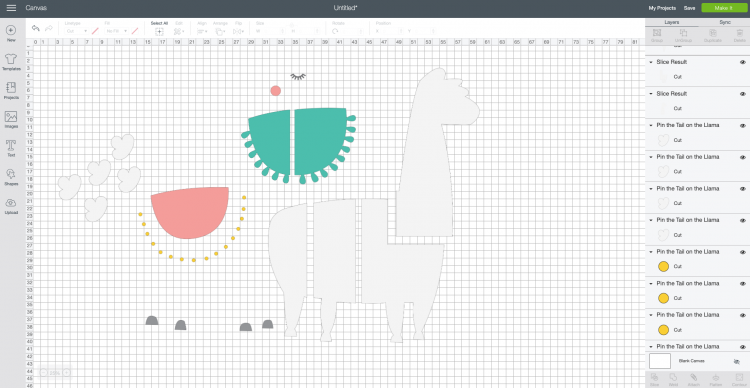
- Now you're ready to cut out your project! Five llama tails are included in the cut file, but if you'd like more, use the Duplicate option to make as many as you'd like. Unhide the llama's blanket layers so they cut as well.
- Click "Make It" and Design Space will bring you to the Prepare Screen. It will show you a layout of all your mats and warn you that you have materials that need the large mat (unless, of course, you are using a 12" x 12" mat).Click Continue to go to the Make Screen. Select your material, make sure you have the correct blade inserted into your machine, and cut your project!

- Assembling Your LlamaOnce you have all of your pieces cut out, use some tape on the back of the cardstock to assemble your llama on the wall. Super easy!
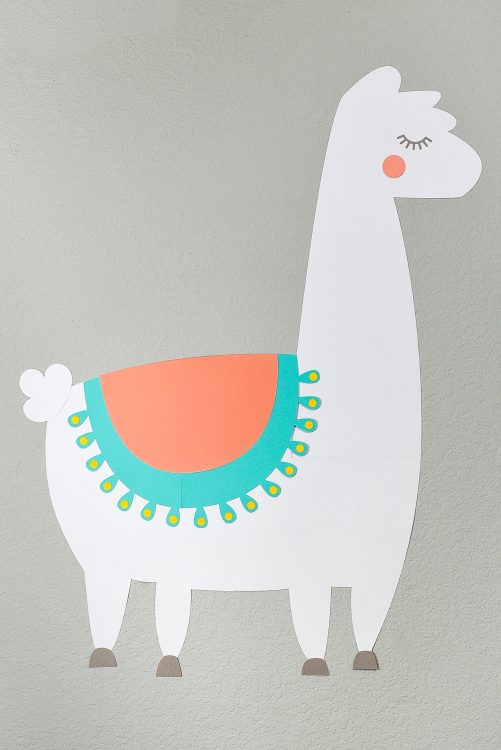
- Use a little double-sided tape on the back of the llama tails, blindfold the kiddos, and see how close they can get!