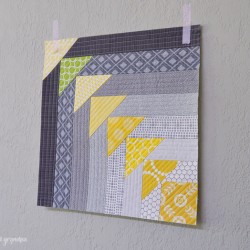
NORTH WEST QUILT-AS-YOU-GO BLOCK
This fun quilt-as-you-go block uses foundation piecing to create flying geese. Give it a try!
Equipment
- sewing machine and all the regular sewing supplies
Ingredients
- Quilting fabric in two color ranges
- Coordinating thread (prefer 50wt Aurifil for quilting)
- 20" square of batting
- 20" square of backing fabric
Instructions
- Note about supplies: You can make this in whatever size and whatever colors you'd like.There will be three layers to the North West quilt block panel. A backing fabric, the batting, and the top with the two colors of fabric. Unlike a normal quilt sandwich, the back of your panel will be not so pretty because of the QAYG quilting. So it’s perfect for making things with a lining — pouches, bags, pillows, etc. It doesn’t work so well for an actual quilt.It's handy to have a cutting mat, rotary cutter, and ruler, as well as your iron close by so you don't have to get up between each step.
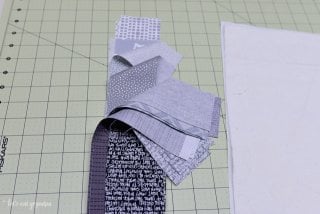
- Step 1: Cut Your Fabric, Backing Fabric, and BattingFor this project the panel is 18" x 18"l. Because QAYG tends to go a little wonky, start with 20" x 20" pieces of batting and backing fabric, to give you plenty of room to trim if it gets a little shifty.For Color A (gray), cut 2.5" wide strips. For Color B (yellow), cut rectangles 4" tall by 7" wide. The number of scraps depends on the size you are making. Your longest Color A strips should be the length of your batting (in this case, 20").
- Step 2: Make a Quilt SandwichSpray baste the back of your batting and press the backing fabric to the batting. Spray basting should help the fabric shift less.
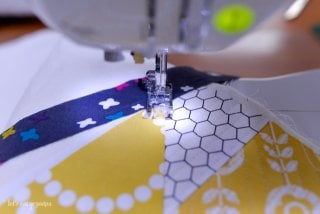
- Step 3: Start QuiltingSet up your machine to quilt. Lengthen your stitch a bit, and use high-quality thread like Aurifil because it can get linty up in here. This is a thread-intensive project, so you might want to wind an extra bobbin or two.
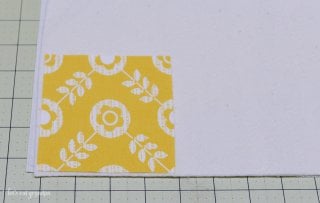
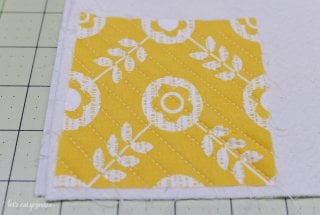
- This may go against your instincts, but quilt a 4" x 4" square of Color B to the corner of your batting right side up. Use simple straight-line quilting at a 45 degree angle to the piece, but you could do some FMQ if you're so inclined. Using some spray basting helps keep things from shifting.To save thread, when you come to the end of the fabric, turn the panel, stitch three stiches down, and then stitch back the other way across the fabric. It actually goes pretty quickly once you get the hang of it.Here’s a quick video of how to do the turning: QAYG Video Tutorial. This is from the Bloomin' panel, but you get the effect.Here is what you should have when you're done:
- Step 4: Add Your Second ColorAdd a strip of Color A to each side of the first square of Color B. To do this, lay a piece of Color A down on top of Color B, lining up the edges.
- Stitch close to the edge of the fabrics (use a 1/8" seam allowance). Open up the two pieces and press the Color B piece away from the Color A piece. If you'd like, use a little spray basting to keep the piece from shifting.Quilt the new Color B piece using the same technique you used on the Color A piece, but quilt along the length of the strip instead of at an angle.
- Repeat on the other side of the first block, quilting along the length of the strip:
- Helpful Tip: If you find that your presser foot is a little sticky because of the spray basting, stick a scrap of fabric behind your foot -- it will keep everything moving smoothly. Just make sure you don't quilt it to your batting!
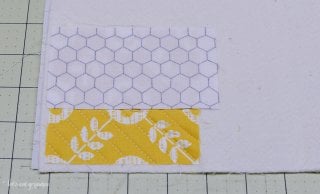
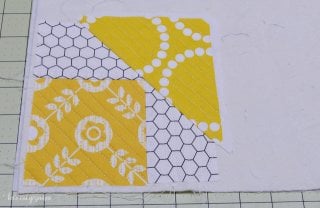
- Step 5: Start Your TrianglesPlace your next Color A strip at a 45 degree angle across the edges of the two Color B strips. Place it right-side up just to see where you're going.
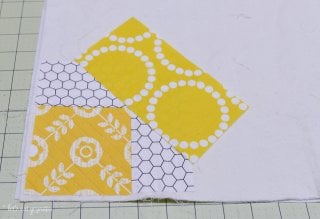
- To save yourself some extra quilting, you can trim off the corners of the rectangle to create a square. not too precise here -- the edges will be covered by the next strips.
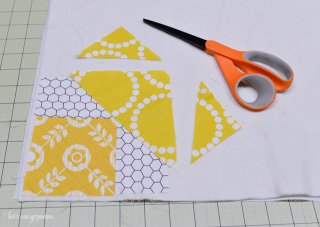
- Place the triangle face down and stitch along the long edge (the hypotenuse, thank-you-very-much-high-school-math-class). You'll want to position it so that your seam hits right at the top right corner of the first Color B square. Stitch along the long edge of the triangle.

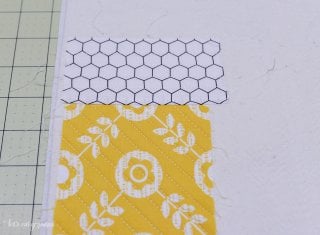
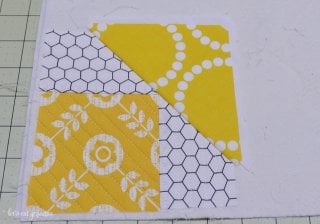
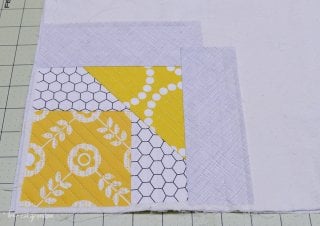
- Open up the new piece and press it away from the others.

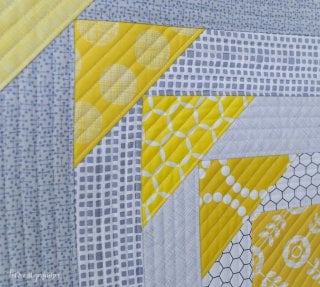
- You can see how the corner of the square is right up against the bottom of the triangle. Hope that explains it well enough!Helpful Tip: If your Color A fabric is light (you can see the honeycomb hexies through the yellow triangle above), put a piece (or two!) of white fabric underneath it when you quilt it down, so that the Color B fabric doesn't show through.
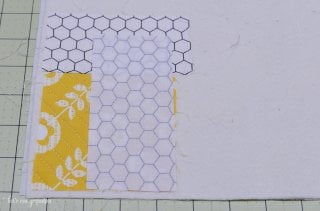
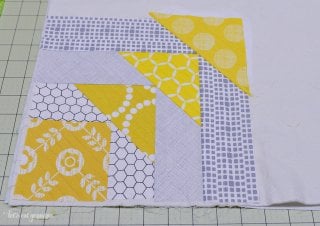
- Quilt that piece using the same technique you used before on the square. You should end up with this:
- Step 6: Keep going!Using the same technique, add two more Color B strips and quilt them down.
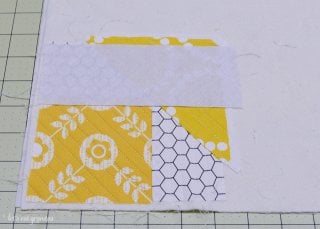
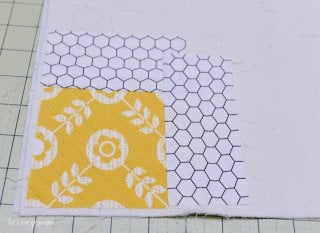
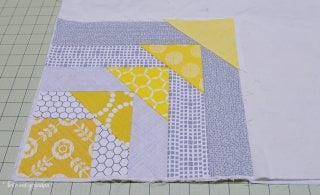
- Then add a Color A piece and quilt it down.
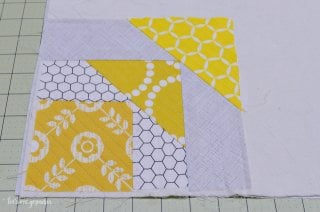
- You can see how you'll be quilting the strips perpendicular to each other, and the triangles at a diagonal:
- And then keep going!
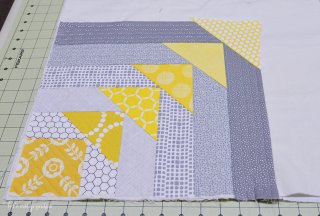
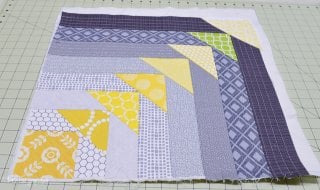
- Maybe try a pop of color (thanks Instagram friends for the lime inspiration!)
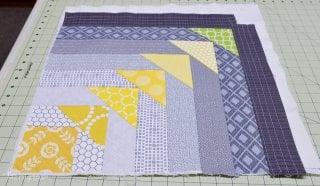
- Repeat until you get to the size you'd like! You'll notice there were more fabrics chosen in the beginning, but not all of the were used. Just select what you need as the quilt block progresses.
- As you go, you'll find that your batting and fabric may start to shift -- that's why you should always make your batting and backing fabric a bit bigger than the finished panel size.Trim down your edges and square up your block. You’re ready to use this panel when you make a bag or pillow!
