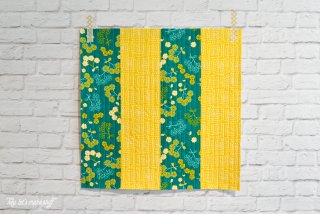
LEARN QUILT-AS-YOU-GO: EASY BIG STRIPES PANEL
Want to learn Quilt-As-You-Go but don't know where to start? This big stripes panel will help you learn the technique.
Equipment
- Basting spray optional, but recommended
Ingredients
- 2 strips Fabric A 18" x 4.5"
- 2 strips Fabric B 18" x 4.5"
- 1 square batting 18" x 18"
- 1 square backing fabric 18" x 18"
- Coordinating thread
Instructions
- Cut out your fabric to the sizes listed in the supplies list. You'll notice the fabric is about an inch and a half wider than your final panel size. After making many of these pillows, I've found the fabric shifts quite a bit, and it's easiest just to make it a bit larger and trim down to size.Use the basting spray to hold together the backing fabric and the batting. This step causes the fabric to shift less during sewing.Lay your first Fabric A strip of fabric on the batting, right-side up and aligned with the left edge of your pillow. You can spray baste if you'd like.
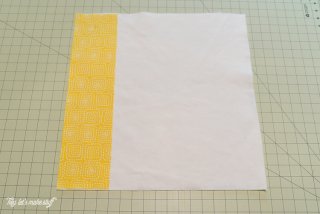
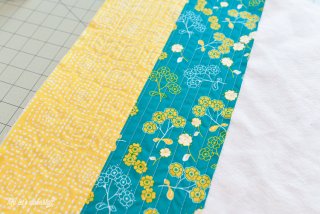
- Set up your machine to quilt. You can use a walking foot, but like the regular foot better. Lengthen your stitch and use a high-quality thread.Stitch the fabric to the batting, using straight lines. To save thread, when you come to the end of the fabric, turn the panel, stitch three stitches down, and then stitch back the other way across the fabric. You can see how to do that in this video (video will be downloaded to your Downloads folder and which is for the Bloomin' panel project, but you should get the general idea). The lines end up about half an inch apart.

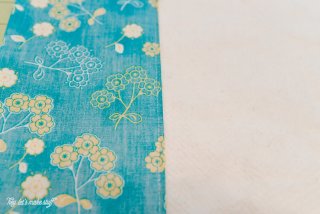
- Once the first strip is quilted to your batting, place a Fabric B strip face-down on top of the already quilted Fabric A. They two pieces should be right-sides together.
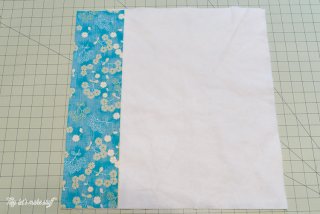
- Stitch along the edge of the two fabrics using a 1/8" - 1/4" seam. You should end up with this:
- Press Fabric B away from Fabric A.
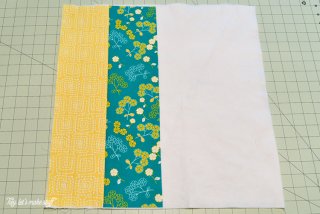
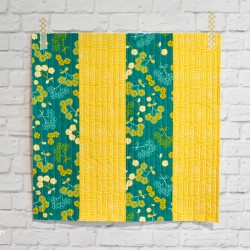
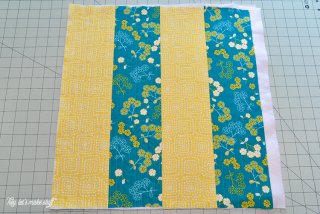
- Quilt Fabric B to your batting the same way you quilted Fabric A. It should look like this:

- Repeat these steps with the second Fabric A and then second Fabric B pieces
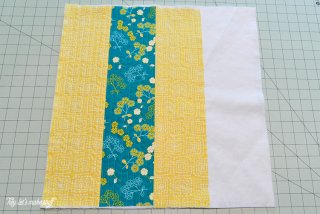
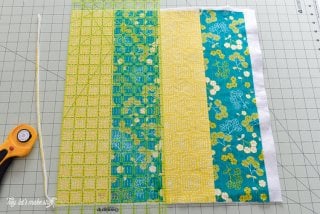
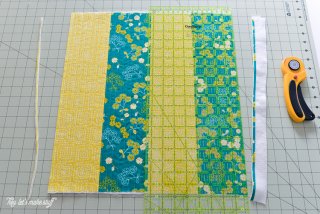
- Now all you have to do is square up your block. I use the center seam as a guide, making it perpendicular and trimming off the edges so the remaining block is 16.5 wide.
- Then trim off the top and the bottom so that it's 16.5" square -- when it's made into a pillow, it will be 16" square.
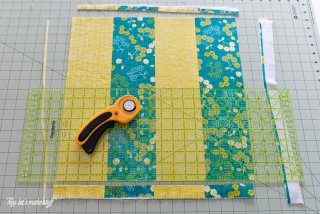
- Tada! You can quilt-as-you-go!