LASER MASKING
Laser masking protects your material from char marks so your projects turn out cleaner!
Ingredients
- 12" paper masking
- 6" paper masking
- Your material
Instructions
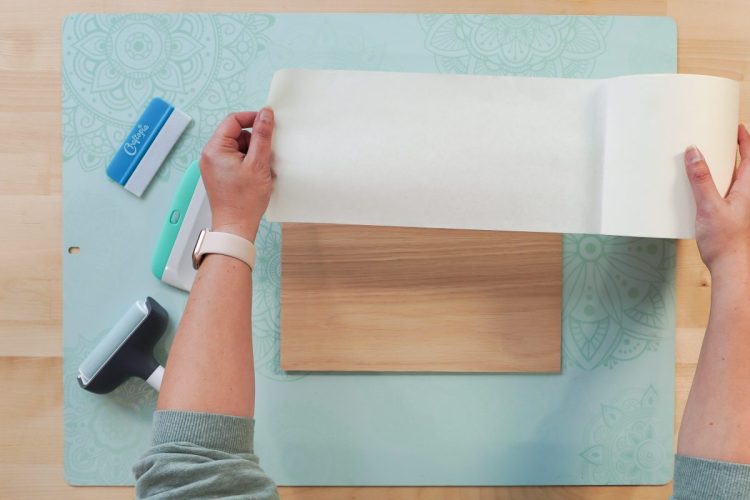
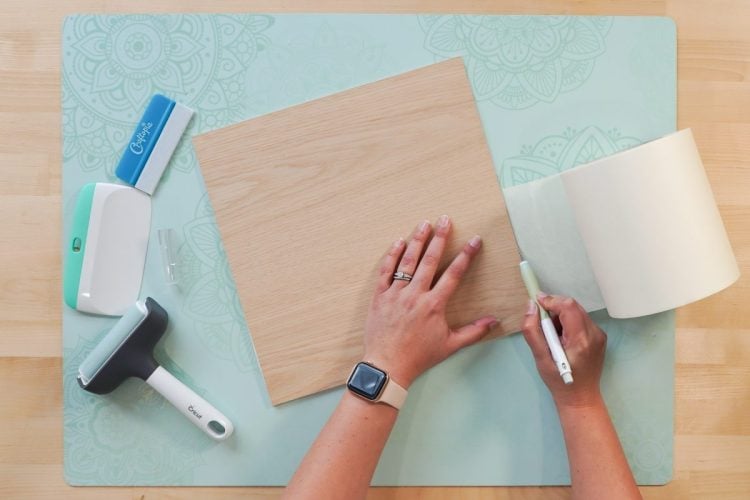
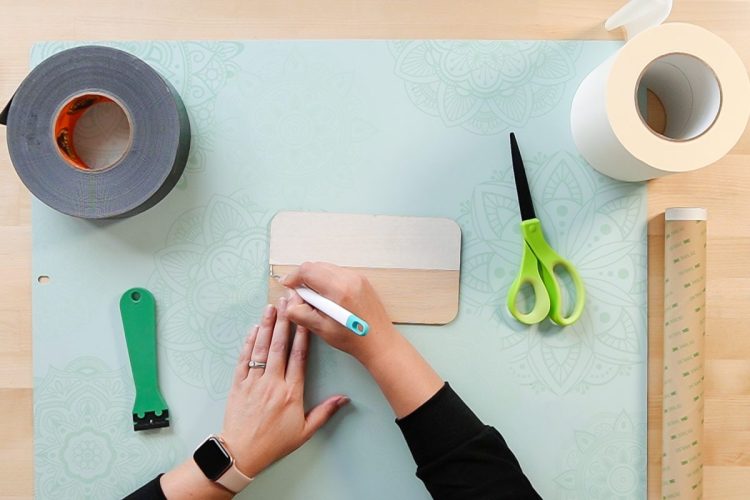
- Apply Laser MaskingApply the paper masking to a piece of laser material! For this example, a piece of white oak from xTool and 6" masking is being used to show you how to apply masking to a whole sheet and a half sheet.If you are not sure whether you want the entire sheet of material masked (like perhaps you're working on a small project, and might want to use the rest of the material with the 3M adhesive in the future), so only mask a portion of a sheet. Let's start with that.Place your material flat on your self-healing cutting mat. Then pull off a piece of mask a little longer than your material.
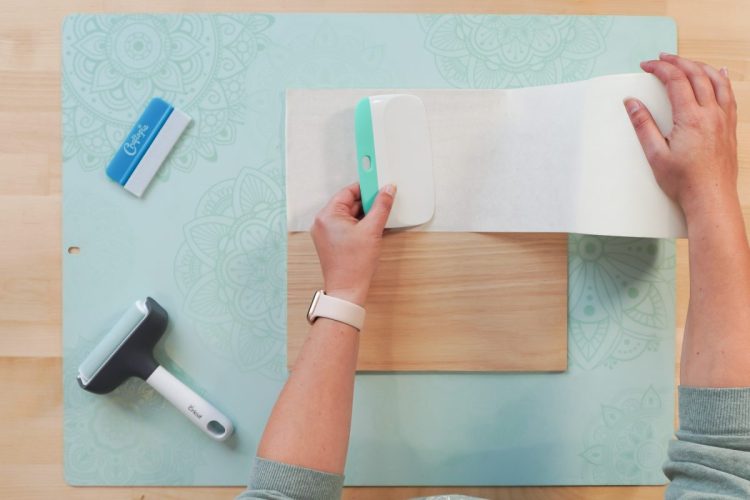
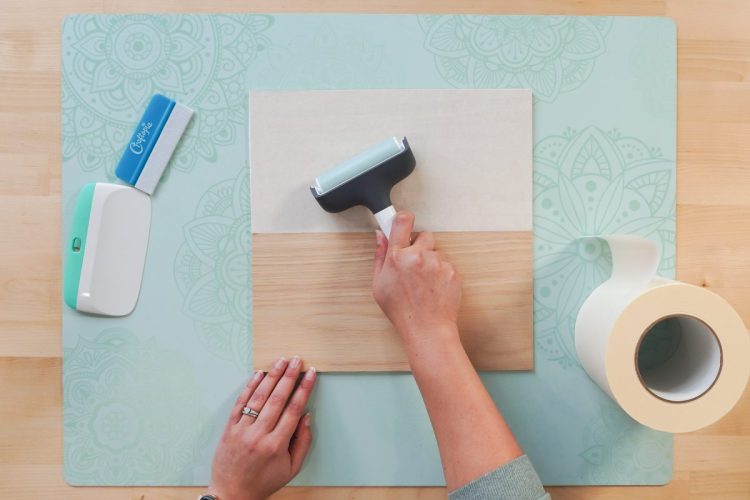
- Adhere one end of the masking to the edge of your material.Then use the squeegee, scraper, or brayer to work your way across the masking, trying to avoid bubbles and wrinkles.
- Flip everything over and use a craft knife to cut off the excess masking, running it along the edge of your material. That way you have a straight edge for next time.
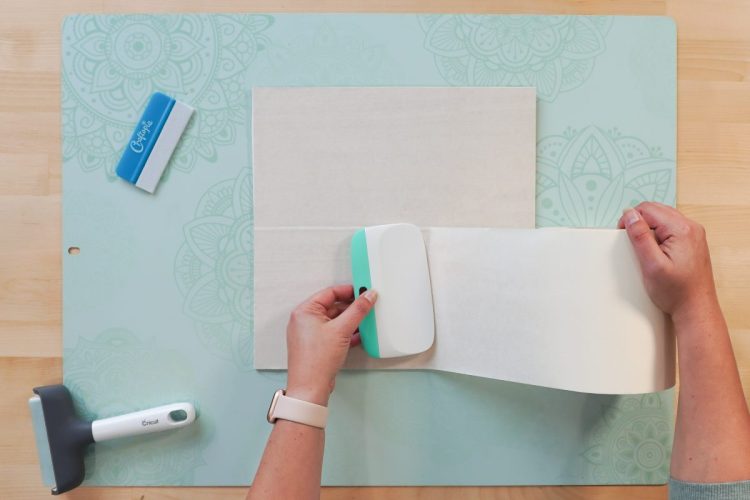
- If you do have some bubbles or wrinkles, it's not the end of the world. But if it's bad, try re-masking. You can use your tool to help smooth out any problem areas.
- If you are using 6" masking, repeat with another row of masking below the first one. It's okay if it overlaps a bit. If you are using 12" masking, it should cover your material in one single piece.Flip it over and mask the back in the same way.Now you're ready for engraving!
- Coloring Engraving Before Removing MaskingAfter you cut but before you remove the masking, you may want to consider coloring in your engraving with paint pens, acrylic craft paint, or some other ink. It's a great way to "color within the lines" on your engraving, since the masking protects the part of your material that is not engraved. You can also color wood. Just note that with some woods, your paints might bleed a bit into the grain.
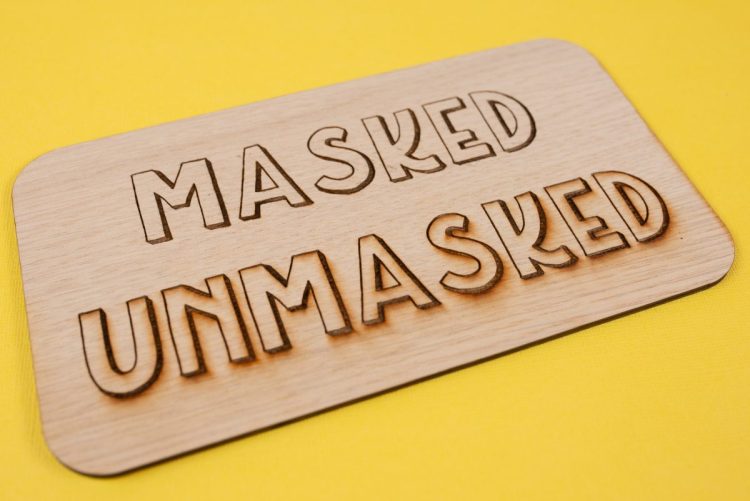
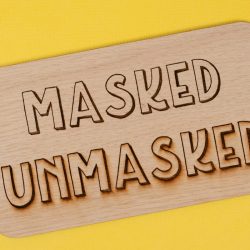
- Removing Laser MaskingNow it's time to remove the masking and see the final image.You can see below what the engraving looked like on an unmasked piece of oak. The charring is pretty ugly! No one wants that on their material. There are three ways that you can use peel back masking. One of these options should work best for you!Gorilla TapeA heavy-duty duct tape like gorilla tape works really well to remove masking. Just take a piece, adhere it to the corner of the masking, and pull up.It has been found that while this works great on masking but it's still not sticky enough to pull up pre-masked materials, like Glowforge Proofgrade materials. Sometimes it works, sometimes it doesn't.
- Weeding ToolIf you can't get the edge up using gorilla tape, try using your weeding hook. You can pull up larger pieces with the hook and then use your hands to peel back the entire piece of masking. Just be super careful that you don't scratch or scrape your material when you're using it.
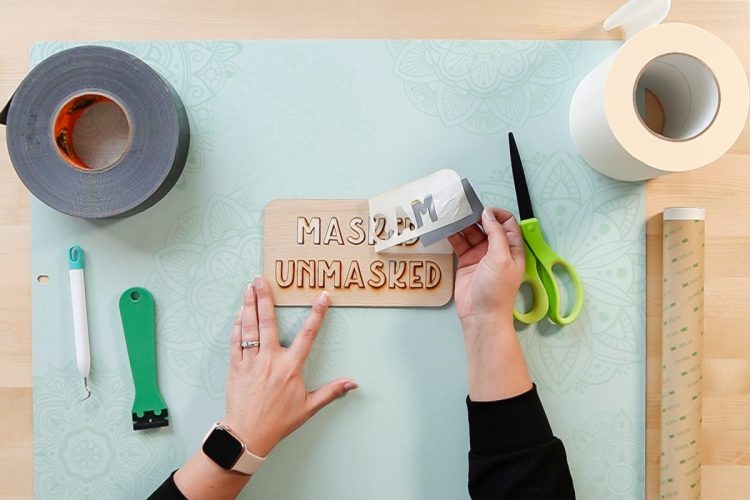
- Plastic Razor BladeIf you have smaller pieces, especially pieces that are inside engraved parts, like the centers of the letters are here, a plastic razor blade is amazing. It's not sharp but it does the job—just run it along the top of your image and it will push up all those tiny pieces of masking that are particularly difficult to get.
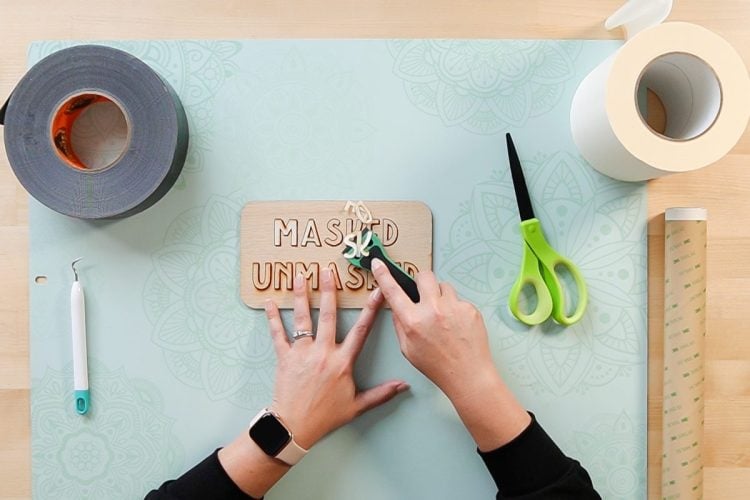
- Final ResultNow you can see how much better the masked portion of this test file is than the unmasked portion!Masking can make a huge difference in your laser projects—definitely a step you probably don't want to skip!