LASER CUT WOOD ORNAMENTS
Break out your laser cutter and make these cute wood ornaments that are designed to be colored or painted! These make a great Christmas craft for kids, or sell them as kits with paint and brushes!
Ingredients
- Twine or
- ribbon for hanging
- 1/8" wood of your choice this project using white oak plywood
- Laser Christmas Coloring Ornaments File
Instructions
- For this project the xTool M1 is being used, so the following software instructions are for that machine. If you're using a different machine, you should be able to set up and use this file similarly in your software.Start by turning on your machine and placing your material in the bed of the laser. Masking for the xTool diode laser projects is not generally necessary. Because the laser is much less powerful than the Glowforge C02 laser, charring tends to be minimal and 80% of any that comes off with a bit of alcohol. That being said, you're welcome to mask your material if you'd like!The camera inside will snap a photo of your material.
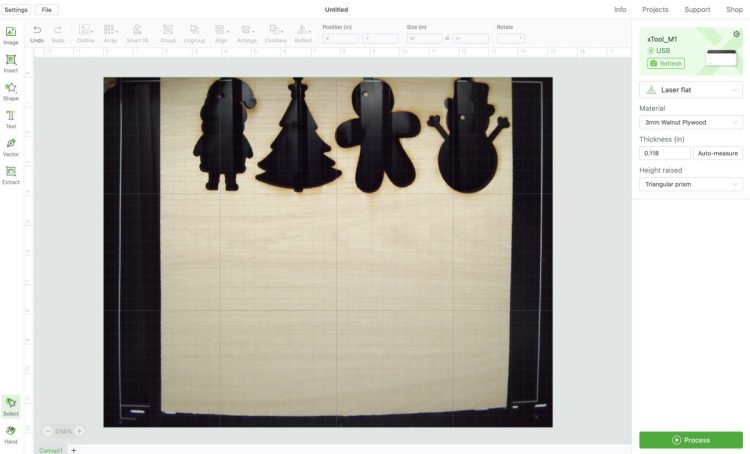
- Then click File > Import Image in the upper left to upload the SVG file to the software. Once it's uploaded, move the files to the correct place on your wood.

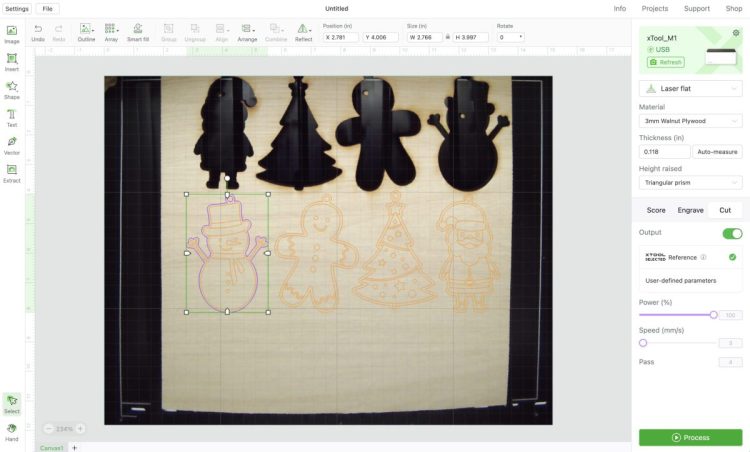
- When images are imported to Creative Space, they are automatically turned to score lines (orange). But the outside lines need to be cut, not scored. So carefully click on just the outline (clicking up by the circle at the top of the ornament is easiest) and change each of the outer lines to cut lines (purple) in the right sidebar.
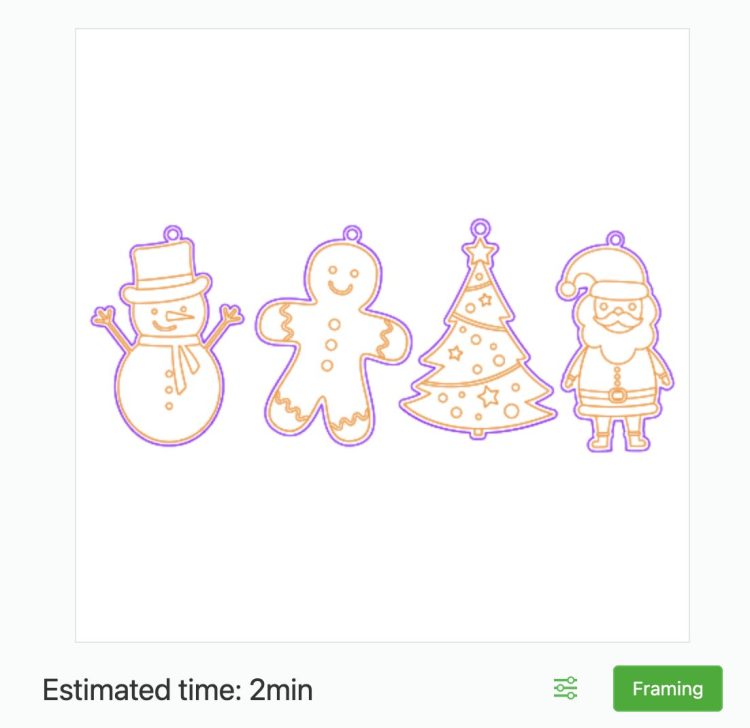
- Set your material to whatever you're using (for this project oak plywood is being used, but there's not a setting for that—the walnut plywood worked well) and make sure you say whether or not you're using the triangle prisms (read more about the prisms and how to use them in this xTool review). Once you have double checked all your settings, click Process.The software will give you a most likely WILDLY inaccurate cut and score time. For this project it said 2 minutes. It took closer to 15.
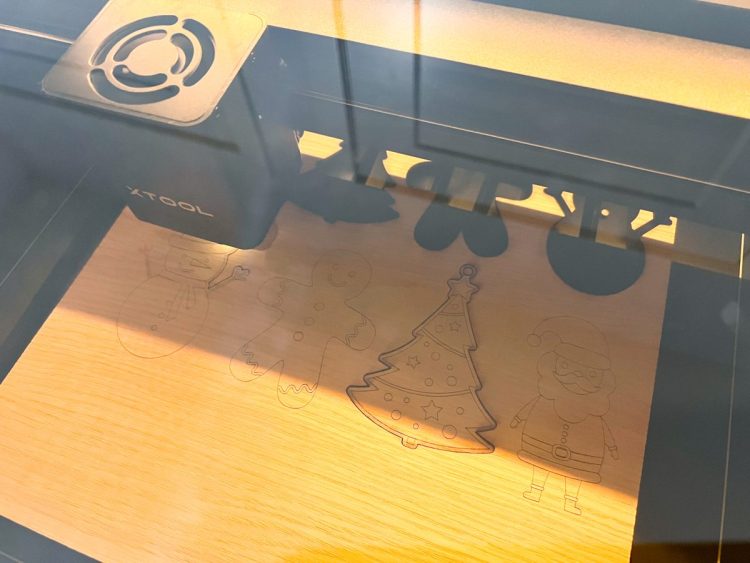
- From there, you can push the button on your machine to score and cut your project! It took way longer than the estimated time and the Walnut was set to do 4 passes, but found 1 pass was actually enough to cut through the oak, so canceled the cut once each ornament had been cut. You may want to do a test cut to see if you have the same results with this particular material.
- Once your material is cut, remove your wood ornaments for coloring from the bed of the machine. If needed, uses a bit of alcohol on a cotton swab to remove any charring.
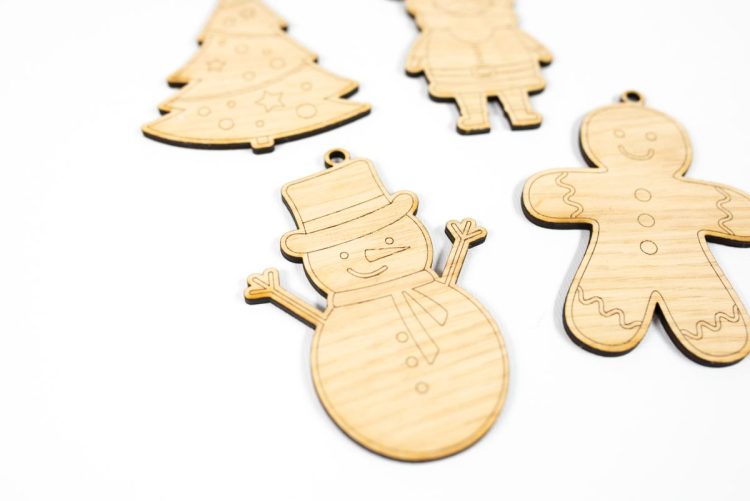
- And that's it! Now your ornaments are ready for coloring with pens or painting with paint.