
Laser-Cut LOVE Sign
Use your laser cutter or blade cutter to make this sweet LOVE artwork for Valentine's Day! Cut from wood, acrylic, vinyl, or iron on and adhere to a frame. A cute way to make your house ready for Cupid's favorite day!
Equipment
- Laser Cutter xTool, Glowforge, etc.
Ingredients
- Pre-made sign or cut your own with your laser
- 1 sheet Laser-ready maple see material note
- LOVE with Arrows File
Instructions
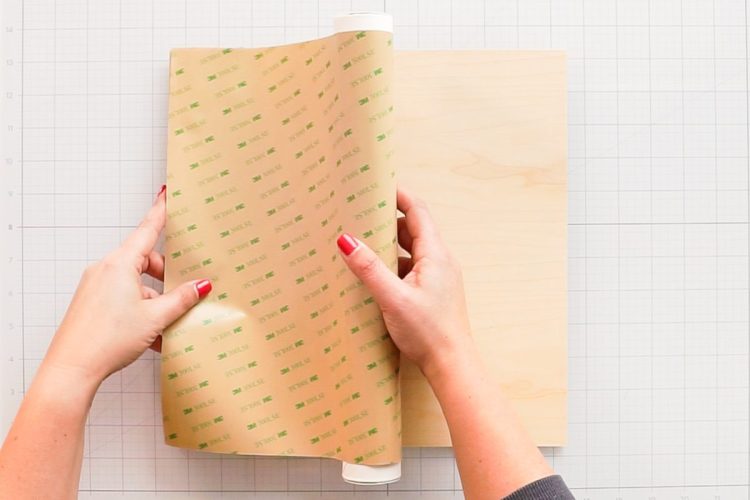
- Adhere the 3M adhesive to the back of your wood piece. Start by preparing your piece of maple plywood (or whatever material you are using). Using the 3M adhesive backing is preferred, which basically turns each cut piece into a sticker. That way you're not messing with glue. Carefully line up the edge of the adhesive backing with the edge of your wood, and then carefully roll it out, smoothing it onto the wood as you go.
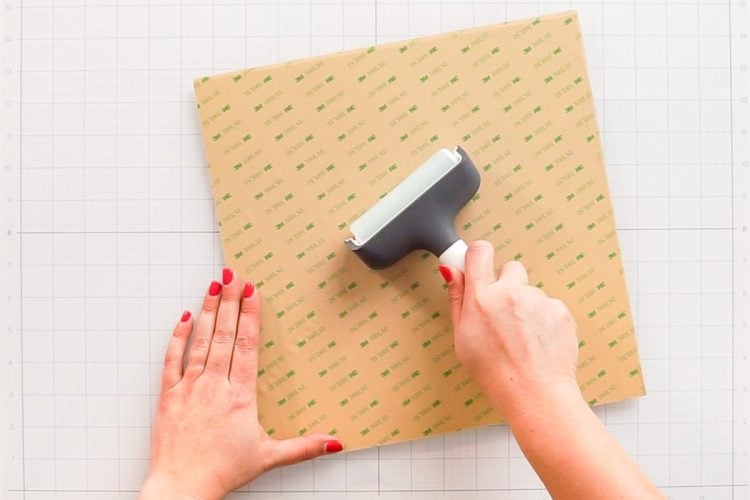
- Trim it at the edge and use a brayer to really adhere the adhesive to the wood.
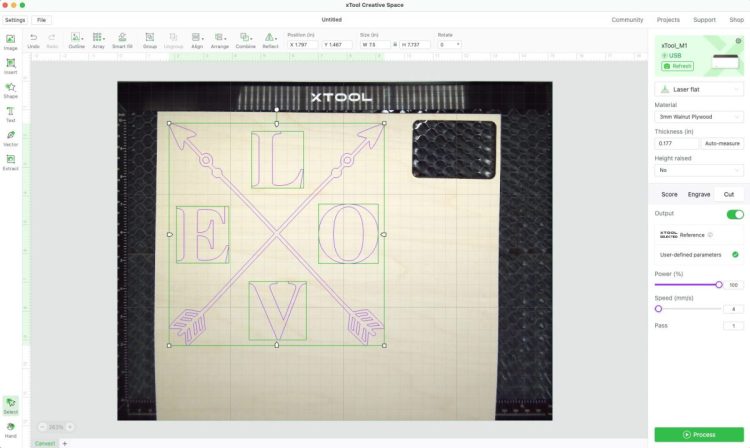
- Then upload the LOVE file to Creative Space. You can move around the letters to save space, if you'd like. Change the settings to cut and adjust your settings. For this project maple was used with these settings:Power: 100Speed: 4Pass: 1
- Place your acrylic in the bed of your laser with the adhesive side down. For the xTool, it hasn't been found necessary to mask the material, but you can if you'd like. Cut your project using your laser cutter. Remember not to leave your laser unattended when it's cutting.The next step is to paint all of your pieces. For this project both the pre-made sign and all of the pieces were painted using craft paint. (Side note: The glass craft board is great for painting projects like this. You can get paint all over the glass and clean it up with a bit of rubbing alcohol.).

- Then simply peel back the lining on the adhesive on the back.
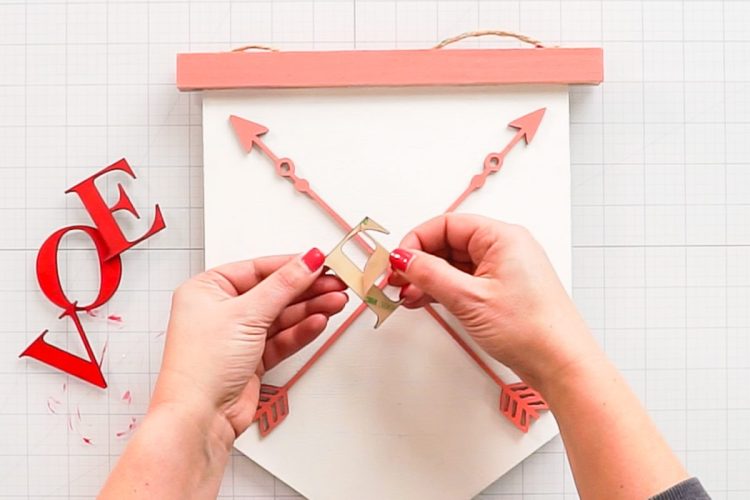
- And place on your sign!
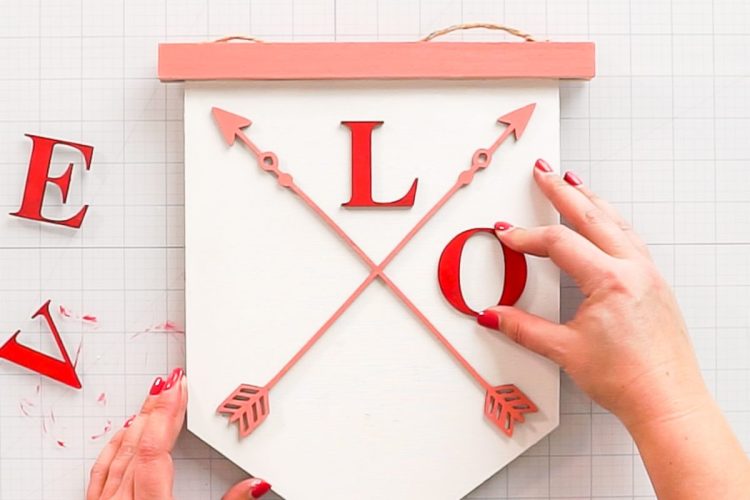
- Once you have all of your pieces placed, your LOVE artwork is finished!

Notes
Note: These instructions are for the xTool M1 laser and xTool Creative Space, but again you can use whatever software and laser you have.