
HOW TO USE THE xTOOL RA2 ROTARY ATTACHMENT
Want to make more with your xTool laser? Grab the xTool RA2 Rotary Attachment! Make tumblers, mugs, glasses, ornaments, and more with this flexible tool.
Ingredients
Instructions
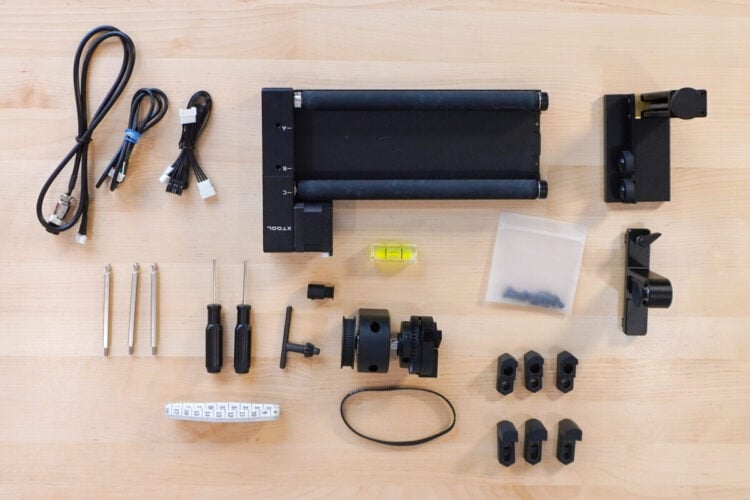
- Straight Sided TumblersThese instructions will only work on truly straight-sided tumblers, so make sure you get truly straight-sided tumblers to make this project. The top and bottom diameter should be equal. If you want to do something with a taper, you'll have to use the chucks, which will be coming in a future tutorial.What's in the BoxThese instructions use the xTool RA2 Pro Rotary Attachment. Because this is the Pro version, it comes with more pieces than the regular RA2. You can still use these instructions if you have the regular RA2, but you won't have as many pieces and you won't be able to make quite as many projects in upcoming tutorials. But you WILL be able to make the simple tumbler that is being I am making in this post today!For this straight-sided tumbler, you will only need the cord, the large main piece with the two rollers, and a measuring tape. Everything else is for more complex projects like tapered tumblers.Riser BaseYou will need the riser base for your laser so there is enough room for your project. This post talks about setting up the riser base - xTool S1 Accessories. Other types of xTool machines will have different ways to set up their particular riser bases.
- Measuring Your TumblerNext you will need to measure your tumbler. If you're using a regular-sized tumbler, you'll keep the rollers in the "C" position the RA2 comes in. For example, the 20oz tumblers used for this project are 72mm across, so they easily work with the C slot. If you have something significantly smaller, you may need to unscrew and move the rollers to the other positions:A position: 3mm to 50mmB position: 45 to 60mmC position: 60mm or larger
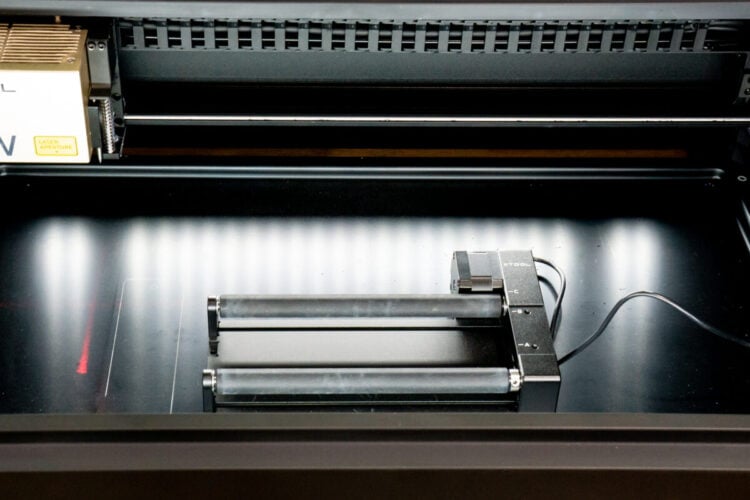
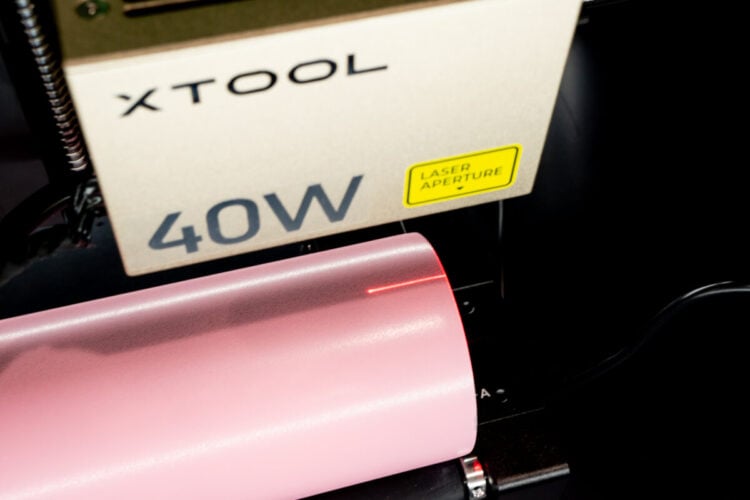
- Using the RA2 Rotary AttachmentChoose the Right Cord - The rotary tool comes with 3 different cords. Be sure to select the cord for your particular machine. For the S1, the cord that has one end that looks like a mini USB and a white connector on the other end was used.Set Up the Rotary ToolPlace your RA2 base into the bed of your laser. Try to get it as straight as you can in the machine.
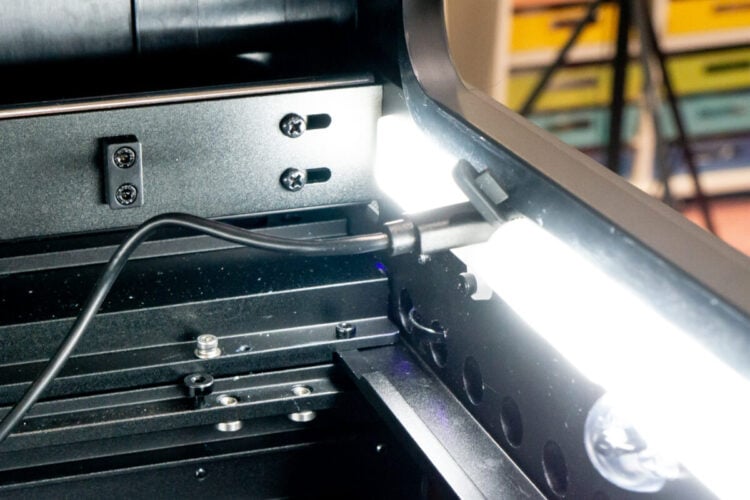
- Plug In the Rotary AttachmentThe USB slot for the S1 is a bit hard to find. It's actually inside at the front of the machine. Plug in the rotary attachment—this will bring power to the tool.
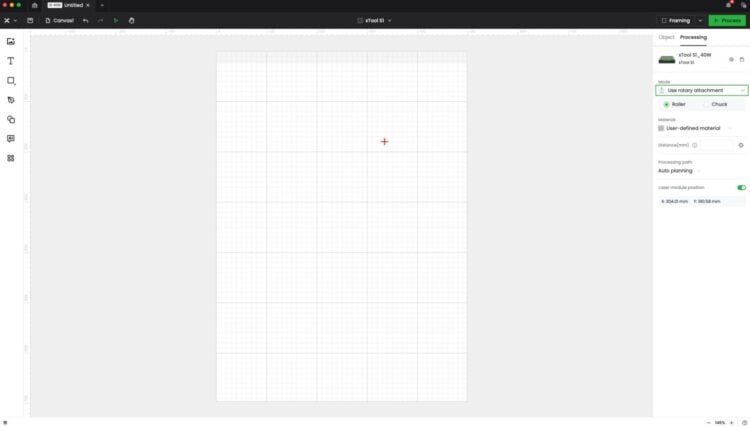
- Setting Up xTool Creative SpaceLet's head into xTool Creative Space to get it set up for using the rotary attachment. (the new Beta version of xTool Creative Space is being used for this project). Note that the red + on the canvas is the location of my laser head within the machine. This is one of the things that is really liked about the xTool S1!
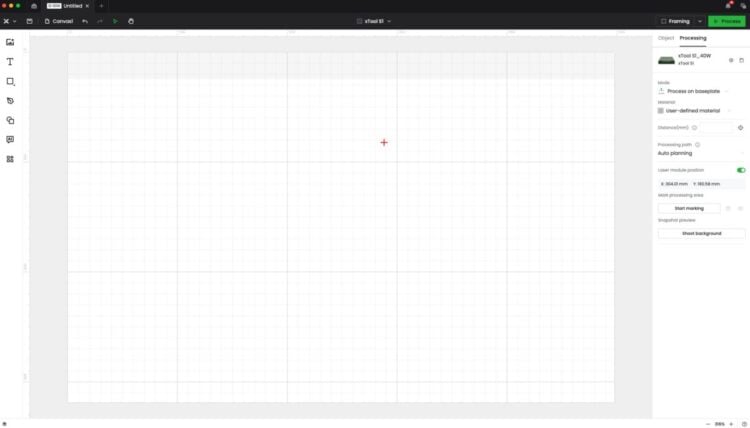
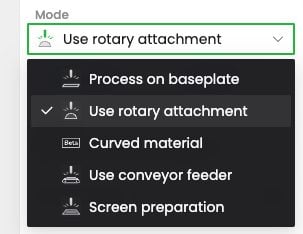
- The first thing you need to do is change our mode to use the rotary attachment instead of processing a flat object on the baseplate.
- Now you'll see that the size and shape of the canvas has changed.
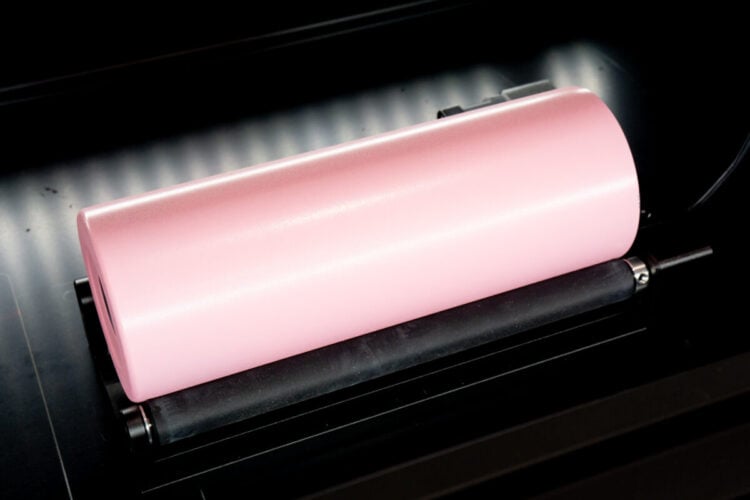
- Add the Tumbler to the LaserPlace your tumbler inside your laser on top of the two RA2 rollers. The rollers will turn as the project processes so you can engrave all the way around cylindrical objects.
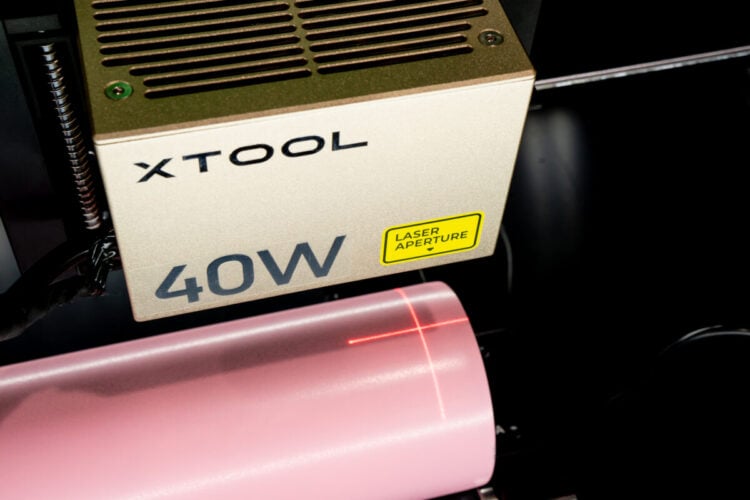
- Determine the Height of the TumblerNow you need to measure the height of the tumbler so that the laser will be properly focused. Place your laser head over the center of the tumbler. You want it to be anywhere along the highest point of the tumbler.
- Now back in Creative Space, click the auto-measure crosshairs to the right of the distance tool. This will prompt your machine to take a measurement of the height of your tumbler.

- Then move the laser head so the crosshairs are at the top edge of your tumbler in the center.
- Set up the FileNow upload your file to Creative Space. This file was sized to fit most 20oz tumblers, but again you may want to double check the size of your tumbler and resize as needed.
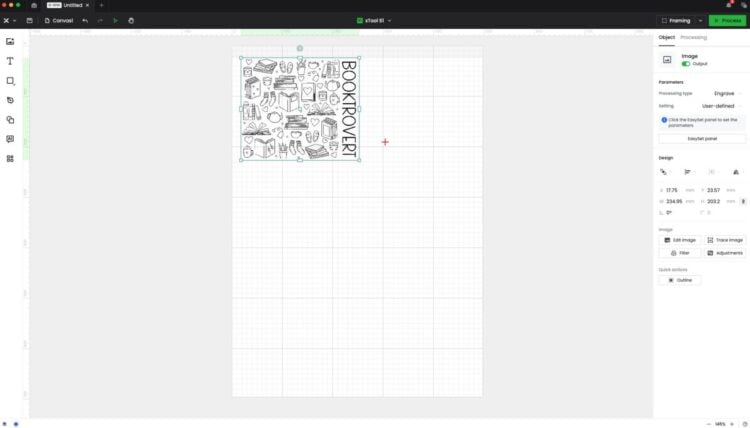
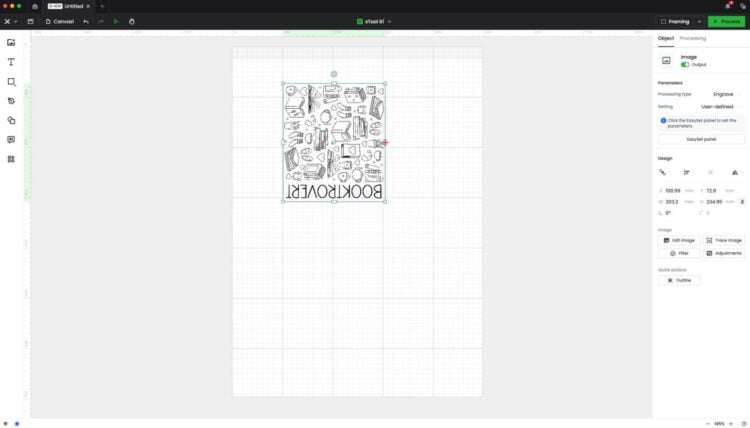
- You'll need to rotate and place your image using the red + as a guide. The top of the tumbler is where the red + is. To have BOOKTROVERT read down the side of the tumbler, the image was placed centered on the red +. Make sure your image is facing "up" (in this case, up is facing toward the right because the tumbler is sideways in the machine).NOTE: If you'd like to use your own design, measure the height and circumference of your tumbler and make sure your design is within those measurements and align it with the red + like was done here. You can draw a rectangle and then delete it before engraving if that helps.
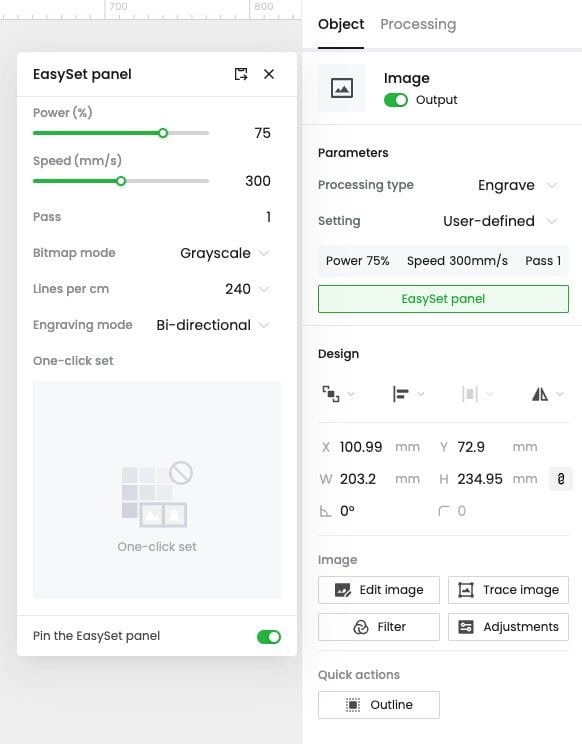
- Change the SettingsWith the image selected, you'll see that the Object tab in the sidebar is selected. First make sure your processing type is set to Engrave. Use EasySet panel for selecting your settings. It has been found that 75% power, 300mm/s speed, and 240 lines per cm worked really well. You may need to play around with your settings if you find that your engraving is too deep or too shallow.
- Framing Your ImageNext you'll want to frame your image. Don't skip this step! This will visually tell you that your image is going to go where you think it should go. Click on framing at the top and you'll get this message.
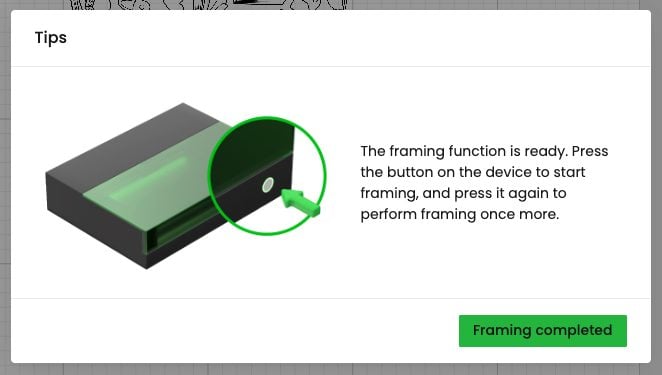
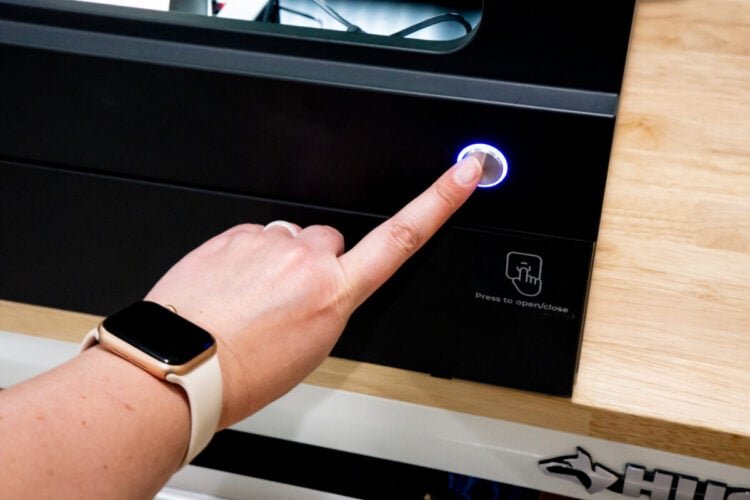
- Then walk over to your laser and press the button.
- Watch the crosshairs on your laser as they frame around where your image will go. The rollers will spin your tumbler. If at any point during this process it looks like your image will NOT be on the tumbler, start over.This image shows a first time attempt making a tumbler where the framing didn't go all the way to the top but proceeded with the engraving anyway. As you can see the tumbler has a half inch of missing image at the top!If the framing looks good, click Framing Completed in Creative Space.

- Engrave Your TumblerIf your framing looks good, you're on your way! Make sure you are venting your laser (for this project a personal filter was used) and if you have air assist, turn it on.Click Process in the upper right. Your image will be processed and then you can click start. Close your laser's lid and press the button to engrave your tumbler!This tumbler took about an hour and a half to engrave. So not fast, but it had a lot of detail.
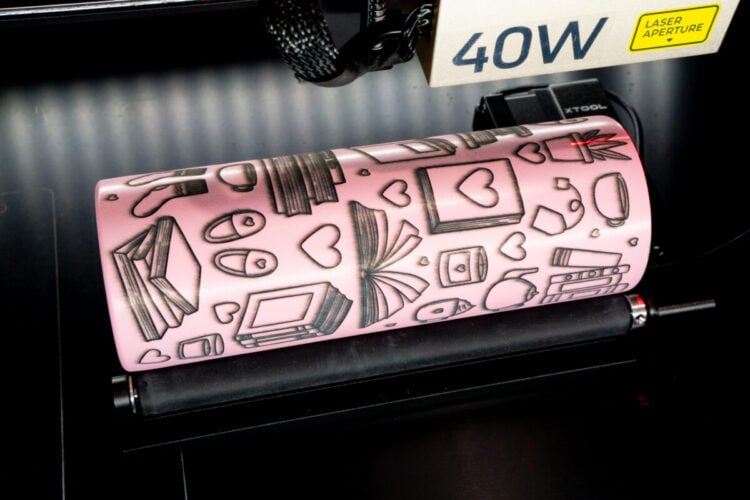
- Your tumbler may look really charred, but not to worry. A magic eraser and some water will clean it right up! It's actually my favorite part of the entire process!