HOW TO USE THE CRICUT JOY CARD MAT
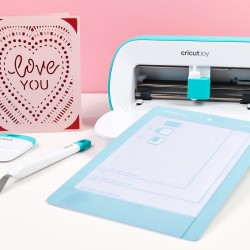
Cricut's newest cutting machine makes cards in a snap! The Cricut Joy Card Mat makes it SO easy to make all sorts of greeting cards for birthdays, baby and bridal showers, holidays, anniversaries, and more!
Ingredients
Instructions
- To show how this works, search for #MFA32A2E in Cricut Design Space and insert the card onto your Canvas. You may actually not see this yet—because this is being written before the official launch, things might change. Updates will be forthcoming with more information as we get closer to launch.

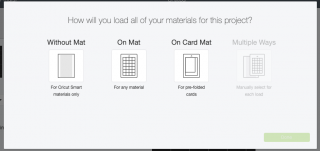
- That's it—you can just hit Make It in the upper right to be taken to the next screen. Here, you'll see a pop up asking you which type of mat you are going to use. For this card, select Card Mat.
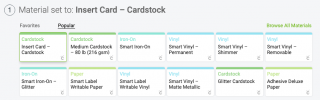
- Then click Continue to be taken to the Make Screen. Plug in your Cricut Joy (it turns on automatically—no power button!) and Design Space will connect to your machine. Then select Insert Card cardstock as your material.
- From the Insert Card set, choose a card and insert it into the card mat. Align the card at the top left of the mat, with the back of the card between the two layers of the mat, and the front of the card stuck to the mat surface on top.
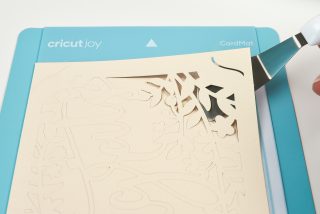
- When you insert your card into the machine, the rollers will automatically grab and straighten your mat (remember, there are no buttons on Cricut Joy for inserting or releasing your mat). Then you'll hit "Go" in Cricut Design Space and your Cricut Joy will cut your card!Normally, the mat is bent away from the cardstock to remove it from the mat. But because the card mat is two layers thick, it's difficult to bend. Instead, the spatula comes in really handy for removing your card from the Cricut Joy Card Mat.
- Once your card is removed from the mat, you can slide the insert card into the corner slots from behind to finish!