HOW TO USE THE CRICUT CARD MAT
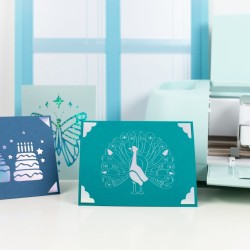
Use the Cricut Card Mat to easily craft up to four cards at the same time using your Cricut Maker or Cricut Explore! Use Cricut's Insert Cards to make fun greeting cards for birthdays, baby and wedding showers, holidays, milestones, and more!
Equipment
- Cricut Maker or
Instructions
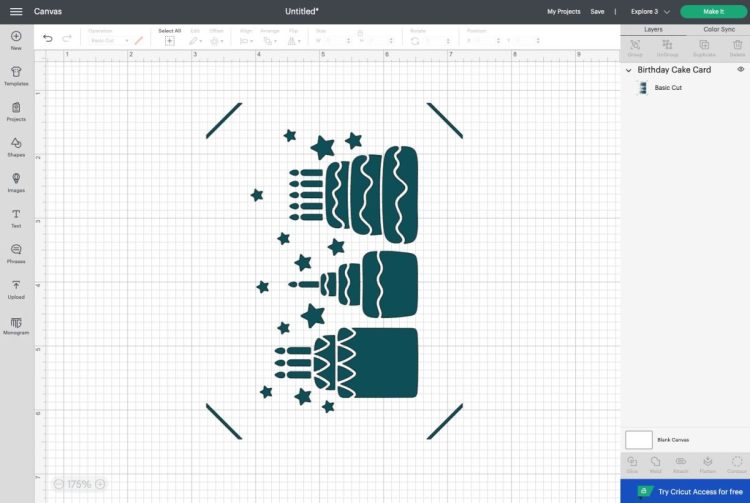
- Important: You can make up to four cards at one time, but they need to be the same type of card (Insert, Foil, or Cutaway) and the same size.Cricut Insert CardsLet's start with the original Cricut Insert Cards. Inside these packs there are folded cards, insert cards, and envelopes.Choose an image in Cricut Design Space. You'll want to make sure your image has "corner slots." This will allow you to put the insert card behind the cut image, creating a layered greeting card. You can search via the Projects tab OR in the Image Search.
- Then click Make It in the upper right. In the next screen, you'll be asked to choose your load type.
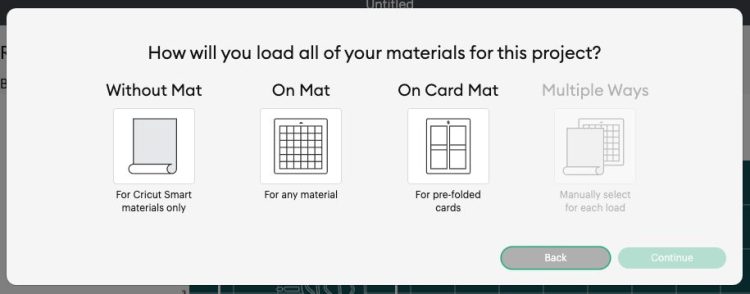
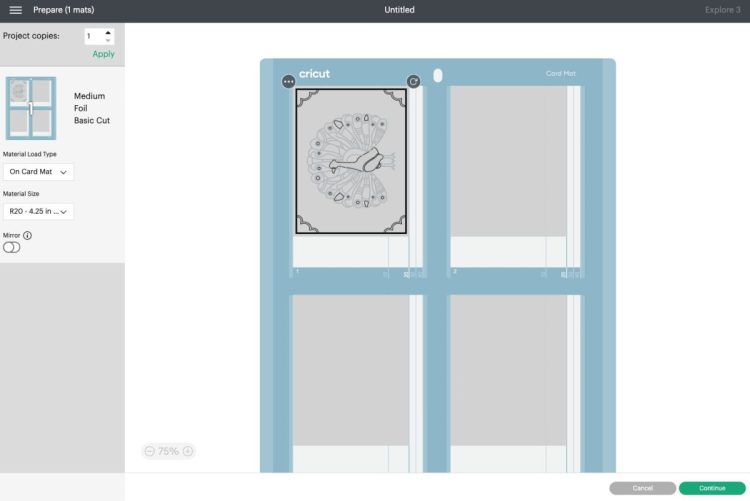
- Choose "On Card Mat" and click Continue. In the next screen, you'll see your image on the Card Mat.
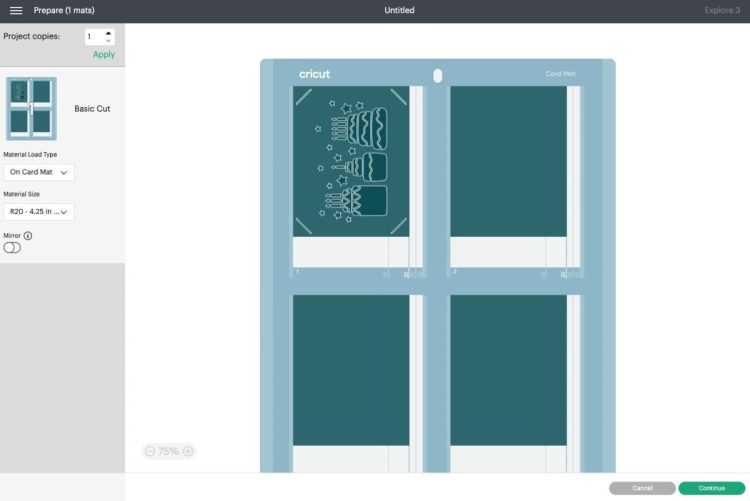
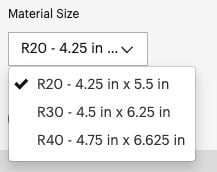
- If you want to change the size of your card, you can use the dropdown on the left.Note that this does NOT change the size of your image, it just places your current image in the middle of the card size you have chosen. If you want a larger image for a larger card, go on a hunt in the Image Search (for example, by searching "birthday cake square card.")
- Then click continue. In the next screen you'll select your material. Search for Insert Card in the materials.
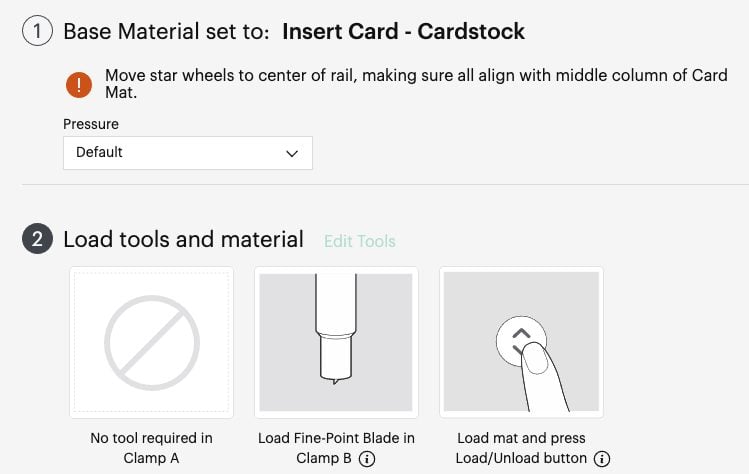
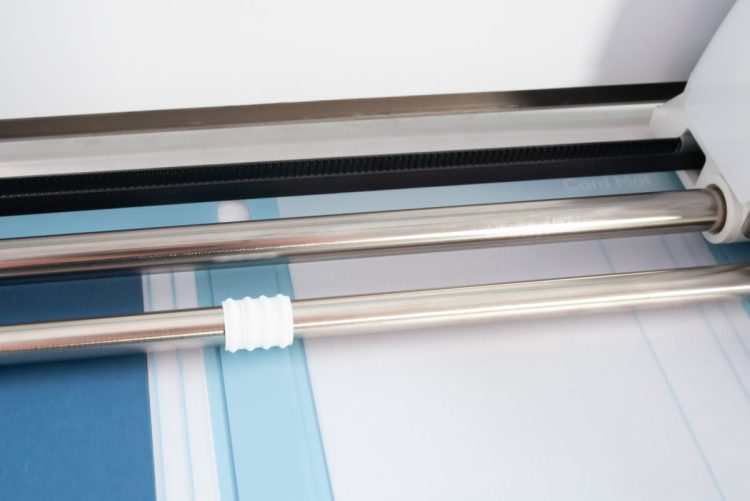
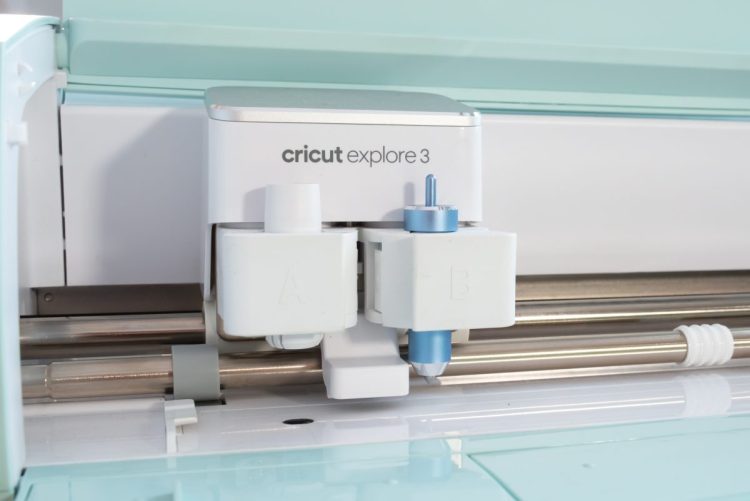
- Insert your blade into your Cricut machine. You'll also see a warning to move your Cricut's star wheels to the center of the rail. This can be quite tough if your Cricut is newer. Using one of those jar openers from your kitchen works to get a good grip so they can be scooted over.
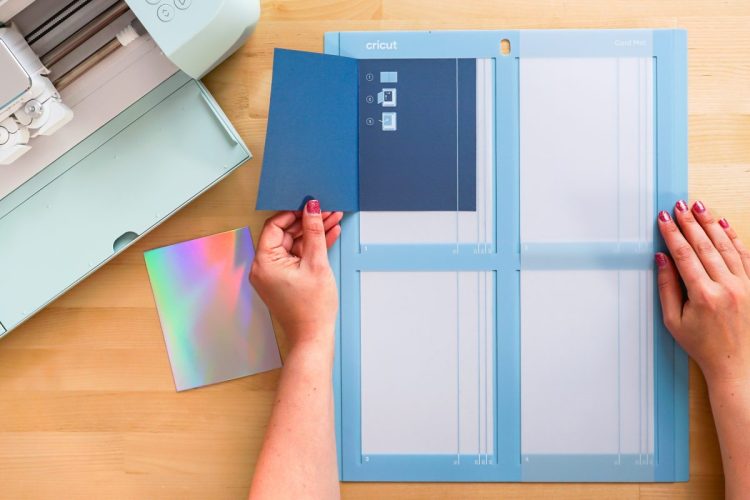
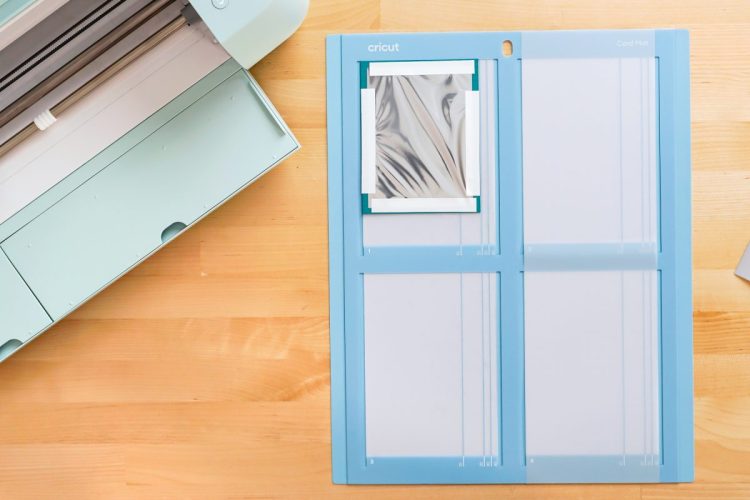
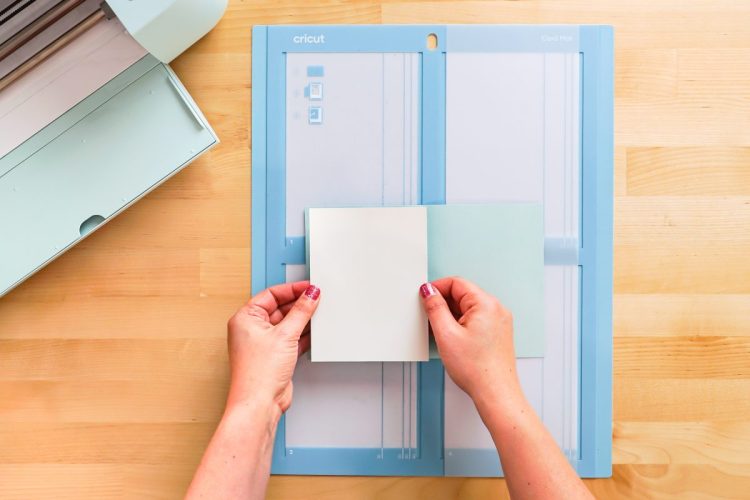
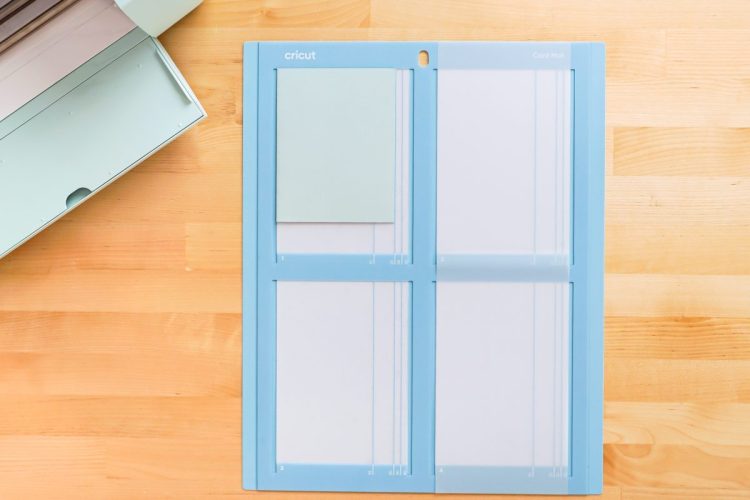
- Then place your card between the two layers of the mat. The back of the card should go between the layers and the front of the card should adhere to the sticky surface. Make sure your card is on the mat straight.
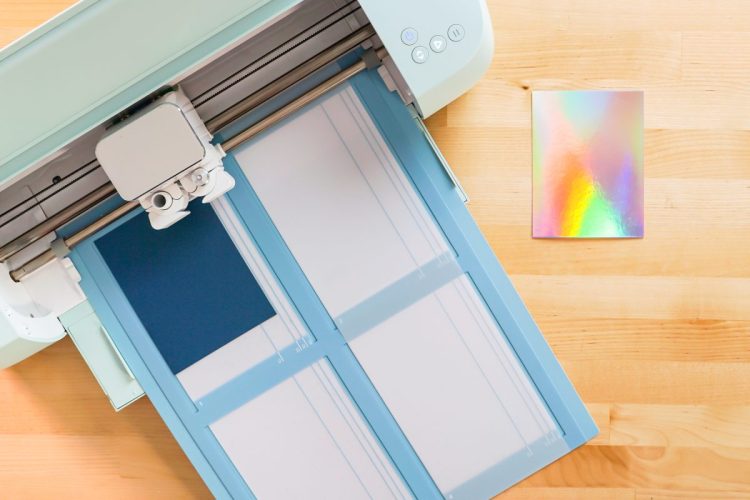
- Then insert your mat into your machine and your Cricut will cut your card for you!
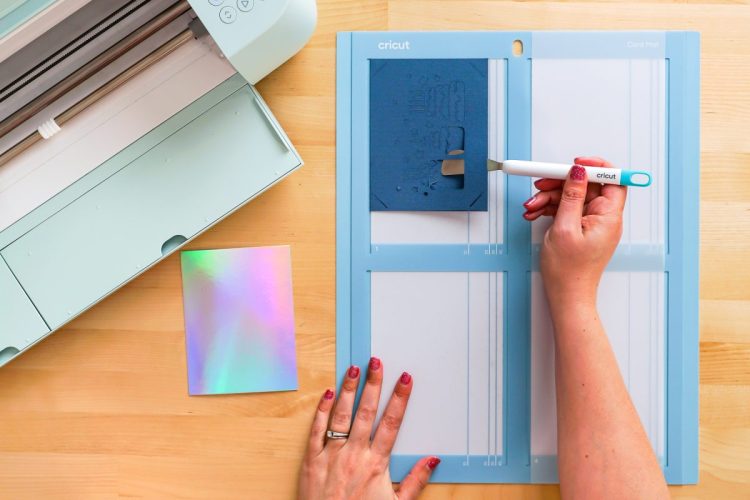
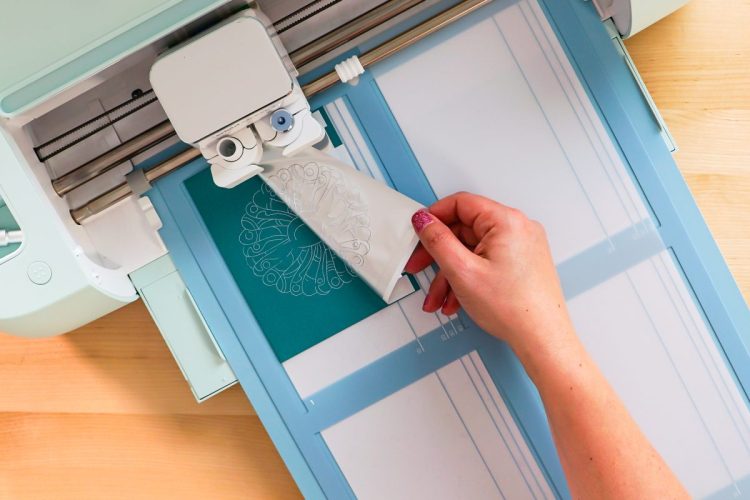
- To remove your card from the mat, carefully use the spatula to release the card. Go slowly, making sure you're not ripping any of the delicate pieces.
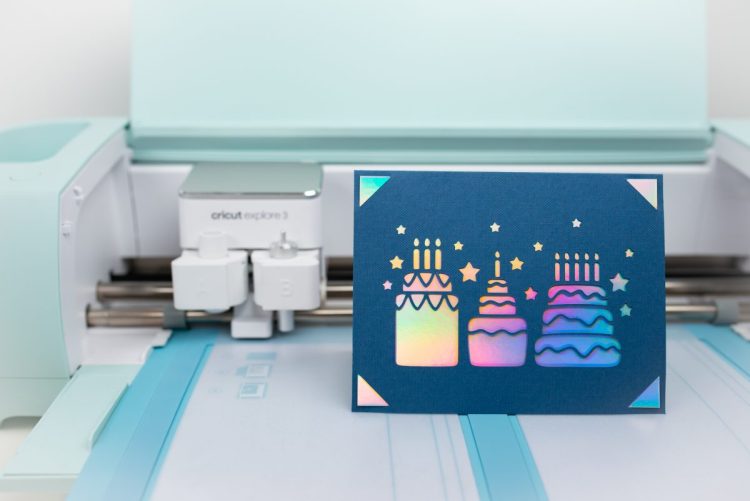
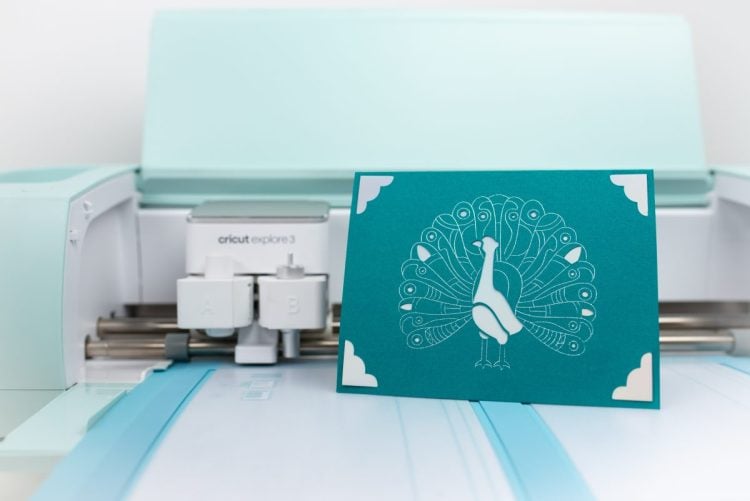
- Add the insert card to the inside of the card, using the corner slots and your card is done!
- Cricut Foil Transfer Insert CardsUsing the Cricut Foil Transfer Insert Cards is similar, with one extra step. Select your image you want to make. You'll want to choose an image with a draw layer. You can then use the Operation dropdown to select Foil instead of Draw.
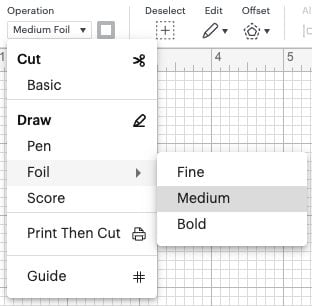
- So you can see here that there is a cut layer as well as a Medium Foil layer.Click Make It!

- You'll see your image on the Prepare Screen, just like with the other Insert Card.
- And then in the Make Screen, you'll see instructions for foiling your card.
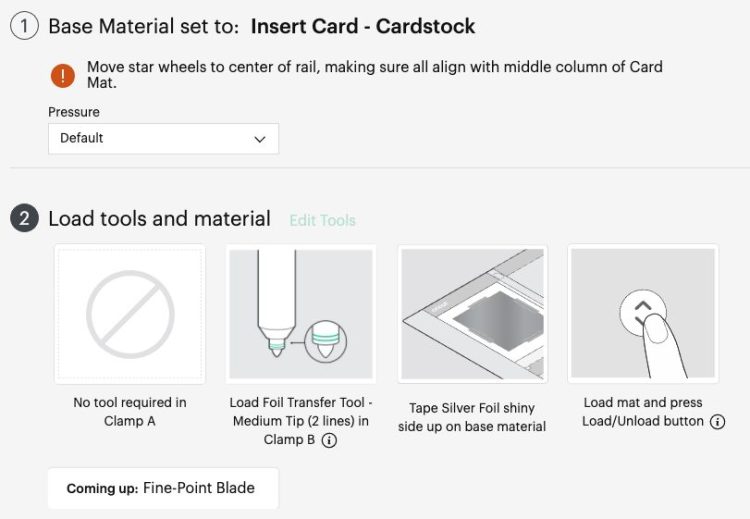
- On the front of the card, use the enclosed tape to secure a piece of foil to the front of the card on all four sides. Make sure the foil is colored-side up.
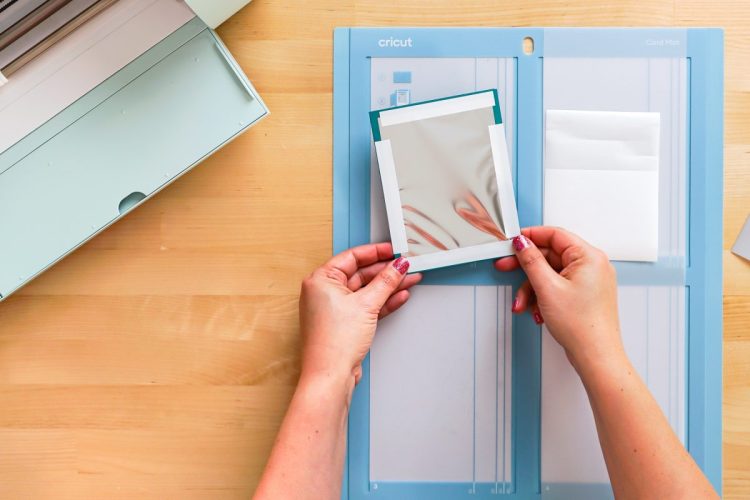
- Then place the card in the card mat, with the back of the card between the two layers of the mat with the front of the card adhered to the sticky part of the mat.
- Swap out your regular blade for the Foil Transfer Tip tool.
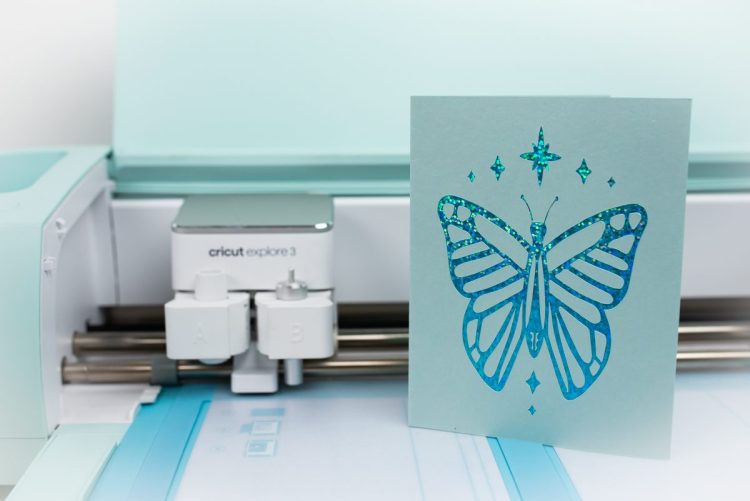
- Then insert your mat into the Cricut and your machine will foil your project. Once it's done foiling, do NOT remove the mat, but remove the foil and tape from the card.
- Then swap out your foil tip for the blade, and your Cricut will cut the other parts of your card. Carefully remove the card from the mat. Add the insert card behind the image in the corner slots and your foiled card is done!
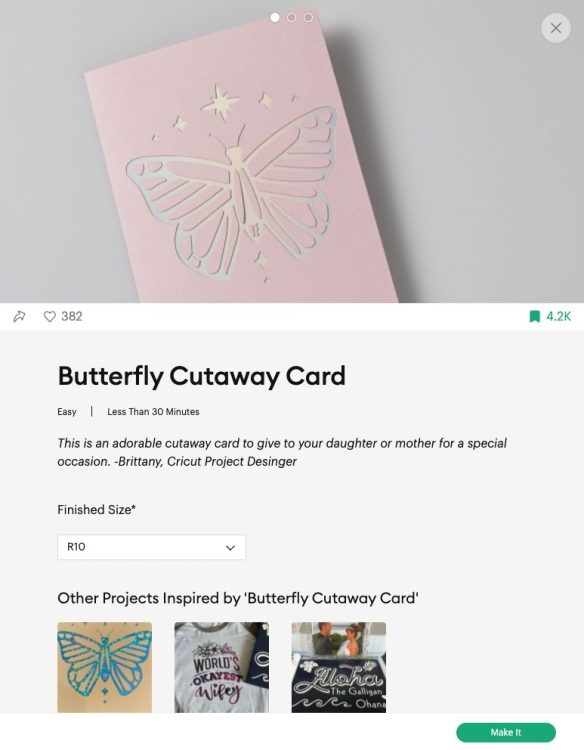
- Cutaway CardsCricut Cutaway Cards are a bit different. Instead of having an insert piece, it has a card that is adhered to the back of the front of the card. And then the card is "kiss cut" and you remove the cut pieces to reveal the colorful card behind. This means that you can have small interior pieces that would "fall off" a normal insert card (like the insides of letters) AND you don't need to use an image with corner cuts to hold the insert card. Let's see how it works!Create your card. For this one, one of the cards found under Projects is being used.
- Click Make It and you'll skip the Canvas altogether and see your image on the Prepare Screen.
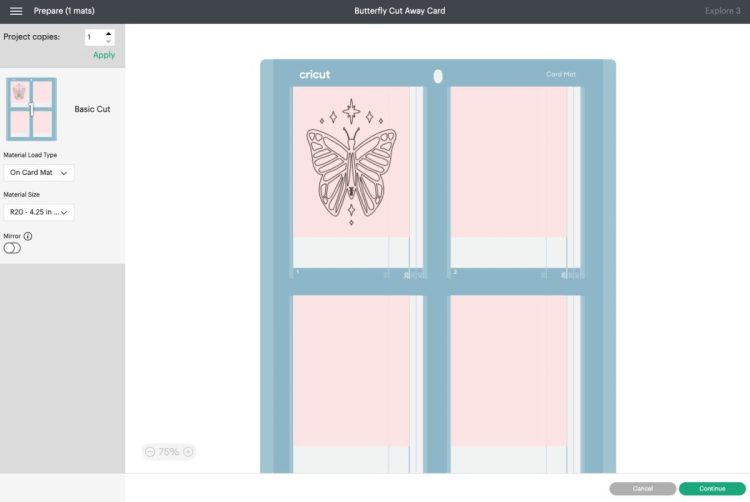
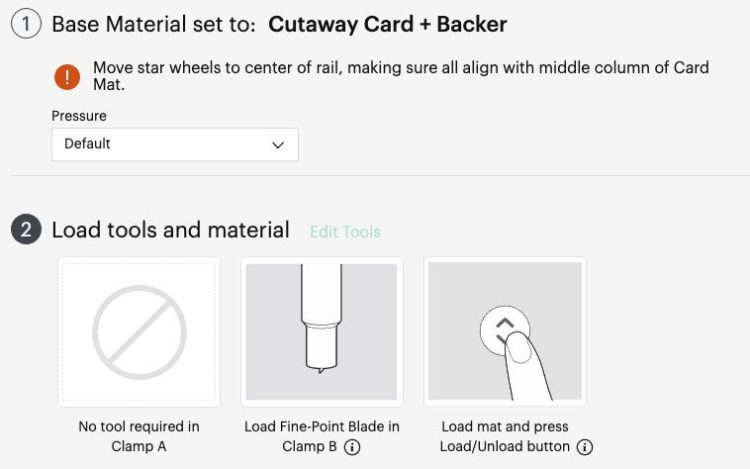
- Click Continue and you'll see the Make Screen with instructions for making your projects. Choose Cutaway Card as your material.
- To prepare your card, peel back the liner on the adhesive inside the card.
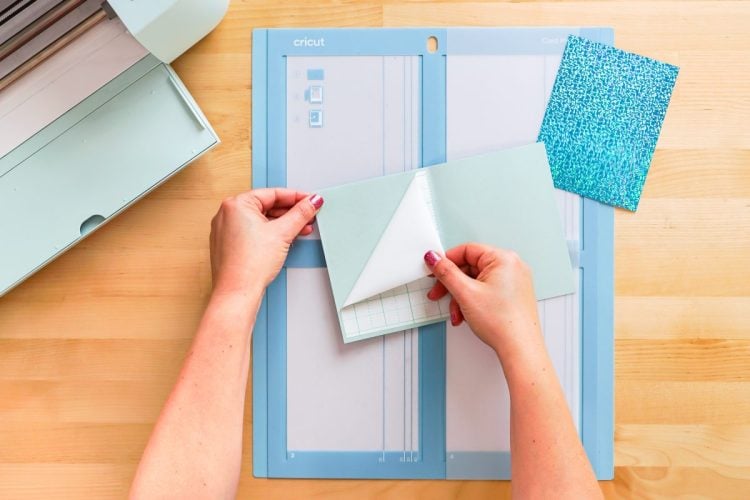
- Then place the insert card with the pretty side DOWN. The adhesive is VERY sticky so you really need to get it right on the first try.
- Then place the card inside the mat, with the back of the card tucked between the two layers and the front of the card adhered to the mat.
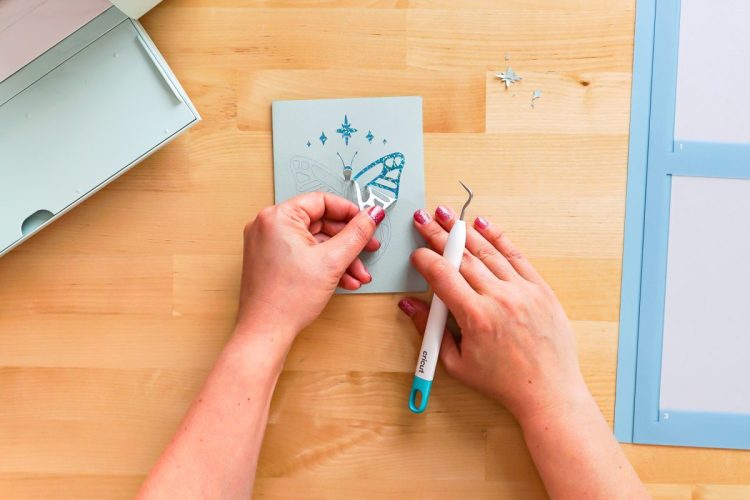
- Then place your mat in the machine and cut!Once you're done cutting, remove the card from the mat. You'll then basically "weed" out the pieces of the card to allow the pretty paper to shine through. A weeding hook worked pretty well for this. Do not stab at the cardstock like you would with vinyl, but instead use the hook more like a tiny crow bar to lift the cardstock off until you can peel it up with your fingers.
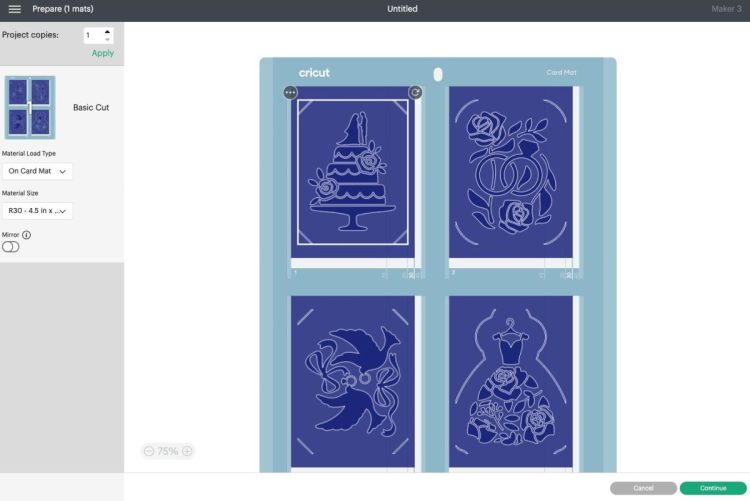
- How to Cut Different Colored Cards on the Same MatIf you want to cut four cards on the same mat, you'll need to find your cards via the Image Search method, not Projects. Choose the four cards you want to make. In this instance four different wedding-themed cards were chosen.
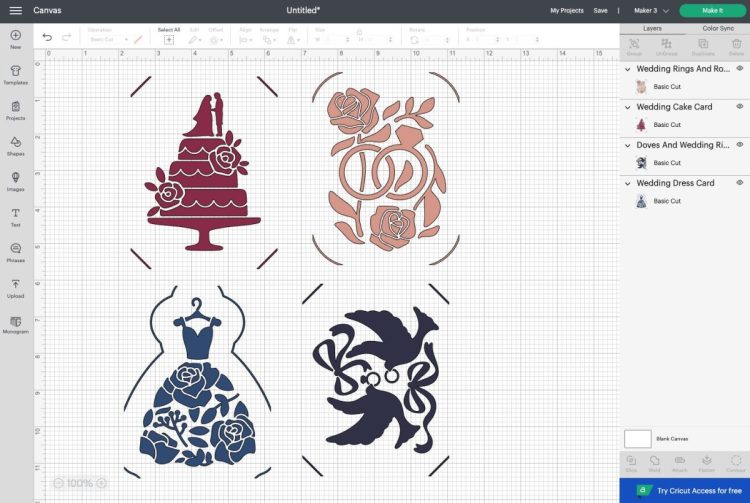
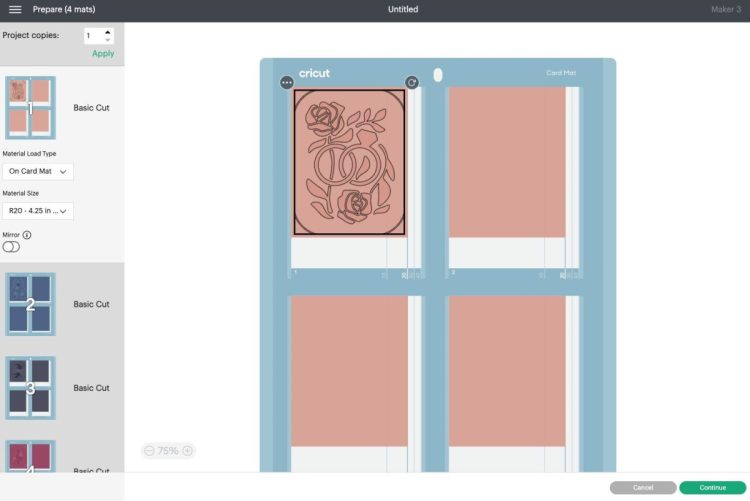
- If you try to make these as is, Cricut Design Space puts them on four separate Cricut Card Mats:
- BUT, if you go back to the canvas and make all of the images the same color....
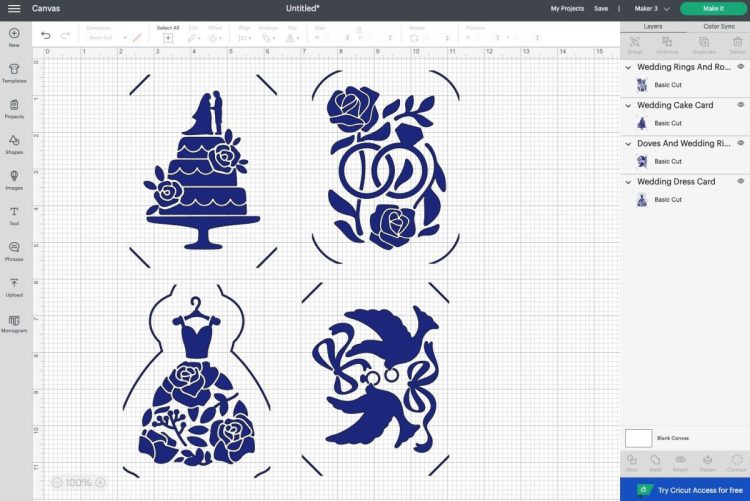
- Design Space will put all four cards on the same Card Mat.Then you can put four DIFFERENT card colors on the actual mat when you're actually cutting. Just because the image looks blue, doesn't mean you can't put a pink card on the actual mat.