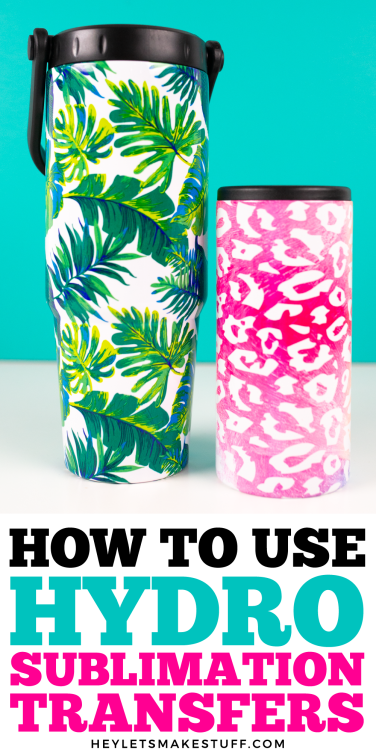
HOW TO USE HYDRO SUBLIMATION TRANSFERS
Hydro sublimation transfers can be used on tapered and other oddly-shaped blanks and is a fun option if you don't have a sublimation printer! Learn how to use it and my overall pros and cons of this sublimation method!
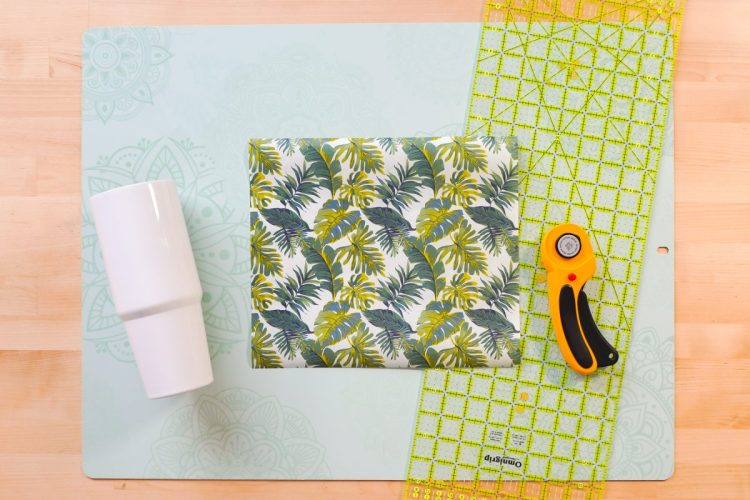
Equipment
- Rotary cutter optional
- Acrylic Ruler optional
- Self-healing cutting mat optional
- Paint bush or
Ingredients
Instructions
- Cut a piece of the sublimation transfer to the size of your tumbler. Leave enough for a little overhang at the top and bottom of the tumbler.For this project a a bit of an overlap was left around the tumbler, which caused some color bleed through as you'll see with the results. When the transfer was cut so the ends would meet up perfectly transfer shifted when putting it in the shrink wrap sleeve and it would've left a white line down the side of the tumbler. It was also very difficult to tape because tape doesn't want to stick to a wet transfer. No solution was found on how to cut this transfer so that it had a perfect seam.
- Wet your transfer. You can do this flat on the table or after you've wrapped it around your tumbler.
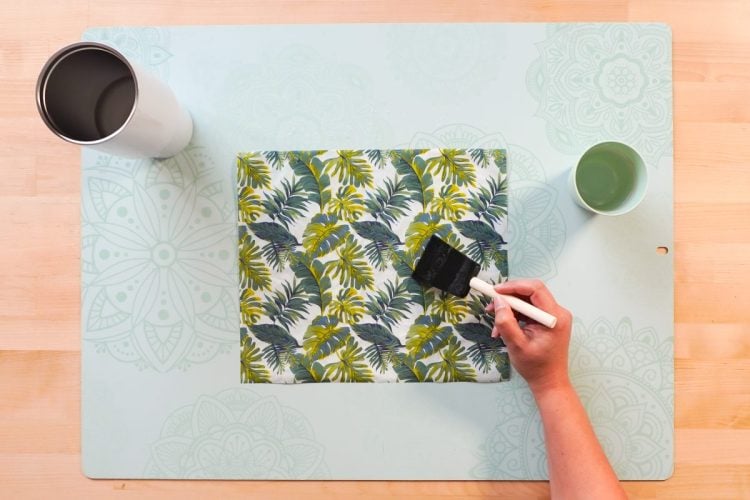
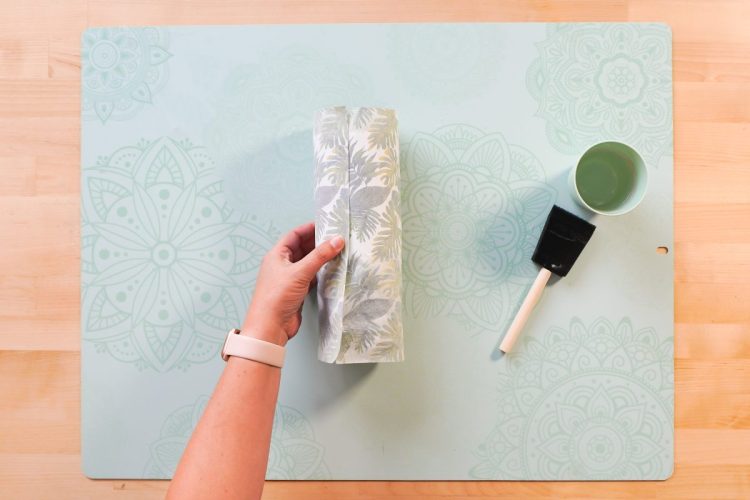
- Wrap the paper around your tumbler with the colored side in. You can add a bit more water if you need to, and mold the paper to the tumbler.
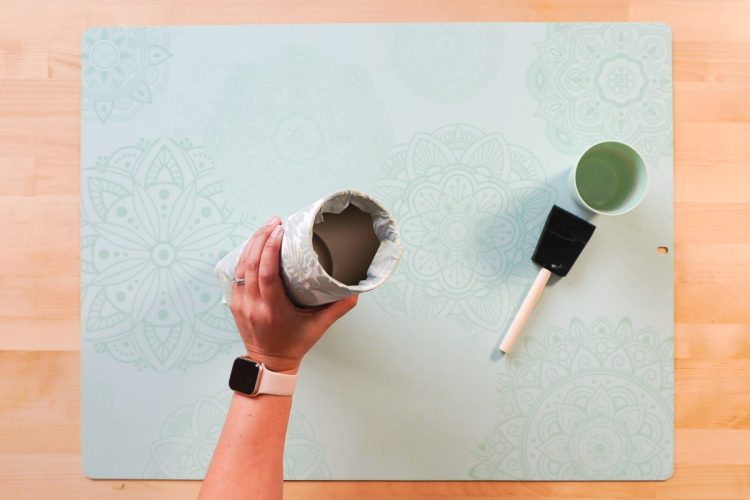
- Fold over the top part of the transfer into the inside of the tumbler. This will create a perfect edge at the top of your tumbler.
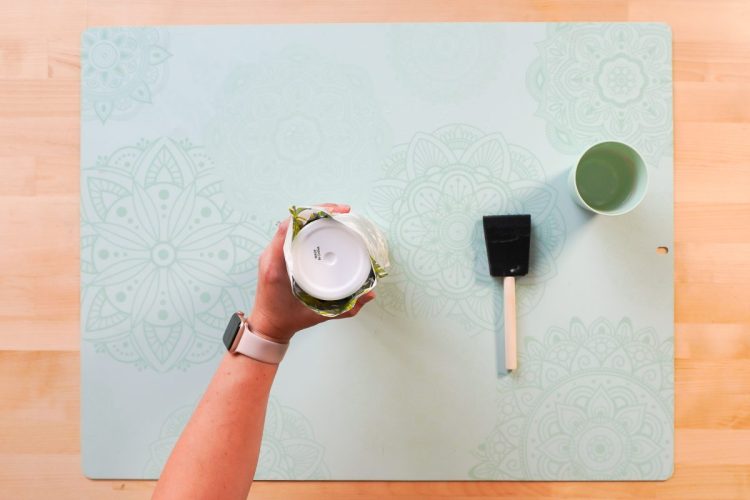
- The bottom of the tumbler is more difficult because it has a smaller diameter than the top part of the tumbler. There's no way to get the paper to lay evenly across that part of the tumbler, so you'll have some puckers and folds in the transfer.
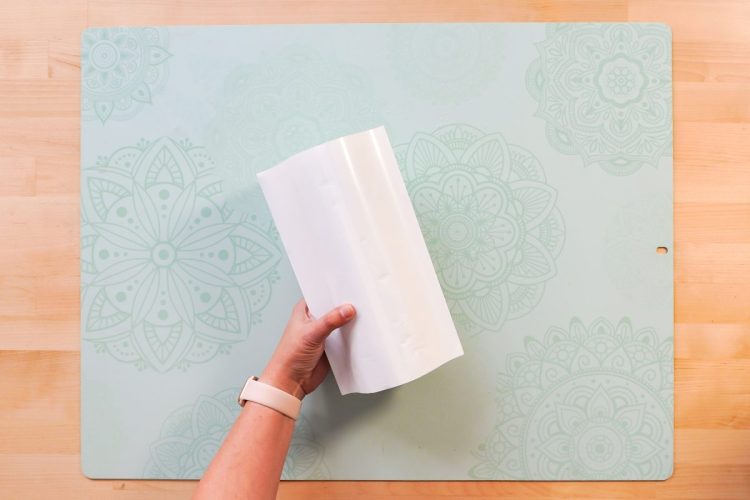
- Just do your best to get it to lie flat and then slide the whole thing into your shrink wrap sleeve.
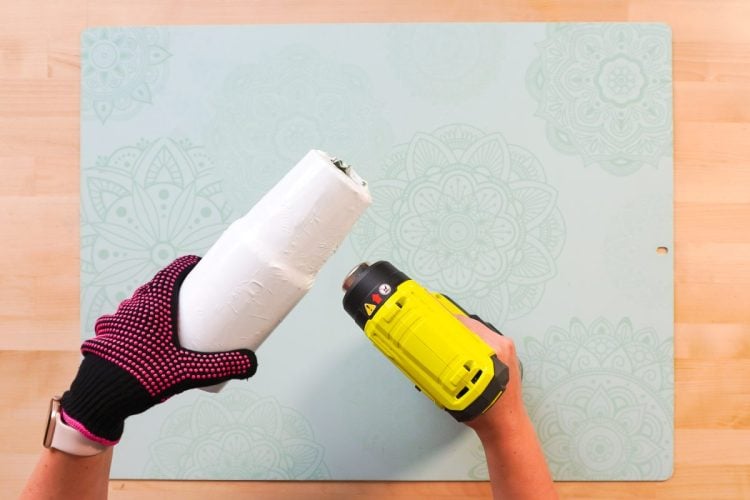
- Use a heat gun to shrink the shrink wrap around your tumbler. For most tumblers this step is skipped and the project goes right into the sublimation oven and it shrinks up in seconds. But for this project, the shrink wrap needed to be shrunk so that some rubber bands could be added.
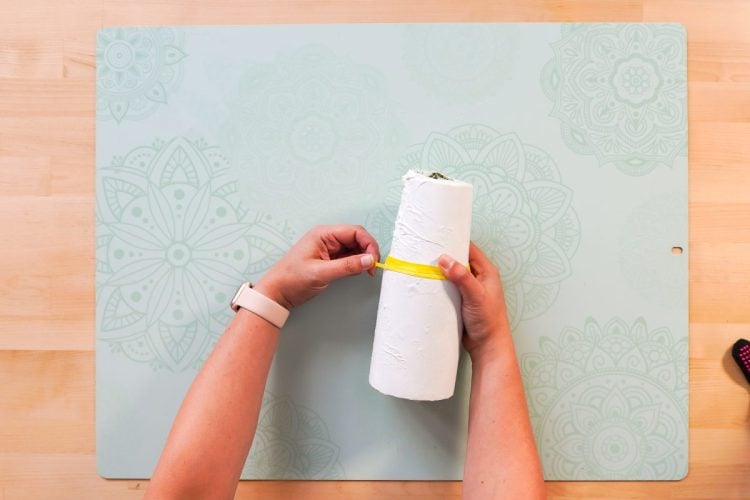
- The part of the tumbler where it goes from big to small is the most difficult part of the whole thing, so rubber bands can help. Regular rubber bands were used which stunk to high heaven and melted a bit, so if you can, get heat-resistant rubber bands or silicone bands. Place them around that part of the tumbler where it goes from big to small.Then bake your project in your sublimation oven for 8 minutes at 385°, rotating halfway through.
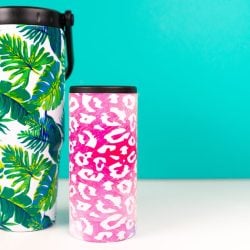
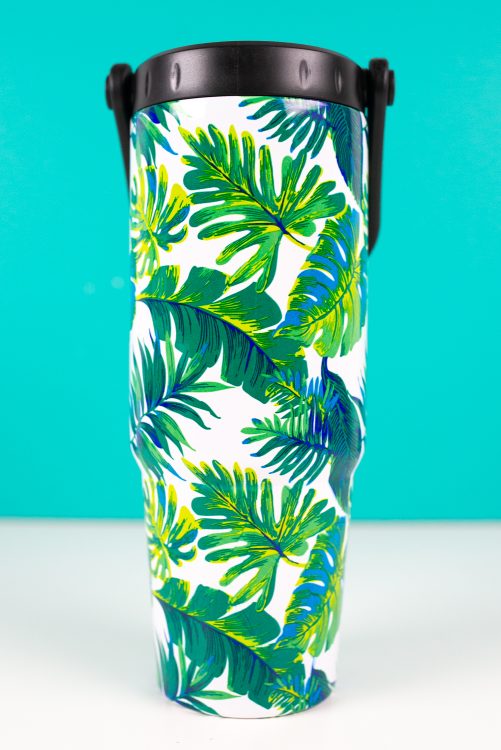
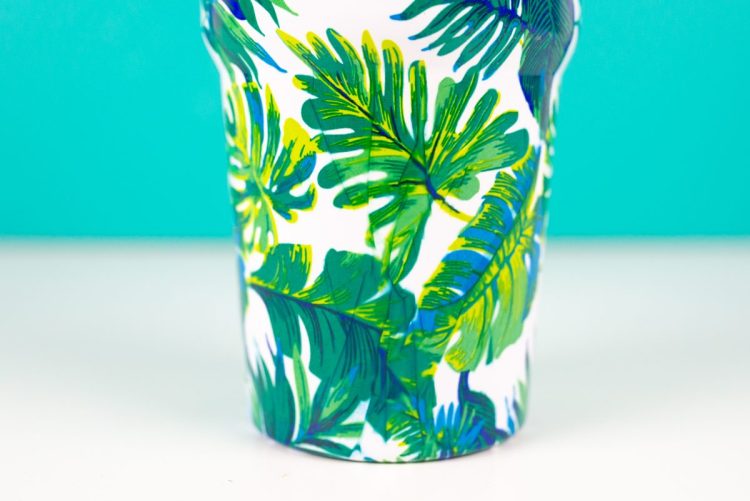
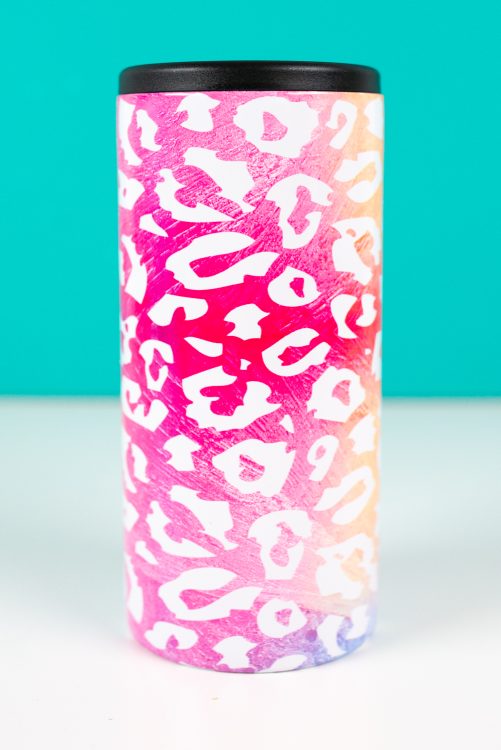
- ResultsLet's look at how these hydro sublimation transfers turned out. From one angle, the tumbler looks fantastic. The colors are so vibrant, the top and bottom edges are gorgeous with no blurring. If the whole thing looked like this, this would be an automatic winner.
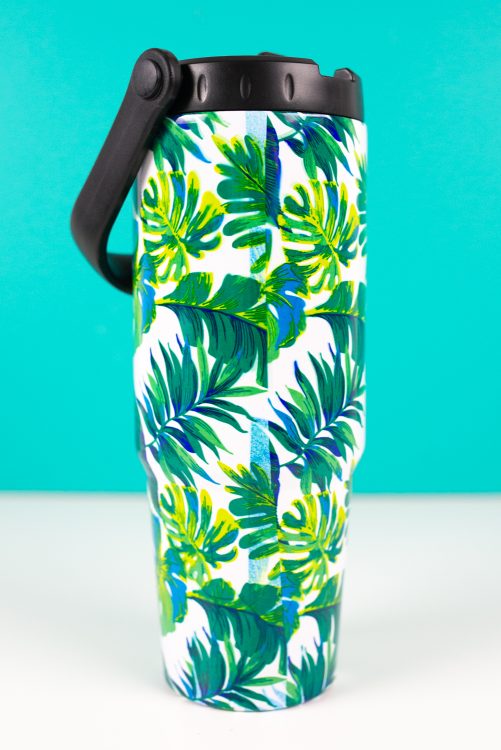
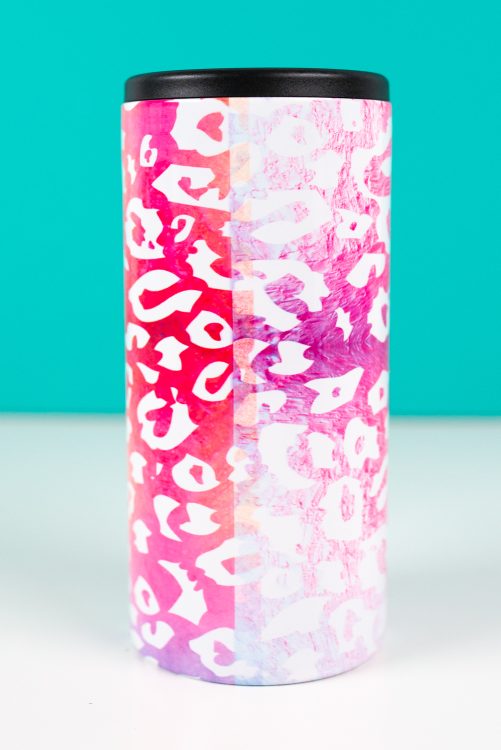
- But as mentioned above there was a color bleed through. Here's what that looks like on the seam:Not so cute at all. Even if you get the paper to align perfectly on the top section, there would still be "extra" paper down in the bottom section because there's just more paper there for the smaller diameter of the tumbler. Unsure how to do that better.
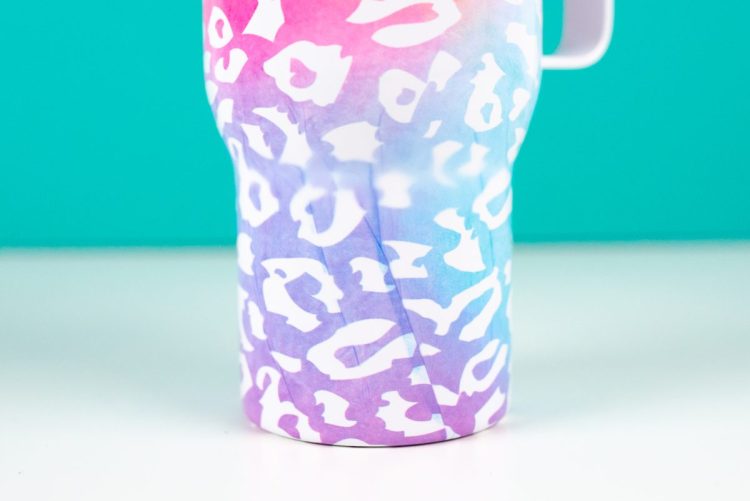
- And because there is that extra paper, there are parts of the bottom of the tumbler that look...weird. You can see where the sublimation paper puckered and overlapped, creating a less than perfect transfer.
- The taper between the two parts of the tumbler where the rubber bands were used looks great on the tropical tumbler, though. Here's what the first test project looked like without the rubber bands. Very blurry around the center and you can definitely see that same puckering/overlapping problem here as well.
- Also tried using these hydro sublimation transfers on a straight sided blank. Again, looks great from the front:
- But the overlap in the back is still a problem. It doesn't help that the pattern itself is much lighter and more varied at where the seam was. It actually transferred perfectly, but the pattern wasn't the best in this instance.
- So the results are really 50/50 about these hydro sublimation transfers. On one hand, it's pretty easy to use for beginners, the colors are SO vibrant, and it works really well on the top and bottom edges. But on the other, was never able to get a seam that was liked and the way it buckled and overlapped on those tapered tumblers just wasn't appealing.You can use these transfers on other blanks as well, so perhaps it would be better on bookmarks, notebook covers, or wind spinners. Definitely something to try if you're interested in testing this product!