HOW TO MAKE WEEDING EASIER WITH A WEEDING BOX
You can save vinyl and make weeding easier by creating a weeding box in Cricut Design Space! This weeding box trick is also helpful if you're cutting large numbers of the same image and want to make separating images more simple.
Instructions
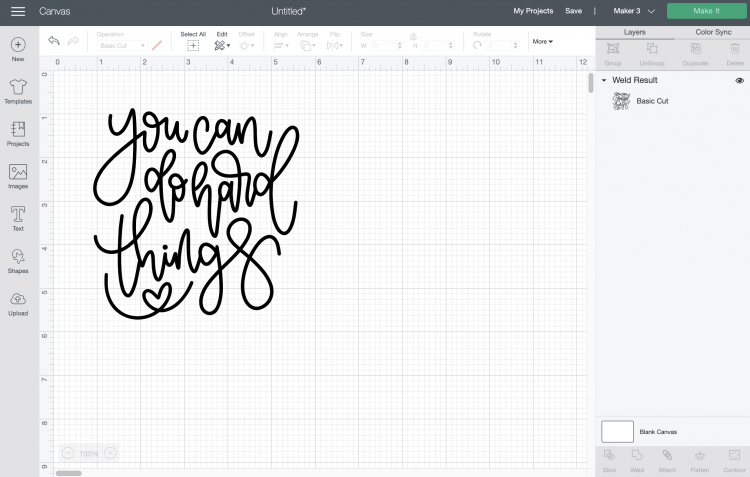
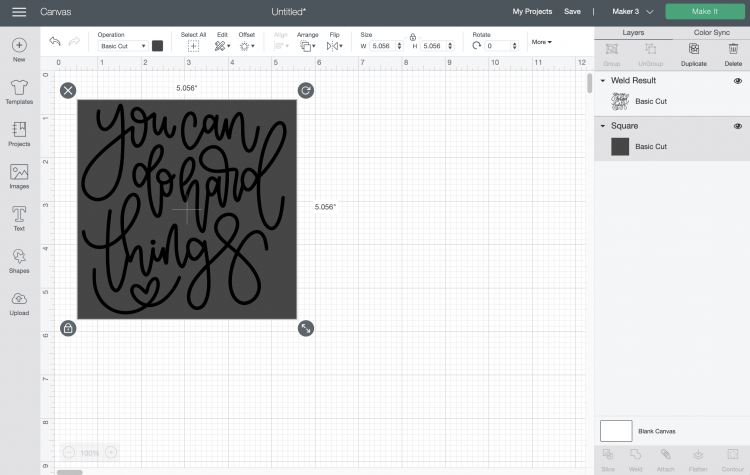
- Start with your decal on the Canvas in Cricut Design Space. This was a two-color image (#M263B063D) welded to be a single color image for this tutorial. If you are going to create weeding boxes for images with more than one layer, you'll need to create separate weeding boxes for each color of your image.
- Click Shapes and insert a square onto your Canvas.
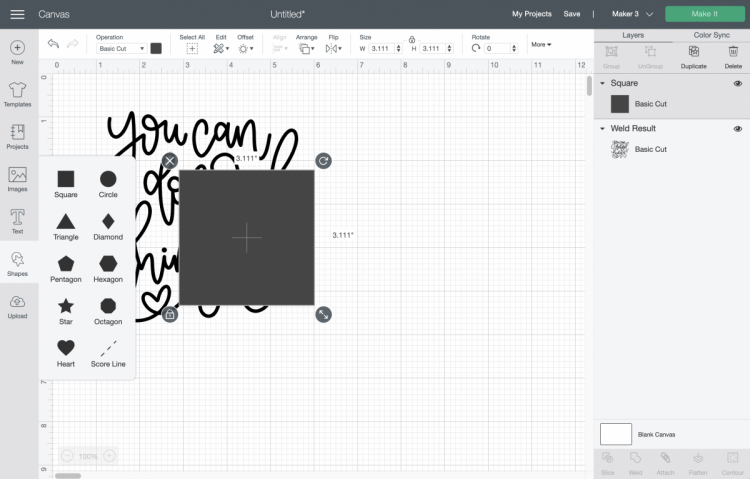
- Select the square and click Arrange > Send to Back so that your square will be behind your image.

- Then resize the box to fit snugly around your decal. This project happened to be a square, but if you need a rectangle, click the lock on the bottom left of the square so you can resize the dimensions individually. You could also create a weeding box with a circle or other shape if it makes more sense with your image!
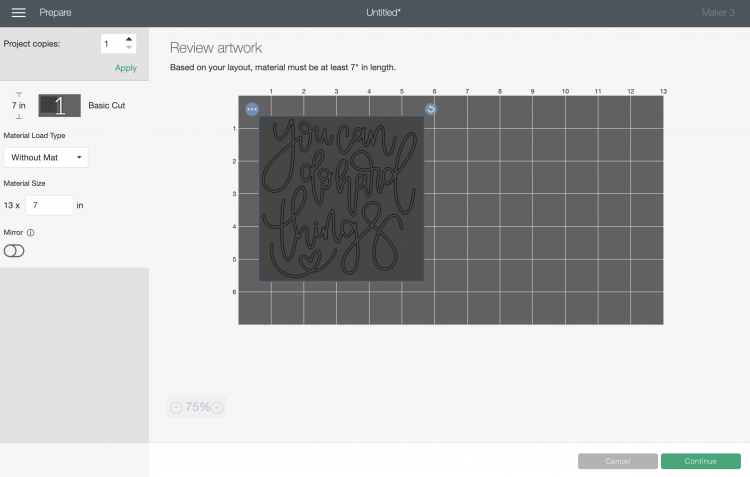
- Now when you go to make your image, you'll see the box around the edge of your decal.
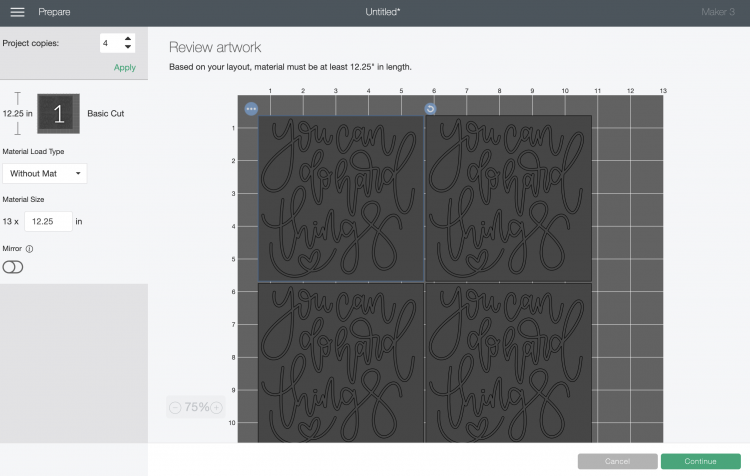
- If you want to make a bunch of the same decal, you can change the "Project copies" in the upper left and Design Space will duplicate the decals and boxes.
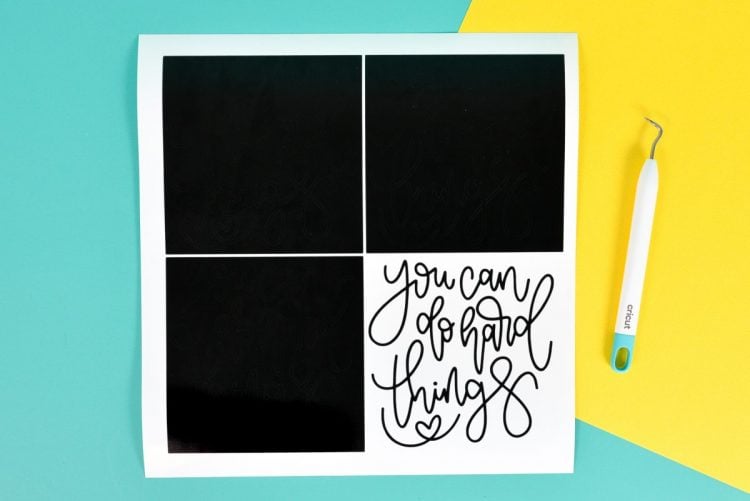
- Now, when you go to weed this project, you can easily remove the excess around the whole cut, and it makes weeding each decal easier because they aren't all connected!
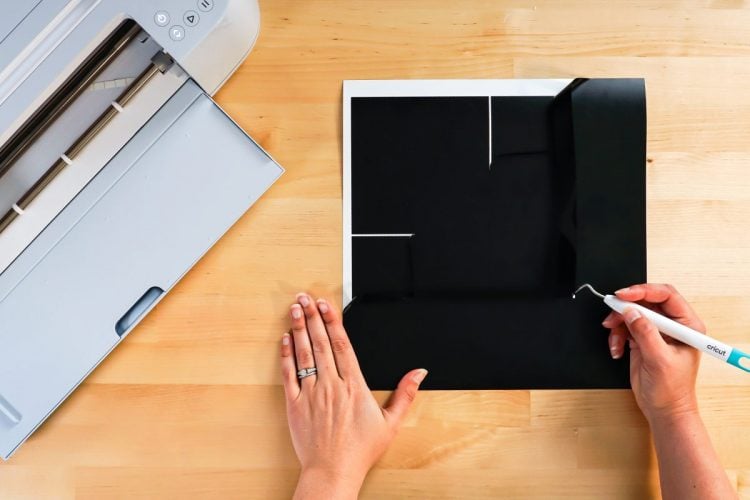
- Now you can weed each of the four images individually—which is A LOT easier than weeding them all as one piece. Even if you're just cutting one image, it gives you a straight edge to trim when using the leftover vinyl in the future.