HOW TO LAYER VINYL USING TRANSFER TAPE
By learning to layer vinyl, you can create dimension in your Cricut Explore, Maker, and other cutting machine projects!
Equipment
- Cricut Maker or
Ingredients
- adhesive vinyl at least two colors
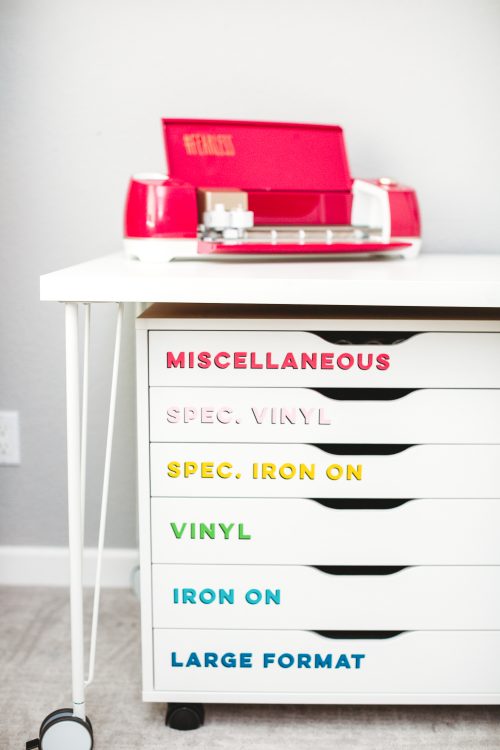
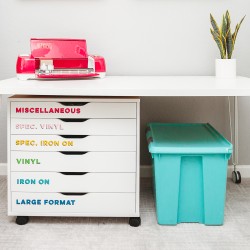
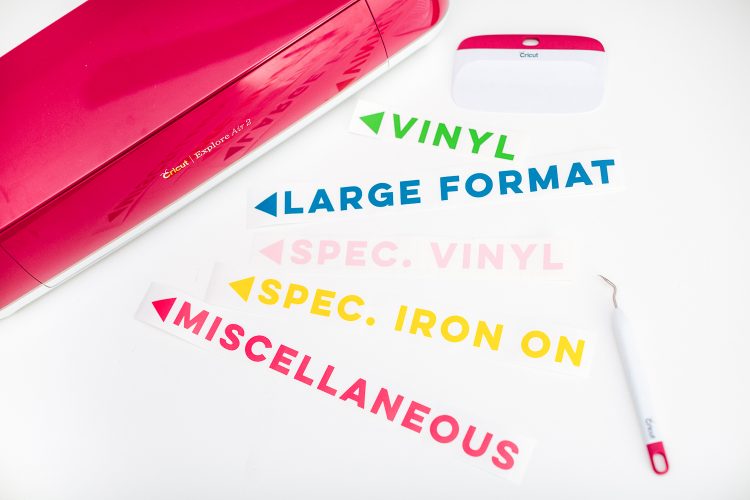
- Free Craft Room Organization Labels #C192
Instructions
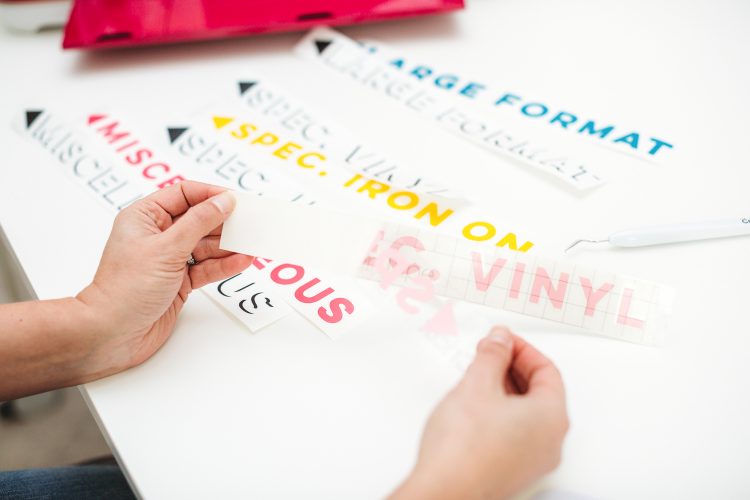
- Let’s get layering! We’re going to use the transfer tape method—this allows you to put the layers of vinyl on your surface in one shot, vs. trying to line up each layer on your surface. You line it up on the transfer tape itself!Start by cutting and weeding both layers of your labels. Unlike iron on vinyl, you do NOT need to mirror adhesive vinyl when cutting it—what you see is exactly what goes on your surface.You’ll notice that each file has a triangle to the left. The triangle functions as registration marks for each layer and will help you line up your vinyl.
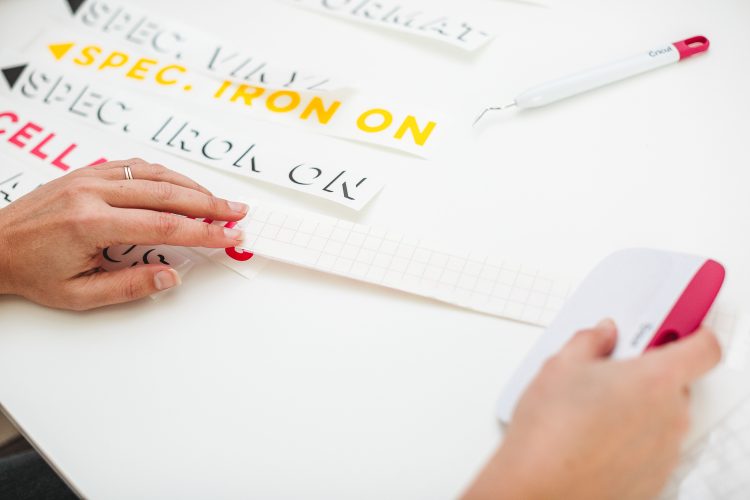
- Vinyl Layer #1Cut a piece of transfer tape slightly larger than each label.
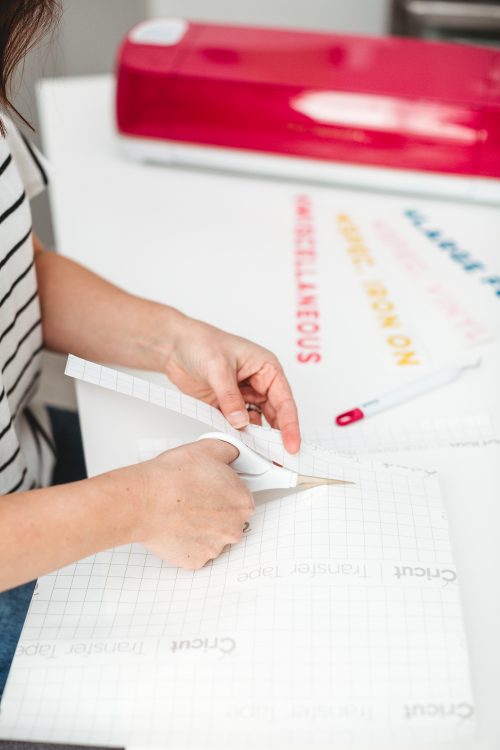
- Peel off the backing paper on the transfer tape and place it over the colored label, pressing it into the label using your fingers or a burnishing tool.
- Peel up the transfer tape and the vinyl should come with it. If it doesn’t burnish some more.
- Vinyl Layer #2Now take that piece of transfer tape with the vinyl and line it up over the black layer of vinyl. Line up the triangles perfectly on top of each other and your two layers should line up perfectly!
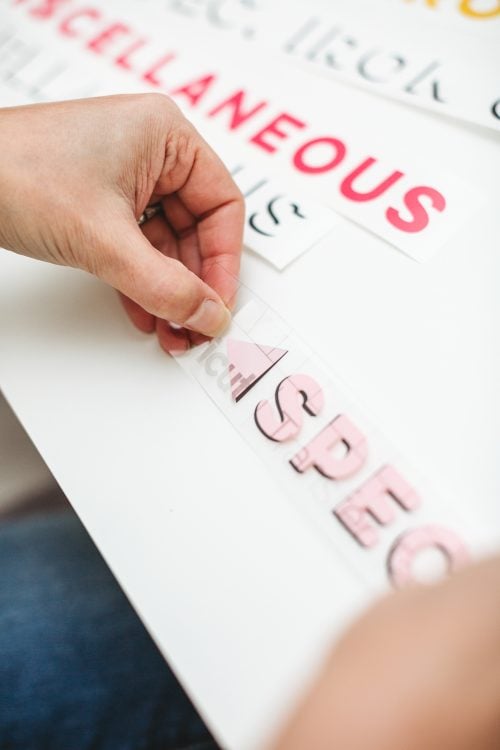
- If you’re making your own files in Design Space or other cutting machine software, you can add your own registration marks. Some people use one or two rectangles or other shapes—whatever works best for you! Prefer triangles, but you can use whatever shapes you like.Press the second layer of the label into the transfer tape, and peel up the transfer tape and the two layers of vinyl should come with it.
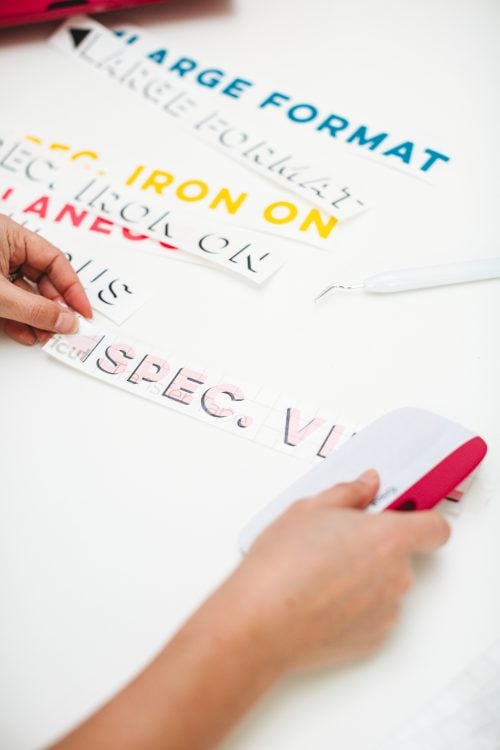
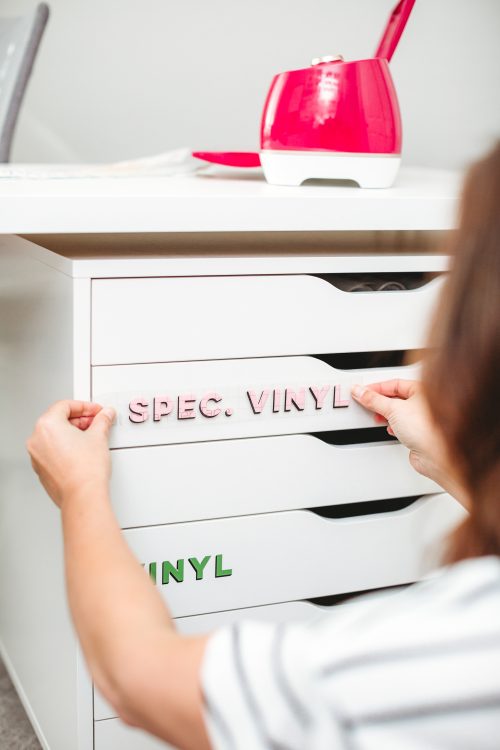
- Putting Layered Vinyl on a SurfaceBefore you put your decal on your surface, peel off the layers of registration triangles off the transfer tape and discard. You don’t want them on your project!Now let’s put that vinyl on your surface—mine is the set of drawers.Carefully line up your transfer tape with your two layers of vinyl on the drawer. If you want it to be precise, you can use masking tape to tape off exactly where your labels should go. Use a level to help make sure everything is even.
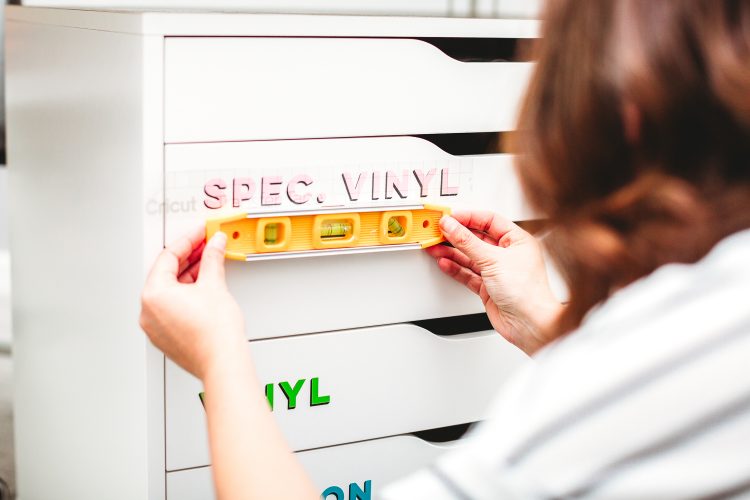
- Press your vinyl into your surface/drawers, burnishing with your fingers or a tool. In this case fingers were used so as to not damage the surface of the drawers.Then carefully peel back the transfer tape at a 45° angle or more. If your surface is smooth and nonporous like these drawers, the vinyl should stick fairly easily. If you are having trouble, burnish again and peel even more slowly, using your fingernail to help “guide” the vinyl off the transfer tape. But really, it should work really nicely on most smooth surfaces!